
Nothing ruins the look of a beautiful kitchen faster than a grimy tile backsplash covered in cooking splatters, grease buildup, and stubborn water spots. That once-pristine surface behind your stove and sink becomes a magnet for grease, food residue, and hard water deposits that seem impossible to remove. If you’ve ever stared at your tile backsplash wondering why store-bought cleaners aren’t cutting through the grime or if you’re using the wrong tools that might damage your tiles, you’re not alone. Discovering the best way to clean kitchen tile backsplash transforms not just your kitchen’s appearance but also prevents long-term damage from accumulated grease and moisture. This guide reveals professional cleaning techniques that work for every tile type without damaging surfaces or requiring expensive products.
Immediate Action for Daily Cooking Splatter Removal
Addressing spills and splatters immediately prevents them from hardening into difficult-to-remove stains that require intensive cleaning later. Most homeowners make the critical mistake of waiting until their backsplash looks visibly dirty before attempting to clean it, which allows grease to penetrate porous surfaces.
What to Do Right After Cooking
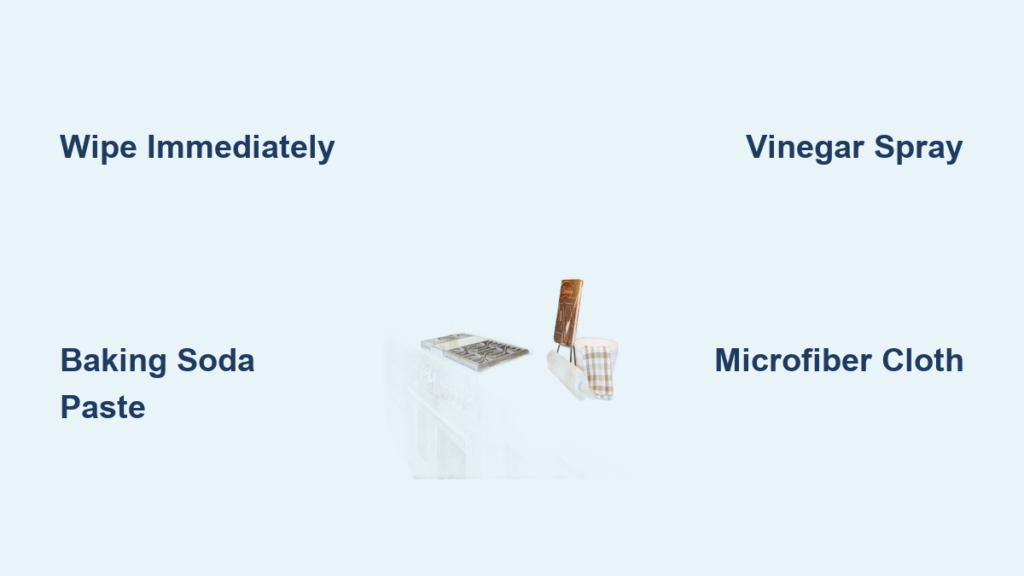
Wipe down your backsplash with a damp microfiber cloth immediately after cooking while grease is still warm and easier to remove. For quick daily maintenance, mix equal parts white vinegar and water in a spray bottle—this solution cuts through light grease without harsh chemicals. Always wipe in the direction of the tile pattern to avoid pushing grime into grout lines.
Avoid These Common Daily Cleaning Mistakes
Never use abrasive scrubbers like steel wool or harsh scouring pads on any tile surface, as they create microscopic scratches that trap dirt. Skip ammonia-based cleaners on natural stone tiles like marble or travertine, which can cause etching and permanent damage. Avoid letting vinegar solutions sit for more than 5 minutes on stone surfaces to prevent dulling the finish.
Deep Cleaning Ceramic and Porcelain Tile Backsplashes

Ceramic and porcelain tiles comprise over 65% of kitchen backsplashes due to their durability and wide range of styles, but they still require specific cleaning approaches to maintain their appearance without damaging the glaze.
Removing Stubborn Grease Buildup Without Scrubbing
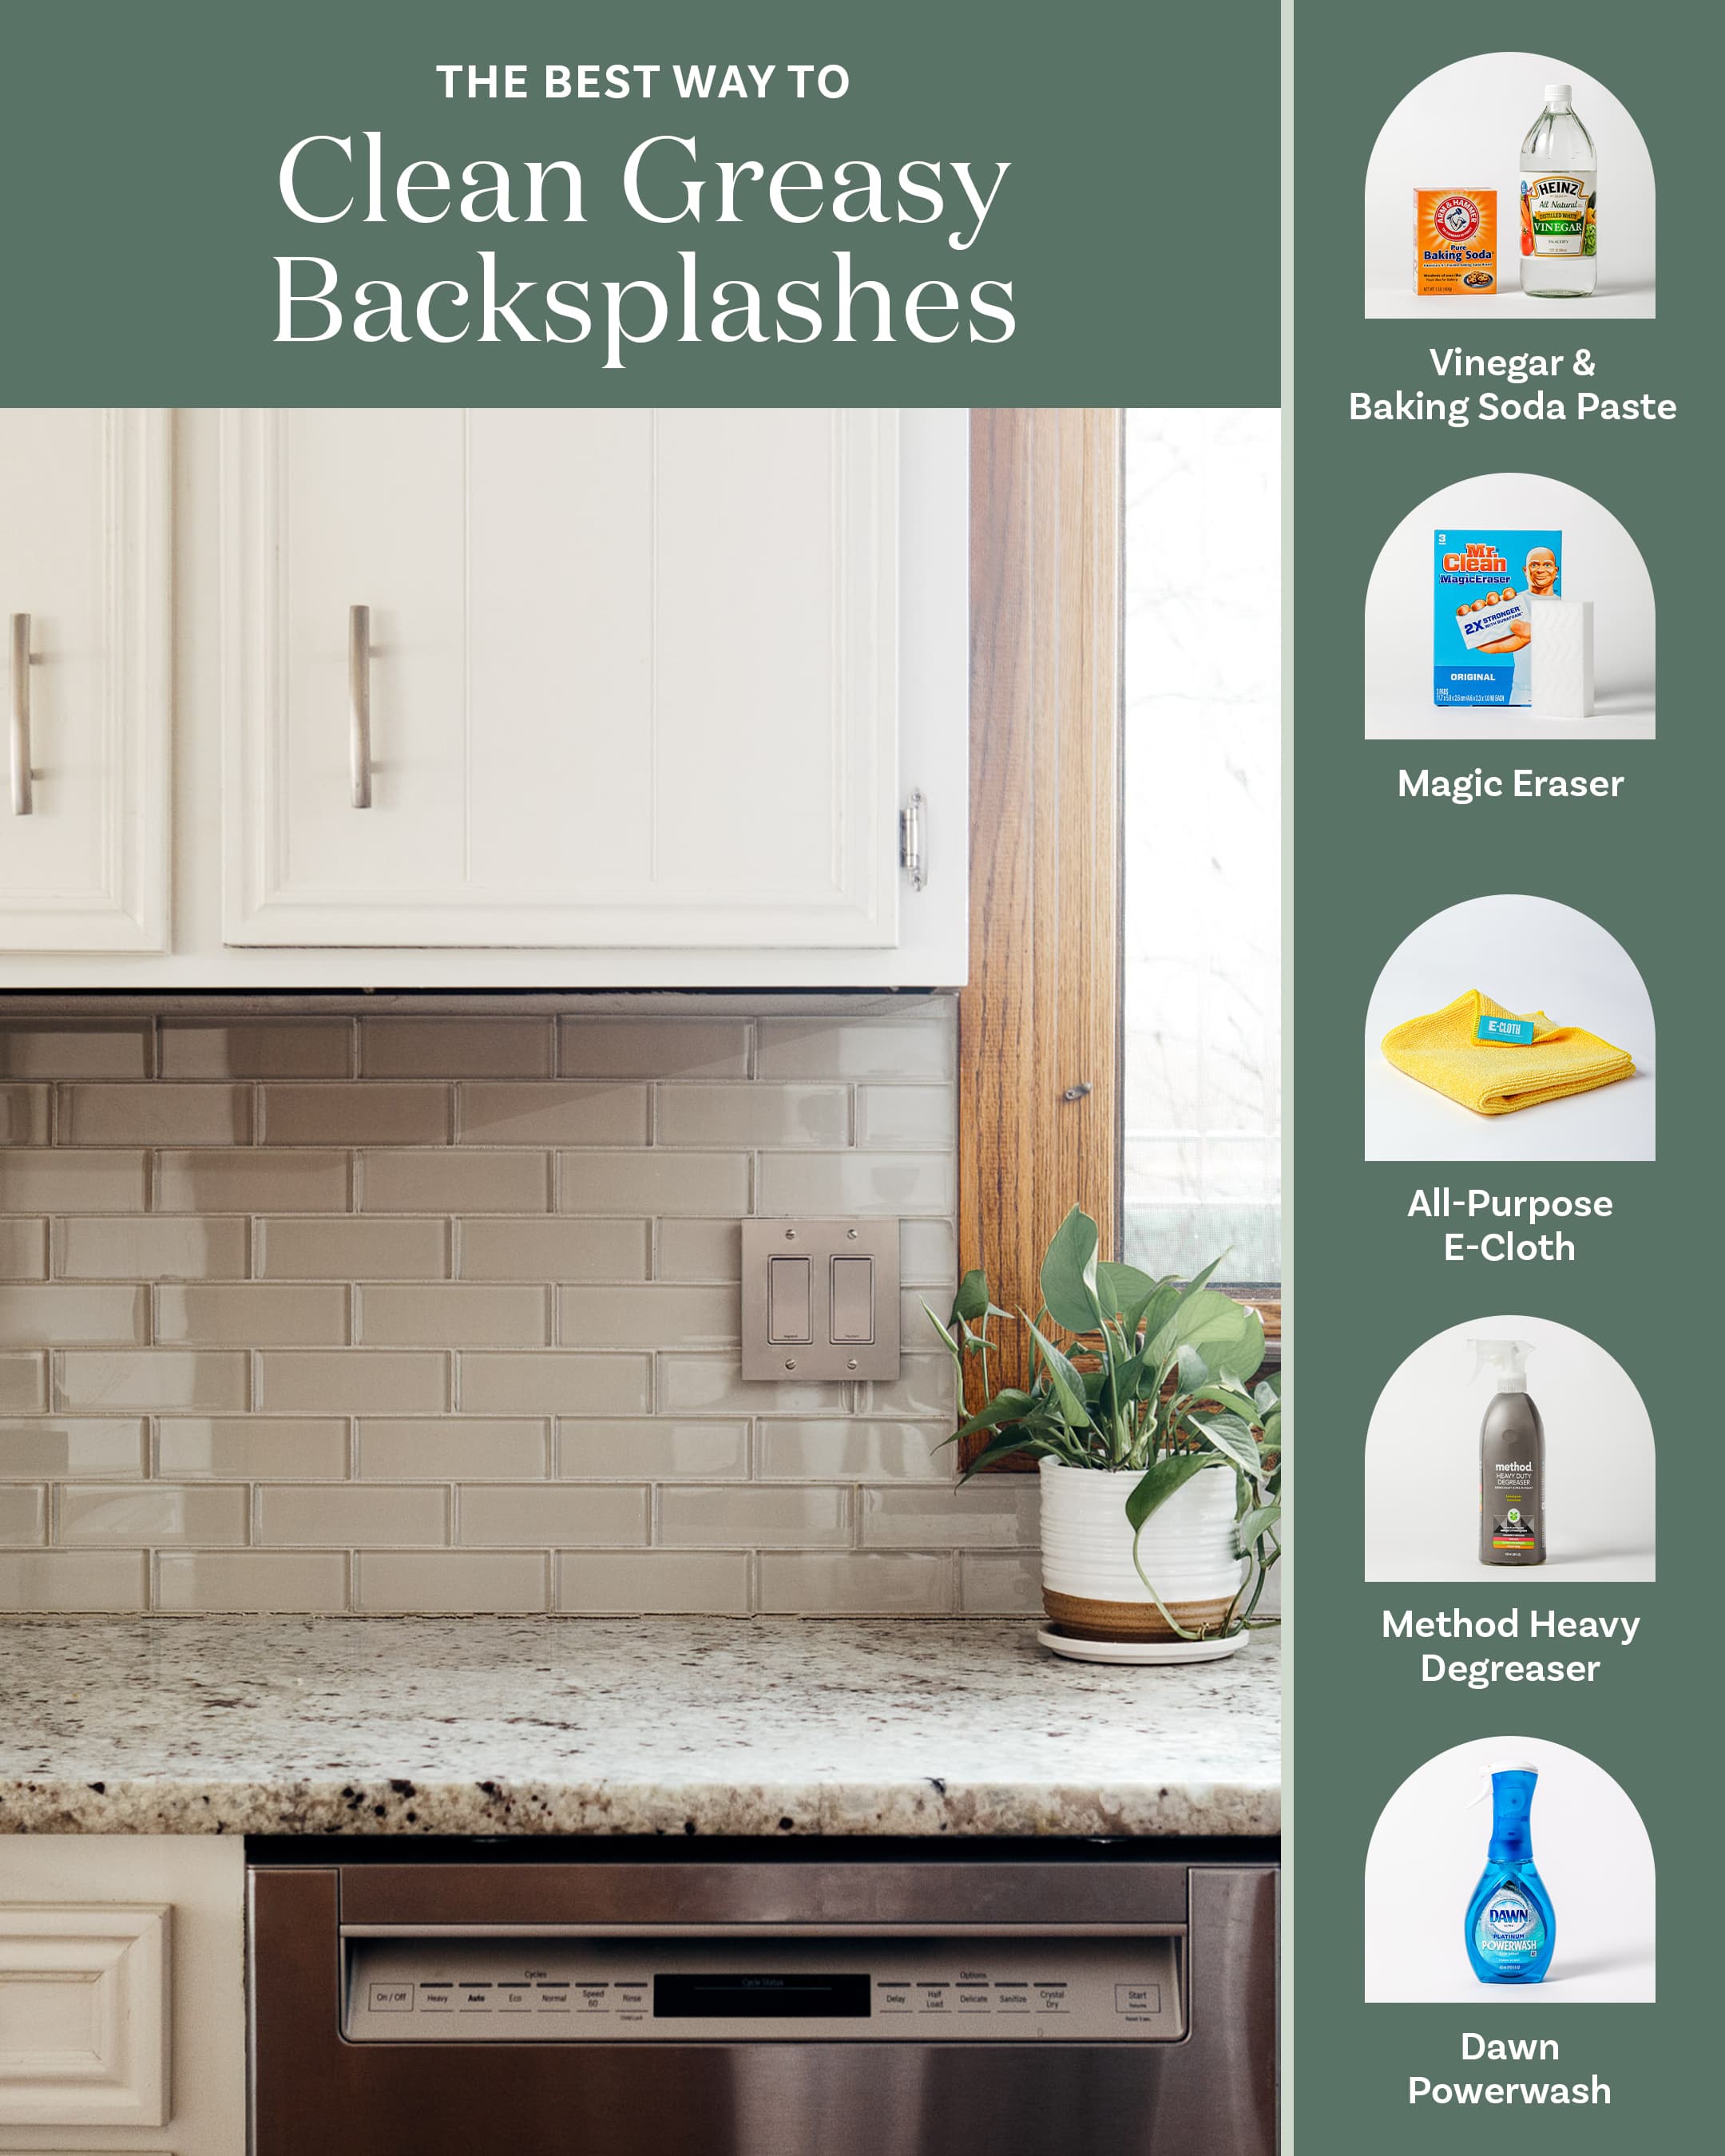
Create a thick paste using baking soda and just enough water to form a spreadable consistency. Apply this paste directly to greasy areas and let it sit for 15-20 minutes to break down the grease. The mild abrasiveness of baking soda lifts grime without scratching the tile surface. For particularly stubborn spots, cover the paste with plastic wrap to prevent drying and extend contact time.
Professional Technique for Grout Line Revival
Mix hydrogen peroxide with baking soda to create a powerful grout cleaner that lifts stains without bleach’s harsh fumes. Apply the paste to grout lines using an old toothbrush, gently working the solution into the crevices. Let it sit for 10 minutes before wiping clean. For severe discoloration, make a paste with cream of tartar and hydrogen peroxide, which creates a gentle oxygenating action that brightens without damaging grout.
Natural Stone Tile Backsplash Cleaning Protocol
Natural stone backsplashes like marble, granite, or slate require specialized care because acidic cleaners can permanently etch the surface, while improper techniques can leave behind residues that dull the stone’s natural beauty.
Safe Daily Cleaning for Marble and Granite Surfaces
Use a pH-neutral stone cleaner specifically formulated for natural stone surfaces—never vinegar or lemon-based solutions. Mix a few drops of mild dish soap with warm water and apply with a soft microfiber cloth. Rinse immediately with a separate damp cloth to prevent soap film buildup. Dry thoroughly with a clean towel to prevent water spots, especially on darker stone varieties.
Addressing Hard Water Stains on Stone Without Damage
For hard water deposits on stone backsplashes, create a poultice using kaolin clay and a small amount of stone-safe cleaner. Apply the paste to affected areas, cover with plastic wrap, and let sit for 24 hours. The poultice draws out minerals without acidic reactions that would damage stone. Never use CLR or other calcium-lime-rust removers on natural stone surfaces.
Effective Cleaning for Glass Tile Backsplashes

Glass tile backsplashes offer a modern look but present unique cleaning challenges with water spots, soap scum, and visible fingerprints that seem to appear minutes after cleaning.
Eliminating Water Spots and Soap Scum Residue
Mix one part isopropyl alcohol with three parts distilled water in a spray bottle for streak-free cleaning. Spray onto the surface and wipe with a microfiber cloth using vertical strokes on one side, then horizontal on the reverse to ensure complete coverage. For stubborn soap scum, apply a small amount of non-gel toothpaste to a soft cloth and gently rub the affected area before rinsing.
Preventing Future Streaking on Glass Tiles
After cleaning, buff the surface with a dry microfiber cloth to prevent water spots. For ongoing maintenance, apply a thin coat of car wax (specifically formulated for glass) to create a protective barrier that repels water and makes future cleaning easier. Reapply this protective coating every 3-4 months for best results.
Time-Saving Backsplash Cleaning Tools and Supplies
Having the right tools dramatically reduces cleaning time while improving results, especially for textured tiles or intricate patterns that trap grease in hard-to-reach areas.
Essential Tools for Every Tile Type
Keep these items in your cleaning caddy: soft-bristled grout brushes, microfiber cloths in multiple colors (to prevent cross-contamination), an old toothbrush for detailed work, a squeegee for glass tiles, and plastic scrapers for removing dried food without scratching. Never use metal scrapers on any tile surface.
What to Store in Your Backsplash Cleaning Kit
Maintain a dedicated container with pre-mixed cleaning solutions: vinegar-water spray for daily cleaning, baking soda paste in a small jar, hydrogen peroxide-based grout cleaner, and a stone-safe cleaner if you have natural stone. Label each container clearly and store away from direct sunlight to maintain solution effectiveness.
Monthly Maintenance Routine to Prevent Buildup
Implementing a consistent maintenance schedule prevents the need for intensive deep cleaning sessions that can sometimes damage surfaces when aggressive methods become necessary.
15-Minute Weekly Refresh Protocol
Spend just 15 minutes each weekend maintaining your backsplash to prevent significant buildup. Start with a vinegar-water solution for ceramic/porcelain tiles or stone-safe cleaner for natural stone. Focus on high-splash zones behind the stove and sink first. Finish by drying completely with a microfiber towel to prevent water spots.
Quarterly Deep Cleaning Checklist
Every three months, perform a thorough cleaning that includes removing outlet covers (after turning off power at the breaker) to clean behind them, addressing any grout discoloration with oxygen-based cleaners, and inspecting for damaged grout that needs repair. This prevents moisture from seeping behind tiles and causing more serious issues.
Troubleshooting Common Backsplash Cleaning Problems
Even with proper techniques, specific issues may arise that require targeted solutions without damaging your tile surfaces.
Why Your Backsplash Still Looks Dull After Cleaning
If your tiles appear cloudy after cleaning, you’re likely leaving behind soap residue or using too much vinegar. Rinse thoroughly with clean water or use a vinegar-water solution (1:4 ratio) to remove film buildup. For persistent cloudiness on stone, consult a professional—DIY remedies may cause further damage.
Fixing Discolored Grout Without Bleach
Create a paste with oxygen bleach (not chlorine bleach) and water, apply to grout lines, and cover with plastic wrap for 1-2 hours. Oxygen bleach lifts stains through oxidation without the harsh effects of chlorine bleach. For organic stains like mold, combine this with a thorough drying protocol to prevent recurrence.
Preventing Future Backsplash Buildup
The best cleaning method is preventing excessive buildup in the first place with simple habit changes that protect your investment.
Strategic Splatter Prevention Techniques
Place a temporary protective shield behind your stove while cooking with especially messy ingredients like bacon or frying foods. Maintain proper ventilation by running your range hood at higher settings during high-splatter cooking. Keep a dedicated microfiber cloth near your stove for immediate wipe-downs during cooking.
Creating a Protective Barrier on Problem Areas
Apply a food-safe silicone sealant to grout lines annually to create a protective barrier against grease penetration. For high-splash zones, consider removable peel-and-stick backsplash panels that can be replaced rather than cleaned. These simple preventative measures dramatically reduce cleaning time and preserve your tile’s appearance.
Maintaining a clean kitchen tile backsplash doesn’t require expensive products or hours of scrubbing—just the right techniques tailored to your specific tile material. By implementing these targeted cleaning methods and establishing a simple maintenance routine, you’ll keep your kitchen looking its best with minimal effort. Remember that consistency beats intensity; regular light cleaning prevents the need for aggressive methods that can damage surfaces over time. For best results, identify your specific tile type first, then follow the appropriate cleaning protocol to maintain both beauty and functionality. A sparkling clean backsplash not only enhances your kitchen’s appearance but also contributes to a healthier cooking environment by eliminating grease buildup that can attract pests or create fire hazards near your stove.


