
That once-crisp white grout between your kitchen tiles has transformed into grimy gray lines that make your entire kitchen look dirty, no matter how much you scrub the surfaces. If you’ve tried basic cleaning methods without success, you’re not alone—kitchen grout faces constant assault from grease splatters, food spills, moisture, and foot traffic. The best way to clean kitchen grout lines depends on your specific situation: how long stains have set in, what type of grout you have, and whether you prefer natural remedies or commercial products. This guide reveals proven techniques that actually work, from pantry staples to professional methods, so you can restore that fresh-tiled look without wasting time on ineffective approaches.
Gather Your Cleaning Arsenal Before Starting
Using the right tools makes the difference between frustrating effort and satisfying results. Don’t waste energy scrubbing with inadequate equipment that won’t reach deep into those narrow grout lines where dirt hides.
Select the Perfect Grout Brush for Maximum Impact
Ditch the worn toothbrush—dedicated grout brushes with stiff nylon bristles provide the precise scrubbing action needed for deep cleaning without damaging tile edges. For standard 1/8-inch grout lines, choose a brush with a narrow head (about 1 inch wide) that fits perfectly between tiles. Corner grout brushes with angled heads access difficult areas near backsplashes where grease accumulates fastest. Electric oscillating tools like the Grout-Glo significantly reduce physical effort while providing consistent pressure that manual brushing can’t match. The right brush should feel comfortable in your hand during extended cleaning sessions, with a handle that allows you to apply firm downward pressure without straining your wrist.
Prepare Steam Cleaning Equipment for Deep Penetration
Steam cleaners deliver the most thorough mechanical cleaning for kitchen grout lines, using nothing but high-temperature vapor (200-300°F) to loosen stubborn dirt and kill bacteria without chemicals. For home use, models like the McCulloch MC1275 or Bissell PowerSteam Elite provide sufficient heat and pressure. Essential attachments include a narrow jet nozzle for precision work on individual grout lines and a small round brush attachment that combines steam with mechanical agitation. Critical tip: Ensure your steam cleaner produces dry saturated steam rather than mist, as excess moisture can seep behind tiles and cause damage. Fill with distilled water to prevent mineral deposits inside the machine, and allow full heating time before starting.
Deploy Natural Cleaning Solutions That Actually Work
Many effective grout cleaners already live in your pantry—these natural approaches handle moderate staining without harsh chemicals, making them ideal for regular maintenance.
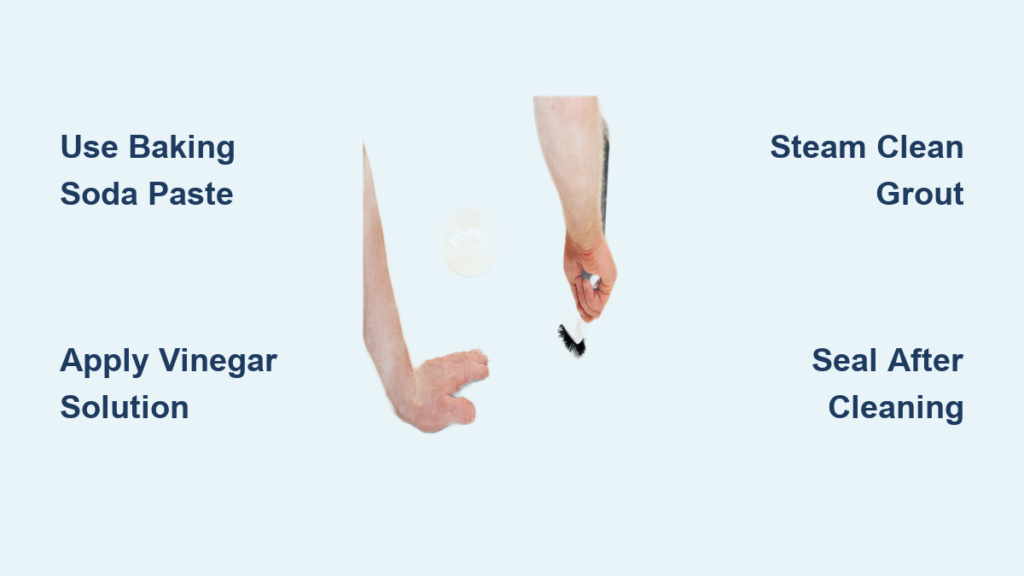
Create and Apply the Ultimate Baking Soda Paste
This is the best way to clean kitchen grout lines for routine maintenance: Mix baking soda with water to form a toothpaste-like consistency, then apply directly to grout lines using your specialized grout brush. Work in 2-3 foot sections, allowing the paste to sit for 10-15 minutes so its mild alkalinity can break down acidic food residues. The gentle abrasiveness lifts surface dirt without scratching grout. For stubborn stains, boost power by adding hydrogen peroxide to create a bubbling action that penetrates deeper. After scrubbing, rinse thoroughly with clean water—residual baking soda can attract more dirt if left behind. This method works particularly well as a weekly maintenance routine to prevent heavy buildup.
Use Vinegar Solution Correctly for Mineral Deposits
White distilled vinegar mixed with equal parts warm water creates an effective solution for soap scum and hard water deposits. Spray generously on grout lines and wait 5 minutes before scrubbing—the acetic acid reacts with alkaline residues, breaking them down for easier removal. Warning: Never use vinegar on natural stone tiles or epoxy grout, as the acid can cause etching and permanent discoloration. After cleaning, rinse thoroughly to prevent residue that attracts more dirt. This method shines for routine maintenance every few weeks but struggles with set-in grease stains common in kitchen environments.
Apply Commercial Cleaners Strategically for Tough Jobs

When natural solutions fall short, targeted commercial products deliver the extra power needed for neglected kitchen grout without damaging surfaces.
Choose pH-Neutral Cleaners for Safe Regular Maintenance
Products like Aqua Mix Grout Cleaner provide effective cleaning without degrading grout or sealer—ideal for weekly upkeep. These cleaners contain surfactants that lift dirt without requiring aggressive scrubbing. Apply according to label instructions (typically 3-5 minute dwell time), then gently scrub with your grout brush. The neutral pH (6-8) won’t harm cement-based grout or most sealers, making them safe for frequent use. Unlike harsher cleaners, these won’t strip existing sealer or accelerate future staining. Incorporate pH-neutral cleaners into your weekly routine to maintain results between deeper cleaning sessions.
Deploy Oxygen Bleach for Stubborn Stains Without Damage
OxiClean or Clorox Oxygen Action mixed with warm water creates powerful stain-lifting action through oxygen bubbles that penetrate deep into grout pores. Mix 1-4 tablespoons per gallon of water, apply to grout lines, and allow 15-30 minutes of dwell time before scrubbing. Unlike chlorine bleach, oxygen bleach won’t damage colored grout or produce toxic fumes. It’s particularly effective for overall restoration projects across your entire kitchen. The bubbling action does much of the work for you, lifting dirt to the surface where it rinses away easily. Always test in an inconspicuous area first, especially on colored grout.
Target Specific Kitchen Grout Problems Effectively
Kitchen grout faces unique challenges compared to other areas—address these common issues with precision techniques that deliver results.
Eliminate Grease Stains from Cooking Splatter

Kitchen grout inevitably absorbs cooking grease, which penetrates deep into porous material. For fresh spills, immediately blot with paper towels or sprinkle cornstarch to absorb oil before it sets. For set-in grease, apply a degreaser (like diluted dish soap or TSP solution) and allow extended dwell time (30 minutes to several hours) before scrubbing. Steam cleaning excels here—heat liquefies the oil, allowing it to flush from grout pores rather than just moving it around. Pro tip: After cleaning, apply a silicone-based grout sealer near the stove area, as it provides superior grease resistance compared to standard sealers.
Remove Yellowing from White Grout Permanently
White grout turns yellow from grease absorption and hard water deposits. Create a paste of baking soda, hydrogen peroxide, and dish soap, apply to yellowed areas, and cover with plastic wrap to prevent drying. Allow 8-12 hours of dwell time for deep penetration, then scrub and rinse thoroughly. For severe cases, a 50/50 water and oxygen bleach mixture applied with a soft brush can restore brightness—but test first in an inconspicuous area. Once cleaned, apply a penetrating sealer to create a protective barrier against future yellowing. Darker grout colors actually hide kitchen stains better if you’re considering future renovations.
Seal and Protect Your Hard-Won Results
Cleaning alone is temporary—sealing creates a protective barrier that makes future maintenance easier and extends time between deep cleaning sessions.
Apply Grout Sealer Properly for Maximum Protection
Clean grout thoroughly and allow 24-48 hours of drying time before sealing. Apply penetrating sealer (preferred for kitchen use) using a small foam brush, saturating grout lines while avoiding tile surfaces. Wipe any sealer from tiles within 5-10 minutes to prevent hazy film. Allow 1-2 hours drying time before applying a second coat—most manufacturers recommend two coats for kitchen areas. Avoid water exposure for 24-48 hours to ensure complete curing. Quality sealers typically last 1-3 years in kitchen environments before requiring reapplication.
Establish Maintenance Habits That Prevent Future Buildup
The best way to clean kitchen grout lines is preventing them from getting heavily soiled in the first place through simple daily habits.
Implement Daily and Weekly Prevention Strategies
Wipe backsplash grout lines after cooking with a damp cloth to remove splatter before it sets—this takes only seconds but prevents major buildup. Sweep kitchen floors daily to remove abrasive grit that grinds into grout joints. Weekly, give grout lines a quick maintenance cleaning with your pH-neutral cleaner and grout brush, focusing on areas near the stove and sink. Monthly, perform a more thorough cleaning using your preferred method. Place mats at sink stations and use splatter screens when cooking to minimize grout exposure to staining agents. These small habits prevent the hours of intensive cleaning required for neglected grout.
Recognize When Professional Help Is Worth the Investment
DIY methods work for most situations, but some circumstances warrant calling professionals who have industrial-grade equipment and expertise.
Identify Signs You Need Expert Intervention
Call professionals when DIY methods fail to produce satisfactory results after multiple attempts, when grout hasn’t been properly maintained for several years, or when the project scale exceeds reasonable DIY efforts. Professionals use truck-mounted steam cleaners and specialized extraction equipment that removes far more contamination than consumer tools. They can also identify grout types accurately and apply appropriate treatments without causing damage. Key indicator: If water soaks into your grout within minutes (failing the water bead test), and cleaning hasn’t helped, professional restoration plus sealing may be your best investment.
The best way to clean kitchen grout lines combines targeted cleaning methods with consistent maintenance and proper protection. By understanding your specific grout type and the challenges unique to kitchen environments, you can select approaches that deliver real results without wasting time on ineffective methods. Whether you choose natural solutions for weekly upkeep or commercial products for deep restoration, the key is establishing habits that prevent heavy buildup from occurring in the first place. With proper sealing and maintenance, your kitchen grout can maintain its clean appearance with minimal effort, transforming those once-dingy lines into a feature you can actually be proud of. Start with one section today—you’ll be amazed at how such a small effort can dramatically improve your kitchen’s appearance.


