
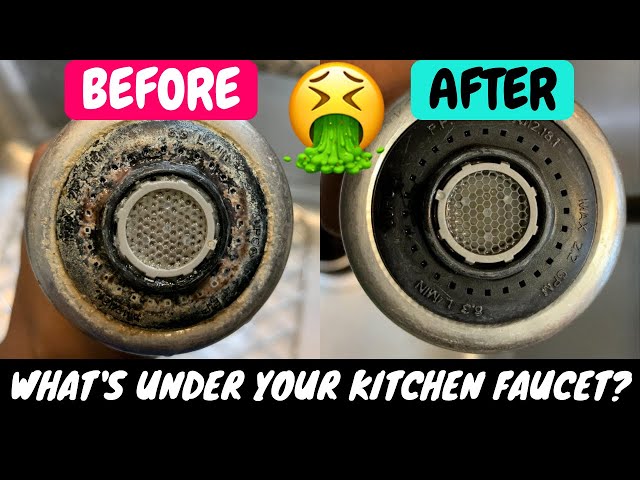
Water that sputters weakly from your kitchen faucet instead of spraying with confidence signals a clogged spray head. That frustrating white, chalky buildup around the nozzles isn’t just unsightly—it’s actively reducing your water pressure and potentially harboring bacteria. The good news? You don’t need expensive tools or professional help to restore your faucet’s performance. Using nothing more than vinegar and an old toothbrush, you can complete the best way to clean kitchen faucet head in under thirty minutes, saving yourself the hassle of replacement or costly plumber visits.
Most homeowners face mineral buildup within the first year of faucet installation, especially in regions with hard water. When calcium and magnesium deposits accumulate inside those tiny nozzle openings, your once-powerful spray becomes a disappointing dribble. This guide walks you through proven cleaning methods that actually work, reveals when replacement makes more sense than cleaning, and shares simple daily habits that prevent future clogs. By following these steps, you’ll maintain optimal water pressure for washing produce, filling pots, and keeping your kitchen running smoothly.
Why Your Kitchen Faucet Head Clogs Within Months
Hard water carries dissolved minerals that crystallize as water evaporates from your faucet surfaces. With each use, microscopic calcium and magnesium particles accumulate inside the spray head’s narrow passages. Homes with water hardness exceeding 7 grains per gallon see this problem accelerate dramatically—sometimes within just a few months of faucet installation.
Kitchen faucets suffer more than other fixtures due to their unique position above the sink. Splashing water creates constant evaporation cycles right at the nozzle openings, concentrating minerals precisely where they cause the most damage. Unlike bathroom faucets used primarily for handwashing, kitchen faucets endure daily exposure to cooking residues, food particles, and higher water volumes, creating perfect conditions for stubborn buildup.
Beyond reduced water pressure, neglected faucet heads develop bacterial colonies in the moist, protected environment behind the nozzles. These microorganisms thrive in the mineral deposits, producing unpleasant odors and potentially contaminating water used for food preparation. Regular cleaning maintains both performance and hygiene in your most essential kitchen fixture.
Spot These Critical Warning Signs Before Damage Sets In
Inconsistent spray patterns serve as your first red flag—when some nozzles spray normally while others barely drip, partial clogging has already occurred. Water that once reached across your entire sink basin now struggles to clear the drain, indicating significant flow restriction throughout the head assembly. This problem worsens daily as minerals continue accumulating with each use.
Visible white or chalky residue around the nozzle openings signals exterior buildup, which always means interior deposits have developed too. Unpleasant musty or rotten odors emanating from the faucet suggest bacterial growth within the moist head assembly. If you notice any rattling sound or loose movement when touching the spray head, debris has likely accumulated inside the mechanism, requiring immediate attention.
Delaying cleaning allows these problems to compound. What starts as minor inconvenience transforms into complete blockage, forcing you to replace the entire unit rather than simply restoring its function. Addressing these symptoms at the first sign prevents permanent damage and preserves your faucet’s warranty coverage.
Essential Cleaning Supplies That Won’t Damage Your Faucet
Gather white vinegar, a plastic sandwich bag, rubber band, old toothbrush with soft bristles, distilled water, and microfiber cloth before starting. For stubborn buildup, add baking soda to your toolkit. These common household items cost less than five dollars combined yet handle virtually all cleaning scenarios without damaging your faucet’s finish.
Never use steel wool, abrasive pads, or harsh chemical cleaners—they scratch protective coatings and accelerate future mineral adhesion. Bleach and ammonia-based products leave residues that attract more deposits and degrade rubber seals inside the spray mechanism. Vinegar’s mild acidity dissolves minerals without harming metal components or rubber seals when used properly.
The plastic bag serves as your soaking chamber, while the rubber band creates a secure seal around the faucet neck. The toothbrush’s flexible bristles reach into tiny nozzle openings without scratching surfaces. Distilled water prevents new mineral deposits during rinsing, and the microfiber cloth lifts water spots without leaving lint behind.
Vinegar Soak Method for Immediate Pressure Restoration
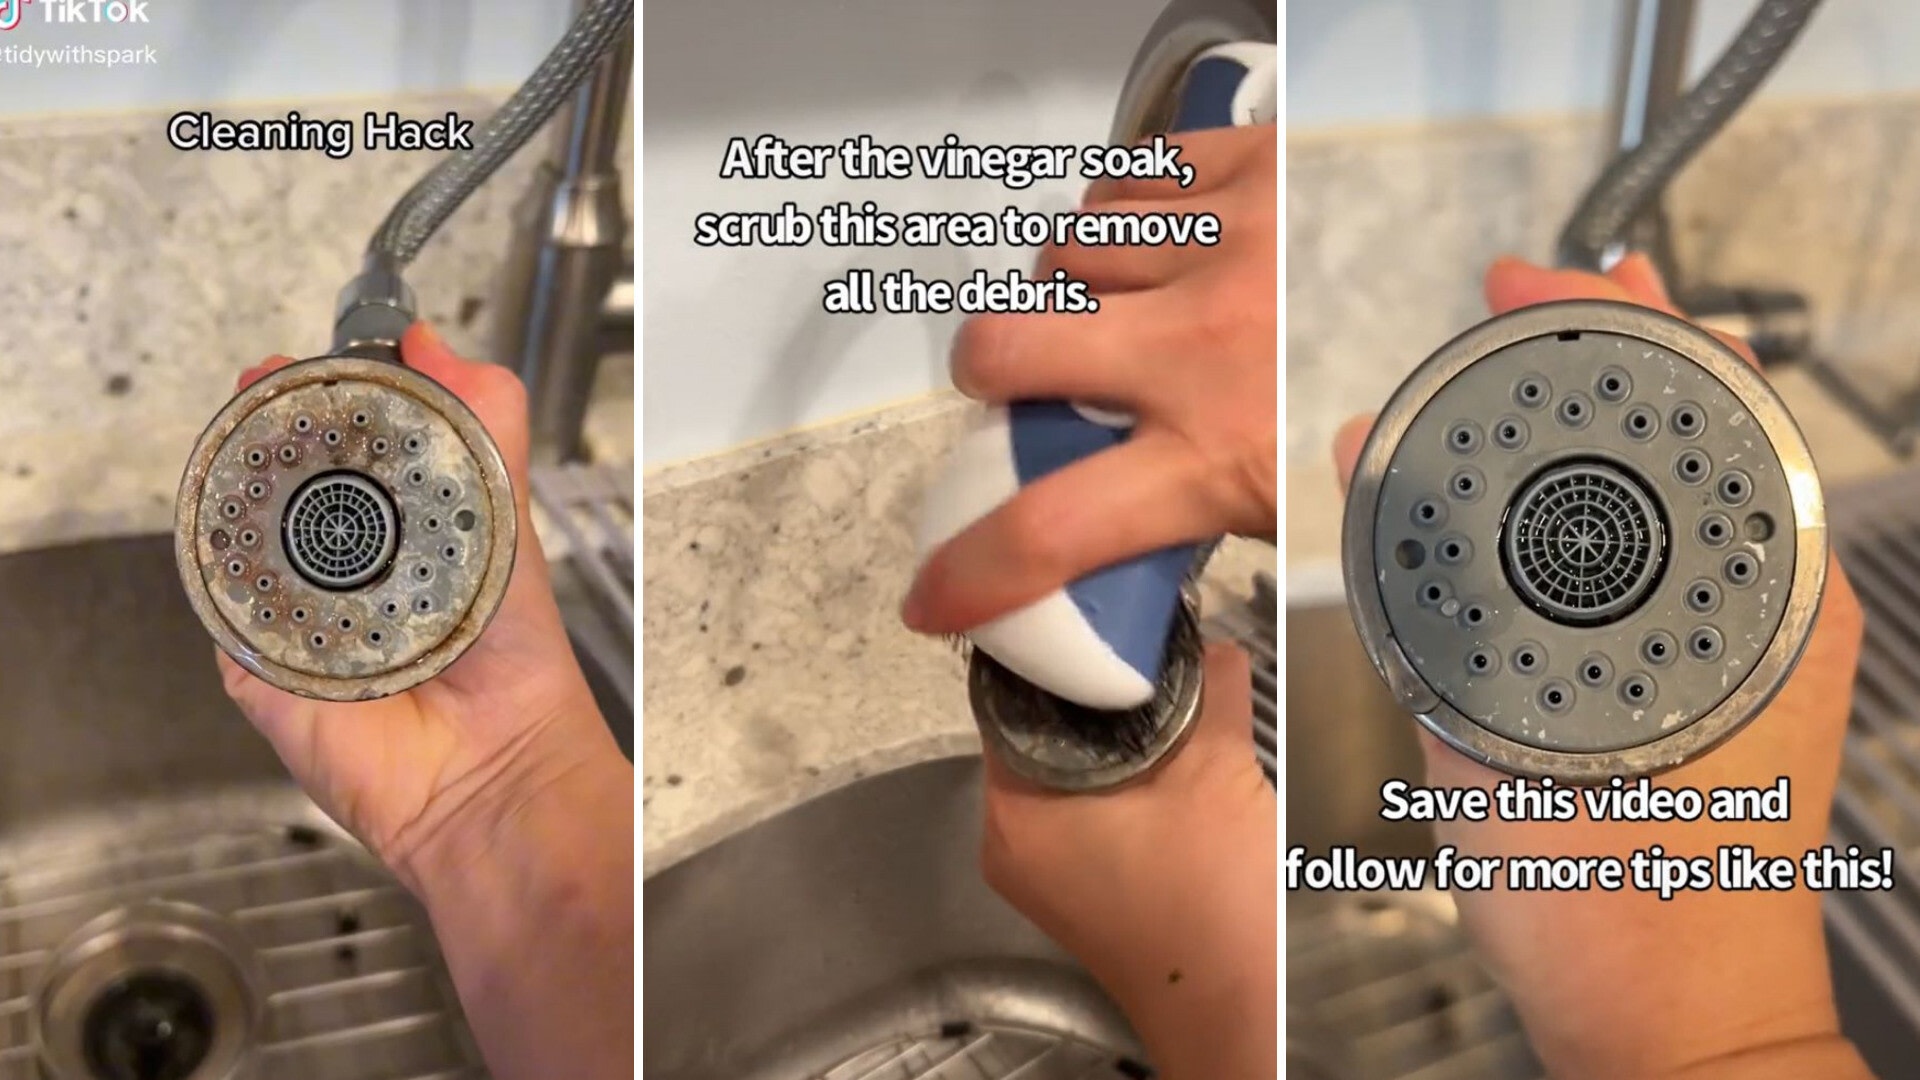
Remove the spray head by twisting counterclockwise—most pull-down models detach with firm hand pressure alone. For fixed heads, wrap adjustable pliers in a cloth to protect the finish while loosening. Place the head in a vinegar-filled plastic bag, ensuring complete submersion, then secure tightly with a rubber band.
Allow the head to soak for two to four hours—overnight for severe buildup. During this time, vinegar’s acetic acid dissolves mineral crystals bonding to metal surfaces. Check progress periodically by gently squeezing the bag; you’ll see white particles loosening from the nozzles.
After soaking, rinse thoroughly under running water while using the toothbrush to scrub each nozzle opening in circular motions. For spray heads with rubber nozzles, flex each tip between your fingers to dislodge trapped debris. Reattach the head, run water at full pressure for two minutes to flush internal passages, then test spray patterns for improvement.
Baking Soda Paste for Extreme Mineral Buildup
When vinegar alone fails, create a paste with three parts baking soda to one part water. Apply generously to all exterior surfaces, focusing on nozzle clusters where deposits concentrate. Allow the paste to work for 15-20 minutes—re-moisten if it begins drying.
The alkaline baking soda reacts with acidic mineral deposits, breaking their molecular structure through gentle chemical action. Use the toothbrush to scrub all surfaces with firm circular motions, working paste into each nozzle opening. For rubber nozzles, massage each tip individually to force paste inside blocked passages.
Rinse thoroughly with warm water, repeating application if visible buildup remains. Multiple gentle cleaning sessions prove more effective than aggressive single attempts that might damage delicate components. This method dissolves even decade-old deposits without scratching chrome or stainless steel finishes.
Clean Without Removing Spray Head for Quick Fixes
When removal proves difficult, fill a plastic bag with vinegar and secure it over the attached spray head using a rubber band. Ensure the head remains fully submerged by positioning the bag downward. For pull-down models, press the spray button periodically to cycle vinegar through internal passages.
Leave the setup for two to four hours, then remove the bag and run hot water for two minutes to flush debris. Operate the spray function repeatedly to clear all passages. This method works exceptionally well for faucets with complex hose connections that resist easy disassembly.
Prevent Future Buildup With Daily 10-Second Routine
Wipe the faucet head dry after each use with a microfiber cloth—this simple habit prevents evaporative mineral concentration that initiates buildup. Weekly, spray vinegar on visible surfaces and wipe clean; monthly, allow vinegar to sit for one minute before rinsing for deeper protection.
Consider installing an under-sink water softener if your home has hard water. These systems remove calcium and magnesium before water reaches your faucet, eliminating the root cause of all mineral-related issues. Basic models cost under $300 and pay for themselves through extended appliance lifespans and reduced cleaning time.
When Replacement Becomes Your Smartest Option
Replace your faucet head if you notice cracked housing, stripped threads preventing secure reattachment, or rust-colored water indicating internal corrosion. Persistent low pressure after thorough cleaning signals irreparable internal blockage within the hose assembly.
Modern spray heads with silicone nozzles resist mineral adhesion better than rubber or metal alternatives. When replacing, choose models with easily removable faceplates that allow access to internal filters—a feature that simplifies future maintenance. Most quality replacement heads cost between $30-$150, making this investment worthwhile compared to ongoing frustration with poor performance.
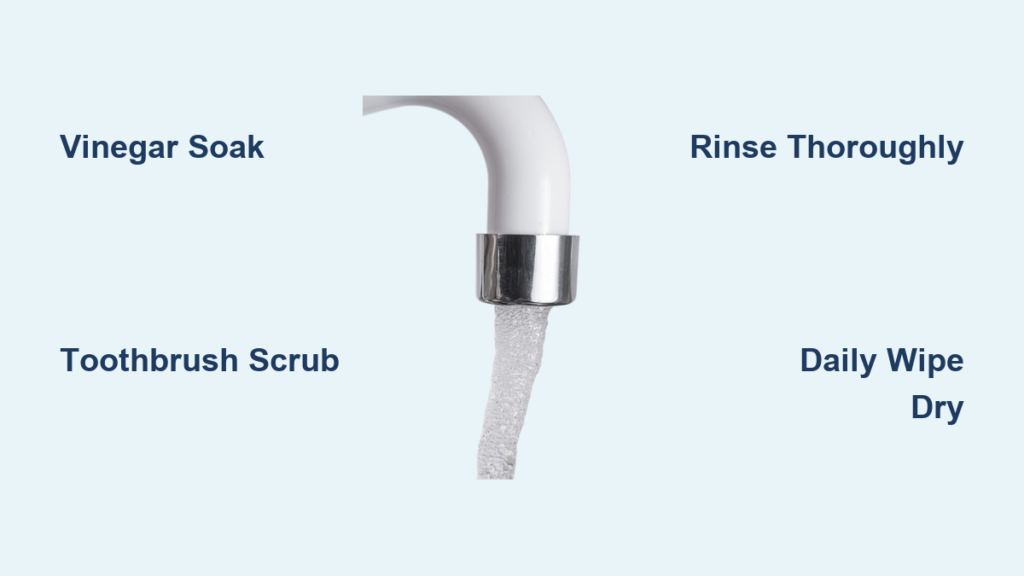
4-Step Quick Reference Cleaning Protocol

- Submerge: Fill plastic bag with white vinegar, secure over spray head with rubber band
- Soak: Leave for 2-4 hours (overnight for severe buildup)
- Scrub: Use toothbrush to clean all nozzle openings while rinsing under running water
- Flush: Run full-pressure water for two minutes to clear internal passages
For maintenance, weekly vinegar wipes and monthly brief soaks keep your faucet head performing like new. Address spray inconsistencies immediately—waiting allows minor blockages to become major problems.
Regular cleaning of your kitchen faucet head maintains optimal water pressure, extends fixture lifespan, and ensures hygienic conditions for food preparation. The vinegar soak method resolves most issues, while baking soda paste tackles stubborn buildup. Prevention through simple daily wiping eliminates the need for intensive cleaning sessions. When performance doesn’t improve after thorough cleaning, replacement provides a permanent solution rather than continued frustration with compromised functionality. Implement these techniques today to restore your kitchen’s most essential water source to peak performance.


