
Your kitchen chimney works tirelessly every day, pulling smoke, grease, and odors out of your cooking space. Over time, that accumulated grease becomes a serious fire hazard and reduces your chimney’s efficiency. Learning the best way to clean kitchen chimney not only protects your home but also extends the life of your appliance and keeps your kitchen air fresh. Whether you have a ducted or ductless model, regular cleaning prevents costly repairs and eliminates that stubborn, persistent cooking smell that lingers for days.
This comprehensive guide walks you through everything you need to know about chimney maintenance, from quick weekly touch-ups to deep cleaning procedures that restore full functionality. You’ll discover which tools actually work, how to tackle stubborn grease buildup safely, and when it’s time to call in a professional. By the end, you’ll have a complete maintenance strategy that fits your schedule and keeps your chimney performing like new.
Why Grease Buildup Creates Dangerous Kitchen Conditions
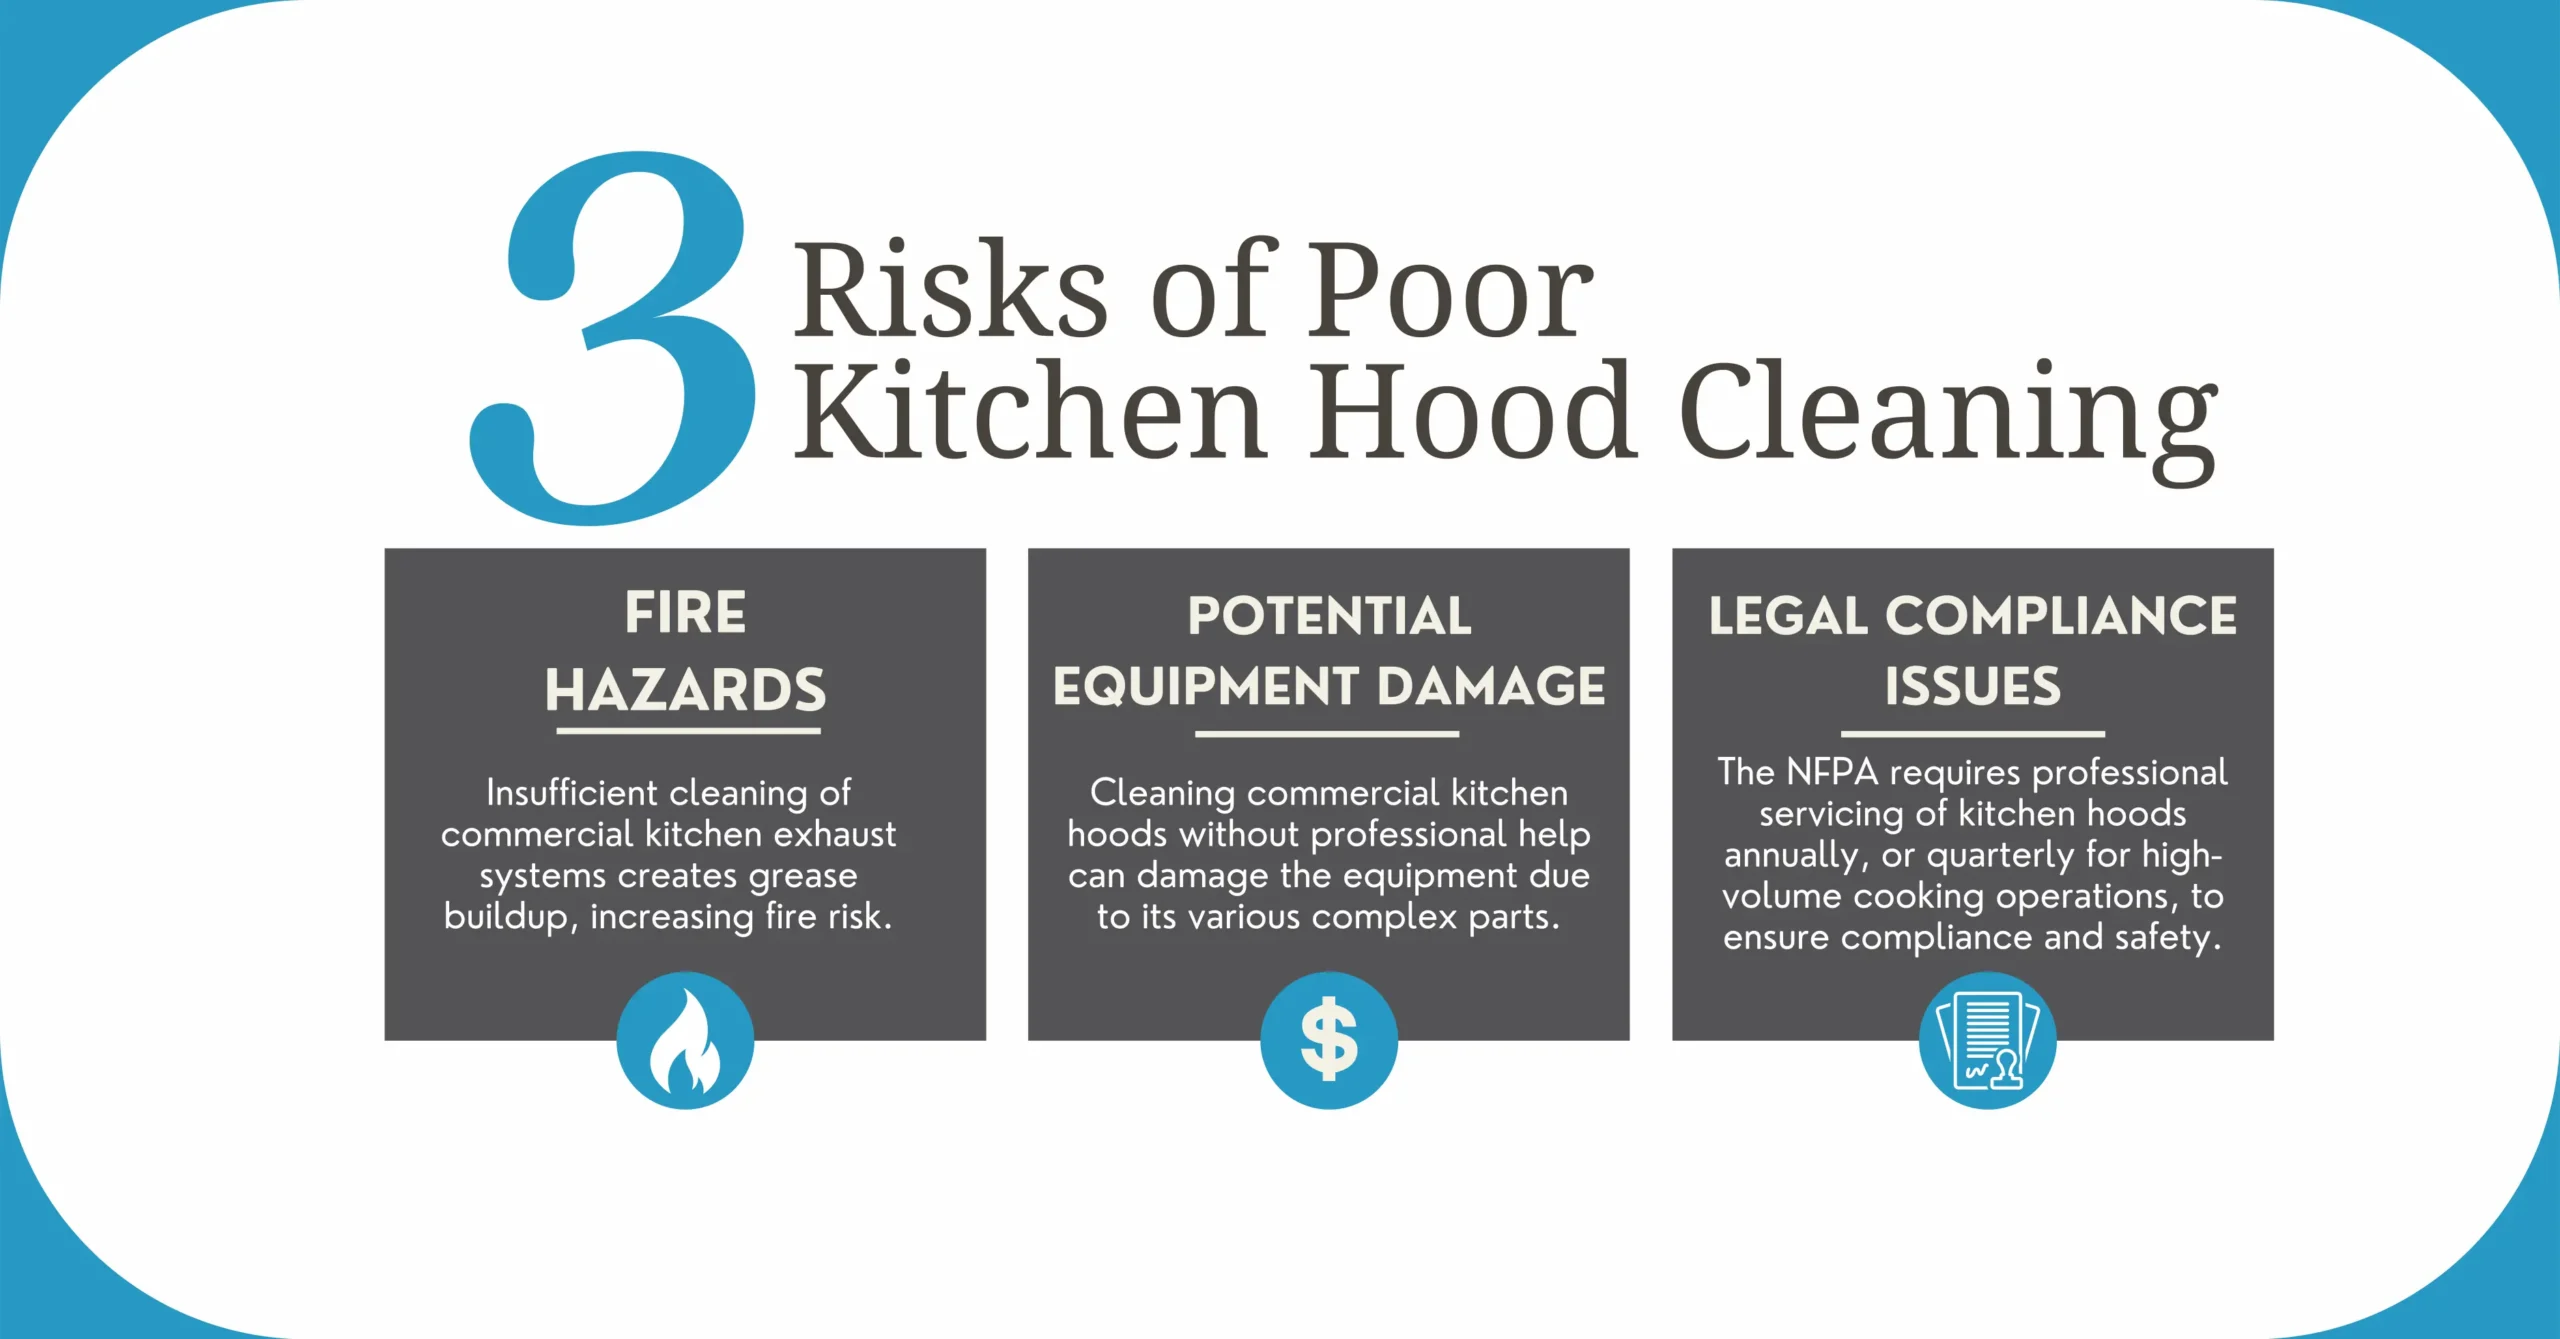
Grease accumulation in your kitchen chimney isn’t just unsightly—it creates multiple hazards that most homeowners overlook until problems become severe. When oil and fat particles collect on the filter and internal components, they transform into highly flammable deposits that can ignite at temperatures as low as 400°F, well within normal cooking ranges. The National Fire Protection Association identifies uncleaned kitchen exhaust systems as a leading contributor to residential cooking fires, with grease-laden chimneys responsible for thousands of preventable home fires annually.
Beyond immediate fire risks, accumulated grease forces your chimney motor to work 30-50% harder to maintain adequate airflow. This extra strain causes premature wear on electrical components and bearings, often leading to complete motor failure within 1-2 years of neglect. Homeowners who skip regular maintenance typically replace their chimneys 3-5 years earlier than those who maintain proper cleaning schedules, costing hundreds in unnecessary replacement expenses.
Poorly maintained chimneys also circulate contaminated air throughout your home. Instead of capturing cooking pollutants, clogged systems recirculate grease particles, smoke, and volatile organic compounds back into your living space. This creates an invisible health hazard—studies show kitchens with uncleaned chimneys can have indoor air pollution levels comparable to busy city streets, significantly worsening respiratory conditions like asthma and allergies.
Recognize Critical Warning Signs Before Disaster Strikes
Spotting early indicators of chimney contamination helps you address problems before they escalate into emergencies. Reduced suction power is the most obvious sign—you’ll notice smoke lingering over your cooktop for more than 10-15 seconds after turning on the chimney. If steam from boiling water doesn’t clear within 30 seconds or cooking odors persist hours after meal preparation, your system is already compromised.
Visible grease migration provides undeniable evidence of severe contamination. Check cabinet fronts, walls, and light fixtures near your cooking area—if you see shiny streaks or sticky residue that wipes clean with paper towel (leaving a yellowish film), your chimney is expelling grease particles instead of capturing them. This happens when filters reach saturation point and air bypasses the filtration system entirely.
Perform this simple airflow test: Hold a single sheet of tissue paper 6 inches from the chimney intake while running at medium speed. If the paper doesn’t stick firmly to the intake surface within 2 seconds, your chimney needs immediate cleaning. Other red flags include unusual humming or rattling noises from the motor housing, excessive heat radiating from the unit during normal operation, and visible oil droplets collecting in the grease tray after minimal cooking.
Gather Essential Supplies Before Starting Your Cleaning Session

Preparation prevents frustration and ensures thorough results when implementing the best way to clean kitchen chimney. For standard cleaning, you’ll need a large container (bathtub, plastic storage bin, or heavy-duty garbage bag for soaking), rubber gloves that extend past your wrists, and a dedicated chimney cleaning brush with nylon bristles—never use metal scrubbers that damage filter coatings.
Your cleaning solution depends on grease severity. For light monthly maintenance, a mixture of hot water and dish soap (1 tablespoon per gallon) works effectively. Tackle moderate buildup with a 1:1 solution of white vinegar and hot water, which breaks down grease through natural acid action. For severe quarterly cleaning, combine ¼ cup baking soda with 2 cups hot water and 2 tablespoons dish soap to create a powerful degreasing paste that clings to vertical surfaces.
Protect your workspace thoroughly—lay down multiple layers of newspaper or cardboard on countertops, cover nearby appliances with plastic sheeting, and place absorbent towels around your soaking container. Keep several clean microfiber cloths nearby for immediate spill response, and have a dedicated old toothbrush for detailed cleaning around control panels and hard-to-reach corners. Never attempt chimney cleaning without proper ventilation—open windows or run bathroom exhaust fans to prevent fume buildup.
Execute Proper Filter Cleaning for Maximum Grease Removal
The metal mesh filter requires systematic cleaning to remove embedded grease without damaging its structure. Start by carefully removing the filter—most modern chimneys feature quick-release latches that require simultaneous pressure on both sides. If your model has multiple filters, clean them one at a time to avoid confusion during reinstallation. For stubborn filters, run the chimney on low for 2 minutes to warm the grease slightly, making removal easier.
Create your soaking solution in a container large enough to fully submerge the filter. For standard cleaning, use 2 gallons hot water (120°F), ¼ cup dish soap, and ½ cup baking soda. Submerge the filter completely, ensuring no sections remain above the solution line. Let it soak for 45-60 minutes—the longer the soak, the easier the cleaning—but don’t exceed 2 hours as prolonged exposure to alkaline solutions can degrade metal coatings.
After soaking, use a soft nylon brush to scrub in the direction of the mesh pattern—never scrub perpendicular to the grid as this bends the delicate metal strands. Focus on the intake side where grease accumulates most heavily, using a circular motion with moderate pressure. Rinse thoroughly under hot running water, holding the filter at different angles to ensure complete debris removal. The filter is properly clean when water sheets off evenly without beading—any remaining grease causes water to form droplets.
Clean Hidden Components That Impact Performance

While filters get most attention, internal components require equal care for complete maintenance. After removing filters, use a flashlight to inspect the fan assembly—most chimneys have 3-5 blades that collect significant grease. Dampen a microfiber cloth with vinegar solution and carefully wipe each blade, supporting the assembly to prevent accidental spinning that could damage motor bearings.
Address the grease collection tray with special attention—remove it completely and empty solidified grease into a disposable container (never pour down drains). Soak the tray in your degreasing solution for 20 minutes, then scrub with a soft brush. Pay particular attention to drainage channels that can become clogged, causing overflow during normal operation.
Wipe down all accessible interior surfaces with a barely damp cloth—excessive moisture near electrical components risks short circuits. For stainless steel interiors, use a dedicated stainless cleaner applied in the direction of the grain to prevent scratching. Clean the chimney’s intake area thoroughly, as this often collects splattered grease that bypasses the filter. Use cotton swabs dipped in vinegar solution for detailed cleaning around sensor ports and control mechanisms.
Implement a Proven Cleaning Schedule That Actually Works
Effective chimney maintenance follows a tiered approach matching cleaning intensity to usage patterns. Daily: Wipe exterior surfaces with a damp microfiber cloth while still warm from cooking—this prevents grease from hardening. Weekly: Remove filters for visual inspection and quick rinse under hot water if light grease is visible. Monthly: Perform full filter cleaning using vinegar solution for routine maintenance.
Quarterly deep cleaning should include complete disassembly of accessible components, thorough degreasing of filters and trays, and detailed inspection of fan assembly. High-use kitchens (daily frying, multiple daily cooking sessions) require monthly deep cleaning instead of quarterly. After each deep cleaning session, document your results with quick notes about grease levels and any performance changes.
Annual professional maintenance provides critical inspection of components you can’t access—technicians check motor windings, electrical connections, and duct integrity. Schedule this during your kitchen’s slowest cooking season to avoid disruption. Keep a simple maintenance log showing dates, methods used, and any observations—this helps identify usage patterns and provides documentation if warranty service becomes necessary.
Prevent Grease Buildup With Smart Cooking Habits
Strategic cooking practices significantly reduce how quickly your chimney requires cleaning. Always activate your chimney 2-3 minutes before starting to cook—this establishes proper airflow before pollutants enter the system. Run it for at least 5 minutes after cooking finishes to capture residual particles. Set fan speed according to cooking intensity: medium for boiling/sauteing, high for frying/grilling.
Cover pots and pans whenever possible—this simple step reduces airborne grease by up to 60% according to kitchen ventilation studies. Maintain proper oil temperatures when frying (use a thermometer)—overheated oil produces more smoke and fine particles that bypass filters. Clean your stovetop immediately after cooking to prevent grease splatter from migrating to the chimney intake area.
Install a protective splash guard between your cooktop and chimney—these inexpensive acrylic shields catch large grease particles before they enter the system. Position frequently used pots toward the back of the stove where airflow is strongest. For gas stoves, ensure proper flame adjustment (blue flame with minimal yellow tips) as improper combustion creates excess soot that clogs filters faster.
Know When DIY Cleaning Isn’t Enough
Certain situations demand professional intervention regardless of your cleaning expertise. If your chimney shows electrical issues—flickering control panel lights, intermittent operation, or burning smells from electrical components—turn it off immediately and contact a qualified technician. Water damage from improper cleaning or external leaks requires professional assessment to prevent corrosion.
Professional cleaning services access commercial-grade equipment like ultrasonic cleaners and industrial degreasers that remove years of buildup in hours—not days. They also perform critical safety checks on motor windings, electrical connections, and duct integrity that homeowners cannot safely replicate. For chimneys with complex ductwork running through walls or ceilings, professionals have specialized tools to clean the entire system rather than just the visible components.
Schedule professional cleaning annually if you cook daily, or biannually for moderate use. The $75-$150 cost pales compared to potential fire damage or premature chimney replacement. Many services offer maintenance contracts that include priority scheduling and discounted rates—worth considering for high-use kitchens where consistent performance matters most.


