
Kitchen sponges are essential for daily cleaning, yet they harbor more bacteria than almost any other household item. Between food residue, constant moisture, and frequent use, your sponge becomes a breeding ground for harmful microorganisms without proper care. Knowing the best way to clean a kitchen sponge is critical for maintaining food safety and protecting your family’s health. The good news is you don’t need expensive products—simple methods using items already in your home can effectively sanitize your sponge and extend its useful life. This guide reveals proven techniques that actually work, explains when cleaning is sufficient versus when replacement is necessary, and provides practical maintenance tips to keep your sponge hygiene on track.
Why Kitchen Sponges Become Contaminated So Quickly
The Science Behind Sponge Bacterial Growth
Kitchen sponges create the perfect environment for bacteria to thrive—their porous structure traps food particles while retaining moisture, providing both nutrients and ideal living conditions for microorganisms. Studies show kitchen sponges can contain up to 54 billion bacteria per square centimeter, including potentially dangerous strains like E. coli and Salmonella. Each time you wipe raw meat juices or clean greasy dishes, you’re depositing more bacteria into the sponge’s nooks and crannies.
How Often You Should Be Cleaning Your Sponge
Most households should sanitize their kitchen sponge at least every two to three days, with daily rinsing and thorough drying between uses. High-traffic kitchens with multiple family members or frequent cooking should consider sanitizing daily. Waiting longer than a week between deep cleanings allows bacterial populations to multiply exponentially, making complete sanitization increasingly difficult.
Microwave Method: Fastest Sanitization Technique
Step-by-Step Microwave Sanitization Process
- Thoroughly wet your sponge until completely saturated (dry sponges can catch fire)
- Place the wet sponge on a microwave-safe plate
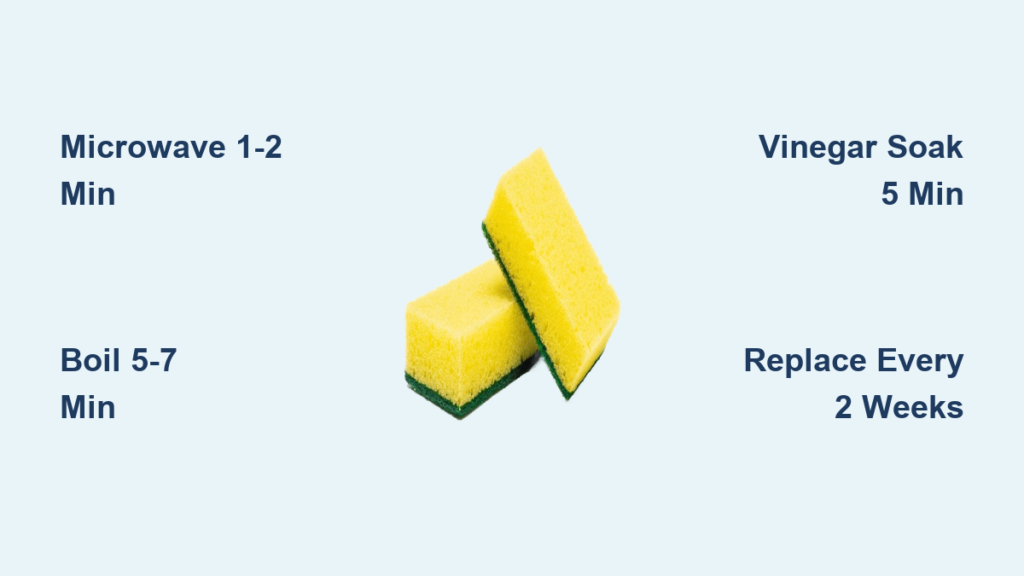
- Microwave on high for 1-2 minutes until steaming hot
- Allow to cool completely before handling (it will be extremely hot)
- Squeeze out excess water and place in well-ventilated area to dry
Important Microwave Safety Considerations
Never microwave dry or partially dry sponges as they can melt or ignite. Metal-infused scrub sponges must never be microwaved. Check your sponge for any metallic components before attempting this method. After microwaving, test the temperature carefully before handling—the sponge will retain heat much longer than you expect. This method kills approximately 99.9% of bacteria when performed correctly but doesn’t remove physical debris, so rinse thoroughly afterward.
Boiling Water Technique for Deep Cleaning

Proper Boiling Procedure for Maximum Effectiveness
Bring a pot of water to a rolling boil, then carefully submerge your sponge completely using tongs. Maintain a full boil for 5-7 minutes to ensure heat penetrates the entire sponge structure. For heavily soiled sponges, add one tablespoon of white vinegar to the boiling water to help break down grease and organic matter. After boiling, remove the sponge and allow it to air dry completely in a well-ventilated area—never store while damp.
When Boiling Works Best Compared to Other Methods
Boiling is particularly effective for sponges with visible food debris or grease buildup, as the agitation of boiling water helps dislodge trapped particles. This method works well for natural cellulose sponges but should be avoided for sponges with plastic scrub layers that might degrade at high temperatures. While boiling requires more active time than microwave sanitization, it can process multiple sponges simultaneously and doesn’t require special equipment beyond a standard pot.
Dishwasher Sanitization for Hands-Off Cleaning
Optimizing Your Dishwasher for Sponge Sanitization
Place your sponge securely on the top rack of your dishwasher, preferably in a position where water spray can reach all sides. Run your dishwasher on the hottest setting with a heated dry cycle for maximum sanitization. For best results, add a cup of white vinegar to the detergent dispenser to boost cleaning power and neutralize odors. Avoid running sponges with heavily soiled dishes that might redeposit food particles onto the sponge during the cycle.
Limitations of Dishwasher Sanitization
Dishwasher sanitization typically reaches 130-160°F, which is effective but not as thorough as boiling or microwaving methods that exceed 212°F. This makes dishwashing better for routine maintenance than for deep cleaning heavily contaminated sponges. The method’s convenience lies in its hands-off nature—you can sanitize sponges while cleaning dishes, saving time and energy. However, ensure your dishwasher is functioning properly with adequate water temperature, as older models may not reach sufficient temperatures for complete sanitization.
Bleach Solution for Stubborn Odors and Contamination
Creating the Perfect Bleach Sanitizing Solution
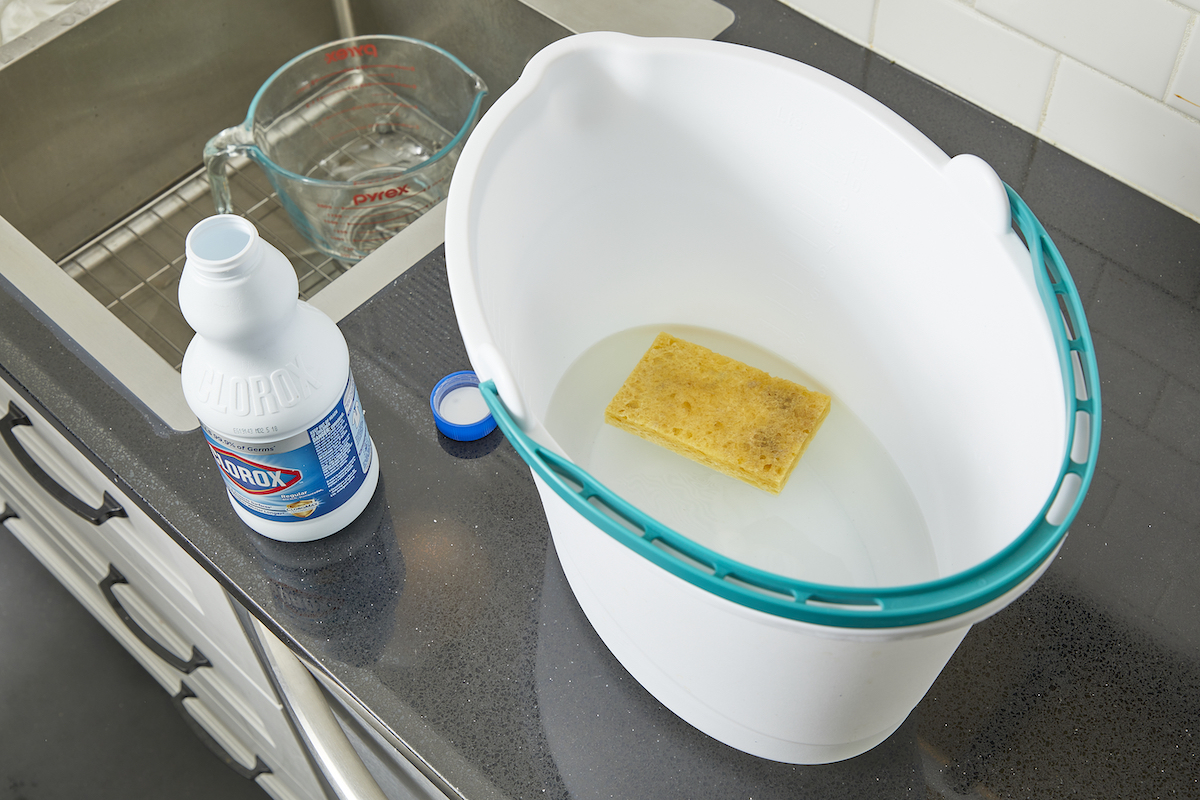
Mix ¾ cup of bleach with one gallon of water (approximately 200-400 ppm chlorine concentration) in a bucket or sink. Fully submerge your sponge in this solution for exactly 5 minutes—less time won’t adequately sanitize, while longer exposure degrades sponge material. After soaking, rinse the sponge thoroughly under running water for at least 30 seconds to remove all bleach residue, which could otherwise contaminate food or irritate skin.
When to Choose Bleach Over Other Methods
Bleach solution works best for sponges with persistent odors that return quickly after other cleaning methods, as it breaks down the organic compounds causing smells. It’s particularly valuable after cleaning up raw meat spills or during illness outbreaks in the household when maximum sanitization is critical. However, bleach should be used sparingly (no more than once every two weeks) as it accelerates sponge degradation. Always ensure proper ventilation when using bleach and never mix it with other cleaning products.
Vinegar Soak for Gentle Daily Maintenance
Effective Vinegar Cleaning Protocol
Submerge your sponge completely in undiluted white vinegar for 5 minutes, ensuring all areas are covered. After soaking, rinse thoroughly under warm running water while squeezing repeatedly to remove vinegar and loosened debris. Allow the sponge to air dry completely before reuse. For enhanced results, follow the vinegar soak with a brief rinse in hydrogen peroxide solution (1 part peroxide to 9 parts water) for additional sanitization without harsh chemical residue.
Benefits of Vinegar for Routine Sponge Care
Vinegar’s 5-8% acetic acid content effectively kills many common bacteria while being gentle enough for frequent use. Unlike bleach, it won’t degrade sponge material with regular application. Vinegar also dissolves mineral deposits and soap scum that accumulate in sponge pores, maintaining absorbency and cleaning effectiveness. This method works well as a weekly maintenance routine between deeper sanitization methods, especially for households with sensitive skin or concerns about chemical exposure.
Recognizing When Replacement Is Necessary
:strip_icc()/GettyImages-1469384342-5d4605f0bc04486db0998d8ffcdc6b04.jpg)
Critical Signs Your Sponge Needs Replacing
Replace your kitchen sponge immediately if you notice persistent odors that return within hours of cleaning, visible mold growth, slimy texture that doesn’t improve with sanitization, or physical deterioration where pieces begin to break off. Sponges used to clean raw meat spills should be replaced rather than sanitized, as some pathogens may survive even thorough cleaning processes. The CDC recommends replacing kitchen sponges every two weeks, though heavy-use households may need weekly replacement.
Cost-Benefit Analysis of Cleaning vs. Replacement
While regular cleaning extends sponge life, there comes a point where continued use poses health risks that outweigh the cost of replacement. Consider the potential medical costs of foodborne illness versus the $1-2 price of a new sponge. High-risk households (with infants, elderly members, or immunocompromised individuals) should adopt more aggressive replacement schedules regardless of apparent sponge condition.
Essential Daily Habits for Sponge Longevity
Proper Post-Use Care Routine
After each use, rinse your sponge thoroughly under hot running water while squeezing repeatedly to flush out trapped food particles. Wring out as much moisture as possible and store upright in a well-ventilated sponge holder—not sitting in your sink where it stays wet. Designate separate sponges for different tasks (one for dishes, another for counters) to prevent cross-contamination and reduce overall bacterial load on each sponge.
Strategic Sponge Rotation System
Maintain three to four sponges in rotation: one in active use, one drying completely, and one or two in reserve. This system ensures you always have a properly dried sponge available while allowing adequate drying time between uses—critical for controlling bacterial growth. Label sponges by use date to track when replacements are due, and keep replacement sponges stored in a clean, dry location.
Common Sponge Cleaning Mistakes to Avoid
Ineffective Cleaning Practices That Spread Bacteria
Rinsing with soap and water alone removes visible debris but doesn’t kill bacteria—this merely redistributes microorganisms across surfaces. Storing sponges in enclosed containers prevents drying and accelerates bacterial growth. Attempting to sanitize sponges that are already falling apart spreads bacteria throughout your kitchen. Microwave cleaning dry sponges creates fire hazards while failing to properly sanitize.
Overlooked Factors That Compromise Sanitization
Many people don’t realize that incomplete drying after cleaning is the single biggest factor in bacterial regrowth. Sponges left sitting in sink basins or stored face-down in holders trap moisture against surfaces. Using the same sponge for multiple weeks without replacement, even with regular cleaning, allows resistant bacteria to establish permanent colonies. Always ensure your sponge has completely air-dried between uses for maximum effectiveness of your cleaning methods.
How to Verify Your Cleaning Methods Are Working
Simple Effectiveness Tests You Can Perform
After sanitizing and drying your sponge, press it against a clean white paper towel—if yellow or gray stains appear, your cleaning method isn’t removing all debris. Smell your sponge before and after cleaning; effective sanitization should eliminate odors for at least 24-48 hours. Track how long before odors return—this indicates whether your cleaning frequency matches your household’s needs. For scientific verification, specialty test strips can measure bacterial load before and after cleaning.
Adjusting Your Routine Based on Results
If odors return within a day, increase sanitization frequency or switch methods (e.g., from vinegar to boiling). Persistent sliminess indicates biofilm formation that requires more aggressive treatment like bleach soaking. Sponges that yellow quickly may be reacting to your water’s mineral content—try adding vinegar to your cleaning routine to combat hard water effects. Document your results to identify which methods work best for your specific sponge types and household conditions.
Recommended Cleaning Schedule for Different Household Needs
Customized Routine for Standard Households
- Daily: Rinse thoroughly after each use, wring dry, store upright
- Every 2-3 days: Microwave or boil for deep sanitization
- Weekly: Inspect for wear, replace if showing early signs of deterioration
- Every 2 weeks: Full replacement regardless of condition
Adjustments for High-Use or High-Risk Situations
Households with frequent cooking, multiple family members, or food allergies should sanitize daily and replace sponges weekly. During illness outbreaks or when handling raw meats regularly, implement bleach sanitization weekly with sponge replacement every 7-10 days. In humid climates where drying takes longer, increase sanitization frequency by 50% and ensure maximum airflow during storage periods.
Maintaining properly sanitized kitchen sponges requires consistent attention but pays significant dividends in household health and kitchen efficiency. By implementing these targeted cleaning methods and recognizing when replacement is necessary, you transform what could be a hidden health hazard into a reliable cleaning tool. Start with one method that fits your routine—perhaps the convenient microwave technique—and build from there. Your kitchen’s cleanliness depends not just on what you clean, but on the tools you use to clean it. A properly maintained sponge makes all your cleaning efforts more effective while protecting your family from preventable foodborne illnesses.


