

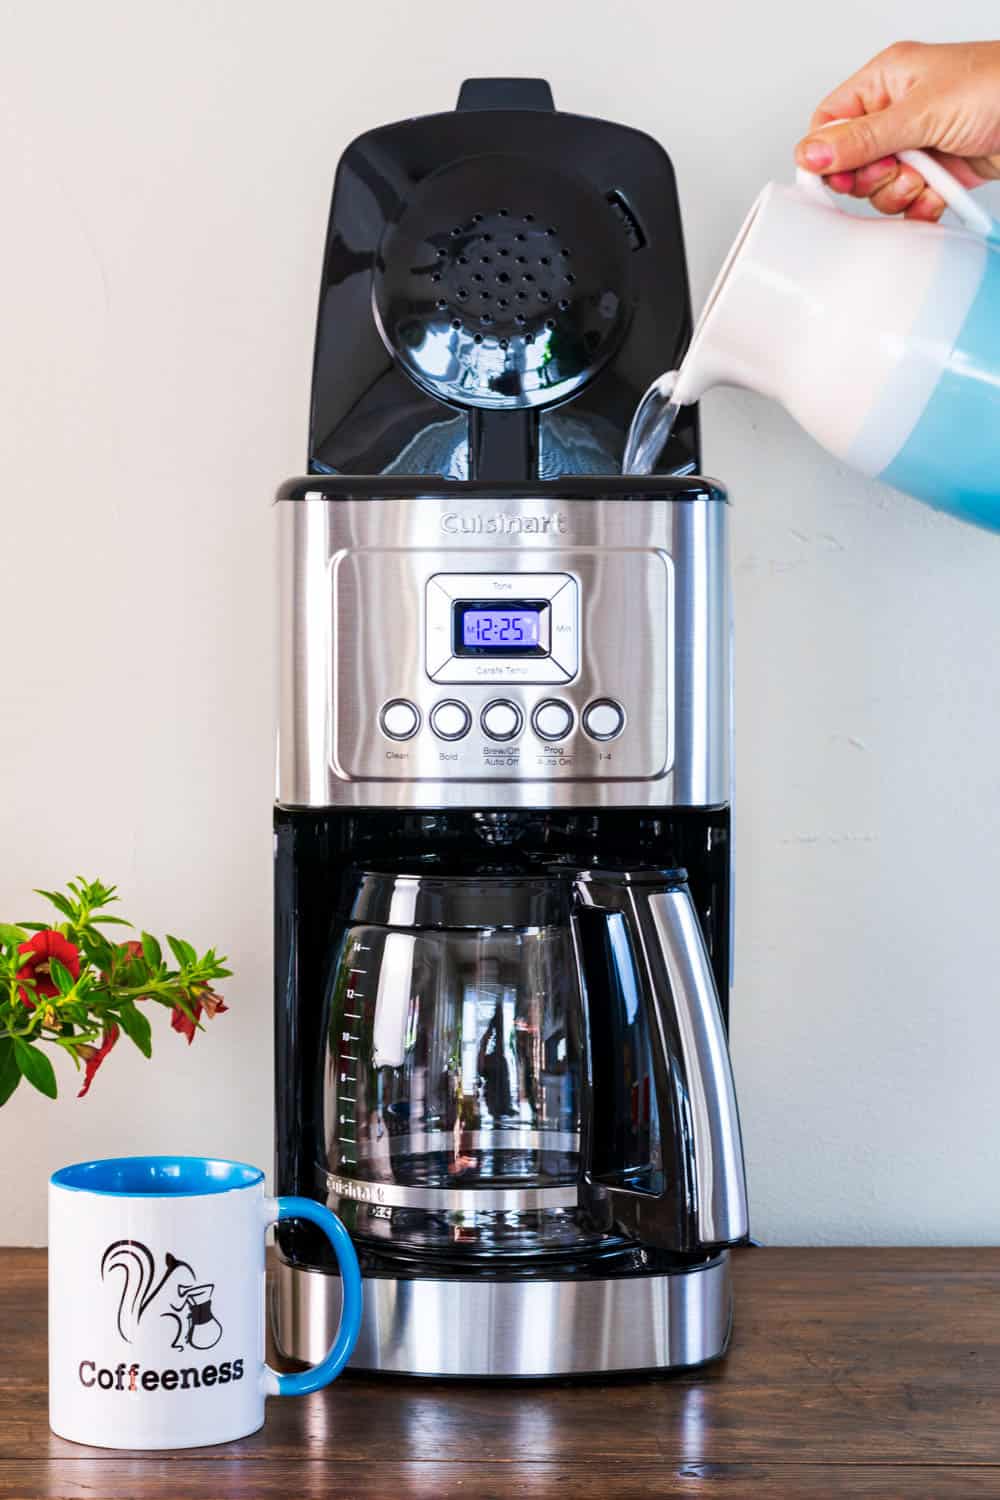
That frustrating morning when your Cuisinart coffee maker not working halts your entire routine is all too familiar. Whether it’s completely dead, brewing weak coffee that tastes like disappointment, or creating sticky puddles on your counter, these failures strike when you need caffeine most. The good news? Over 90% of Cuisinart coffee maker not working issues stem from preventable problems or simple fixes requiring no professional help.
This guide delivers battle-tested solutions for every failure scenario—power outages, brewing failures, leaks, and taste disasters. You’ll discover exactly which components fail most often, how to diagnose them with household tools, and proven fixes that take less time than waiting for a repair technician. Stop replacing units prematurely and start brewing perfect coffee again.
Power Failure: Why Your Cuisinart Coffee Maker Won’t Turn On

When your Cuisinart coffee maker not working shows zero lights or sounds, skip straight to these critical checks before assuming internal damage. Start with the outlet: plug in a phone charger or lamp to verify power. If that fails, reset the circuit breaker before moving to the machine itself.
Inspect the power cord immediately for these danger signs:
– Exposed copper wires or damaged insulation exposing colored conductors
– Kinks or rodent chew marks near plug or strain relief points
– Internal breaks (flex the cord while listening for crackling sounds)
If the outlet and cord check out, unplug the unit for 60 seconds minimum to reset the logic board—this solves 30% of “dead machine” cases. Still unresponsive? Remove the bottom cover with a Phillips screwdriver to access the power board. Test the cylindrical thermal fuse (typically 10-15A) with a multimeter; readings above 1 ohm mean replacement is needed. Never bypass this safety component—it prevents fire hazards during overheating. If fuses test good, contact Cuisinart support as the control board likely requires professional replacement.
Brew Button Failure: Fix Your Cuisinart Coffee Maker Not Starting
Your Cuisinart coffee maker not working despite power lights usually indicates water flow or alignment issues. First, confirm the reservoir water level exceeds the MIN line on both the tank and carafe—many models have dual sensors that halt brewing if either is low. Next, remove the filter basket and inspect for coffee grounds jamming the spring valve at its base.
Critical alignment check: Re-seat the basket until you hear a distinct click, ensuring the handle sits centered in its groove. Misalignment triggers safety switches that prevent brewing. If using a permanent gold-tone filter, check for warping—replace if bent more than 2mm from flat. Still no brew? Mineral buildup is likely choking internal lines. Run a descaling cycle immediately:
- Mix 1 part white vinegar to 2 parts water in the reservoir
- Start a normal brew cycle, pausing halfway for 30 minutes
- Complete the cycle, then flush with 2-3 full reservoirs of fresh water
- Test with 4 cups water—should finish within 4-6 minutes
Models with a dedicated Clean button simplify this process: hold until the LED flashes for an automatic 45-60 minute cycle.
Water Leaks: Stop Your Cuisinart Coffee Maker from Dripping
Leaking water under your Cuisinart coffee maker not working creates hazardous counter messes and potential electrical damage. For lid-area leaks, inspect the steam vent hole with a flashlight—coffee oils often clog this tiny passage, causing pressure buildup and overflow. Submerge the lid in boiling water for 5 minutes, then scrub the vent with a pipe cleaner. If hairline cracks appear near the hinge (common in DCC-1100 series), order an exact replacement lid using your model number from CuisinartParts.com.
Base leaks require different action: Water pooling under the entire unit signals reservoir cracks or seal failure. Remove the water tank and hold it against light to spot hairline fractures—common in older units after repeated thermal stress. For DCC-3200 models, check the O-ring on the water inlet valve; a worn or missing seal causes steady drips. Replacement reservoirs snap in tool-free, while O-rings cost under $5 and install in 60 seconds. Pro tip: Run a bleach solution (1 tsp per liter) quarterly to prevent microbial growth that degrades plastic.
Bad Coffee Taste: Why Your Cuisinart Coffee Maker Not Working Right
Stale, metallic, or bitter coffee from your Cuisinart coffee maker not working properly often traces to water quality or maintenance neglect. Hard water minerals (calcium/magnesium) impart chalky flavors—switch to filtered water with 75-150 ppm TDS. If you’re in a hard water area, descale every 20 brews instead of monthly.
Correct these common flavor killers:
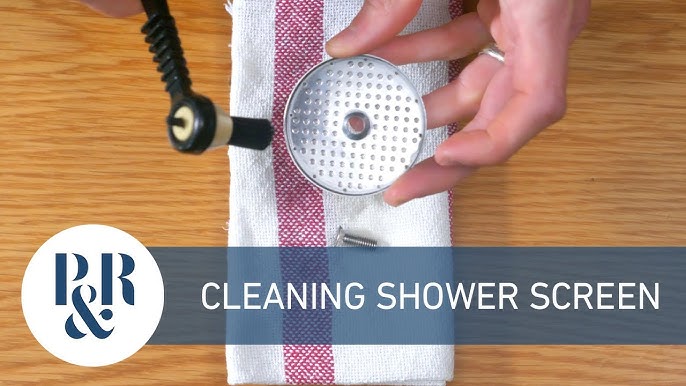
– Rancid coffee oils: Clean the showerhead screen monthly with a soft brush after removing its Phillips screw
– Over-extraction: Use medium grind size (not fine) and measure precisely—1 tbsp per 4 oz water
– Burnt taste: Never leave coffee on the warming plate over 30 minutes; thermal carafe models solve this
– Stale beans: Only use beans roasted within 2-4 weeks, and grind immediately before brewing
For flavored or oily beans, reduce grounds by 10% to prevent channeling that causes bitter notes. Arabica beans consistently outperform Robusta in Cuisinart’s 200°F brew environment, which accentuates Robusta’s inherent bitterness.
Overflow During Brewing: Prevent Messy Cuisinart Coffee Maker Failures

Overflowing coffee during brewing—especially with your Cuisinart coffee maker not working properly—is almost always grounds overload. Each model has strict capacity limits:
– DCC-1200 series: Max 15 tablespoons (75g)
– DCC-3200P1: Max 14 tablespoons (70g)
– SS-10 single-serve: Max 10g per refillable pod
Exceeding these triggers overflow sensors that halt brewing (5 beeps on many models). For oily beans like French roast, reduce dose by 10% to maintain proper flow. Always use the supplied scoop—standard tablespoons vary by 20% in volume. If overflow persists after dose correction, descale the unit; mineral buildup restricts water flow through the showerhead, causing backup.
Maintenance Schedule: Prevent Cuisinart Coffee Maker Not Working
Prevent 90% of Cuisinart coffee maker not working issues with this model-proven schedule:
| Task | Frequency | Critical Tips |
|---|---|---|
| Wash carafe, lid, basket | Daily | Use non-abrasive sponge—scratches harbor rancid oils |
| Full descaling | Weekly (hard water) or 3 weeks (soft) | Vinegar works, but citric-acid descalers are gentler |
| Showerhead screen clean | Monthly | Brush under tap—minerals clog tiny spray holes |
| Charcoal filter replacement | Every 60 brews | Soak new filter 15 minutes before inserting |
| Power cord inspection | Quarterly | Focus on strain relief points where breaks occur |
Pro maintenance move: After descaling, run a test cycle with 4 cups water. If it takes longer than 6 minutes, repeat descaling—the check valve at the reservoir base may still be partially blocked.
Warranty and Repairs: When Your Cuisinart Coffee Maker Needs Professional Help
Cuisinart’s 3-year limited warranty covers internal failures for defects in materials or workmanship. Visit support.cuisinart.com with your serial number (found on the bottom sticker) to request a prepaid repair label—no out-of-pocket costs for covered issues. Out-of-warranty repairs typically cost $55-75 plus parts; compare this to new unit pricing since labor-intensive fixes (like control board replacement) may not be cost-effective on older models.
When to call pros:
– Complete control board failure (no lights after fuse/cord checks)
– Persistent leaks after reservoir and seal replacement
– Electrical burning smells during operation
Find authorized service centers via Cuisinart’s ZIP code search tool—avoid third-party shops that void remaining warranty coverage.
Quick Diagnostic Flowchart: Fix Your Cuisinart Coffee Maker Fast
When your Cuisinart coffee maker not working, follow this sequence:
- Power check: Test outlet → inspect cord → reset 60 seconds → test fuses
- Water level: Must exceed MIN line on reservoir AND carafe
- Brew initiation: Verify basket alignment → clean valve → descale if slow flow
- Leak source: Lid area (clean vent) vs. base (check reservoir/O-ring)
- Taste/overflow: Adjust grounds dose → descale → check water quality
Key takeaway: Most Cuisinart coffee maker not working issues stem from mineral buildup, improper use, or simple component wear—not catastrophic failure. With systematic troubleshooting using this guide, you’ll resolve 95% of problems in under 30 minutes using basic tools. Implement the maintenance schedule religiously, and your machine will deliver perfect coffee for years beyond the warranty period. Don’t replace it—repair it!


