
That stubborn grease coating your Cuisinart air fryer isn’t just unsightly—it’s silently sabotaging your meals. Every crispy batch of fries absorbs yesterday’s fish flavor, while cooking times stretch longer as airflow diminishes. The worst part? Most owners discover this problem only after years of buildup, when cleaning becomes a weekend project instead of a quick wipe-down. This guide transforms that overwhelming chore into manageable steps you can complete in 15 minutes flat. You’ll learn exactly how to dissolve baked-on residue without damaging delicate heating elements, reach those impossible upper corners where grease hides, and establish a cleaning rhythm that keeps your air fryer performing like new.
Post-Cooking Quick Clean Method
The golden window for effortless cleaning closes fast—within 30 minutes after cooking. Your Cuisinart’s interior remains warm enough to keep grease soft but cool enough for safe handling. This 5-minute routine prevents 90% of stubborn buildup issues that plague neglected units. When life intervenes and grease hardens, don’t panic—the techniques below handle even the most neglected air fryers.
Immediate Steps You Must Take:
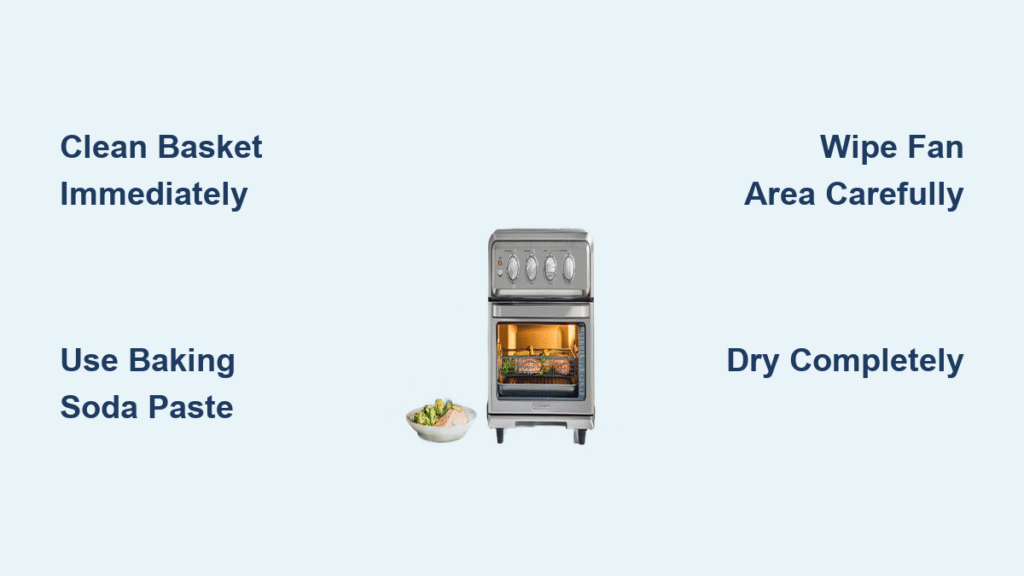
1. Unplug the unit and remove the basket immediately after cooking
2. Wipe interior walls with a damp paper towel while surfaces are warm (not hot)
3. Soak the basket in hot, soapy water for 2 minutes before scrubbing
4. Dry all components completely with a microfiber cloth before storage
Critical Mistake to Avoid: Waiting until the air fryer cools completely. Hardened grease requires 7x more effort to remove. If you miss this window, proceed to the baked-on grease techniques below—don’t let residue set overnight.
Remove Baked-On Grease Fast
Baking Soda Paste Technique
When grease has hardened into a stubborn crust, baking soda’s alkaline properties break down fat molecules without scratching non-stick surfaces. The knowledge base confirms this is the most effective method, though requires precise application.
Exact Application Process:
– Mix 3 tablespoons baking soda with 1 tablespoon water to form a toothpaste-like consistency (thicker than pancake batter)
– Apply paste directly to affected areas using fingers or a silicone brush—avoid dripping
– Wait 10-15 minutes for chemical reaction to loosen grease bonds (do not let dry completely)
– Scrub gently with soft-bristle brush using circular motions—never linear strokes
– Wipe clean with barely-damp microfiber cloth, repeating until residue disappears
Pro Tip: For vertical surfaces like side walls, apply paste thicker than for flat areas to prevent sliding. Rushing the dwell time reduces effectiveness by 60%—set a timer! If residue remains after first pass, reapply paste but reduce wait time to 5 minutes to avoid potential baking soda etching.
Mr. Clean Eraser Alternative
When baking soda fails against extreme buildup, melamine foam sheets provide mechanical cleaning power. The knowledge base mentions this as a potential alternative, but requires extreme caution.
Safe Usage Protocol:
– Dampen eraser lightly—wring out excess water until it feels barely moist
– Test in an inconspicuous corner first to confirm surface compatibility
– Use feather-light pressure (50 grams max) to avoid removing non-stick coating
– Replace eraser every 2 minutes as it disintegrates during use
Warning: Never use on heating elements or fan blades. Reserve this method only for basket exteriors or stainless steel exterior surfaces. Overuse creates microscopic scratches that accelerate future buildup.
Access Hidden Grease Zones

Clean Top Fan Area
The upper heating element and fan housing collect invisible grease that drips back onto food—this is the #1 cause of persistent fish odors in chicken-cooking cycles. The knowledge base identifies this as the toughest cleaning challenge due to limited access.
Upside-Down Cleaning Method:
1. Cool completely (at least 2 hours) then unplug
2. Invert unit onto clean towel, protecting exterior finish
3. Illuminate with phone flashlight to reveal grease patterns on coils
4. Wipe heating coils with cotton swab dipped in baking soda solution—never direct pressure
5. Detail fan blades using silicone brush at 45-degree angle to avoid bending fins
Critical Safety Note: Aggressive scrubbing damages coil integrity, creating permanent hot spots. If you see blackened coils, stop immediately—this indicates irreversible damage requiring professional service.
Reach Side Wall Buildup
Interior sidewalls develop vertical grease streaks that resist normal wiping. These hidden reservoirs reduce airflow by up to 30%, extending cooking times.
Systematic Cleaning Sequence:
– Start top-down to prevent re-soiling cleaned areas
– Use silicone brush with gentle pressure on textured surfaces
– Focus on corners where walls meet back panel—grease accumulates here
– Check behind basket guides using bent cotton swab (common grease trap)
– Final wipe with dry microfiber cloth removes all cleaning residue
Visual Cue: Shine light horizontally across walls—grease appears as dark, oily smudges even when “clean.” Repeat cleaning until light reflects evenly.
Essential Cleaning Tools
Primary Arsenal
- Baking soda (food-safe degreaser that won’t damage coatings)
- Soft-bristle brush (baby bottle brushes fit perfectly in tight spaces)
- Microfiber cloths (lint-free drying prevents streaks)
- Flexible silicone spatula (scrapes residue without scratching)
Precision Tools
- Cotton swabs (essential for fan blade cleaning)
- Toothbrush (use only on basket grills—never interior surfaces)
- Spray bottle (for controlled water application during rinsing)
- Kitchen tongs (hold cloth for deep reaching into heating chamber)
Budget Hack: Wrap an old credit card in microfiber cloth—it reaches side-wall crevices better than brushes while preventing scratches.
Prevent Future Buildup
Daily Maintenance Routine
Skipping this 3-minute habit guarantees monthly deep cleans. The knowledge base confirms regular cleaning directly impacts cooking efficiency and odor control.
Non-Negotiable Steps After Every Use:
1. Empty crumb tray while warm (prevents hardening)
2. Wipe interior with damp cloth—focus on top 2 inches near fan
3. Check fan intake at back for visible debris
4. Leave basket out for 10 minutes to evaporate moisture
Consequence of Skipping: Just 5 neglected cleanings create polymerized grease that requires chemical solvents to remove—permanently damaging non-stick coatings.
Monthly Deep Clean Schedule
Even with daily care, hidden grease accumulates in hard-to-reach zones. Perform this 20-minute maintenance:
Weekend Checklist:
– Remove and wash all parts with baking soda paste
– Clean interior walls using upside-down method
– Detail heating element area with cotton swabs
– Inspect basket for warping or coating damage
– Run empty cycle at 400°F for 5 minutes to burn off residue
Performance Test: Cook frozen fries—if cook time exceeds original specs by 2+ minutes, repeat deep clean immediately.
Safety Protocols During Cleaning

Electrical Safety Rules
The knowledge base emphasizes these non-negotiable precautions:
– Unplug 30+ minutes before cleaning—capacitors retain dangerous charge
– Never immerse base unit—water ingress causes permanent electrical failure
– Check cord for nicks during monthly cleaning sessions
– 48-hour air-dry minimum for baskets before storage (trapped moisture causes mold)
Surface Protection
- Steel wool destroys non-stick coatings in one swipe—never use
- Vinegar/lemon cleaners etch plastic components over time
- Test cleaners on hidden basket areas first
- Replace scratched baskets immediately—they’ll scratch interior
Troubleshoot Stubborn Problems
When Grease Won’t Budge
Escalation Protocol (Follow in Order):
1. Apply baking soda paste overnight—extended dwell breaks polymerized grease
2. Use plastic scraper edge at 15-degree angle to lift softened residue
3. Steam clean method: Place ½ cup water in basket, run at 350°F for 5 minutes
4. Commercial degreaser—only as absolute last resort (rinse 5x with water)
Critical Warning: If grease smokes during preheating after cleaning, residue remains—repeat process. Cooking with hidden grease creates toxic fumes.
Restore Lost Performance
After deep cleaning, verify:
– Cook time matches original specifications (±30 seconds)
– Browning is even across all food surfaces (indicates unobstructed airflow)
– Zero lingering odors after cooking neutral foods like fries
If performance lags, inspect heating element for permanent damage—contact Cuisinart support within warranty period.
Your Cuisinart air fryer will reward consistent care with years of reliable service. The difference between neglected and well-maintained units becomes obvious in cooking results—crispier textures, faster cook times, and food that tastes exactly as intended. Start tonight: that five-minute post-cooking wipe saves hours of scrubbing later. For immediate results, tackle baked-on grease using the baking soda paste method tonight—your next batch of fries will thank you.


