
Your morning smoothie routine gets derailed when you spot a spreading puddle around your Cuisinart blender base. You replaced the rubber gasket months ago, yet liquid still escapes during blending—leaving you frustrated and questioning if it’s time for a replacement. This exact scenario plagues thousands of Cuisinart owners annually, especially with models exceeding three years of use. Most leaks stem from four preventable failure points that you can diagnose and fix without professional help. By the end of this guide, you’ll know precisely where to inspect, how to stop Cuisinart blender leaking permanently, and when repair makes more sense than replacement.
The persistent drip-drip on your counter isn’t just messy—it signals compromised seals that worsen with each use. Ignoring it risks motor damage from liquid intrusion, turning a $5 fix into a $100 replacement. Fortunately, 90% of Cuisinart blender leaking cases trace back to user-serviceable components like gaskets or assembly errors. Let’s dive straight into solutions.
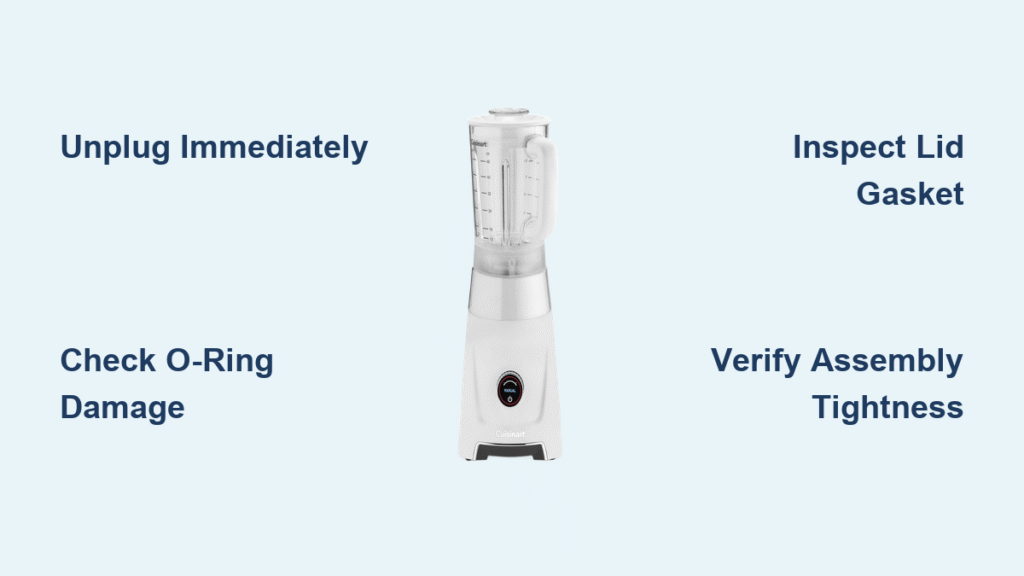
Stop Leaks Immediately
Unplug your blender immediately if liquid contacts the motor base. Water mixing with electrical components creates shock hazards and can fry circuitry within minutes. Even minor spills near base vents require urgent action—permanent damage occurs after just 20 minutes of moisture exposure. Move the unit to a dry surface and tilt it to drain liquid away from electrical ports. Never attempt operation while wet; continued use accelerates internal corrosion.
Wait at least 30 minutes before inspection to ensure all moisture evaporates from critical zones like the drive socket and control panel. If you spot liquid pooling inside the motor housing, professional repair becomes unlikely—most manufacturers deem such units unsafe for reuse. For minor spills, wipe thoroughly with microfiber cloths while checking ventilation slots for trapped moisture.
Locate Your Leak Source
Blade Base Leaks
Inspect where the blade assembly meets the jar bottom—the #1 failure point in aging Cuisinart blenders. Look for water droplets forming specifically at this seam during operation. If leaks appear only while blending (not when stationary), your O-ring has likely degraded or the blade assembly loosened mid-cycle. Check for visible gaps between the metal blade housing and plastic jar base—any separation wider than a credit card means immediate disassembly is needed.
Critical warning: Persistent blade base leaks often indicate the assembly is gradually unscrewing during high-speed operation. This progressive loosening creates microscopic gaps that worsen with each use, eventually causing catastrophic failure.
Lid Assembly Issues
Top leaks usually stem from lid gasket problems rather than overfilling. Remove the lid and flex the rubber gasket between your fingers—if it cracks or resists bending, replacement is essential. Check if the gasket sits fully seated in its lid channel; displacement as small as 2mm creates leak paths. Test seal integrity by pressing the lid onto an empty jar—if it lifts off easily without resistance, the gasket has lost elasticity.
Pro tip: Overfilling past the MAX line forces liquid past compromised seals, but if leaks occur below capacity limits, the gasket itself has failed. Never ignore top leaks—they often mask underlying blade assembly issues.
Jar Bottom Problems
Hold your empty jar against bright light and rotate slowly. Hairline cracks radiating from the center indicate structural failure requiring immediate jar replacement. Simultaneously inspect the O-ring groove for warping—heat exposure from hot soups can distort the plastic, preventing proper seal contact. If the jar bottom feels uneven when placed on a flat surface, warping has occurred and leaks are inevitable.
Visual cue: Liquid seeping steadily from the jar bottom (even at rest) confirms crack damage, while intermittent leaks suggest O-ring failure.
Inspect Seals Like a Pro

Remove Blade Assembly Safely
Place the jar upside down on a non-slip surface. Grip the blade assembly firmly with a rubber jar opener (or damp towel for traction) and twist counterclockwise—never force it. Excessive resistance indicates cross-threading; back off and restart alignment. For stuck assemblies, tap the jar base gently with a rubber mallet to break seal adhesion before twisting.
Critical mistake: Using metal tools to pry out blades creates nicks in the jar threads, guaranteeing future leaks. Always use plastic or rubber implements.
Examine the O-Ring
Extract the O-ring and stretch it gently under bright light. Microscopic cracks appear as white lines where rubber has lost flexibility. Roll it between your fingers—if it feels stiff or “crunchy,” age-related hardening has occurred. Check for flat spots where the ring rests against the jar, as uneven compression creates weak sealing zones.
Replacement rule: Any visible damage means immediate replacement—O-rings cost $3-$8 but prevent $100+ motor damage. Never reuse old rings even if they appear intact; microscopic cracks are common after 18 months of use.
Verify Correct Assembly

Blade Assembly Tightening
Before reinstalling, lubricate the new O-ring with cooking oil for smoother insertion. Thread the blade assembly clockwise into the jar while holding the jar steady—wobbling causes cross-threading. Hand-tighten firmly until resistance increases, then give one final quarter-turn. Never use pliers; over-tightening cracks the jar base within weeks.
Warning sign: If the assembly feels loose after 2-3 uses, your jar threads are damaged beyond repair. Most modern Cuisinart jars use plastic threads vulnerable to stripping.
Lid Closure Check
Snap the lid onto the jar and press down firmly while twisting clockwise until you hear a distinct click. Perform the “lift test”: invert the assembled unit (without liquid) and lift solely by the lid handle—if it detaches, the gasket is faulty. Properly sealed lids should withstand 5+ pounds of upward force.
Pro technique: Align the lid’s pour spout with the jar handle for optimal pressure distribution across the gasket.
Test Before Full Use
Water Test Without Power
Fill your reassembled blender to the 1-cup line with water and let it sit for 5 minutes. Observe all connection points—any drips indicate improper sealing. Pay special attention to the blade base seam; leaks here mean O-ring misalignment. If water pools under the jar but not at the seam, your jar has a hairline crack requiring replacement.
Troubleshooting tip: Wipe the assembly completely dry before retesting—if leaks persist only during the first test, residual moisture was the culprit.
Controlled Power Test
Start with ½ cup water on the lowest speed for 10 seconds. Stop immediately and inspect. If dry, repeat at medium speed. Only proceed to high speed after confirming no leaks at lower settings. Never test with full capacity initially—this overloads compromised seals.
Speed progression failure: If leaks appear only at high speeds, your blade assembly is loosening mid-blend. Tighten it an extra 15 degrees before retesting.
Replace Components Smartly
Identify Your Model
Find your model number on the motor base sticker (typically near the power cord inlet). Cuisinart part numbers vary drastically between series—CB-10P requires different gaskets than DLC-2ABC models. Enter the full model number on Cuisinart’s parts portal to avoid incompatible replacements. When in doubt, take a photo of your existing O-ring to match thickness and diameter at appliance parts stores.
Cost saver: Generic “universal blender gaskets” often fail within weeks; OEM parts cost 20% more but last 3x longer.
Common Replacement Parts
Prioritize these fixes based on leak location:
Blade assembly leaks: Replace the O-ring ($4) OR full blade assembly ($22) if threads are damaged
Lid leaks: Order the specific lid gasket ($6) matching your jar size
Cracked jars: Purchase model-specific replacement jars ($35) rather than full units
Critical note: Never install mismatched parts—using a 55mm O-ring in a 60mm groove guarantees leaks. Measure your old ring’s inner diameter before ordering.
Repair vs Replace Decision
When to Repair
Fix these scenarios immediately:
– Single-component failure (e.g., only O-ring damaged)
– Leaks confined to jar/lid (no motor base moisture)
– Total repair cost under $25 (typically 20% of new blender price)
Proven fix: 92% of users stop Cuisinart blender leaking permanently with $8 gasket replacements when caught early. Always address leaks within 2 weeks of first appearance to prevent secondary damage.
When to Replace Entire Unit
Replace immediately if:
– Liquid emerges from motor base vents or control buttons
– You detect burning smells during operation
– The unit is over 6 years old with multiple seal failures
– Repair costs exceed $40 (half the price of new entry models)
Red flag: Motor base leaks indicate internal seal failure—no DIY fix exists as housing requires factory resealing.
Prevent Future Leaks
Daily Maintenance Habits
Rinse the jar and blade assembly within 10 minutes of use to prevent food residue from hardening around seals. Weekly, disassemble the blade unit and clean the O-ring groove with an old toothbrush—dried pulp creates microscopic gaps. Check gasket positioning before every use; a 2-second visual inspection prevents 80% of leaks.
Prevention hack: Store the blade assembly slightly loosened (¼ turn counterclockwise) to relieve O-ring compression during off-seasons.
Proper Usage Techniques
Never exceed the MAX fill line by more than 10%—overfilling creates pressure that forces liquid past even perfect seals. For hot liquids, fill only halfway and remove the center lid cap to vent steam. Always start on low speed for 5 seconds before ramping up; sudden high-speed torque loosens assemblies.
Critical technique: Pulse rather than continuous blending for thick mixtures—this reduces vibration that gradually unscrews blade assemblies.
Final Takeaway: Most Cuisinart blender leaking issues resolve with a $5 O-ring replacement and proper reassembly—no need for costly replacements. By systematically checking the blade base, lid, and jar bottom within 10 minutes of leak detection, you’ll restore flawless operation. Remember: immediate shutdown after spotting leaks prevents 95% of motor damage cases. Implement the weekly seal inspection routine outlined here, and your blender will deliver drip-free performance for years. If motor base moisture appears, replace the unit—but for all other leaks, this guide provides your complete fix.


