
Your Cuisinart blender sits ready to transform frozen berries into morning smoothies and roasted vegetables into silky soups. But that array of buttons, speed settings, and safety warnings can feel overwhelming when you first unpack it. This guide cuts through the confusion with precise steps for safe, effective blending from day one. You’ll master your blender in under 15 minutes—no manual required.
Critical Safety Steps Before First Blend
Never skip these non-negotiable safety checks. Place your blender base on a dry counter with 6+ inches of clearance around the motor housing. This prevents dangerous overheating during operation. Critical warning: Always confirm the lid is fully locked before pressing any button—unsecured lids can eject hot liquids at high velocity, causing severe burns. Unplug the unit before assembling or cleaning, and never blend liquids hotter than 180°F (82°C).
Assembly Checklist You Must Complete
- Dry components thoroughly – moisture near electrical parts risks short-circuiting
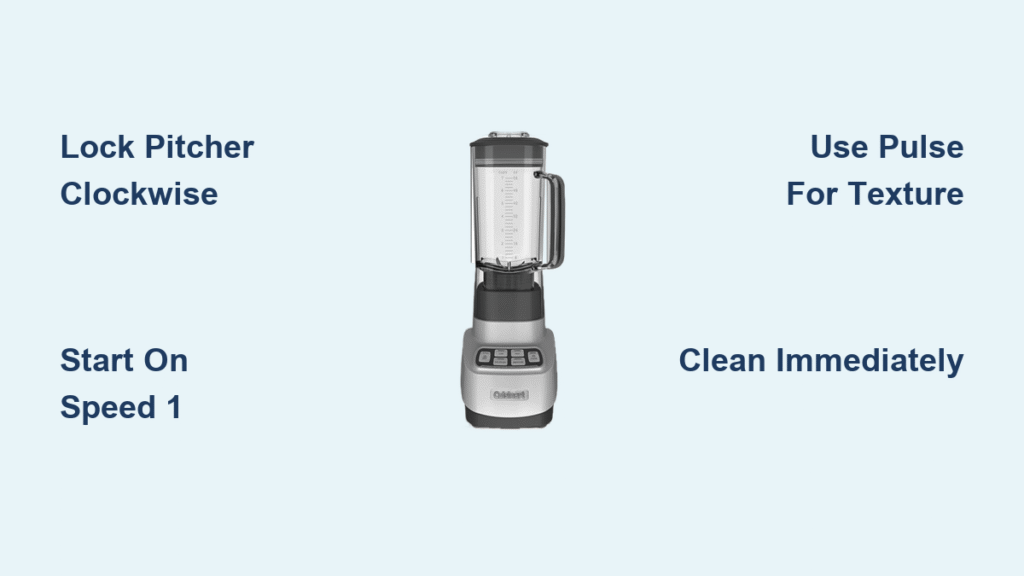
- Lock pitcher clockwise until you hear the distinct click (no wiggle room)
- Hand-tighten blade assembly – overtightening cracks the pitcher
- Position cord away from sinks or stovetops to prevent tripping
Decoding Your Cuisinart Blender’s 5 Essential Parts

Your blender isn’t just a pitcher and base—it’s an engineered system where each component has a critical role. The motor base houses the variable-speed controls and preset programs. Your 40-64oz blending jar (Tritan plastic or glass) features fill lines you must obey. The stainless steel blade assembly has multi-level blades designed to pull ingredients downward. The secure lid includes a removable cap for mid-blend additions. Finally, the control panel combines speed dial, pulse button, and one-touch programs—no confusing menus.
Transform Your Blender With Attachments
Extend functionality with these game-changers:
– 16-32oz single-serve cups for grab-and-go smoothies (attach directly to base)
– Food processor attachment for chopping onions or making salsa in 10 seconds
– Citrus juicer reamer for fresh orange juice with zero pulp
– Grinding jar for coffee beans or spice blends (prevents cross-contamination)
Your First Perfect Blend: Step-by-Step Assembly & Operation
Preparation Phase (Takes 2 Minutes)
Cut ingredients into 1-inch cubes for even blending—smaller than this risks splatter, larger causes jams. Layer strategically: liquids first (water, milk), then soft ingredients (yogurt, spinach), finally frozen items (berries, ice). Fill limits are critical: 2/3 full for hot liquids (prevents pressure explosions), 3/4 full for cold ingredients.
Assembly Sequence: The 4-Step Lock System
- Screw blade assembly clockwise into pitcher bottom until hand-tight
- Align pitcher arrows with base indicators
- Rotate pitcher clockwise until you hear the click (test by gently tugging)
- Snap lid securely with cap inserted (for safety during operation)
Operation Procedure: Speed Control Secrets
Start on Speed 1 for 5 seconds to prevent ingredient splash-up. Gradually increase to your target speed as a vortex forms. Blend in 30-second bursts—especially with frozen items—to avoid motor strain. Pro tip: Add liquid through the lid cap mid-blend if mixture thickens (never stop to stir while running).
Completion Steps: Avoid Scalding Injuries
- Return dial to OFF before unplugging
- Wait 10 seconds for blades to stop completely
- Hold lid firmly with your non-dominant hand while pouring
- Unplug before disassembly (this prevents accidental activation)
Speed Settings Master Guide: What Each Number Actually Does
Low Speed (1-2): The Gentle Mixer
Use for: Incorporating protein powder without clumping, starting thick pancake batter, or mixing salad dressings. Never use for frozen items—this strains the motor.
Medium Speed (3-5): Your Daily Driver
Perfect for: Fresh fruit smoothies, pureeing cooked carrots for soup, or making creamy hummus. Runs 45-60 seconds for ideal texture.
High Speed (6-8): Power Mode Activated
Reserve for: Frozen fruit smoothies, crushing ice for margaritas, or nut butter creation. Never exceed 60 seconds continuously—let motor cool 5 minutes between bursts.
Pulse Function: Precision Texture Control
3 quick pulses = chunky salsa texture
5 controlled pulses = minced onions for guacamole
Hold 2 seconds = ultra-smooth nut butter scraping
Troubleshooting: Fix Common Issues in 60 Seconds

Blender Won’t Start? Diagnose Instantly
- Pitcher not locked: Rotate clockwise until click (most common fix)
- Lid misaligned: Re-seat lid until it snaps flush
- Overheated motor: Unplug 30 seconds to reset thermal protection
Leaking From Bottom? The Gasket Fix
Tighten blade assembly clockwise—if leaking continues, replace the rubber gasket (costs $3 online). Never operate with a damaged seal.
Motor Straining? Immediate Solutions
- Reduce ingredients by 25% if pitcher is overfilled
- Add 2 tbsp liquid to create better vortex flow
- Cut frozen items into smaller pieces (1/2-inch max)
- Wait 5 minutes for motor cooling before retrying
Cleaning Protocol: The 90-Second Daily Routine
Skip the scrubbing with this pro method:
1. Rinse pitcher immediately after use (dried residue takes 3x longer to clean)
2. Add 1 drop dish soap + warm water to halfway fill line
3. Run 15 seconds on Medium Speed (self-cleans interior)
4. Rinse thoroughly and air-dry upside down
Weekly maintenance: Remove and inspect the rubber gasket for cracks. Soak blade assembly in vinegar solution for 10 minutes to dissolve mineral buildup. Never submerge the base—wipe with damp cloth only.
Recipe-Specific Success: Green Smoothie Formula That Works
The foolproof ratio:
– 1 cup liquid (almond milk or coconut water)
– 1 cup packed spinach or kale
– 1 cup frozen mango or pineapple
– ½ banana (fresh or frozen)
Execution:
1. Layer liquids first, then greens, frozen fruit last
2. Fill pitcher to ¾ line maximum
3. Start on Speed 1 for 5 seconds
4. Ramp to Speed 6 for 60 seconds
5. Critical: Blend 30 seconds longer after smooth appearance
Result: Silky texture with zero leafy chunks—guaranteed.
Performance Optimization: 3 Time-Saving Shortcuts
- Pre-portion smoothie packs: Freeze ingredients in labeled bags (add liquid later)
- Strategic layering: Always liquids first to create immediate vortex
- Immediate cleaning: Run soap/water cycle within 2 minutes of use (prevents staining)
Pro warning: Never blend boiling liquids—cool to 180°F (82°C) max. Remove the center lid cap when blending hot soups to vent steam safely, and hold lid with a folded towel.
Your Cuisinart blender is now unlocked for daily kitchen victories. Start with fresh fruit smoothies using the layering technique, master ice crushing with the pulse function, and clean in 90 seconds with the soap-water cycle. Remember: The #1 reason blenders fail is improper cleaning—never let residue dry inside. Within a week, these steps become instinctive, transforming your appliance from intimidating gadget to indispensable kitchen partner. For model-specific details like motor oil type, always consult your manual—but with this guide, you’ve got the universal foundation for flawless blending.


