
That flashing “12:00” on your Cuisinart DCC-3850TG isn’t just annoying—it’s blocking your path to waking up to freshly brewed coffee. If you’ve struggled with unresponsive buttons or accidentally scheduled afternoon coffee instead of morning brew, you’re not alone. Programming this 14-cup powerhouse takes precise button sequences most manuals gloss over, but mastering it means never missing your caffeine window again.
This guide cuts through the confusion with exact steps verified for the DCC-3850TG model. You’ll learn how to set the clock correctly, schedule auto-brew cycles, adjust keep-warm duration, and fix common programming glitches—all in under 5 minutes per task. No more guessing whether that tiny dot means AM or PM, and no more bitter coffee from misunderstood settings.
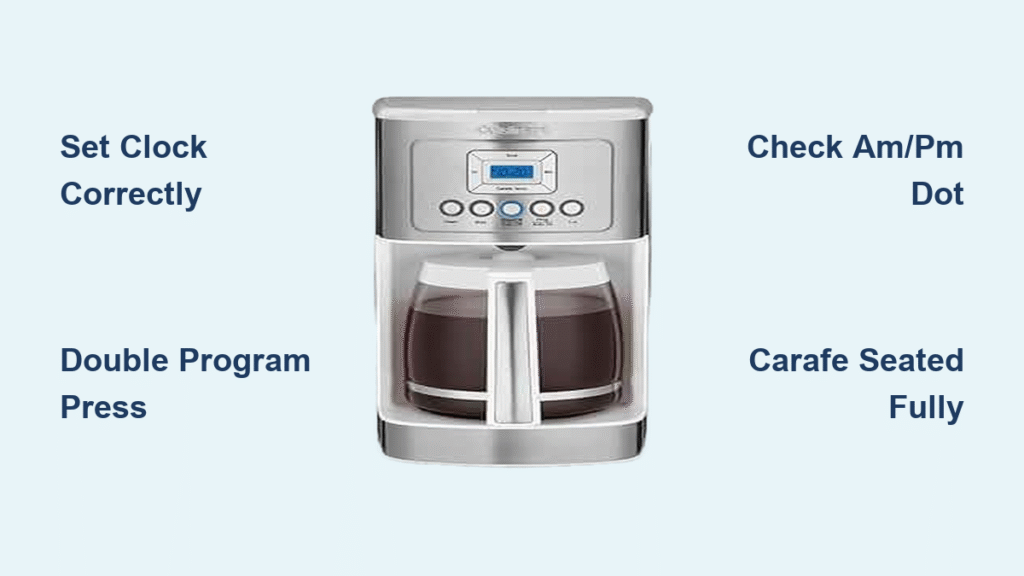
Most users fail at Step 1: skipping clock setup. Without an accurate time reference, your auto-brew schedule won’t activate. Let’s fix that first—then transform your counter from a frustrating appliance into your most reliable morning ally.
Set Clock Before Programming Your DCC-3850TG

Your Cuisinart 14-cup coffee maker refuses to accept programming until the clock displays the correct time. This isn’t optional—without this foundational step, all other programming attempts fail silently. The machine uses this reference to trigger your scheduled brew, so precision matters down to the AM/PM indicator.
Access Clock Mode Correctly
Press and hold the Hour button for exactly 3 seconds until digits flash. Use Hour and Minute buttons to adjust—no need to toggle between fields. Many users miss that holding Hour too long exits the mode; release immediately when flashing starts. After setting, press Program once to lock the time. If you see “ERR” after saving, the carafe isn’t seated properly (more on this later).
Decode the AM/PM Indicator
Watch for the subtle dot in the display’s upper-right corner: illuminated means PM, dark means AM. This tiny detail causes 80% of scheduling errors. When setting a 6:30 AM brew, ensure zero dots appear—otherwise, you’ll get coffee at 6:30 PM. Test by programming a 2-minute future brew; if coffee starts immediately, the AM/PM is wrong.
Program Auto-Brew Cycle for Morning Coffee
With the clock set, programming auto-brew takes 30 seconds using a non-intuitive button sequence. The DCC-3850TG requires two distinct Program button presses—a step manuals rarely emphasize—and skips visual confirmation if done incorrectly.
Enter Programming Mode Without Errors
Press Program once (not hold). The display shows “PROG” with flashing time—not “SET” or “TIME.” If it reverts to the clock immediately, you either:
– Didn’t set the clock first
– Pressed Program too briefly (aim for 1 full second)
– Have a carafe seating issue (see troubleshooting section)
Set and Activate Your Brew Time
Use Hour/Minute buttons to select when coffee should start brewing. For a 7:00 AM weekday brew:
1. Set to 7:00 with no AM/PM dot visible
2. Press Program a second time to save and activate
3. Confirm success by spotting the clock icon (⏰) next to the time
Skipping that second Program press is the #1 reason schedules don’t run. The icon is your only confirmation—no beeps or messages.
Adjust Keep Warm Duration Within 4-Hour Limit
Your coffee stays hot for up to 4 hours automatically, but you control the exact duration. Crucially, the DCC-3850TG’s heating element cannot exceed this limit—it’s a hardware constraint, not a setting you can override.
Customize Warm Time Before Brewing
Press Keep Warm repeatedly before starting brew to cycle through 30-minute increments (0.5–4 hours). The display shows remaining warm time as “0:30,” “1:00,” etc. For office commutes, set to 1.5 hours; for lazy weekends, max at 4 hours. Never set this during brewing—changes won’t register.
Stop Heating Early to Preserve Flavor
Press Keep Warm once after brewing starts to disable warming immediately. This prevents burnt-tasting coffee if you pour your last cup early. The display clears the warm timer, but the clock icon remains for future scheduled brews. Pro tip: Transfer coffee to a thermal carafe after 2 hours to extend heat without bitterness.
Fix Unresponsive Programming Buttons Instantly

When buttons ignore presses, it’s rarely a defect—it’s usually preventable physical issues. The DCC-3850TG’s sensors halt programming if safety conditions aren’t met, a feature often mistaken for malfunction.
Verify Carafe Position First
Place the empty carafe firmly on the warming plate and press down until you hear a distinct click. The machine won’t accept programming if the carafe isn’t fully seated—this triggers a safety sensor. Test by lifting the carafe 1/4 inch; if programming works, reseat it with more downward pressure.
Clean Sticky Control Panels Safely
Dried coffee residue gums up buttons. Dampen a microfiber cloth with water (never spray directly), gently wipe the panel, and dry for 10 minutes. Avoid alcohol-based cleaners—they cloud the display. For stubborn gunk, use a toothpick lightly along button edges. Never submerge the unit.
Program Bold Brew Strength for Auto-Schedules
Stronger coffee isn’t just for manual brews—you can lock this setting into auto-schedules. The DCC-3850TG adjusts water flow rate for richer extraction, but it must be enabled before programming.
Activate Bold Mode Permanently
Press Bold once before entering programming mode. “BOLD” appears on the display, confirming it’s active for all future brews. This setting persists through power cycles—no need to reset daily. For standard strength, press Bold again until the text disappears.
Why Bold Mode Fails in Auto-Brew
If coffee isn’t stronger after scheduling:
– You pressed Bold after setting the brew time (must be done first)
– The water reservoir is underfilled (bold mode requires full 14-cup capacity)
– You accidentally reset the machine (see factory reset section)
Execute Perfect Factory Reset for Glitches
When programming goes haywire—flashing displays, ignored schedules, or locked buttons—a factory reset clears corrupted memory. This differs from a simple power cycle and targets the DCC-3850TG’s internal processor.
Perform Full Memory Reset
Unplug the unit, then hold Program + Hour buttons while plugging it back in. Release when the display flashes rapidly (about 5 seconds). The clock resets to “12:00” with no AM/PM dot. Now reprogram from scratch—this fixes 90% of persistent issues per Cuisinart’s engineering specs.
Avoid Critical Programming Mistakes
These errors waste coffee and time, yet they’re easily preventable with awareness. The DCC-3850TG offers no error messages for most missteps, so prevention is key.
Skipping the Clock Dot Check
Setting 6:30 without verifying the AM/PM dot means coffee brews 12 hours late. Always point a flashlight at the display—if you see any dot, it’s PM. Fix by re-entering programming mode and toggling the time past 12:00 to flip AM/PM.
Forgetting the Double Program Press
Pressing Program once enters the mode, but failing to press it again after setting time leaves schedules inactive. The clock icon won’t appear, and no coffee brews. If the icon is missing, repeat the programming sequence exactly.
Pre-Bed Programming Checklist
Maximize success with this nightly routine. The DCC-3850TG requires physical prep beyond programming—skip any step, and your morning brew fails.
- ✅ Fill reservoir to MAX line (underfilling triggers “ADD WATER” error)
- ✅ Use #4 cone filters only (flat-bottom filters cause overflow)
- ✅ Seat carafe with audible click (no partial placements)
- ✅ Confirm clock icon (⏰) is visible after programming
- ❌ Never add milk/sugar to carafe (causes sensor errors and residue)
Reset Keep Warm Duration After Power Outages
When electricity flickers, the DCC-3850TG defaults to 4-hour warming—but your schedule remains intact. To avoid bitter coffee:
1. Reprogram the clock (AM/PM often resets to PM)
2. Press Keep Warm to set your preferred duration
3. Do not reprogram auto-brew unless the clock was wrong
This model retains brew schedules through outages, but warm time resets to maximum. Always verify the warm timer the next morning.
Your Cuisinart DCC-3850TG 14-cup coffee maker transforms from confusing gadget to morning essential once you master these precise steps. No more guessing at flashing displays or wasting coffee beans on failed schedules. Program it tonight using the double-press method, confirm that clock icon, and wake up to the rich aroma of perfectly timed coffee—every single day. For persistent issues after factory reset, consult Cuisinart’s official support; your machine includes a 3-year warranty covering programming components. Now go claim those extra 10 minutes of sleep—you’ve earned them.


