
That frustrating moment when your egg whites refuse to peak or whipped cream turns grainy isn’t your fault—it’s likely your Cuisinart whisk attachment isn’t being used correctly. This essential tool transforms your stand or hand mixer into a professional-grade whipping machine, but only when handled with precise technique. Whether you’re crafting delicate meringues for pavlova or lightening cake batters for Sunday brunch, mastering how to use Cuisinart whisk attachment unlocks bakery-quality results at home. Skip the guesswork: this guide delivers exact installation steps, speed settings, and troubleshooting fixes straight from Cuisinart’s specifications—all proven to prevent deflated peaks and uneven mixing.
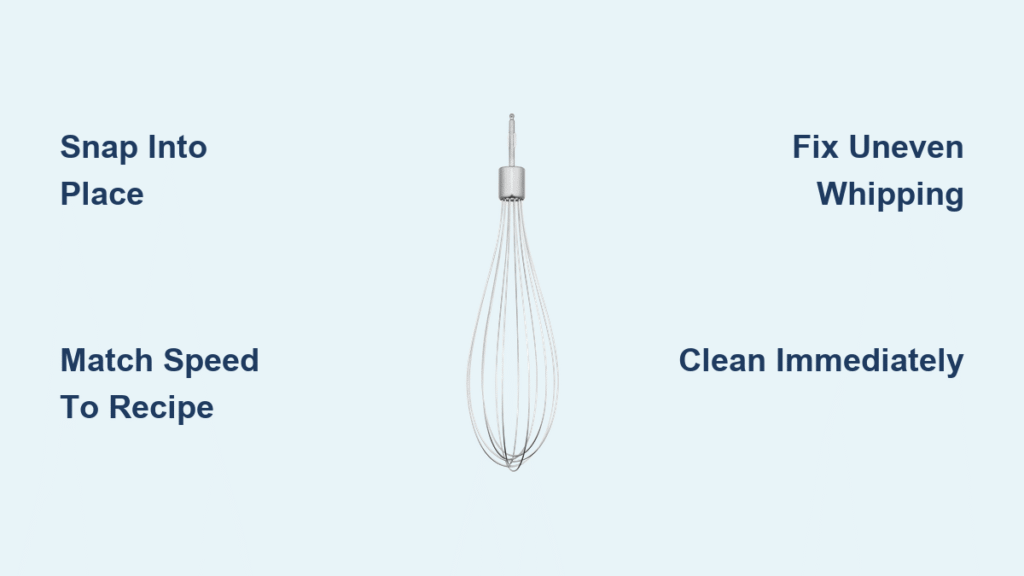
Snap Whisk Into Place in 30 Seconds

A loose or misaligned whisk attachment causes vibration, uneven whipping, and potential damage to your mixer’s motor. Proper installation takes less than half a minute but makes all the difference in performance. Always start with safety: unplug your mixer and confirm the speed dial is set to OFF before handling attachments.
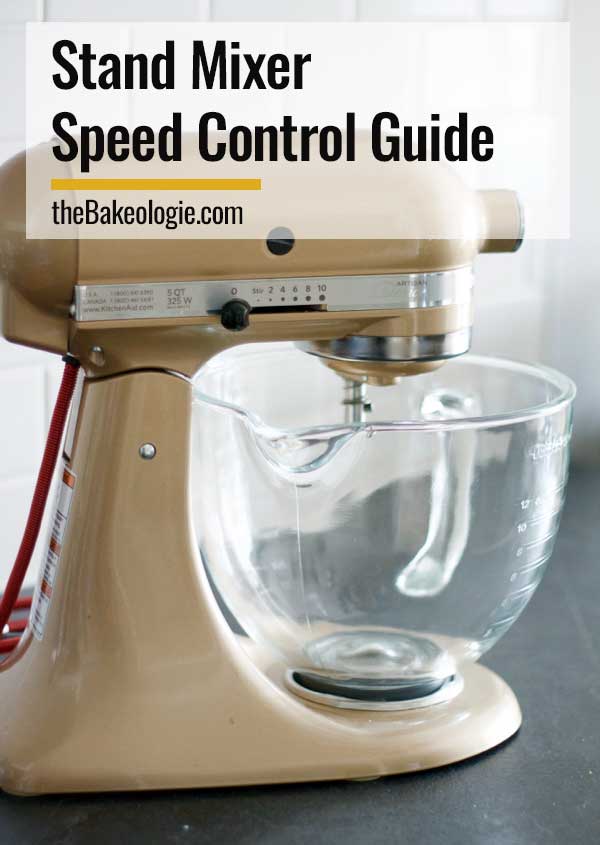
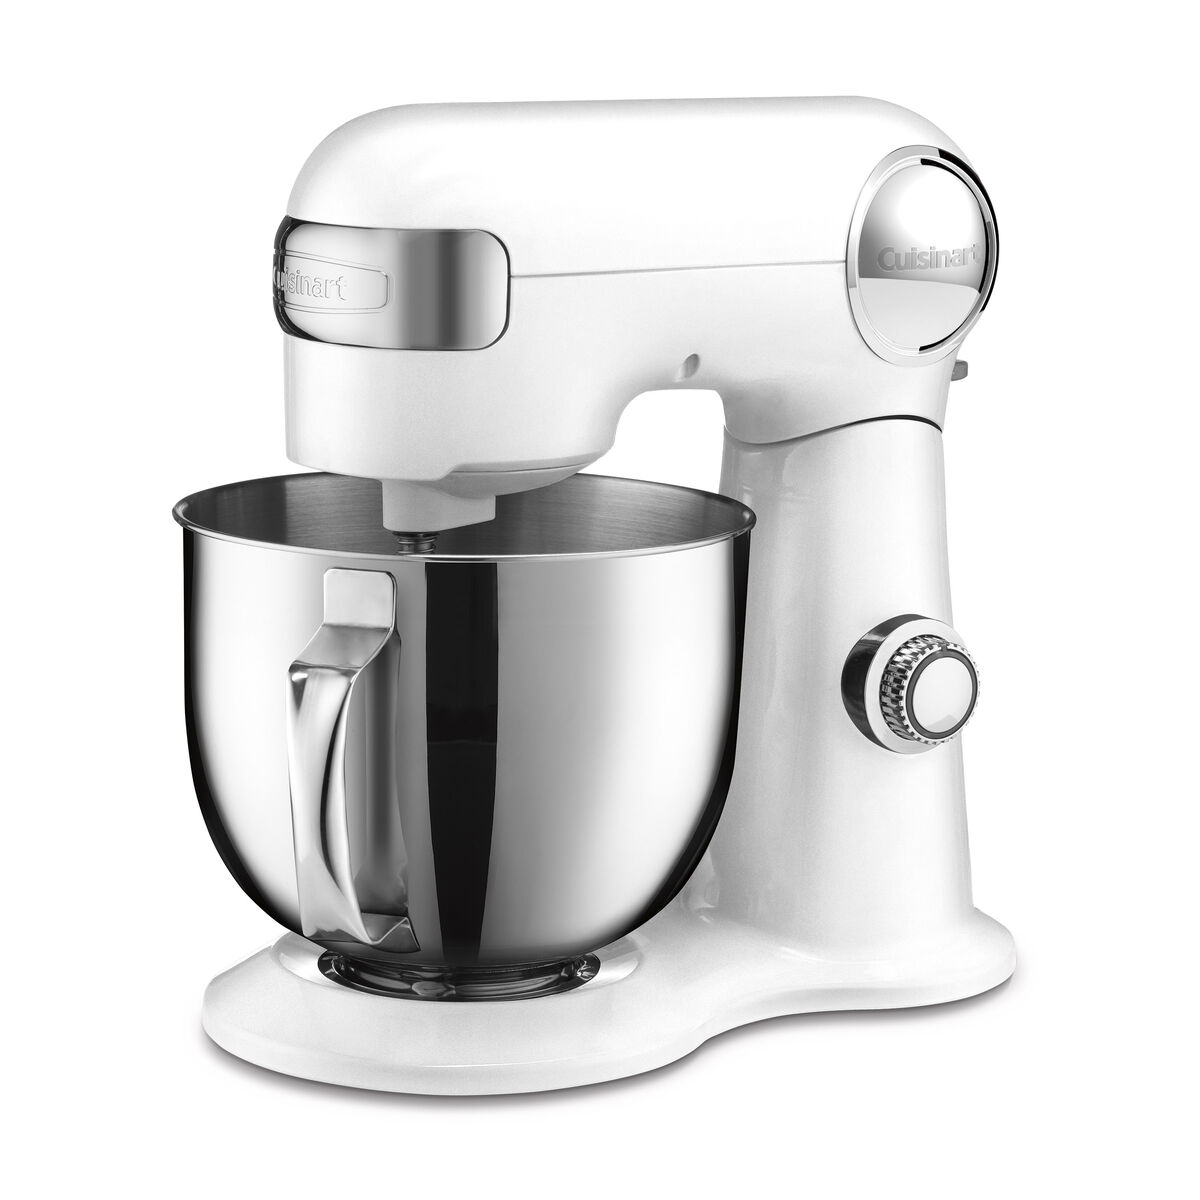
Stand Mixer Installation
For tilt-head models like the SM-50 or SM-35 series, tilt the head fully backward to expose the hub. Press the release button and pull straight down to remove any existing paddle or dough hook. Align the whisk stem with the socket, ensuring no debris blocks the connection point. Push upward firmly until you hear a distinct click—this engagement sound confirms proper seating. Give the whisk a gentle tug to verify it won’t dislodge during operation. Bowl-lift models like the SM-70 require lowering the bowl completely before attaching the whisk.
Hand Mixer Quick-Connect
Hand mixers (HM-50, HM-90, or RHM-100 series) use a dual-port system. Match each whisk wire to its corresponding slot on the mixer body—never force them. Apply even pressure to both sides simultaneously until you hear two distinct snaps. Check symmetry: if one wire sits higher than the other, remove and retry. Asymmetrical installation causes violent shaking and uneven aeration. Never operate the mixer if the whisk wobbles; this indicates improper seating that strains the motor.
Pro tip: Before attaching, wipe the hub and stem with a dry cloth. Even microscopic food particles can prevent a secure lock, leading to dangerous detachment during high-speed whipping.
Match Speed to Recipe Perfectly
Using the wrong speed is the #1 reason home bakers fail to achieve stiff peaks or end up with overmixed batter. Cuisinart’s engineering requires precise speed progression to incorporate air without collapsing delicate structures.
Heavy Cream to Stiff Peaks
Begin at Speed 2-4 for 15 seconds to blend ingredients without splashing. Gradually increase to Speed 6-8 for 1-2 minutes as the cream thickens. For final stiff peaks, blast at Speed 8-10 for 30-60 seconds—stop immediately when peaks hold their shape. Crucial detail: chill your bowl and cream to 35-45°F beforehand. Room-temperature cream takes 3x longer to whip and often separates into butter.
Egg White Meringue
Start at Speed 4-6 for 2-3 minutes to build foam. Once bubbles stabilize, jump to Speed 8 for 3 minutes to form soft peaks. Only then add sugar—1 tablespoon at a time while running at Speed 6. Finish at Speed 10 for 2-3 minutes until glossy stiff peaks form. Never skip the grease-free bowl requirement: a single drop of oil prevents proper aeration.
Warning: Overmixing cake batter at high speeds deflates air pockets, yielding dense, rubbery results. After creaming butter and sugar at Speed 4-6 for 3-4 minutes, drop to Speed 2-3 for the final mix—stop the moment streaks disappear.
Fix Common Whisk Problems Fast
When your whisk attachment underperforms, these targeted fixes resolve 90% of issues without calling support.
Attachment Won’t Lock
If the whisk won’t click into place, check for dried food debris in the hub socket using a toothpick. Inspect the stem for bends—gently straighten minor warps with pliers. For sticky connectors (common in humid climates), apply a rice-sized drop of food-grade lubricant to the socket. Never force installation; this damages the hub’s internal gears.
Uneven Whipping or One-Sided Peaks
Adjust bowl height using the calibration screw beneath the mixer head—whisk wires should clear the bowl bottom by 1-2mm. For bowl-lift models, raise the bowl until the whisk is submerged one-third into ingredients. Ensure ingredients are mounded under the whisk’s center point, not pushed to the bowl’s edges. If using room-temperature cream, chill the bowl for 10 minutes first; inconsistent temperatures cause separation.
Violent Shaking or Walking Mixer
Reseat the whisk attachment first—a loose fit amplifies vibration. Verify the mixer sits on a level, non-slip surface; place a damp towel underneath if counters wobble. Redistribute ingredients evenly before starting—clumped sugar in meringue or uneven batter causes imbalance. Lock the bowl securely into place on bowl-lift models.
Clean Whisk in 2 Minutes Flat
Residue buildup between whisk wires reduces aeration efficiency and risks bacterial growth. Daily cleaning preserves performance and extends attachment life.
After Every Use
Immediately unplug the mixer and press the release button. Rinse under warm running water while gently twisting the whisk to flush particles from wire gaps. Hand-wash with a soft sponge and mild detergent, or place in the dishwasher’s top rack (all Cuisinart whisks are top-rack safe). Air-dry completely on a towel—never store while damp, as moisture causes stainless steel corrosion.
Deep Clean Stubborn Residue
Soak in warm, soapy water for 10 minutes to loosen dried egg or batter. Use a soft toothbrush to scrub between wires, focusing on the hub connection point. For sanitization, soak in a solution of 1 tablespoon bleach per gallon of water for 5 minutes, then rinse thoroughly. Dishwasher cleaning alone won’t remove baked-on residue from wire crevices.
Storage tip: Keep the whisk in its original plastic case or wrap in a lint-free dish towel. Storing loose with other attachments bends wires, causing imbalance during use.
Know Your Model’s Limits
Overloading your Cuisinart whisk attachment strains the motor and produces subpar results. Respect these capacity thresholds based on Cuisinart’s engineering specs.
Maximum Safe Loads
Heavy cream maxes at 2 cups for SM-50/SM-35 series (4 cups for SM-70). Never exceed 12 large egg whites—you’ll get weeping meringue. Cake batter should stay under 8 cups total volume before expansion. For French meringue, 8 egg whites is the absolute limit (yielding 8-10 cups).
Minimum Effective Amounts
Too little volume prevents proper aeration: use at least ½ cup cream or 2 egg whites. Smaller quantities won’t engage the whisk wires fully, causing splattering and uneven whipping. For cake batter, 1 cup is the minimum to avoid dangerous splashing at Speed 2-3.
Critical note: Hand mixers (HM-50/HM-90) have stricter limits—max 1 cup cream or 6 egg whites. Their smaller motors overheat with stand-mixer quantities.
Advanced Whipping Techniques
Go beyond basics with these pro methods validated by Cuisinart’s test kitchen.
Ultra-Stable Whipped Cream
Freeze the bowl and whisk for 15 minutes pre-use. Add 1 tablespoon instant vanilla pudding mix per cup of cream before whipping—it stabilizes structure without altering flavor. Whip to soft peaks first, then add flavorings. Stop at firm peaks; overwhipping creates grainy texture as fat separates.
French Meringue Secrets
Use room-temperature eggs (68-70°F)—they incorporate air 30% faster than cold eggs. Add ⅛ teaspoon cream of tartar per 4 whites at the foam stage for pH balance. Introduce sugar only at soft peaks: pour in a “rain” of 1 tablespoon increments while mixer runs at Speed 6. Test readiness by lifting whisk—peaks should stand straight without drooping.
Safety Rules That Prevent Injury
Ignoring these protocols risks electrical hazards or lacerations from spinning wires.
Before You Start
Always operate with dry hands—water conducts electricity through mixer components. Secure long hair and loose sleeves away from the attachment zone. Inspect the power cord for frays; damaged cords must be replaced before use. Place the mixer on a stable surface away from counter edges.
While Mixing
Never insert spatulas or hands while the whisk spins—even at low speeds. Stop the mixer to scrape bowl sides every 30-60 seconds. Reduce speed before adding ingredients to prevent splatter. Unplug immediately if the whisk strikes the bowl; continued operation damages gears.
Critical alert: Bent or loose whisk wires compromise balance and safety. Inspect wires before each use—replace if any wire wobbles or detaches from the hub.
Quick Reference Chart
| Task | Start Speed | Peak Speed | Total Time | Key Requirement |
|---|---|---|---|---|
| Whipped cream | 2-4 | 8-10 | 2-3 min | Bowl + cream 35-45°F |
| Egg whites | 4-6 | 8-10 | 5-8 min | Grease-free bowl |
| Buttercream | 2-4 | 6-8 | 4-5 min | Room-temp butter |
| Meringue | 4-6 | 8-10 | 8-10 min | Add sugar at soft peaks |
When to Call Support
Contact Cuisinart if you notice persistent vibration after reseating the whisk, or if wires detach during operation—these indicate internal damage. Their 3-year warranty covers material defects (keep your receipt!). Reach support at 1-800-726-0190 or via live chat on cuisinart.com/support (8 AM-10 PM EST daily). Never attempt DIY repairs on electrical components; this voids warranty and creates shock risks.
Mastering how to use Cuisinart whisk attachment transforms frustrating kitchen failures into consistent, impressive results. Remember the golden rules: always secure the attachment with a click, respect capacity limits, and clean immediately after use. With these precise techniques, your whisk will deliver cloud-like meringues and silky whipped cream for years—proving that professional baking starts with knowing your tools inside out.


