
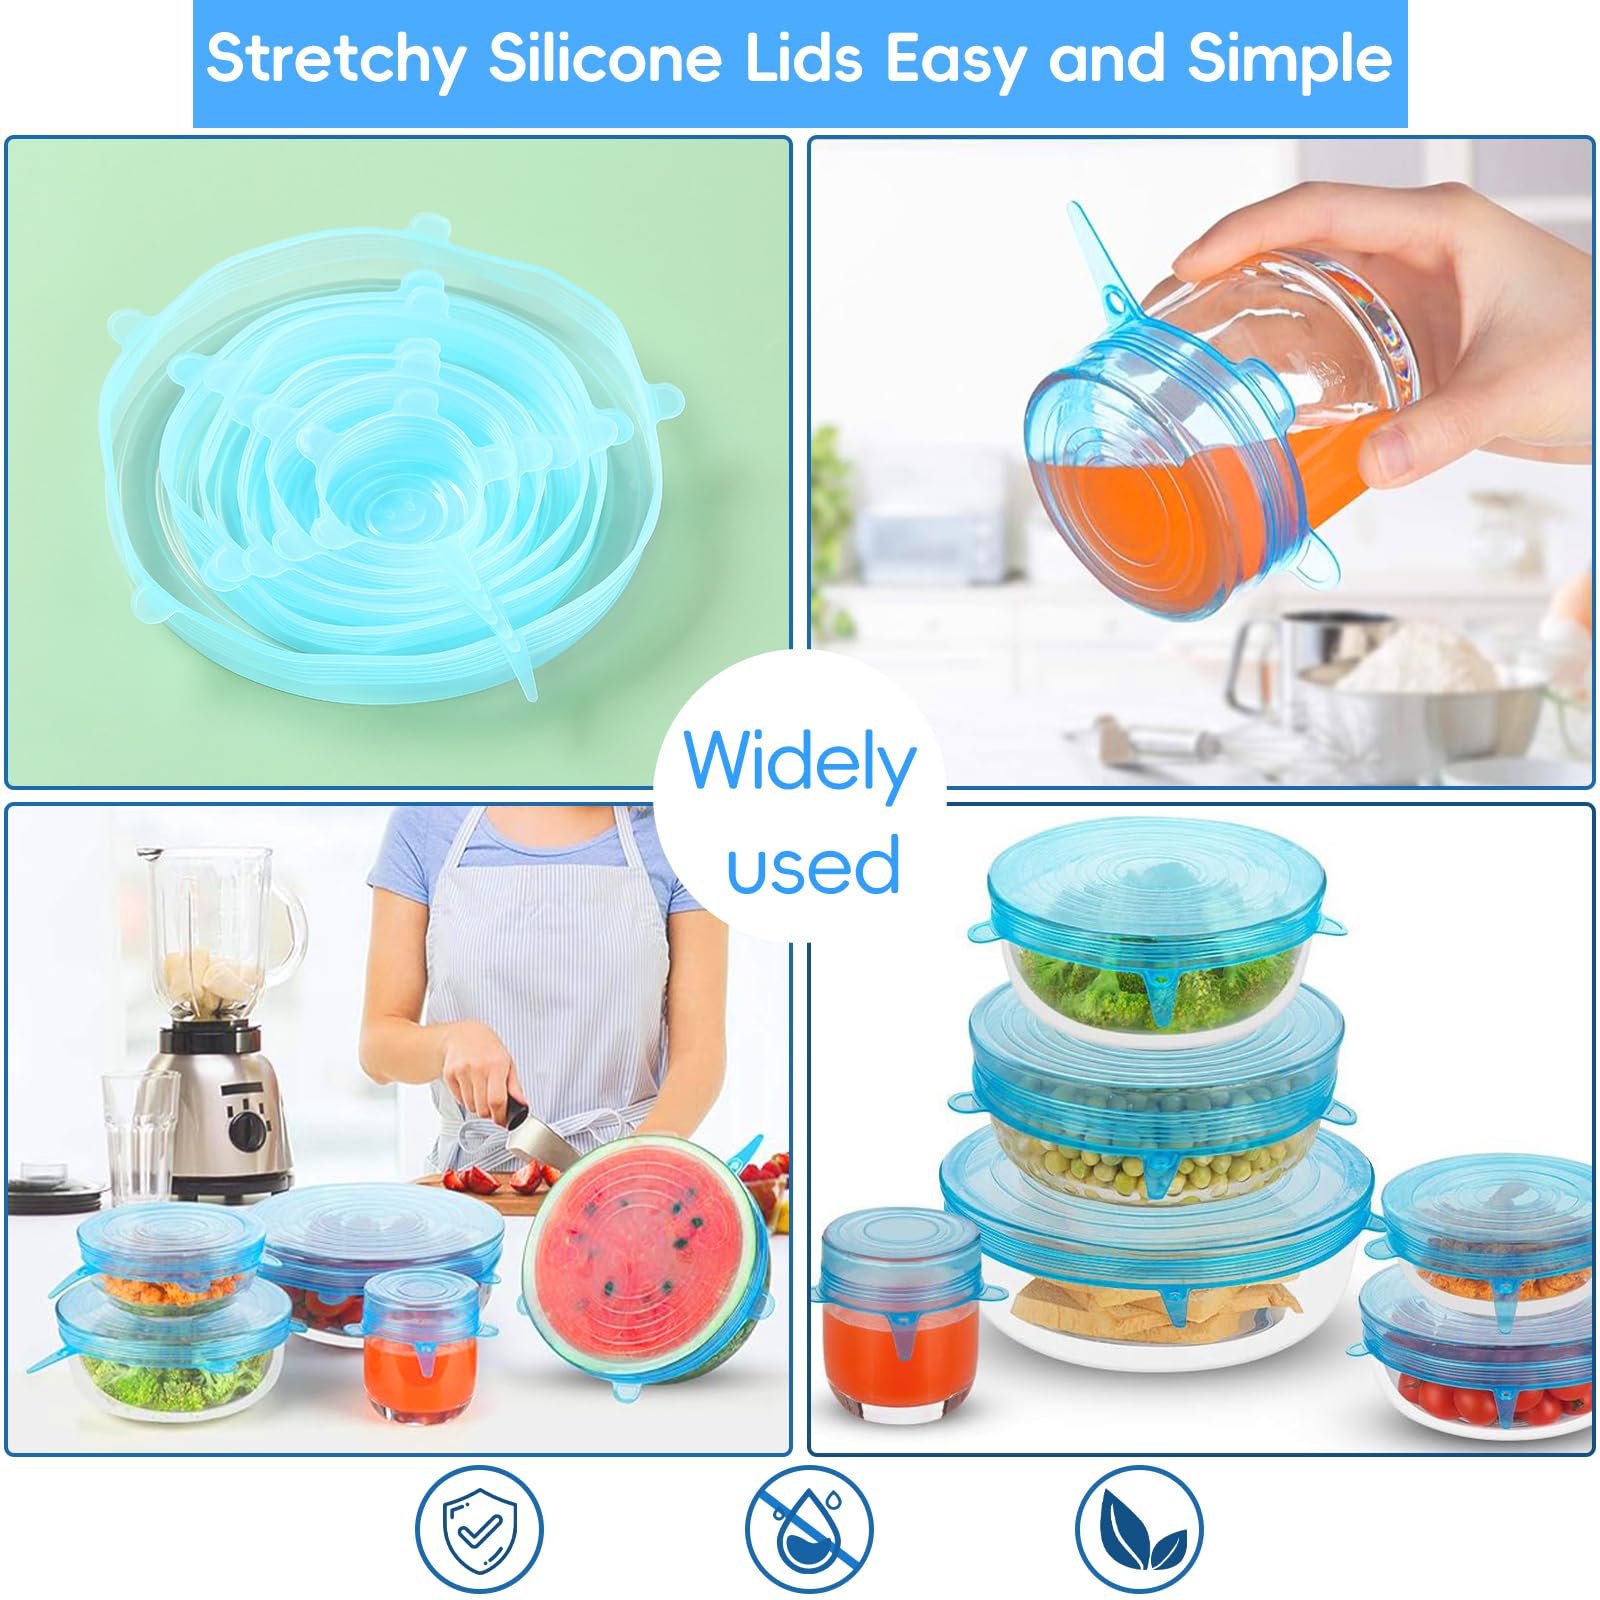
Tired of plastic wrap that won’t stick or disposable storage solutions piling up in your trash? Cuisinart flexible silicone stretch lids solve these kitchen frustrations with their innovative design that stretches over virtually any container while creating an airtight seal. These versatile lids eliminate the need for single-use plastics while keeping food fresher longer—whether you’re storing leftovers, covering open cans, or protecting half-cut produce.
This comprehensive guide reveals professional techniques for maximizing your Cuisinart silicone lids’ performance that most users never discover. You’ll learn precise sizing methods that guarantee perfect seals, temperature-specific applications from freezer to oven, and maintenance protocols that extend lid life indefinitely. Within minutes, you’ll transform from a beginner to a storage expert, saving money and reducing waste with every use.
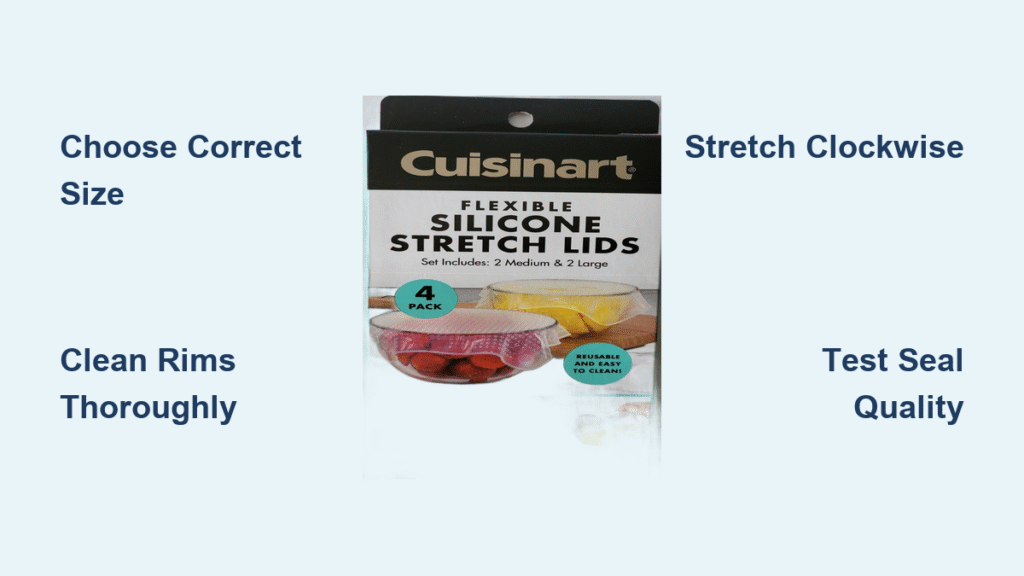
Select the Perfect Lid Size for Your Containers
Match Container Diameter with Precision
Choosing the correct lid size creates the foundation for an airtight seal—select a lid approximately 1-2 inches smaller than your container opening. This optimal tension prevents gaps while avoiding over-stretching that could damage the silicone. Cuisinart’s graduated sizing system accommodates containers from 2.6″ coffee mugs to 9.5″ serving dishes, with each size stretching up to 40% of its original diameter.
Size Selection Guide:
– Small (2.6″-4.3″): Coffee cups, mason jars, opened cans
– Medium (4.5″-6.8″): Mixing bowls, dinner plates, standard storage containers
– Large (6.3″-9.5″): Stock pots, casserole dishes, half-cut melons
Verify Fit Before Full Application
Place the lid loosely on your container rim without stretching to test compatibility. A properly sized lid will sit flat with slight overhang around the perimeter. If it’s too large, you’ll notice bunching and potential gaps; too small, and you risk tearing during application. This quick check prevents frustration and extends your lid’s lifespan by avoiding unnecessary stress.
Prepare Container Surfaces for Maximum Adhesion
Clean and Dry Rims Thoroughly
Even microscopic food particles compromise seal quality—wash container rims with warm, soapy water and dry completely with a lint-free towel. Any moisture creates air pockets that weaken the seal, allowing oxygen to degrade food faster. For stubborn grease, use a soft brush to ensure complete removal before applying your lid.
Address Specific Surface Challenges
Glass and ceramic containers require special attention as their smooth surfaces resist silicone adhesion. Lightly moisten only the container rim (not the silicone lid) with clean water to improve grip without reducing elasticity. Metal and plastic containers need inspection for dents or sharp edges that could tear the silicone during stretching—smooth these imperfections before application.
Perfect Your Installation Technique for Airtight Seals
Start Application at One Edge
Position the lid with the smooth side facing down toward food, then press firmly onto one edge of the container rim to create your anchor point. This controlled starting position prevents uneven tension that leads to seal failure. The smooth side down orientation ensures optimal food contact and prevents contamination.
Stretch Clockwise with Consistent Pressure
Gradually work around the container perimeter while maintaining even tension—think of it like mounting a bicycle tire. The silicone should glide naturally without forcing or creating stress concentrations. Pro tip: If resistance increases at any point, gently release and reposition to avoid potential tears.
Create a Vacuum Seal for Extended Freshness
Once fully applied, press firmly on the lid’s center with your palm to expel excess air. This negative pressure formation extends food freshness by 24-48 hours compared to loose covering. A properly sealed lid requires deliberate effort to remove—test by gently lifting one edge; it should resist immediate separation.
Adapt Techniques for Special Container Shapes
Master Rectangle Container Sealing
Start at one corner and stretch diagonally to the opposite corner before working toward the remaining corners. This cross-corner technique distributes tension evenly across non-circular shapes, preventing weak spots at stress points. Complete the seal by working along the straight edges with consistent pressure.
Handle Square Containers Without Tears
Apply using the same diagonal approach as rectangles, ensuring each corner receives equal stretch. Square containers often require more precise sizing since corners create additional stress points—choose a size that stretches comfortably without excessive tension at the corners.
Cover Half-Cut Produce Successfully
Select a lid that comfortably stretches over curved surfaces like watermelon or squash. Position the lid over the highest point of the cut surface and work outward, allowing the silicone to conform to the shape. The flexible material creates an airtight seal that prevents dehydration and contamination while maintaining optimal humidity.
Optimize Temperature-Specific Applications

Freezer Storage Without Cracking
Lids maintain flexibility at -40°F, allowing direct freezer storage. However, allow frozen containers to sit at room temperature for 2-3 minutes before removal—cold silicone becomes slightly stiffer and more prone to tearing during forceful removal. Important: Never over-stretch lids when cold as this compromises long-term elasticity.
Microwave Reheating Safely
Safe for microwave use up to 600°F, these lids won’t leach chemicals or retain odors. For safe reheating, leave one corner slightly lifted to allow steam venting and prevent dangerous pressure buildup. The platinum-cured silicone construction ensures no flavor transfer even with strongly seasoned foods.
Oven Use Up to 600°F
When using lids in the oven, position them away from direct heating elements. The stable material won’t transfer flavors during extended cooking periods, making them ideal for covered baking dishes. Always verify your oven temperature with an independent thermometer as excessive heat beyond specifications voids the warranty.
Troubleshoot Common Sealing Problems Immediately

Fix Lid Slippage Issues
Cause: Incorrect sizing or dirty container rim
Solution: Reapply using proper technique starting at one edge and maintaining consistent tension. Inspect container rim for chips or irregularities that prevent proper adhesion—smooth these with fine sandpaper if necessary.
Prevent Tearing During Removal
Cause: Improper removal technique
Solution: Create a designated pull tab by leaving one section slightly less stretched during application. Always remove from this tab area to prevent stress concentration at random points. If tears occur within warranty period, Cuisinart provides replacement under their lifetime guarantee.
Test Seal Quality Before Storing Food
Gently lift one edge of the applied lid—the proper seal should resist immediate removal. If it slides off easily, resize and reapply using the progressive stretching technique. This simple test prevents wasted food and frustration when you discover seal failure hours later.
Maintain Lids for Maximum Longevity
Daily Cleaning Protocol
Dishwasher safe on the top rack—place lids concave-side down to prevent water pooling. The non-porous surface releases food easily, though grease requires targeted attention. Critical: Never use abrasive cleaners or scouring pads that create micro-scratches where bacteria can hide.
Deep Clean Stubborn Stains Effectively
Create a baking soda paste (2 tablespoons soda + 1 teaspoon water). Apply to stained areas, let sit 10-15 minutes, then gently scrub with soft brush. Rinse thoroughly and air dry completely before storage. This natural method removes stains without damaging the silicone structure.
Remove Persistent Odors Safely
Soak in equal parts white vinegar and water for 30 minutes to break down odor compounds from strong foods like onions or fish. Rinse thoroughly and air dry in a well-ventilated area—never store damp lids as this encourages bacterial growth.
Restore Lost Elasticity with Thermal Shock
Submerge lids in boiling water for 2-3 minutes, then immediately transfer to ice water bath. This process realigns polymer chains, often restoring original stretch. Test elasticity before full use—perform this treatment only when necessary as excessive use can degrade material over time.
Maximize Food Freshness and Cost Savings
Testing shows salad greens maintain crispness for 3 days under properly sealed Cuisinart lids versus 1 day uncovered. Leftover soups retain optimal flavor without skin formation for 4-5 days, while cut fruits resist browning for 2-3 days longer than alternative storage methods.
A single 6-piece set handles 90% of typical storage needs, eliminating approximately 2,000 pieces of plastic wrap annually. This translates to $60-$120 yearly savings for average households while significantly reducing kitchen waste. The initial investment typically pays for itself within 3-4 months through eliminated disposable storage costs.
Pro Tip: Keep a dedicated set for strong-smelling foods like onions and fish to prevent odor transfer to containers storing delicate items like fresh fruit or baked goods. This simple organization strategy maximizes your lids’ effectiveness across all food types.
With proper technique and maintenance, your Cuisinart flexible silicone stretch lids will provide years of reliable service while transforming your food storage practices. By following these professional methods, you’ll enjoy fresher food, reduced waste, and significant cost savings—all while contributing to a more sustainable kitchen environment.


