
That gritty store-bought almond butter with mysterious additives? Toss it. Your Cuisinart food processor can transform raw almonds into velvety, preservative-free butter while you finish your morning coffee. I discovered this game-changer when my expensive store jar separated into oil pools within days – homemade butter stays perfectly creamy for weeks using just almonds and patience. You’ll never believe how simple making almond butter in a Cuisinart food processor actually is once you master the roasting sweet spot and scraping rhythm. By the end of this guide, you’ll have a refrigerator staple that elevates smoothies, snacks, and desserts while saving you $15 per jar.
Forget complicated recipes requiring special equipment. This method works with any standard Cuisinart model (even that dusty one in your cabinet) and delivers professional results in under 15 minutes of active time. The magic happens through precise temperature control and strategic scraping – not expensive upgrades. Whether you’re vegan, paleo, or just tired of palm oil fillers, this guide eliminates the guesswork that ruins first attempts. Let’s turn those humble almonds into golden, spreadable perfection.
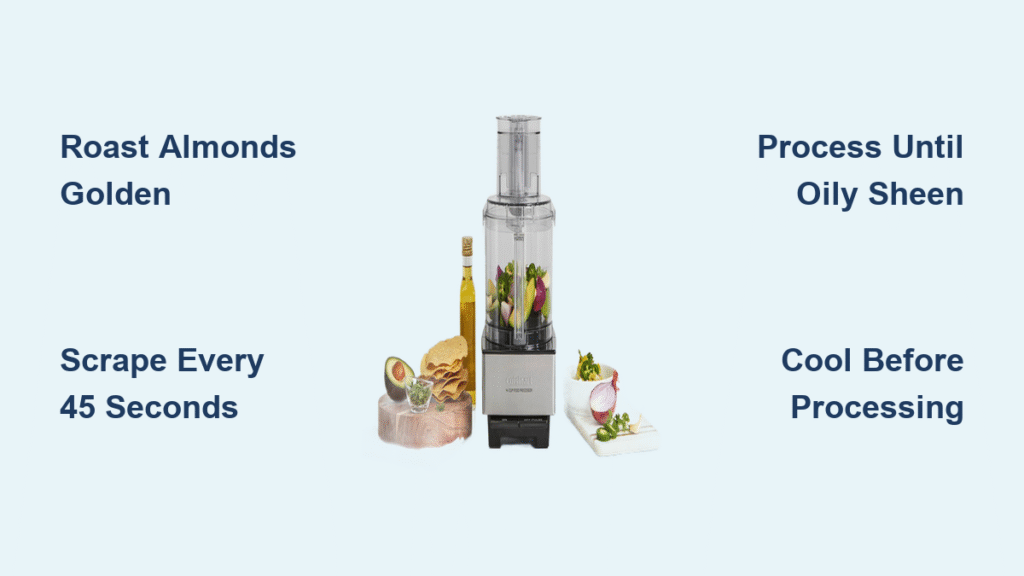
Gather Your Cuisinart Food Processor and Essential Tools
Before touching almonds, verify your setup prevents mid-process disasters. Your Cuisinart’s motor strain warning isn’t just suggestion – I learned this when my processor smoked after 8 minutes of continuous grinding. Use only heavy-duty models (7+ cups capacity) with metal bowls; plastic containers warp under nut-butter heat. Essential tools include a thin flexible spatula ($3 works better than expensive “nut butter scrapers”), rimmed baking sheet, and airtight storage jar. Never skip the spatula – the last 10% of scraping determines whether you get smooth butter or gritty paste. Pro tip: Run your Cuisinart empty for 10 seconds first to clear residual moisture from previous uses.
Critical Tool Checkpoints
- Processor size: Minimum 7-cup capacity (Cuisinart FP-14DCNY ideal)
- Bowl material: Metal recommended; plastic risks overheating
- Spatula type: Silicone with curved edge for bowl contours
- Baking sheet: Rimmed to prevent almond scatter during roasting
Perfectly Roast Almonds for Smooth Butter

Under-roasted almonds sabotage texture before processing even begins. This isn’t optional “flavor enhancement” – raw almonds won’t release oils properly. Spread exactly 2 cups raw almonds in a single layer on your baking sheet; overcrowding causes steam pockets that create uneven roasting. Your oven’s hot spots demand vigilance: Set timer for 8 minutes but watch closely after 6. Almonds turn from pale beige to warm golden-brown – not dark brown. The moment you smell nutty toastiness (around 9-10 minutes at 350°F), pull them out. I’ve burned batches by trusting timers over senses – that bitter aftertaste ruins entire jars.
Avoid These Roasting Disasters
- Crowded baking sheets: Causes uneven browning → gritty butter
- Skipping cooling time: Hot almonds melt processor blades → motor burnout
- Over-roasting: 30 seconds too long creates acrid flavor no honey masks
- Under-roasting: Requires 50% more processing time → overheated motor
Process Almonds Without Overheating Your Cuisinart
The “scrape-and-pause” rhythm separates successful batches from motor-straining failures. Dump cooled almonds into your processor and pulse 5 times to break large pieces. Then process continuously while watching these critical stages: First, crumbs form (2 minutes). Next, a thick paste clings to blades (3 minutes). Finally, oils release creating liquid gold (2-3 minutes). Stop every 45 seconds – yes, set phone alarms! – to scrape every surface where almond paste hides. That pocket near the blade shaft? It’s the #1 cause of uneven texture. If your processor smells hot, rest 5 minutes; pushing through risks permanent motor damage.
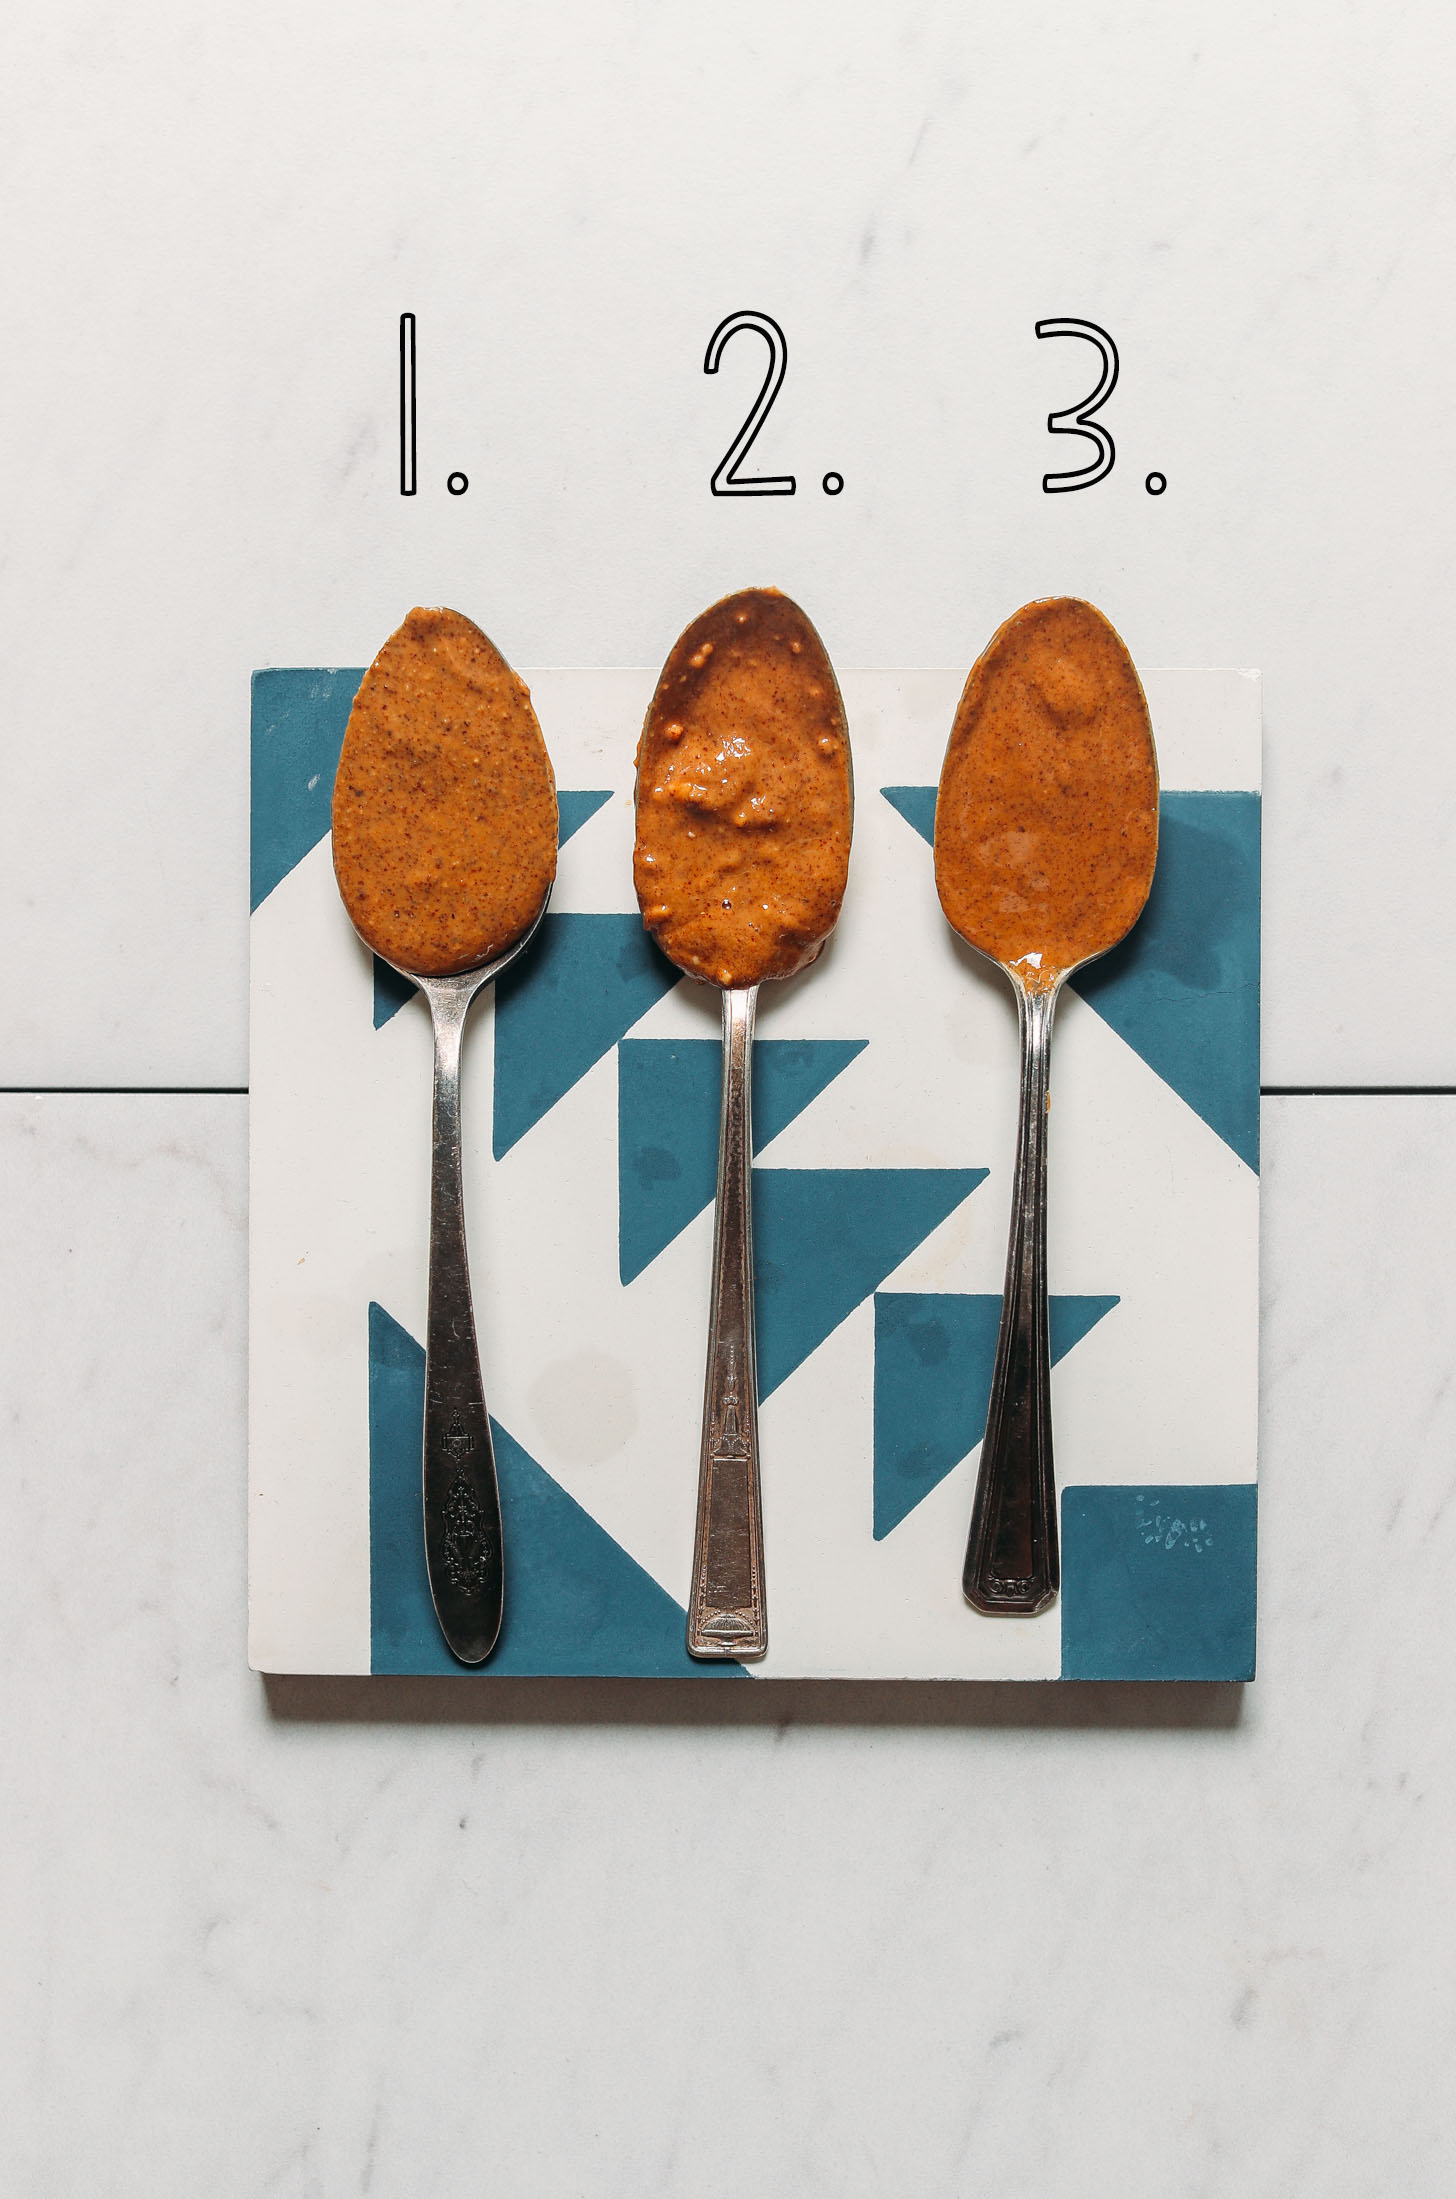
Texture Transformation Timeline
| Stage | Time Elapsed | Visual Cues | Action Required |
|---|---|---|---|
| Crumbly | 0-2 min | Dry meal, no clumps | Pulse to break large pieces |
| Paste | 2-5 min | Thick ball, sticks to sides | Scrape thoroughly every 45 sec |
| Butter | 5-8 min | Oily sheen, drips slowly | Final scrape, process 60 sec |
Achieve Creamy Texture: Visual Cues and Fixes
Your butter’s finish should resemble warm peanut butter – smooth enough to drip slowly off a spoon. If it’s grainy, you either under-roasted almonds or skipped scraping intervals. Fix immediately: Add 1 tsp neutral oil (avocado, not olive) and process 90 seconds. For thick butter, roast future batches 60 seconds longer – underdone almonds won’t release sufficient oils. Separated oil layers? Normal! Stir before use; this proves no emulsifiers were added. Never add water – moisture causes spoilage. When perfectly made, your Cuisinart almond butter should coat the back of a spoon without gaps.
Troubleshoot Texture Immediately
- Gritty texture: Under-roasted almonds → add 1 tsp oil, process 2 min
- Too thick: Insufficient roasting time → next batch roast 1 min longer
- Oil separation: Natural occurrence → stir before each use
- Bitter taste: Over-roasted nuts → salvage with 1 tsp maple syrup
Store Homemade Almond Butter for Maximum Freshness
Refrigeration isn’t optional – raw nut oils turn rancid fast at room temperature. Immediately transfer butter to a clean glass jar (plastic absorbs odors), pressing it flat to eliminate air pockets. The golden layer on top? That’s precious almond oil – don’t drain it! Seal tightly and refrigerate. Properly stored, it stays fresh 3 weeks – double store-bought shelf life without preservatives. For long-term use, freeze in ice cube trays then transfer cubes to bags; thaw overnight in fridge. Never use wet spoons – moisture introduces mold. I’ve had batches last 5 weeks using this method.
Why Your Cuisinart Outperforms Blenders for Nut Butter

Blenders fail at nut butter because physics works against them. Their tall, narrow jars trap almonds against blades, requiring constant scraping that still yields uneven texture. My Vitamix attempts always left gritty patches despite 15 minutes of processing. Cuisinarts win with wide, shallow bowls that let almonds cascade freely toward blades. The horizontal motion grinds evenly without trapping pockets. Only wide-container Vitamix models (like Ascent series) come close, but they cost 5x more. Save your blender for soups – your food processor was literally engineered for this task. That “dough” setting? Perfect for nut butter.
5 Ways to Use Fresh Almond Butter Beyond Toast
Your homemade batch deserves better than basic sandwiches. Swirl 2 tbsp into oatmeal during cooking for protein-packed creaminess that replaces butter and sugar. Freeze banana slices dipped in almond butter for “nice cream” base – the nuts prevent ice crystals. Replace peanut butter 1:1 in cookie recipes; the milder flavor lets chocolate shine. For savory magic, whisk 1 tbsp with soy sauce and rice vinegar as satay sauce for grilled tofu. My favorite emergency snack? Apple slices with almond butter and everything bagel seasoning – ready in 90 seconds.
Troubleshoot First-Batch Almond Butter Problems
Your first jar won’t be perfect – mine separated into oil and paste because I skipped cooling time. Oven variances demand personal calibration: Note your ideal roasting time (mine’s 9:30 at 350°F). If butter won’t smooth out after 10 minutes, add 1 tsp oil and process 2 more minutes – never add liquid. Motor overheating? Let it rest 10 minutes; pushing through risks $100 repairs. Burnt almonds? Still usable in smoothies but flavor’s compromised. Graininess? Likely insufficient scraping – invest in a $3 silicone spatula. Remember: Almonds release oils gradually. That “it’s not working!” panic at minute 4? Normal. Keep processing.
Pro Time-Saving Hacks for Frequent Almond Butter Makers
Roast 4 cups almonds at once and store cooled nuts in freezer bags. Future batches skip roasting – just dump frozen nuts into processor (add 30 seconds processing time). Double recipes when your Cuisinart handles 4 cups; freeze portions in silicone muffin cups for single-serve thawing. For chocolate-almond butter, add 3 tbsp cocoa powder during paste stage. Want salted caramel? Stir in 1 tsp flaky salt and 2 tbsp date syrup after processing. Most valuable hack: Clean your processor immediately after use. Dried almond paste clogs blades – run warm water with 1 drop soap, then pulse 10 seconds before rinsing.
Your Cuisinart just became a nut butter factory. That first spoonful of warm, freshly made almond butter – rich, complex, with no weird aftertaste – makes the scraping worth it. Remember the golden rule: Perfect roasting creates perfect butter. Store your next batch in a repurposed pasta sauce jar (I always have extras), and you’ll never buy store-bought again. Now go rescue those raw almonds from the pantry – your toast, smoothies, and snacks deserve this upgrade. The 15 minutes you invest today pays off in flawless butter for weeks.


