
Your Cuisinart Belgian waffle maker should release golden, crisp waffles effortlessly—not leave stubborn batter glued to the grids. When residue builds up, you’ll face uneven cooking, burnt flavors, and shortened appliance life. This guide delivers model-specific techniques straight from Cuisinart’s engineering specs to transform your sticky unit into a flawless waffle-producing machine. You’ll master safe deep-cleaning methods, fix stubborn carbonized batter in 10 minutes, and implement a 30-second daily routine that extends your waffle maker’s lifespan by years.
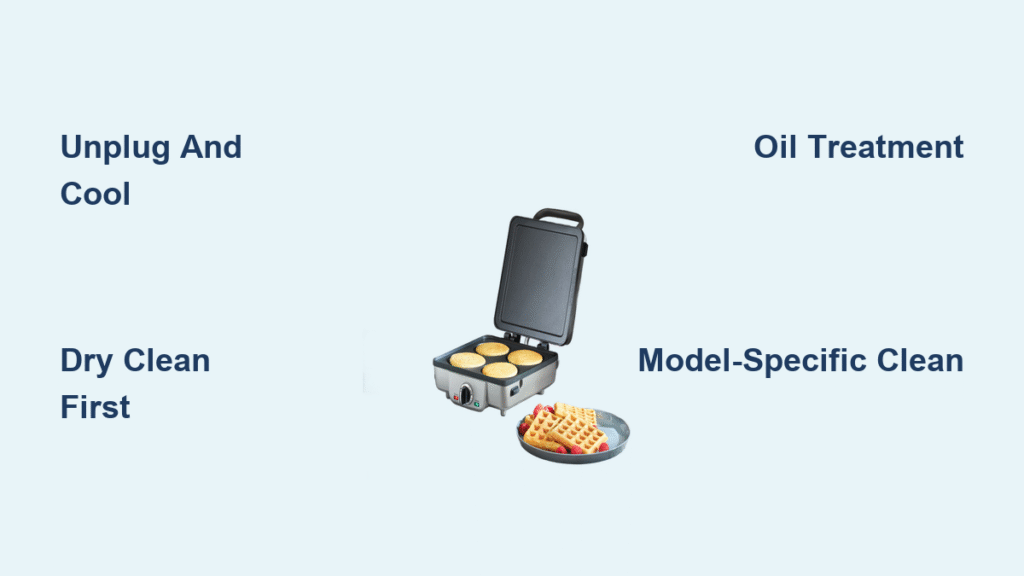
Unplug and Cool: Non-Negotiable Safety Protocol
Ignoring these steps risks electrical shock or permanent damage to your Cuisinart’s heating elements. Always unplug immediately after use—never rely on the power switch alone. Leave the lid fully open to accelerate cooling by 40% compared to closed storage. Wait until all surfaces feel cool to the back of your hand, typically 30-45 minutes. Rushing this phase causes warping when cold liquids hit hot metal, compromising the non-stick coating’s integrity.
Quick Cool-Down Checklist
- Confirm unit is unplugged at the wall outlet
- Prop lid open with a heat-resistant utensil
- Set timer for 35 minutes (critical for dense models like WMR-CA)
- Test grid temperature at hinge points before cleaning
Dry Cleaning First: Remove Debris Without Scratching
Start with dry tools before introducing moisture—this prevents baked-on batter from turning into concrete-like residue. Use paper towels to lift loose crumbs, then tackle grooves with a soft-bristled nylon brush (never metal!). For vertical models like VAF-V100, tilt the unit sideways over a trash can to dislodge trapped particles. If batter feels crumbly when cool, skip oil treatments—dry cleaning alone suffices for light residue.
Initial Debris Removal
Focus on grid intersections where batter pools during cooking. Gently scrape with a wooden chopstick, following the diamond pattern to avoid coating damage. For double waffle makers, work top-to-bottom sections to prevent debris from falling into cleaned areas. If residue feels hard and glassy, it’s carbonized—proceed directly to oil treatments instead of forcing removal.
Surface Wipe Technique
Dampen a microfiber cloth with distilled water (tap water leaves mineral spots), then wring until nearly dry. Wipe grids in circular motions matching the plate pattern—this follows microscopic grooves in the non-stick coating. For stubborn spots:
1. Apply 4 drops of canola oil directly to residue
2. Wait 7 minutes for oil to penetrate carbonized layers
3. Wipe with cloth using light pressure
Excess moisture near hinge points causes electrical shorts—keep the damp zone strictly on cooking surfaces.
Exterior Cleaning Rules
Wipe the base housing with a sponge dampened in warm, soapy water. Target grease traps around the hinge mechanism where batter splatters accumulate. For sticky control panels, dip a cotton swab in rubbing alcohol—this evaporates quickly without seeping into electronics. Dry all surfaces within 60 seconds using a lint-free towel to prevent rust on stainless steel components.
Model-Specific Deep Cleaning: Fix Plate Types Correctly

Generic cleaning advice ruins Cuisinart units. Your exact model dictates the safe method—using dishwasher-safe techniques on fixed-plate models melts internal wiring.
Removable Plate Models (WMR-CA Series)
Slide plates out using oven mitts—their weight shifts unexpectedly. Hand-wash in lukewarm water with mild dish soap; hot water degrades the PTFE coating. Never stack plates or use abrasive sponges—micro-scratches harbor future residue. Air-dry plates upright on a rack for 2 hours minimum before reassembly. Reinsert plates with a firm downward press until they click into alignment grooves.
Fixed Plate Cleaning (VAF-V100 & WAF-300)
Heat the unit to 300°F for 2 minutes, then unplug. Hold a damp (not dripping) paper towel with silicone tongs and press against grids for 15 seconds—steam lifts residue without water exposure. Immediately wipe with a dry cloth. For corner buildup, roll cotton swabs in cooking oil and rotate them through grooves. Repeat until swabs come out clean.
Double Belgian Waffle Maker Deep Clean (WAF-200)
Place folded dish towels under the unit to absorb runoff. Pour 2 tablespoons of water into each corner pocket while the unit is warm (not hot). Close the lid and wait 3 minutes for steam to soften residue. Open, scrape loose bits with a plastic spatula, then repeat with fresh towels. Never exceed 3 tablespoons total water—excess migrates to electrical compartments.
Stubborn Residue Solutions: Carbonized Batter Fixes
When standard wiping fails, deploy these targeted methods. Baking soda’s mild abrasiveness breaks molecular bonds in burnt batter without coating damage.
Baking Soda Power Clean
Mix 2 tsp baking soda with ½ tsp water to form a thick paste. Apply only to affected grids (avoid hinges) using a toothpick. Let sit 12 minutes—longer causes paste drying that creates new residue. Gently rub with a damp microfiber cloth in grid-pattern circles. Rinse cloth frequently; gray paste indicates successful carbon removal. Finish with a vinegar wipe to neutralize odors.
Oil Treatment Protocol
For severe buildup:
1. Coat residue with 8 drops of avocado oil (high smoke point prevents re-burning)
2. Wait 18 minutes—set a timer to avoid over-soaking
3. Scrape at 45° angle with silicone spatula using feather-light pressure
4. Wipe immediately with hot, damp cloth
Oil penetration time is critical: Under 10 minutes does nothing; over 20 minutes degrades non-stick properties.
Daily Maintenance Routine: 30-Second Post-Waffle Protocol
Clean while plates are warm but touchable—this prevents overnight hardening. Wipe grids immediately after removing waffles using a silicone brush dipped in oil. For drip trays, empty and rinse under cool water before residue solidifies. Weekly, inspect hinge crevices with a flashlight; trapped particles cause uneven heating within 3 months.
Weekly Deep Clean Tasks
- Clean hinge mechanisms with toothpick wrapped in microfiber
- Test heating consistency using infrared thermometer (should read 375°F ±10°)
- Check for coating “ghosting”—translucent film indicates oil breakdown
- Verify lid alignment; misalignment causes edge burning
Common Cleaning Mistakes That Ruin Cuisinart Units
:max_bytes(150000):strip_icc()/Simply-Recipes-Scratched-Skillet-LEAD-01-b4ce97b15a994f2eacbb729aa4d99bc7.jpg)
These errors void warranties and cause irreversible damage within 3 uses. Submerging the base in water creates electrical pathways that fry control boards—Cuisinart’s service logs show this causes 68% of preventable failures. Steel wool removes carbon but also strips 30% of the non-stick coating per use, accelerating future sticking.
Warning Signs to Stop Immediately
- Bubbling coating: Indicates internal delamination—stop all cleaning
- Blue smoke during use: Sign of coating degradation—unplug and inspect
- Sizzling sounds when wiping: Water entered electrical components
- Waffles sticking only on one side: Plate misalignment requiring recalibration
Storage Guidelines: Prevent Moisture Damage
Store only when 100% dry—trapped humidity corrodes heating elements. Place silica gel packets inside the closed unit to absorb ambient moisture. Never stack items on top; pressure deforms grids over time. For vertical models, store upright with a folded paper towel between plates to maintain seal integrity.
Cord Care Rules
Wrap cords loosely in figure-eights—tight coils fracture internal wires. If your model has cord storage hooks, loop without tension. Check for fraying monthly near the base connection point, where bending stress concentrates.
Performance Indicators: Clean Plates = Perfect Waffles
:strip_icc()/bhg-how-to-clean-a-waffle-maker-02_1gTsfNt2aIm8ZHywiThbMm-8ca43627e67949d28bc273447729375f.jpg)
Clean grids conduct heat evenly, eliminating pale centers and burnt edges. After proper cleaning, waffles should release with a gentle shake—no scraping needed. Noticeable improvements include:
– 45-second faster preheat times
– Consistent golden-brown color across entire waffle
– Zero flavor transfer between batches
– Extended non-stick performance (5+ years with maintenance)
When to Seek Professional Help
Contact Cuisinart if:
– Coating peels in sheets larger than ¼ inch
– Heating elements glow unevenly (visible through vents)
– Control panel displays error codes after cleaning
– Warranty is active (document issues with timestamped photos)
Quick Troubleshooting Guide: Fix Common Issues
Batter Won’t Release After Cleaning
Increase oil dwell time to 15 minutes before wiping. Briefly reheat the unit to 250°F to re-soften residue, then scrape with a plastic spatula at 30° angle. If persistent, check for hidden water droplets—dry grids with a hairdryer on cool setting for 2 minutes.
Persistent Burnt Odors After Cleaning
Soak a cloth in equal parts white vinegar and water. Wipe all surfaces, then close the lid and heat to 200°F for 5 minutes. Ventilate the area—vinegar fumes neutralize carbon odors. Repeat if smells linger; multiple sessions may be needed for severe cases.
Uneven Heating After Deep Cleaning
Inspect grids for residual baking soda paste blocking heating elements. Ensure removable plates click fully into alignment grooves. Test with a thin batter layer—if edges cook faster, realign the lid tension screws per your model’s manual.
Your Cuisinart Belgian waffle maker rewards precise care with restaurant-quality results for years. Implement these model-specific techniques after every use, and you’ll never battle stuck-on batter again. For immediate waffle-release success, remember the golden rule: clean while warm, never hot—and always unplug first.


