
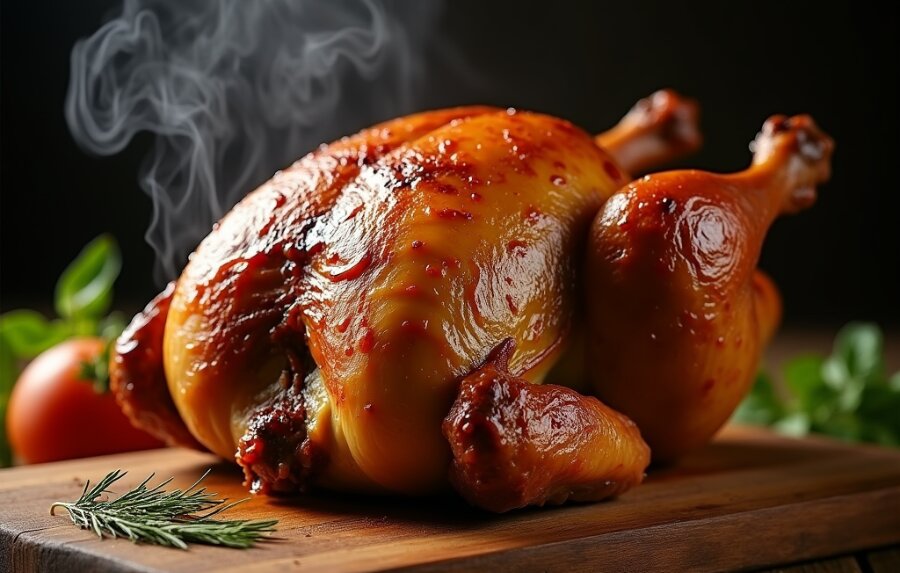
That unmistakable aroma of golden-brown chicken rotating slowly over glowing elements – it’s the scent of effortless weeknight dinners and Sunday family feasts. When your Cuisinart rotisserie delivers crackling skin and impossibly juicy meat with minimal hands-on time, you’ll wonder how you ever cooked chicken any other way. These Cuisinart rotisserie recipes transform ordinary grocery-store birds into restaurant-quality centerpieces using smart techniques you’ll master in one try. Forget dry, bland results – we’ll show you exactly how to leverage your appliance’s spinning magic for foolproof dinners that become household staples.
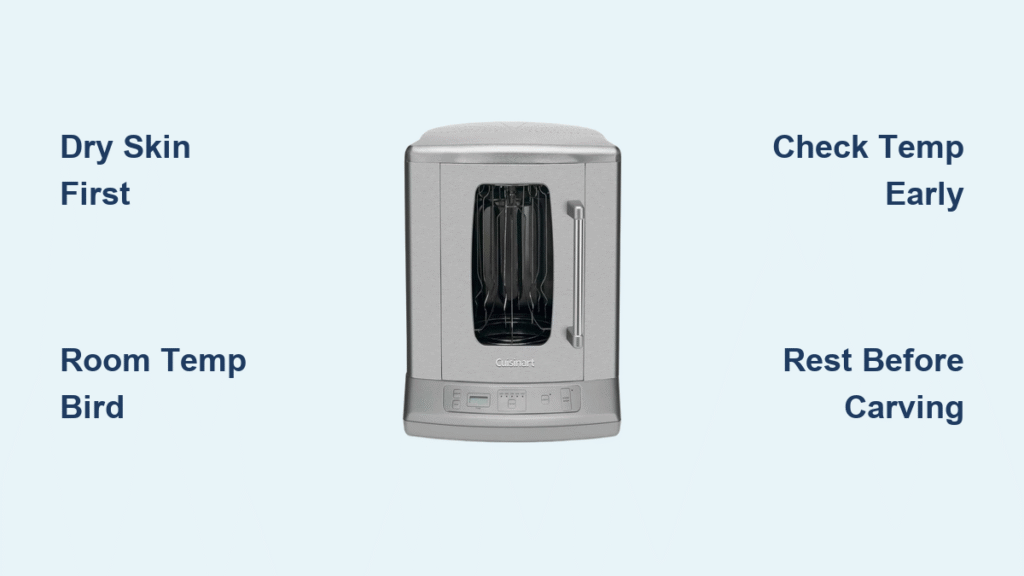
The secret lies in understanding how your Cuisinart rotisserie’s constant rotation creates even cooking and self-basting. Unlike standard ovens, the spinning motion continuously redistributes rendered fats over the surface, building complex flavors while locking in moisture. For best results, always use room-temperature birds and never skip the critical drying step – moisture is the enemy of crispy skin. Whether you’re reviving last week’s grocery haul or planning Sunday dinner, these Cuisinart rotisserie recipes deliver consistent perfection starting with the foundational technique below.
Dry Chicken Like a Pro for Maximum Crispiness
Moisture on the skin surface guarantees steaming instead of browning – the single biggest reason for soggy rotisserie chicken. This isn’t just prep work; it’s your crispy skin insurance policy.
Why Paper Towels Beat Air-Drying
- Immediate action: Room-temperature birds develop surface moisture within minutes after rinsing
- Texture test: Skin should feel completely dry to the touch, like parchment paper
- Critical zones: Pay special attention to wing joints and thigh crevices where water pools
The 2-Minute Drying Protocol
- Unwrap and inspect: Remove giblets and pat cavity dry first
- Paper towel technique: Use 3-4 sheets bunched in your fist to absorb moisture without tearing skin
- Rotate and repeat: Turn chicken breast-down for 30 seconds, then flip to finish drying
- Final check: Hold under kitchen light – no visible moisture sheen should remain
Skipping this step sacrifices 40% of your potential crispiness. For extra insurance, refrigerate the dried bird uncovered for 1 hour before seasoning – the cold, dry air further dehydrates the skin surface.
Perfect Timing for Every Cuisinart Rotisserie Chicken

Your appliance’s 375°F sweet spot works for all standard birds, but weight variations demand precise timing. These Cuisinart rotisserie recipes include foolproof checkpoints so you never guess again.
The 45-Minute Gold Standard
| Chicken Weight | Total Cooking Time | Critical Temp Check |
|---|---|---|
| 3-3.5 lbs | 35-40 minutes | 160°F at 30 min mark |
| 4-4.5 lbs | 45-50 minutes | 155°F at 35 min mark |
| 5-6 lbs | 55-65 minutes | 150°F at 45 min mark |
Adjustment Rule: Add 8 minutes per pound if chicken starts refrigerator-cold. Always verify final temperature in three spots: thigh (avoiding bone), breast, and wing joint. The moment your thermometer hits 165°F in the thigh, pull the bird – carryover heat will add 5°F during resting.
Why Spinning Speed Matters
Cuisinart’s consistent 6 RPM rotation creates ideal browning without flinging juices. If you notice uneven color:
– Darker side facing down? Reposition spit rod so breast faces upward initially
– Pale spots appearing? Increase final 10 minutes to 400°F for accelerated caramelization
– Check spin clearance: Ensure chicken isn’t touching basket walls (minimum 1-inch gap)
Avoid These 3 Costly Cuisinart Rotisserie Mistakes
Even seasoned cooks sabotage their results with these easily preventable errors. Your rotisserie’s engineering demands specific handling.
Mistake #1: Cold Chicken Shock
- What happens: Refrigerator-cold birds cause thermal shock, constricting juices inward
- Visible sign: Pale, rubbery skin near breastbone after 20 minutes
- Fix: Pull chicken from fridge 1 hour before cooking. Never rinse right before seasoning.
Mistake #2: Underseasoning the Cavity
- Why it fails: Surface seasoning only penetrates 1/8 inch; cavity aromatics flavor the entire bird
- Pro move: Rub half your seasoning blend inside the cavity before stuffing
- Game-changer: Use smashed garlic cloves instead of minced – they won’t burn during rotation
Mistake #3: Skipping the Rest Period
- Science behind it: Rotating cooks meat fibers tight; resting allows them to relax and reabsorb juices
- Consequence: Carving immediately releases 30% more liquid onto your cutting board
- Perfect rest: Tent loosely with foil for exactly 10 minutes – no peeking!
Herb Butter Rotisserie Upgrades That Impress
Transform basic birds into specialty dishes with these compound butter techniques designed specifically for Cuisinart’s rotation system.
Smoked Paprika Butter for Deep Color
- Blend: 4 tbsp softened butter + 1 tsp smoked paprika + ½ tsp cumin + ¼ tsp cayenne
- Application: Slide half under breast skin before cooking; melt remaining in drip tray
- Why rotation helps: Spinning continuously bastes the bird in melting butter for even color
Lemon-Dill Butter for Brightness
- Mix: 4 tbsp butter + 1 tbsp fresh dill + 1 tsp lemon zest + 1 minced garlic clove
- Secret step: Place 1 tbsp in cavity with aromatics – steam carries flavor deep into meat
- Rotation advantage: Butter melts downward during spinning, self-basting the entire surface
Next-Level Leftover Transformations
Don’t reheat shredded chicken – reinvent it. These Cuisinart rotisserie recipes extend your bird’s life for 5+ meals.
10-Minute Rotisserie Chicken Tacos
- Shred technique: Pull meat against the grain while warm for tender strands
- Flavor boost: Toss with 2 tbsp pan drippings + 1 tsp cumin before warming
- Assembly: Char corn tortillas directly in the rotisserie basket for 90 seconds
Freezer Stock Hack
- Save every scrap: Freeze bones, skin, and wing tips in dated quart bags
- Instant stock: Dump frozen scraps into basket with 4 cups water, cook at 350°F for 45 minutes
- Strain directly: Use basket as colander – rotation forces maximum gelatin extraction
Weekly Meal Prep Strategy That Works
Cook once, eat all week. Your Cuisinart rotisserie becomes a meal prep powerhouse with this system.
Sunday 2-Bird Rotation
- Cook simultaneously: Use full basket capacity (6 quarts max) for two 4-lb birds
- Flavor divide: One classic herb, one smoked paprika for variety
- Portion immediately: Shred while warm into 2-cup containers (lasts 4 days refrigerated)
Flavor Rotation Calendar
- Week 1: Garlic-herb classic with roasted root vegetables
- Week 2: Lemon-dill chicken for salads and wraps
- Week 3: Smoked paprika for tacos and enchiladas
- Week 4: Cajun-spiced (add 1 tsp each paprika, oregano, thyme)
Troubleshooting Real Rotisserie Problems
When your Cuisinart rotisserie chicken isn’t perfect, these targeted fixes get you back on track fast.
Problem: Pale, Flabby Skin
- Diagnosis: Moisture trapped under skin or temperature too low
- Immediate fix: Increase heat to 400°F for final 15 minutes
- Prevention: Always dry skin thoroughly and use room-temperature birds
Problem: Uneven Browning
- Diagnosis: Improper spit rod balance or blocked airflow
- Rotation check: Spin manually before starting – should rotate freely without wobble
- Positioning fix: Place heavier thigh side slightly forward on the spit
Problem: Dry Breast Meat
- Cause: Breast facing direct heat too long during rotation
- Pro technique: Position breast 15 degrees downward initially – rotation evens exposure
- Timing adjustment: Start checking breast temp at 30 minutes for 4-lb birds
Mastering these Cuisinart rotisserie recipes turns your appliance into a weeknight dinner hero. Start with the crispy-skinned classic method, then rotate through herb butter variations to keep meals exciting. Remember: dry skin thoroughly, verify temperatures religiously, and never skip resting time. Within two cooks, you’ll consistently pull golden, juicy chickens from your Cuisinart rotisserie that make store-bought versions taste like an afterthought. For your next cook, try doubling the herb butter recipe – that extra tablespoon under the skin makes the difference between good and “make this every week” great.


