Nothing beats the rich, fork-tender comfort of pot roast—especially when it cooks in under 90 minutes. Your Cuisinart pressure cooker transforms a tough chuck roast into melt-in-your-mouth perfection while infusing every bite with deep, savory flavor. This streamlined guide walks you through the exact steps, timing, and ingredient ratios that guarantee restaurant-quality results every single time. Skip the all-day oven method and discover how this Cuisinart pressure cooker pot roast recipe delivers tender, juicy beef with minimal hands-on time—perfect for busy weeknights when you crave classic comfort food.
Imagine coming home to the aroma of slow-cooked beef, vegetables, and herbs without spending hours in the kitchen. The pressure cooking method breaks down collagen faster than traditional braising, creating that signature fall-apart texture in a fraction of the time. Whether you’re feeding a family of four or meal-prepping for the week, this recipe adapts perfectly to your needs while maintaining that authentic pot roast experience you love.
Perfect Beef Selection for Pressure Cooker Pot Roast
Why Chuck Roast Wins Every Time
When making a Cuisinart pressure cooker pot roast recipe, your meat selection makes or breaks the final dish. Look for a 3–4 pound chuck roast with even marbling throughout—those white streaks of fat become flavor gold during pressure cooking. Aim for a cut 1.5–2 inches thick to ensure even cooking without drying out. Avoid leaner cuts like round or sirloin; they lack the necessary connective tissue that transforms into succulent texture under pressure. Season your roast generously with 2 teaspoons kosher salt and 1 teaspoon coarsely ground black pepper, covering all sides for maximum flavor penetration.
Vegetable Prep That Prevents Mushiness
Quarter one large yellow onion and smash four garlic cloves to build your flavor foundation. Cut three carrots and two celery stalks into uniform 2-inch chunks—this size holds up to pressure cooking without disintegrating. For potatoes, choose either 1 pound of baby potatoes or three large Yukon Golds quartered. The waxy Yukon Golds maintain their shape better than starchy russets under pressure. Remember that vegetables cook faster than meat in your pressure cooker, so proper sizing ensures everything finishes perfectly together.
Proper Searing Technique for Maximum Flavor
:max_bytes(150000):strip_icc()/RM-AR-220869-easy-pressure-cooker-pot-roast-ddmfs-hero-4x3-0ce2836ae9f94912a05bf3b17631498c.jpg)
Creating the Essential Maillard Reaction
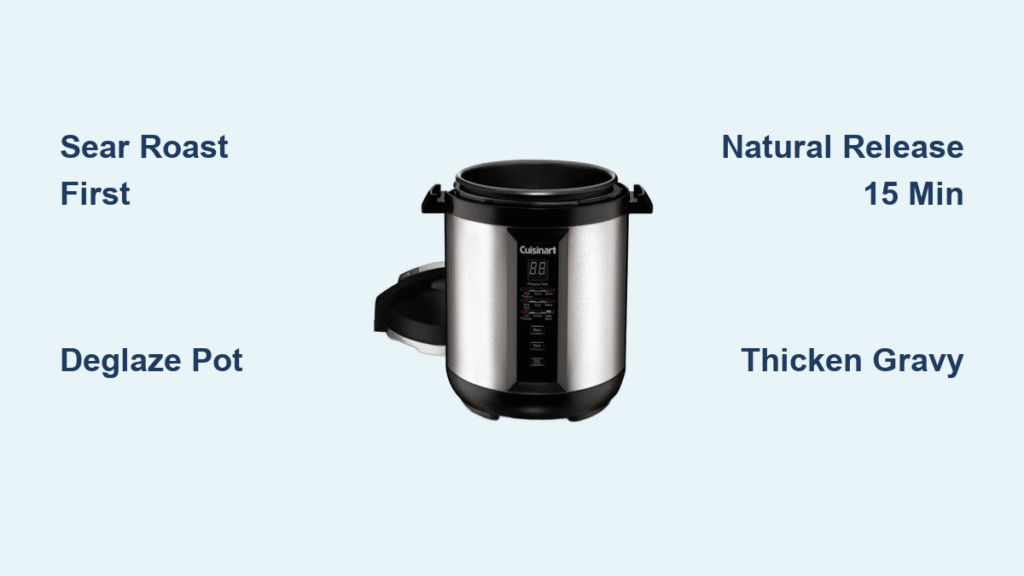
Pat your chuck roast completely dry with paper towels before seasoning—moisture prevents proper browning and leads to steamed rather than seared meat. Let the seasoned roast rest at room temperature for 15 minutes while you prepare your Cuisinart. Set your pressure cooker to Sauté High and wait the full three minutes until the display reads “Hot” before adding oil. This crucial step ensures your cooking surface reaches optimal temperature for searing.
Deglazing: The Flavor Secret Most Skip
Add just one tablespoon of high-smoke point oil like avocado or canola to the hot insert. Place the roast carefully and sear 3–4 minutes per side without moving it—resist the urge to peek—until you achieve that deep mahogany crust. Transfer the seared roast to a plate, then pour ¼ cup of beef broth into the hot pot. Immediately scrape all the browned bits from the bottom with a wooden spoon. These fond bits equal 80% of your roast’s flavor—never skip this deglazing step as it prevents burn errors and builds incredible depth.
Strategic Layering for Even Cooking

Building Your Flavor Foundation
Return the seared roast to the pot, placing it fat-side up. Scatter your quartered onions and smashed garlic around the meat—never under the roast as this creates steam pockets that prevent even cooking. Top with your carrot and celery chunks, then arrange potatoes around the edges where they’ll cook slightly slower. This strategic layering prevents vegetables from becoming mushy while ensuring the roast stays submerged in flavorful liquid.
Precision Liquid Measurement
Whisk together 2 tablespoons tomato paste, 1 tablespoon Worcestershire sauce, and the remaining ¾ cup beef broth until smooth. Carefully pour this mixture around (not over) your roast until the liquid reaches exactly ½ inch below the meat surface—never submerge the roast completely as this steams rather than braises the meat. The total liquid should measure precisely one cup; too little risks burn errors, while too much dilutes flavor. Add 2 sprigs fresh thyme and one bay leaf to the pot before sealing.
Exact Pressure Cooking Settings for Tender Results
Timing Based on Roast Size
For a standard 3-pound chuck roast, set your Cuisinart to Manual High Pressure for 60 minutes. Add 10 minutes per additional pound of meat to ensure thorough tenderization without overcooking. After the cooking cycle completes, allow a full 15 minutes of natural pressure release—this gradual cooling lets meat fibers relax for maximum tenderness. Only then should you perform a quick release for any remaining pressure. Rushing this step causes meat fibers to seize, resulting in tough, dry pot roast.
Doneness Verification Method
Insert an instant-read thermometer into the thickest part of the roast after pressure release. Target 205°F internal temperature for that perfect pull-apart texture characteristic of great pot roast. If your thermometer reads below 195°F, seal the pot and cook an additional 10 minutes under pressure. Never judge doneness by time alone—roast thickness and starting temperature significantly affect cooking time. The meat should offer no resistance when you insert a fork and should shred easily with minimal pressure.
Quick Gravy Technique for Rich Sauce
Resting for Maximum Juiciness
Transfer the roast and vegetables to a serving platter using tongs, taking care to keep the cooking liquid in the pot. Tent the meat loosely with foil and let rest for 10 minutes—this resting period retains 15% more moisture by allowing juices to redistribute throughout the meat. Skipping this step causes valuable juices to escape when you slice, leaving your pot roast dry despite perfect cooking.
Thickening Without Lumps
Switch your Cuisinart back to Sauté High mode and bring the cooking liquid to a simmer. In a small bowl, whisk 2 tablespoons cornstarch with ¼ cup cold water until completely smooth—never add dry cornstarch directly to hot liquid as it will clump. Gradually pour this slurry into the simmering liquid while stirring constantly. Cook for 3–4 minutes until the gravy thickens enough to coat the back of a spoon. Season with additional salt and pepper to taste, then pour generously over your carved roast and vegetables.
Critical Mistakes That Ruin Pressure Cooker Pot Roast
Overfilling Danger Zone
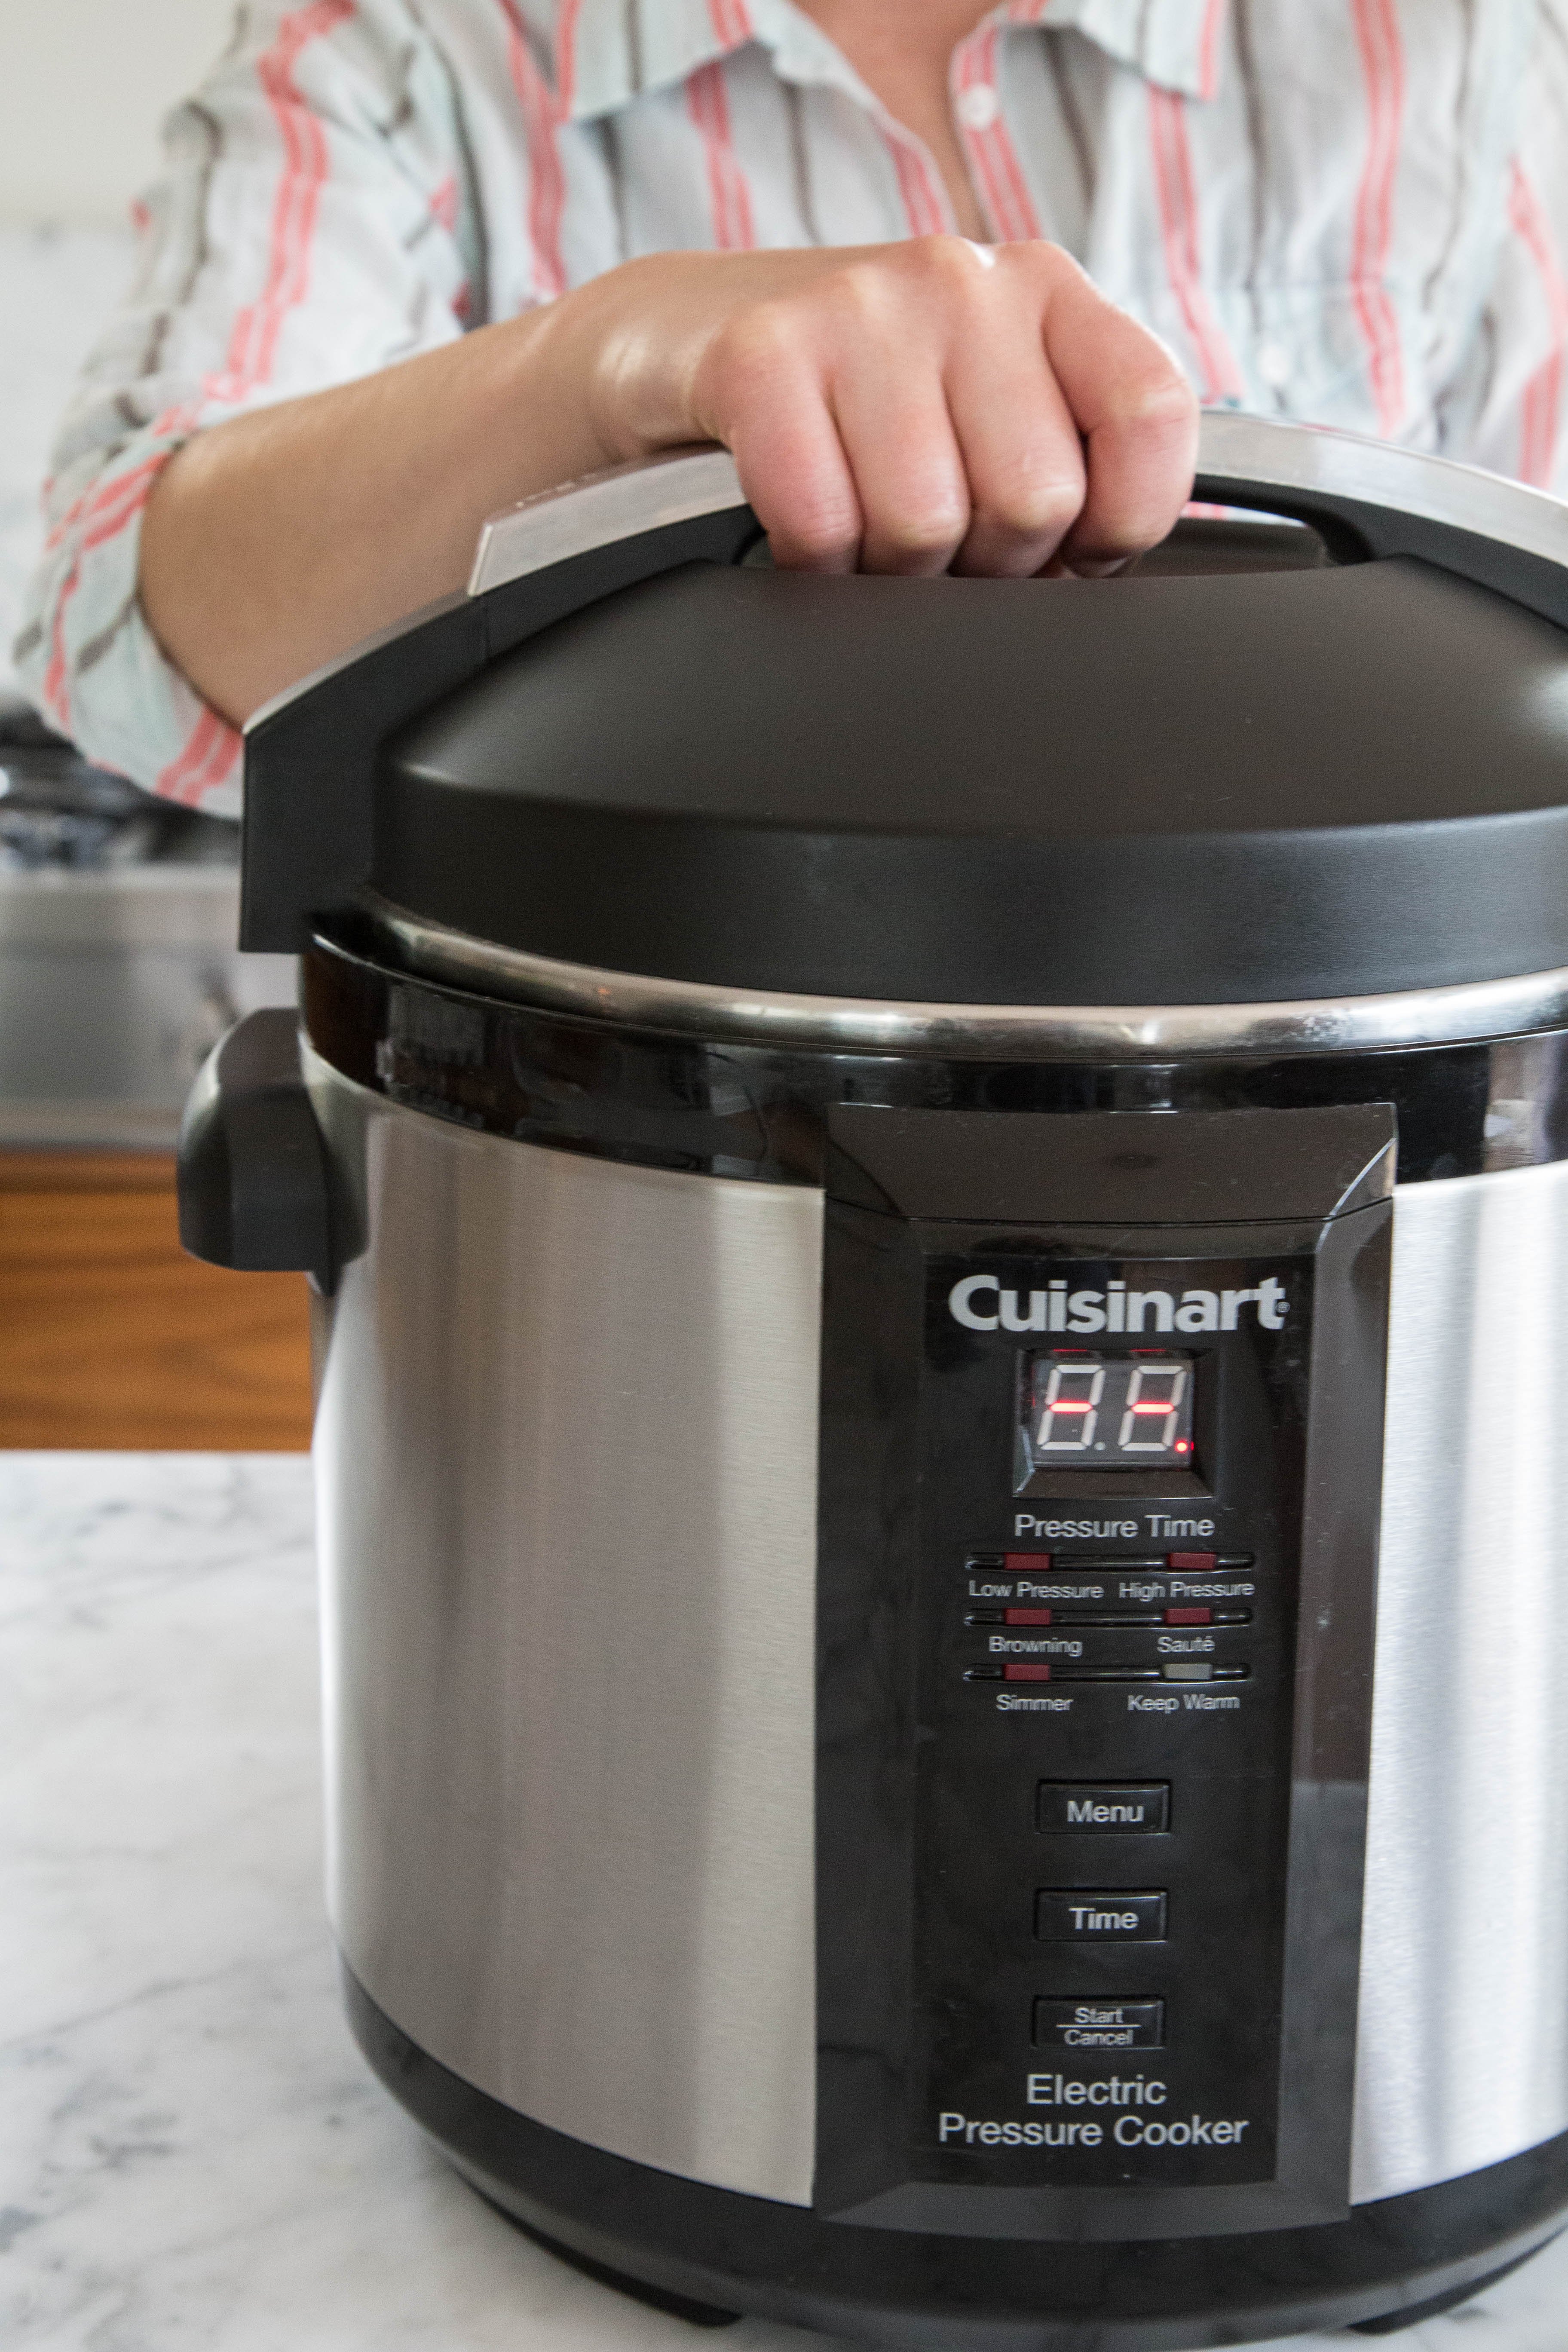
Your Cuisinart pressure cooker should never be filled beyond the ⅔ full line with solid ingredients. Exceeding this limit blocks steam vents and creates serious safety hazards. For a standard 6-quart model, this means a maximum 4-pound roast with vegetables—any larger and you risk improper pressurization. If your ingredients approach the fill line, remove some vegetables rather than compromising safety.
Natural Release Non-Negotiable
Releasing pressure immediately causes meat fibers to seize and become tough, regardless of cooking time. That mandatory 15-minute natural release allows collagen to fully convert to gelatin while letting meat fibers relax. Many beginners make this mistake trying to save a few minutes, only to end up with chewy, disappointing results. Set a timer and walk away—your patience will be rewarded with fork-tender perfection.
Storage Solutions for Leftover Pot Roast
Proper Cooling and Separation
Cool your cooked pot roast completely within two hours of cooking to prevent bacterial growth. Store meat and gravy separately in airtight containers—this prevents the meat from becoming waterlogged during refrigeration. Your pressure cooker pot roast stays fresh for four days refrigerated or up to three months frozen. When freezing, portion the meat into meal-sized servings with accompanying gravy for easy reheating.
Reheating Without Sacrificing Quality
Add ¼ cup broth or reserved gravy to your microwave-safe dish before placing meat inside. Cover with a damp paper towel and heat at 70% power for 2–3 minutes. Never reheat more than once as repeated temperature changes degrade texture and flavor significantly. For larger portions, reheat gently in a covered skillet over low heat with a splash of liquid to maintain moisture.
Mastering this Cuisinart pressure cooker pot roast recipe means Sunday dinner any night of the week. The hands-off cooking method delivers fall-apart beef in 75 minutes total—a 70% time savings over traditional methods. Keep these ratios handy: 1 cup liquid per 3–4 lbs meat, 60 minutes high pressure plus 15 natural release. Your pressure cooker just became your secret weapon for effortless, crowd-pleasing comfort food that tastes like it simmered all day. Whether you’re new to pressure cooking or refining your technique, this Cuisinart pressure cooker pot roast recipe delivers consistent, impressive results that will have everyone asking for seconds—and the secret to your “all-day” pot roast that took less than an hour and a half.

