
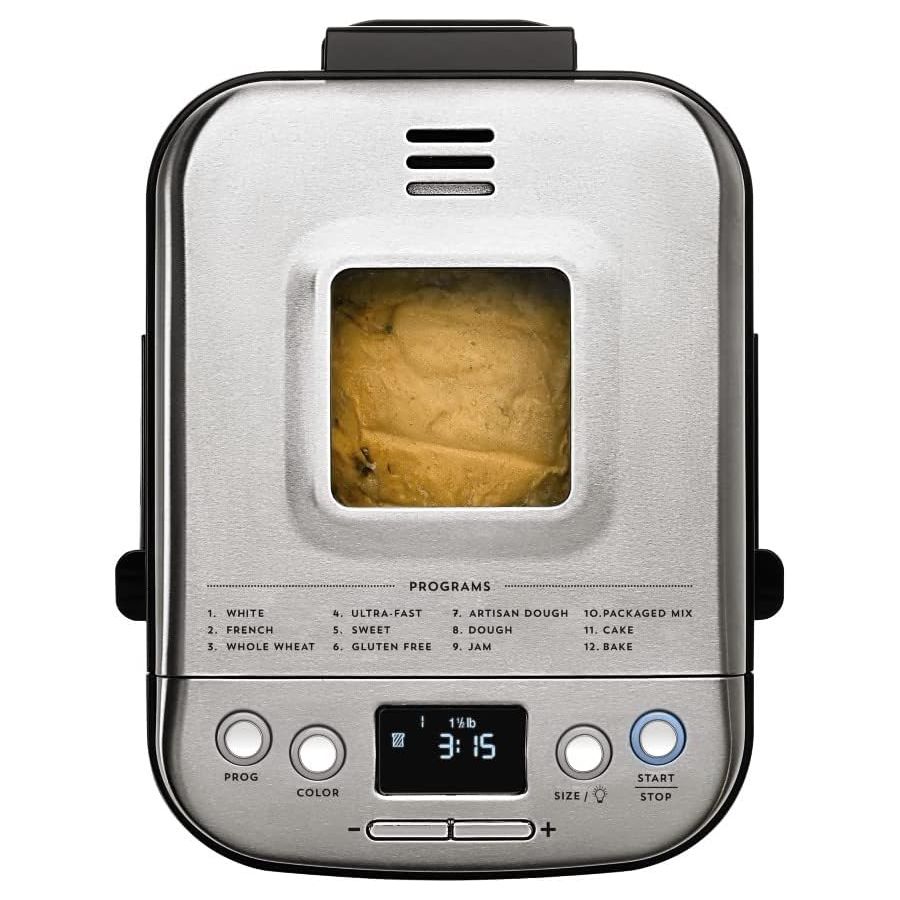
Tired of spending $9 on a single loaf of store-bought gluten-free bread that crumbles before you finish slicing? Your Cuisinart bread maker holds the solution—but only if you master its unique demands. Unlike wheat-based recipes, gluten-free baking requires precise ingredient ratios, specialized binders, and machine settings that compensate for the absence of gluten. This guide delivers the exact Cuisinart gluten-free bread recipe thousands of home bakers use to create bakery-quality loaves with perfect rise and sliceable texture. Forget Cuisinart’s sparse official documentation—we’ve distilled proven techniques for models like the CBK-110 and CBK-200 series that turn gluten-free baking from frustrating to foolproof.
Most failures happen because standard recipes ignore how Cuisinart’s heating elements and kneading paddles interact with gluten-free flours. Without xanthan gum’s structural support or incorrect liquid temperatures, you’ll get dense bricks instead of airy loaves. But with the right flour blend composition and cycle adjustments, your machine can consistently produce golden-crusted bread that rivals artisanal bakeries. In this guide, you’ll discover the exact ingredient ratios, program settings, and troubleshooting fixes that prevent common pitfalls like collapsed tops or gummy centers.
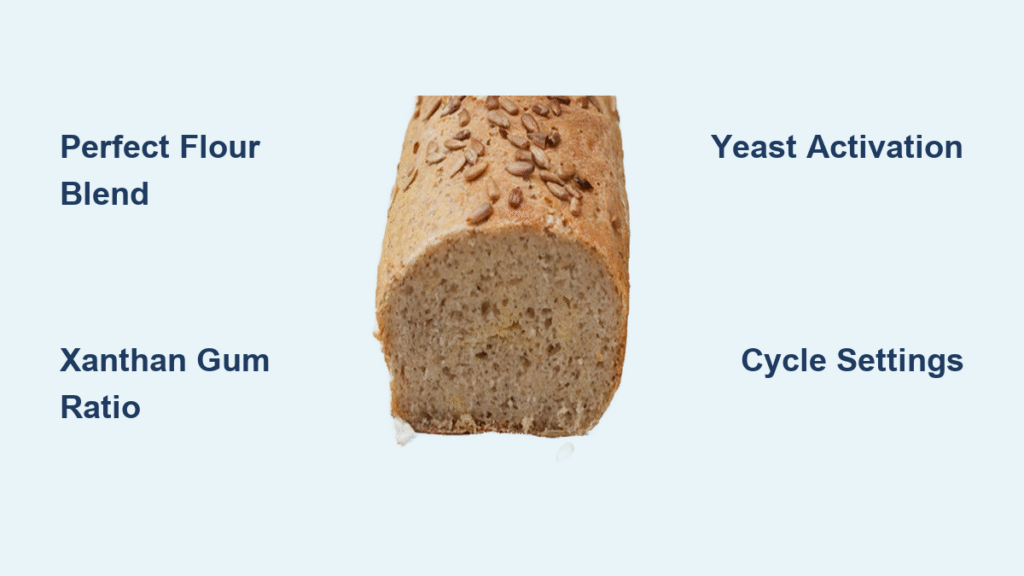
Critical Ingredients Your Cuisinart Gluten-Free Bread Recipe Requires
Mix the Perfect Gluten-Free Flour Blend for Cuisinart
Your flour foundation makes or breaks the loaf. A balanced 4-cup blend combines starches and proteins to mimic wheat’s elasticity:
- 2 cups white rice flour for light texture (never substitute with brown rice flour—it creates grittiness)
- 1 cup tapioca starch to provide stretch during rising
- ¾ cup potato starch for moisture retention (crucial for preventing dryness)
- ¼ cup dry milk powder to boost protein structure
Adjust for texture: For sandwich loaves, increase tapioca starch to 1¼ cups. For heartier artisan bread, replace ½ cup rice flour with sorghum flour. Always whisk dry ingredients thoroughly—clumps cause uneven rising in Cuisinart’s rapid cycles.
Choose the Right Binders for Cuisinart Gluten-Free Bread
Without gluten, binders create the structure. Xanthan gum is non-negotiable but quantity depends on loaf size:
- 1.5-lb loaf: 2¼ teaspoons (exactly—too much causes gumminess)
- 2-lb loaf: 3 teaspoons
- In dry climates: Substitute guar gum at 1.5x xanthan’s amount to reduce crumbling
Never skip this step: Omitting binders guarantees a crumbly mess that won’t hold its shape when sliced. Measure with dedicated gluten-free spoons to avoid cross-contamination.
Pick the Correct Yeast for Cuisinart Gluten-Free Bread Success
Instant yeast outperforms active dry in Cuisinart machines because it activates faster during short cycles. Use these exact quantities:
- 1.5-lb loaf: 2¼ teaspoons instant yeast
- 2-lb loaf: 2¾ teaspoons instant yeast
Always check expiration dates—stale yeast causes dense loaves. Never proof yeast in liquids; add it directly to dry ingredients per Cuisinart’s mixing sequence. Cold eggs straight from the fridge will kill yeast activity, so warm them in water for 30 seconds first.
Optimal Cuisinart Bread Maker Settings for Gluten-Free Bread
Program Selection Strategy That Actually Works
Cuisinart lacks a dedicated gluten-free cycle, so manual program selection is essential. Follow this sequence:
- Select Menu #1 (Basic/White) – 3 hours 10 minutes total
- Choose Light Crust – Prevents premature browning that halts rising
- Match Loaf Size to your recipe (critical for timing)
If your loaf collapses during baking, switch to the Rapid cycle (2 hours 55 minutes). Monitor through the viewing window during the final rise—gluten-free doughs overproof faster than wheat-based ones.
Temperature Control Tips for Perfect Rise
Gluten-free doughs fail at incorrect temperatures. Maintain this environment:
- Room-temperature ingredients (68-72°F)
- Liquids at 110°F max (use a thermometer—above 120°F kills yeast)
- Pre-warmed eggs (run under warm water for 30 seconds)
Place your Cuisinart away from drafts or air vents. In humid climates, reduce water by 2 tablespoons—the machine’s enclosed environment traps moisture.
The Foolproof Cuisinart Gluten-Free Bread Recipe Formula
Bake a Perfect 1.5-Pound Loaf with This Base Recipe
This formula works across all Cuisinart models. Load ingredients in this exact order:
- Wet ingredients first: 1¼ cups warm water (110°F), 2 room-temp eggs, 3 tbsp oil, 1 tsp apple cider vinegar
- Dry ingredients: 3 cups gluten-free flour blend, 2 tbsp sugar, 1½ tsp salt, 2¼ tsp xanthan gum
- Yeast: Add last in a well in the flour center
Never stir—the paddle mixes automatically. Select Basic cycle, Light crust, and 1.5-lb size. The vinegar boosts rise while the oil ensures moistness.
Scale Up Successfully for 2-Pound Loaves
Simply increasing quantities by 33% fails. Use these adjusted measurements:
- Flour: 4 cups + 2 tbsp (not 4¼ cups)
- Water: 1⅔ cups (slightly less than proportional)
- Xanthan gum: Reduce by ¼ tsp to prevent density
- Yeast: 2¾ tsp
Overloading causes weak structure—Cuisinart’s paddle struggles with larger gluten-free batches. Always use the 2-lb setting for this scaled recipe.
Fix These 3 Common Cuisinart Gluten-Free Bread Recipe Failures
Why Is My Cuisinart Gluten-Free Bread Dense and Gummy?
This occurs from three preventable errors:
- Yeast killed by hot liquids (verify thermometer reads ≤120°F)
- Excess xanthan gum (reduce by ¼ tsp next time)
- Insufficient baking time (extend by 10-15 minutes if top browns early)
Test doneness with an instant-read thermometer—internal temperature must hit 205-210°F. Slice only after 2 hours of cooling; cutting warm bread guarantees gumminess.
Why Did My Cuisinart Gluten-Free Bread Collapse During Baking?
Overproofing is the culprit. Fix it by:
- Switching to the Rapid cycle for shorter rise time
- Reducing yeast by ½ tsp
- Decreasing water by 2 tbsp in humid weather
- Checking ingredient freshness (expired baking powder causes collapse)
Rotate the loaf pan 180° during the first knead to ensure even heating from Cuisinart’s bottom-mounted element.
Why Is My Cuisinart Gluten-Free Bread Rising Unevenly?
This stems from machine placement or maintenance issues:
- Level your Cuisinart on a flat surface (use a carpenter’s level)
- Clean the paddle shaft before each use—dried flour buildup restricts movement
- Select Light crust setting to prevent surface hardening that stops rise
If the bottom remains dense, reduce salt by ¼ tsp—the mineral content in your water may be interacting with Cuisinart’s heating element.
5 Delicious Cuisinart Gluten-Free Bread Recipe Variations
Make Dairy-Free Cuisinart Gluten-Free Bread
Replace dry milk powder with:
- Soy milk powder at 1:1 ratio (adds slight density ideal for toast)
- Coconut milk powder at 1:1 ratio (imparts subtle sweetness)
- Omission method: Boost water by 2 tbsp if avoiding all dairy
Always use unsweetened versions—added sugars disrupt yeast activity in Cuisinart’s timed cycles.
Boost Protein in Your Cuisinart Gluten-Free Bread
For sandwich loaves that hold fillings:
- Add 2 tbsp hemp hearts (reduce flour by same amount)
- Mix in ¼ cup unflavored whey protein powder
- Soak 1 tbsp chia seeds in 2 tbsp water before adding
These additions require no cycle adjustments—they integrate seamlessly during Cuisinart’s kneading phase.
Keep Your Cuisinart Gluten-Free Bread Fresh: Storage Secrets
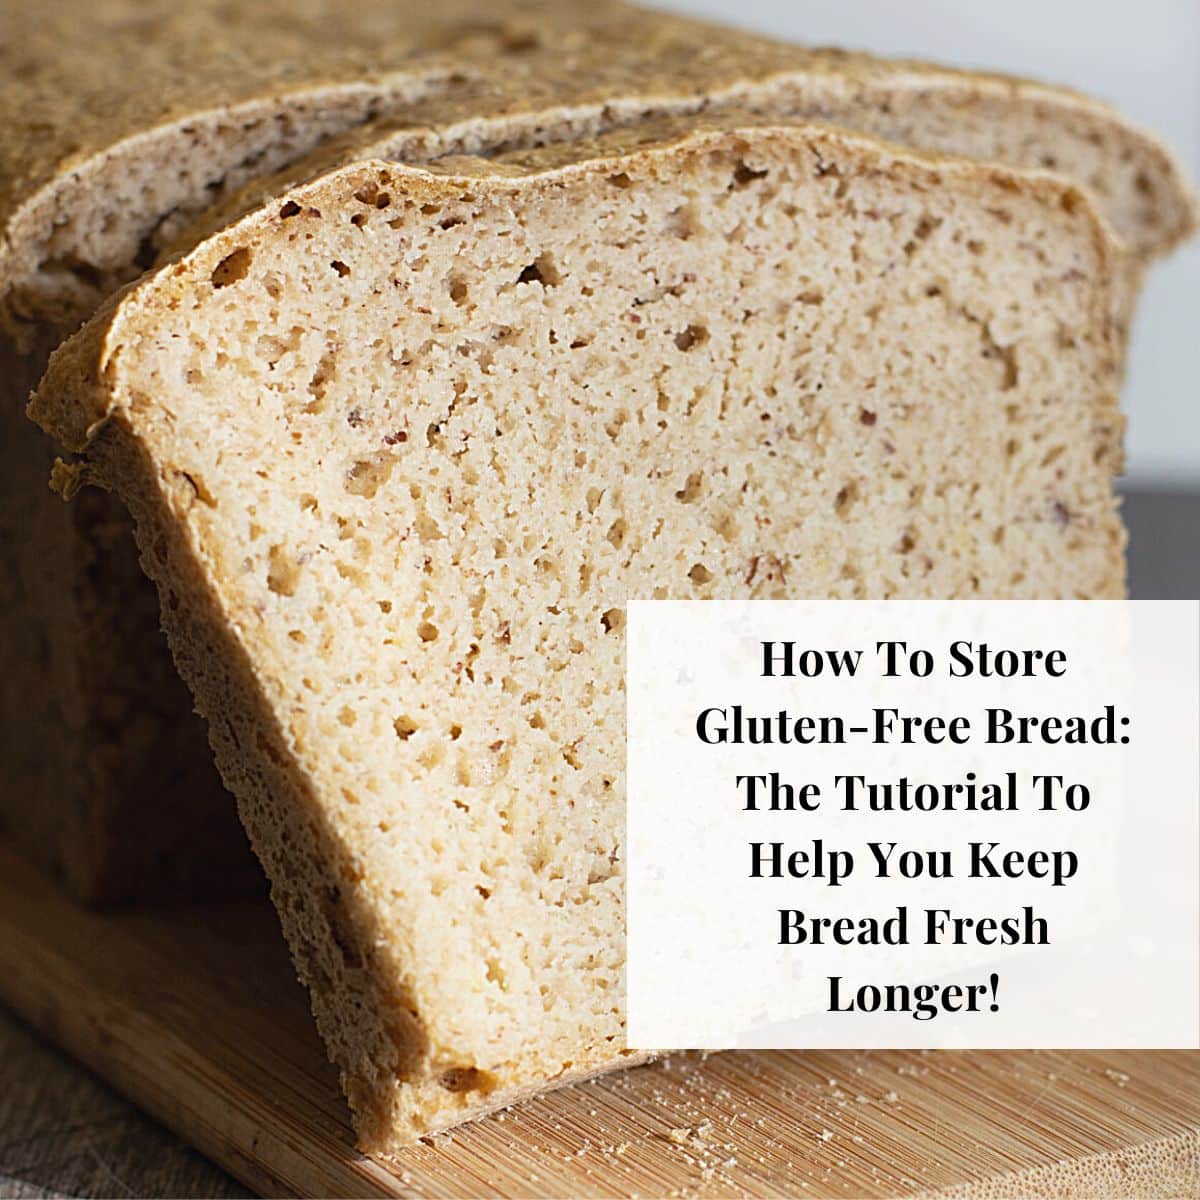
Follow This Cooling Protocol to Prevent Gumminess
Gluten-free bread continues cooking internally after baking:
- Remove immediately from pan when cycle ends
- Cool upright on a wire rack for 2+ hours
- Test readiness: Tap bottom—it should sound hollow
- Never slice warm—wait until completely cooled
Cutting too early traps steam, creating that dreaded gummy texture even with perfect baking.
Extend Freshness with Smart Freezing
Store properly to avoid the “brick effect”:
- Room temperature (2-3 days): Place cut-side down on wood board, cover with breathable cloth
- Long-term: Slice before freezing, separate with parchment, and store in air-excluded bags
- Revive frozen slices: Toast directly from freezer—no thawing needed
Refrigeration accelerates staling in gluten-free bread—always choose counter or freezer storage.
Save Money: Sourcing Ingredients for Your Cuisinart Gluten-Free Bread Recipe
Slash Costs by 60% vs. Store-Bought Loaves
Homemade beats bakery prices significantly:
| Ingredient | Cost per 1.5-lb Loaf | Store-Bought Equivalent |
|---|---|---|
| Flour blend | $1.85 | $4.50 |
| Eggs/oil | $0.80 | $1.50 |
| Binders/yeast | $0.45 | $1.00 |
| Total | $3.10 | $7.00+ |
You’ll recoup your Cuisinart bread maker’s cost in just 12 loaves.
Smart Shopping Strategies for Specialty Items
Maximize savings with these tactics:
- Flour blends: Buy 5-lb bags at Costco (40% cheaper per ounce)
- Xanthan gum: Use Amazon Subscribe & Save for 15% discounts
- Yeast: Purchase 1-lb commercial bags from restaurant supply stores
- Freeze portions: Store unused flour blend in 2-cup vacuum-sealed bags
Track ingredient costs in a baking journal—small adjustments like switching starch brands can save $0.50 per loaf.
Your Cuisinart bread maker transforms gluten-free baking from a gamble into a repeatable science. Start with the base recipe, then experiment with variations once you master the flour-to-binder ratios. Remember that tiny tweaks—reducing water by 1 tbsp in monsoon season or warming eggs for winter baking—make dramatic differences in texture. Most importantly, log every batch: note your flour brand, room temperature, and cycle settings. Over time, you’ll develop a personalized Cuisinart gluten-free bread recipe that delivers perfect loaves regardless of humidity or altitude. The secret isn’t fancy equipment—it’s understanding how your machine interacts with these unique ingredients. Now fire up that bread maker and reclaim your kitchen from expensive, disappointing store-bought alternatives.


