
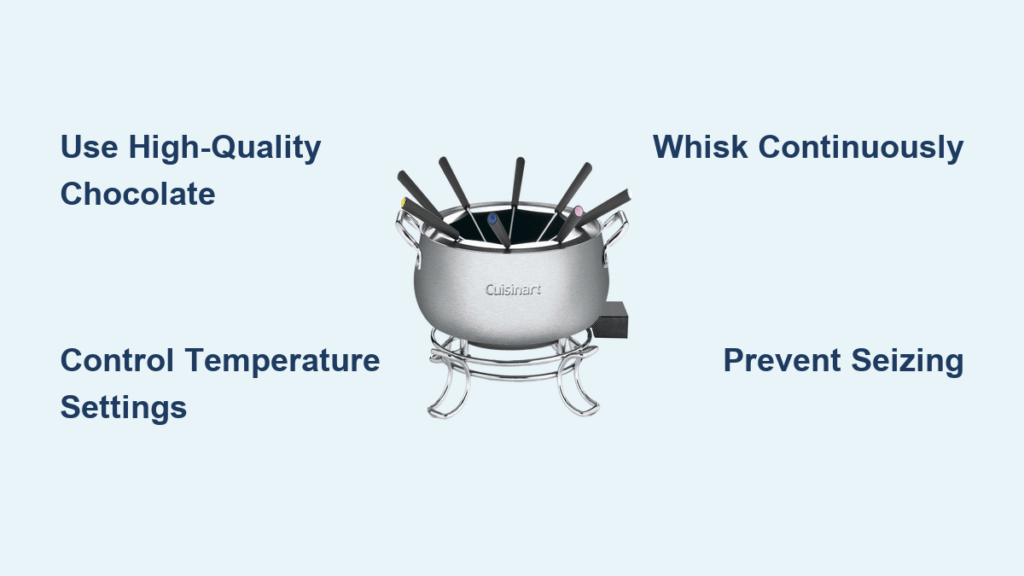
That sinking feeling when your chocolate turns grainy and separates mid-party? Your Cuisinart fondue pot recipes shouldn’t end in dessert disaster. This foolproof chocolate hazelnut fondue transforms your appliance into a silky-smooth dessert machine, delivering restaurant-quality results without chef-level skills. Forget complicated techniques—your electric fondue pot handles temperature precision while you focus on what matters: laughter, conversation, and perfectly dipped strawberries.
Unlike stove-top methods where scorching threatens every minute, the Cuisinart fondue pot’s calibrated heat settings eliminate guesswork. In just 15 minutes, you’ll create a decadent centerpiece that serves eight with 644 calories per portion—where 64% comes from satisfying healthy fats. Whether it’s date night or holiday entertaining, this guide reveals exactly how to leverage your appliance’s unique capabilities for chocolate that stays dippable for hours.
Chocolate Hazelnut Fondue Ingredients That Guarantee Success
Premium Chocolate Selection Guide
1½ pounds bittersweet or semi-sweet chocolate (finely chopped) forms the foundation. Avoid chocolate chips—they contain stabilizers that prevent smooth melting. 1 cup heavy cream and 1½ cups half-and-half create the ideal texture balance, while ¼ cup Frangelico liqueur adds authentic hazelnut depth. Finish with ¼ cup chopped toasted hazelnuts for crunch and visual appeal.
Quality Tips for Each Ingredient
Choose chocolate with 60-70% cacao content for balanced sweetness without bitterness. Inspect packaging for “ultra-pasteurized” labels on dairy—these scorch easily in electric fondue pots. If avoiding alcohol, substitute Frangelico with 1 teaspoon hazelnut extract (added after chocolate melts). For nuts, toast raw hazelnuts at 350°F for 8-10 minutes until skins blister, then rub in a towel to remove loose skins before chopping.
Cuisinart Temperature Settings Explained
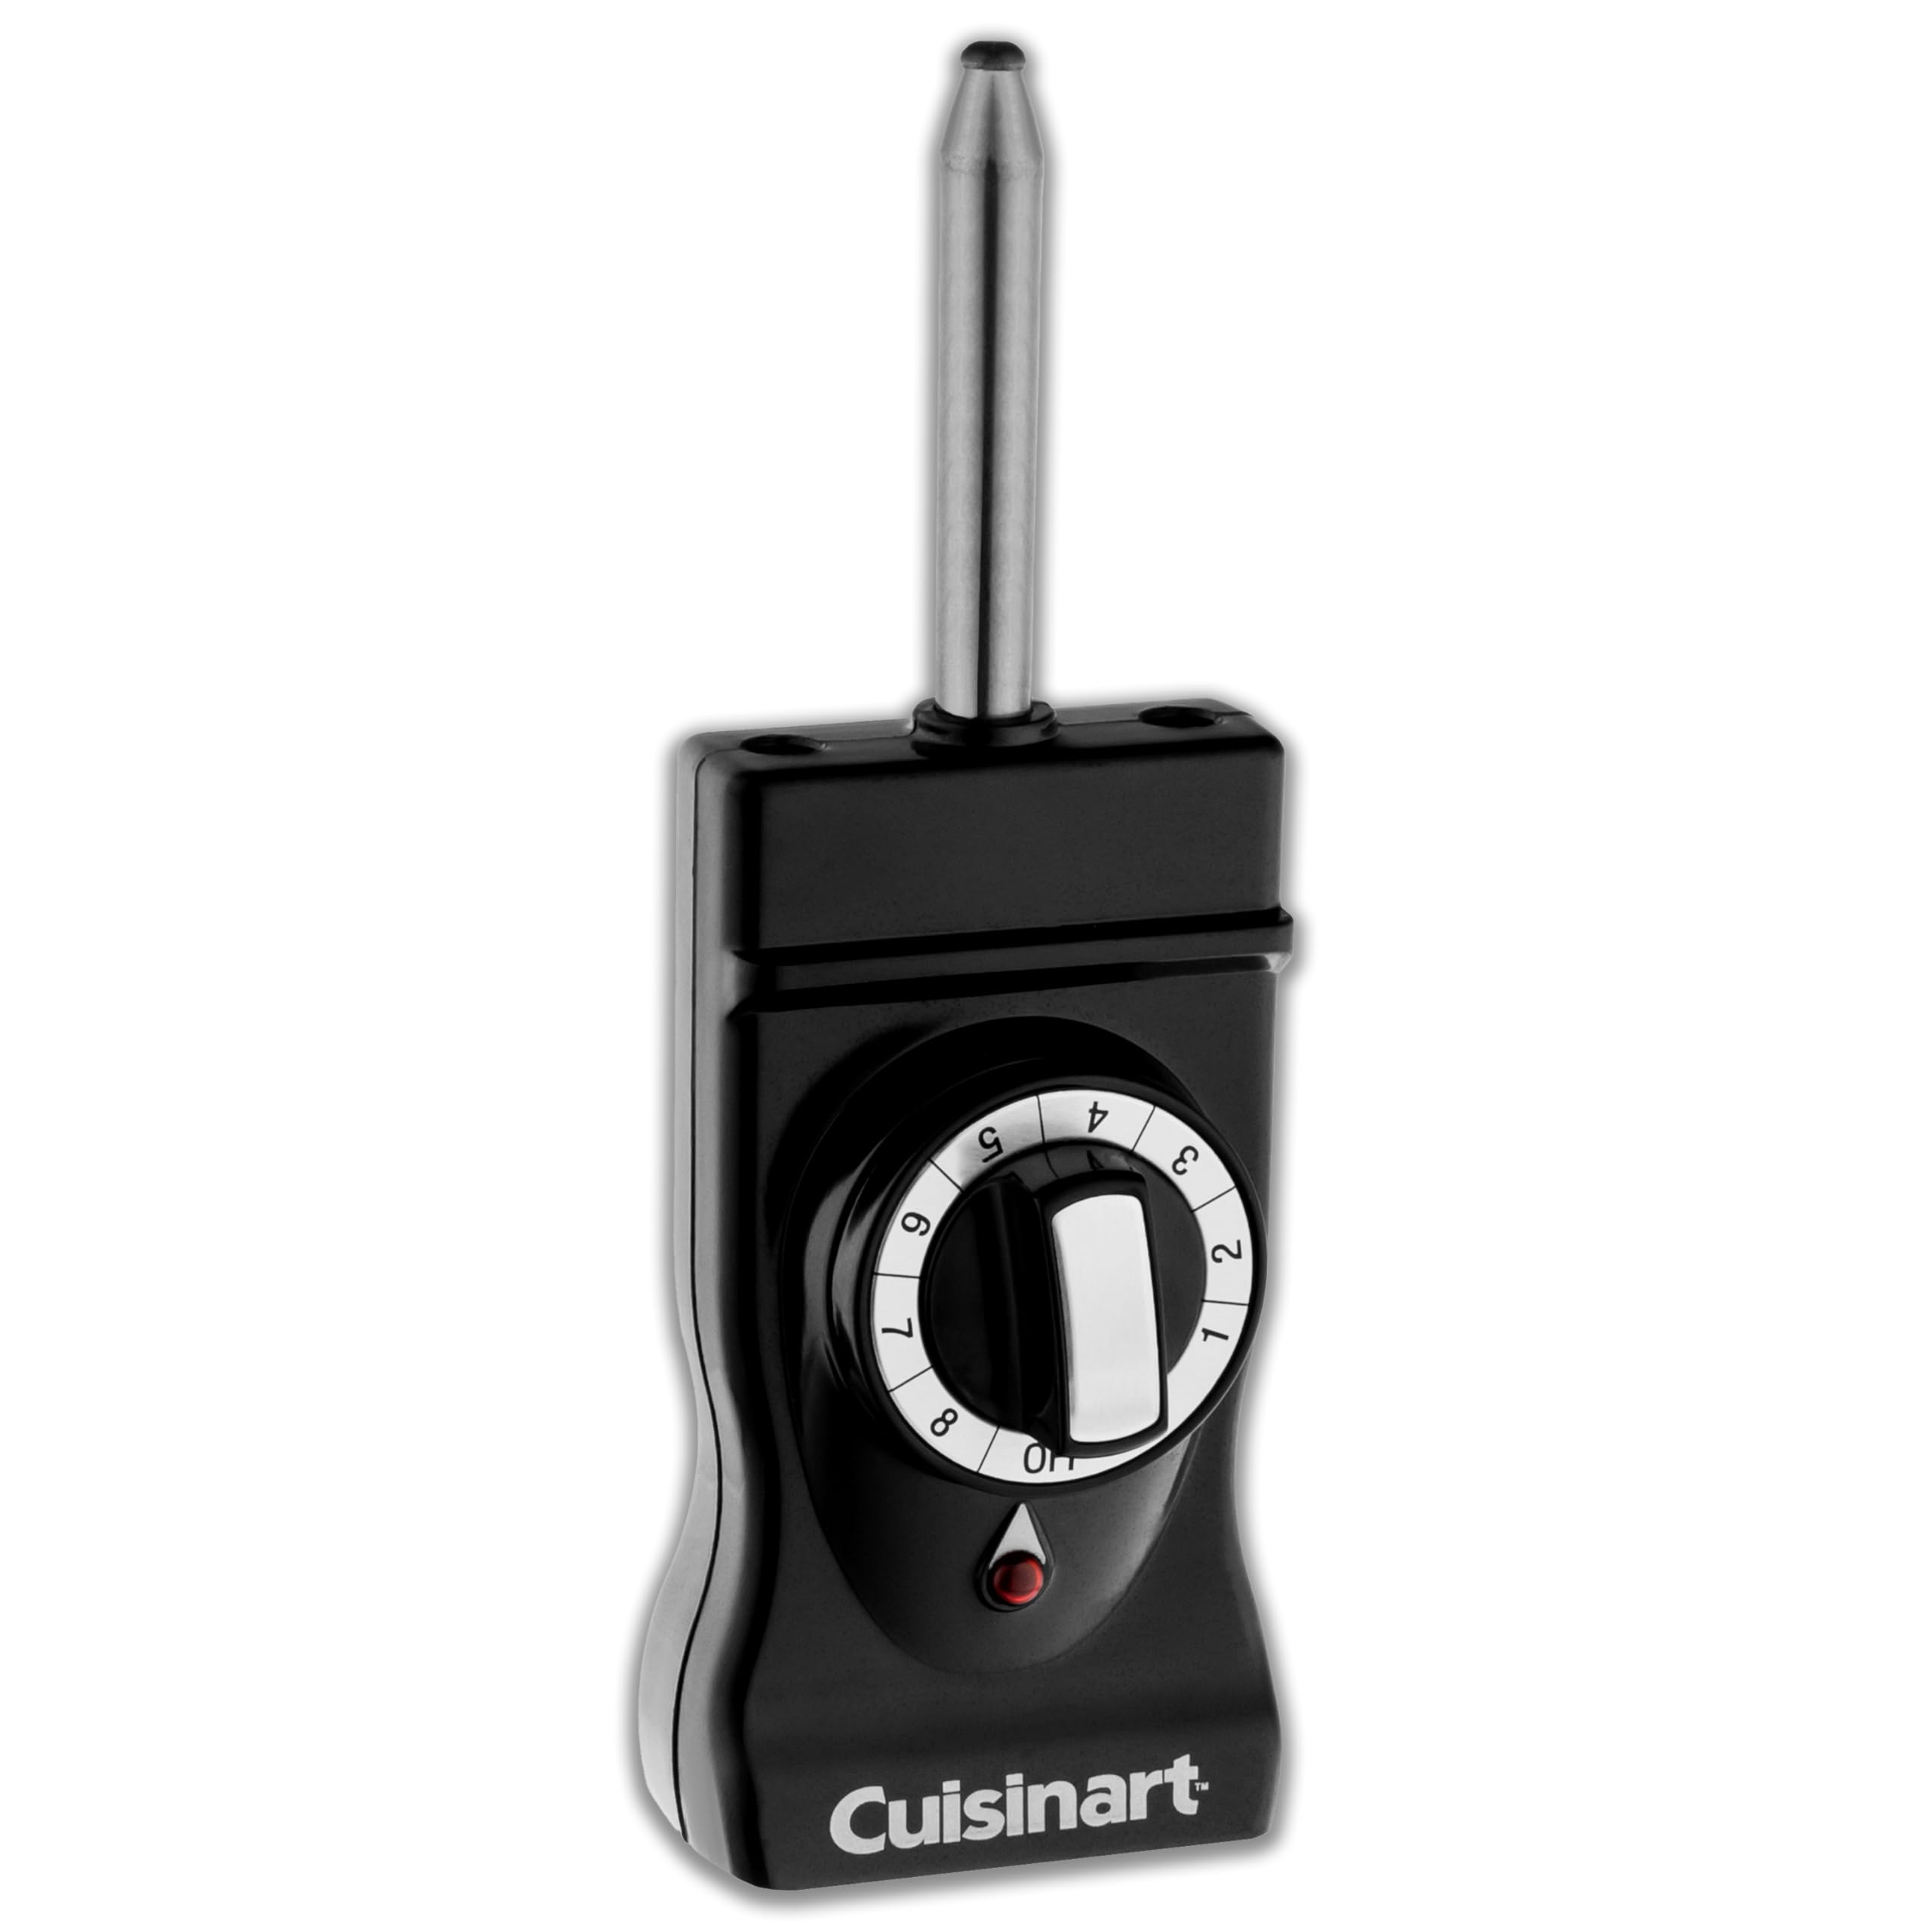
Setting 4-½: Initial Heating Phase
This medium-high setting (approximately 200°F) brings your cream mixture to the ideal bubbling point. You’ll see gentle bubbles forming around the pot’s edges—this indicates your base is ready for chocolate integration. Never exceed this setting during initial heating; higher temperatures cause dairy to scorch instantly on the non-stick surface.
Setting 3-½: Melting Temperature
Reducing to this medium setting (around 175°F) prevents chocolate from seizing while ensuring even melting. This is the critical zone where chocolate and cream become one. Maintain this temperature for 8-10 minutes while adding chocolate—any hotter causes separation, any cooler creates stubborn lumps.
Setting 3: Service Temperature
The lowest fondue setting (approximately 150°F) keeps chocolate perfectly fluid for extended dipping sessions. This prevents skin formation while maintaining ideal consistency. Crucially, this setting is warm enough to melt chocolate coatings but cool enough to avoid burning fingers during dipping.
Step-by-Step Chocolate Preparation
Preparing Your Ingredients
Chop chocolate into uniform ¼-inch pieces using a sharp knife—this ensures consistent melting without undercooked chunks. Measure liquids in glass measuring cups for accuracy. Toast hazelnuts ahead and cool completely before chopping to prevent oil separation. Arrange dippers like strawberries, pound cake cubes, and pretzel rods on a platter, keeping fruits chilled until service.
Cuisinart Fondue Pot Setup
Wipe the pot interior with a damp cloth—never submerge the base unit. Insert the temperature probe if your model includes one. Place the appliance on a level, heat-resistant surface away from table edges. Grab a plastic or silicone whisk only; metal utensils permanently scratch the non-stick coating, compromising future recipes.
Melting Process Walkthrough
Phase 1: Cream Base Preparation
Pour measured half-and-half and heavy cream into your Cuisinart fondue pot. Set temperature to 4-½ and heat for 3-4 minutes until edges bubble gently. Stir occasionally with your plastic whisk in slow figure-eight motions to prevent scorching. Stop heating when you see tiny bubbles forming around the pot’s perimeter—this indicates 200°F.
Phase 2: Chocolate Integration Technique
Immediately reduce heat to 3-½. Add chocolate ½ cup at a time, whisking continuously. Wait until each addition melts completely before adding more—this takes 2-3 minutes per addition. Watch for the mixture to transform from streaky to homogenous; rushing this step causes seizing. Total integration should take 8-10 minutes.
Phase 3: Flavor Enhancement
Once chocolate is fully smooth, reduce heat to 3. Stir in Frangelico liqueur thoroughly until fully incorporated. The mixture will thin slightly—this is normal and indicates perfect dippable consistency. Sprinkle chopped hazelnuts over the surface just before serving for texture contrast.
Common Melting Mistakes and Fixes

Temperature-Related Issues
Too hot: Chocolate separates into oily pools and grainy solids. Too cool: Chocolate seizes into lumpy clumps. Fix: Immediately remove pot from base unit. Whisk in 2 tablespoons warm cream until smooth, then return to Setting 3-½ for 30 seconds before resuming service on Setting 3.
Whisking Errors
Over-whisking: Incorporates air bubbles that create a frothy, unstable texture. Under-whisking: Causes hot spots that scorch chocolate along the pot’s edges. Solution: Use slow, deliberate figure-eight motions—never vigorous circular stirring. Maintain constant contact between whisk and pot bottom.
Chocolate Quality Problems
Bloomed chocolate: White film indicates moisture exposure—discard as it won’t melt smoothly. Old chocolate: Loses temper and creates stubborn lumps. Chips vs. bars: Chips contain stabilizers that prevent proper emulsification. Always use high-quality chocolate bars chopped fresh.
Dipping Station Setup for Maximum Enjoyment
Essential Dippers
Fruits: Strawberries (hulls on for handles), banana slices (tossed in lemon juice), apple wedges (core removed). Cakes: 1-inch pound cake cubes, angel food cake triangles. Cookies: Shortbread fingers, biscotti sticks. Treats: Large marshmallows, pretzel rods, dried apricots.
Presentation Tips
Provide 6-inch fondue forks with color-coded handles for each guest. Arrange dippers in alternating height groups around the pot—never stack items. Keep fruits chilled on separate platters until 5 minutes before service. Replace empty dipper spots immediately to maintain visual appeal throughout your event.
Serving and Storage Instructions

Service Temperature Maintenance
Keep fondue at Setting 3 throughout service. Stir every 5-7 minutes to redistribute heat. If fondue thickens, increase heat to 3-½ for exactly 30 seconds—any longer risks separation. Never cover the pot; trapped steam creates condensation that seizes chocolate.
Leftover Storage Protocol
Cool fondue completely (30-45 minutes) at room temperature. Transfer to an airtight container—glass preserves flavor best. Refrigerate up to 5 days. Do not freeze; temperature fluctuations destroy texture.
Reviving Stored Fondue
Place leftovers in the Cuisinart pot on Setting 2 (lowest warming setting). Add 2 tablespoons cream and stir constantly for 5-7 minutes until smooth. Never microwave—it creates irreversible hot spots. If separation occurs during reheating, whisk in 1 teaspoon corn syrup to re-emulsify.
Nutritional Profile Breakdown
Per Serving Analysis (1/8 recipe)
Each 644-calorie portion delivers 52g total fat (29g saturated from chocolate), 49g carbohydrates (3g dietary fiber), 9g protein, 123mg calcium, and 34mg sodium. The healthy fat content comes primarily from cocoa butter, providing sustained energy without blood sugar spikes.
Health-Conscious Modifications
Reduce calories by using 1 cup half-and-half and ½ cup cream instead of full measurements. Lower saturated fat by substituting 2% milk for half-and-half (texture becomes slightly thinner). For dairy-free, replace all dairy with full-fat coconut cream and use 70% dark chocolate—but expect a distinct coconut note.
Party Planning Timeline
2 Hours Before Guests Arrive
Toast and chop hazelnuts. Prepare all dippers: cube cakes, wash fruits, portion cookies. Set up fondue station with forks, plates, and napkins. Wipe Cuisinart pot interior.
30 Minutes Before Service
Chop chocolate into uniform pieces. Measure cream ingredients precisely. Preheat Cuisinart pot on Setting 4-½ with empty pot for 2 minutes to ensure even heating.
Service Time Execution
Combine cream ingredients in preheated pot (3 minutes). Melt chocolate (10 minutes). Stir in Frangelico and hazelnuts (2 minutes). Your perfectly tempered chocolate fondue is ready to serve immediately—no resting time needed.
Pro Tip: Stir in ½ teaspoon instant espresso powder during Phase 2 to intensify chocolate flavor without coffee taste. Your Cuisinart fondue pot transforms this simple ingredient combination into an elegant dessert centerpiece that stays dippable for 90 minutes—guaranteeing your guests will beg for the recipe before the last strawberry disappears.


