
Your Cuisinart bread maker isn’t gathering dust after that last sourdough experiment—it’s actually a hidden cake-baking champion waiting to shine. Modern Cuisinart models with dedicated Cake/Quick Bread cycles transform simple pantry staples into moist, golden cakes with zero preheating, no messy bowls, and flawless results every time. The secret lies in the machine’s precise timing and gentle paddle action that creates perfectly emulsified batter without overworking it.
Stop settling for dense, sunken disasters that plague first-time cake bakers. This guide delivers two foolproof recipes—vanilla pound cake and rich chocolate cake—along with pro techniques that solve every common problem before it happens. You’ll master the exact settings, ingredient handling, and troubleshooting tricks that separate bakery-quality cakes from kitchen failures.
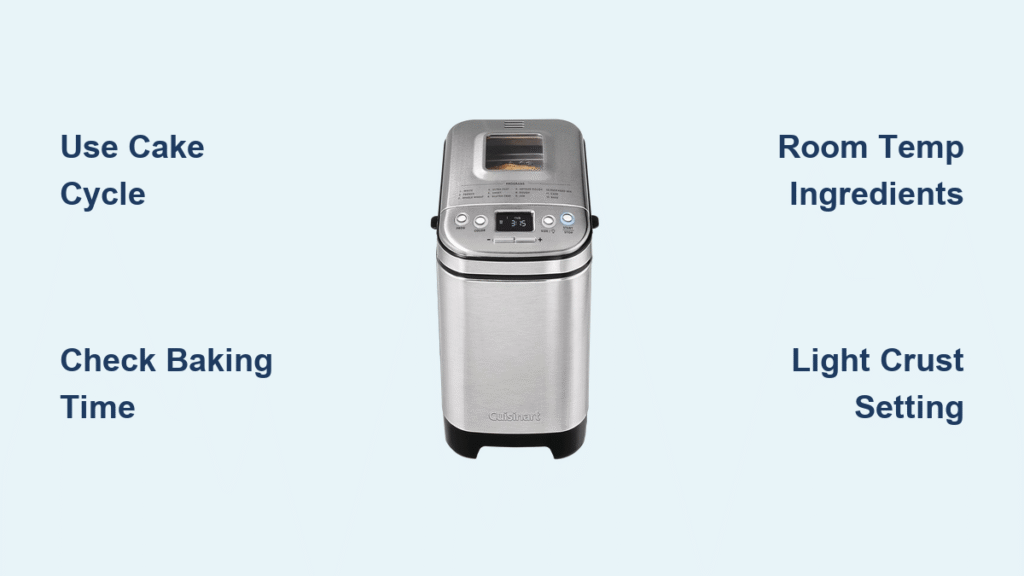
Never Pick the Wrong Cycle: Your Cuisinart Cake Settings Checklist

Avoid Yeast-Bread Cycle Disasters
The single biggest cake killer? Accidentally selecting a yeast bread cycle. Your Cuisinart must run for 1 hour 45 minutes to 2 hours total—any shorter cycle (like 50-60 minutes) is designed for yeast dough and will ruin your cake. Before hitting start, verify your display shows one of these exact cycle names:
- Cake
- Quick Bread
- Quick Cake
- Pound Cake
If you see “Basic,” “French,” or “Whole Wheat,” cancel immediately. These yeast cycles heat too aggressively for cake batter, causing premature rising and collapse. Always check the total time display—anything under 1 hour 45 minutes means you’ve selected the wrong program.
Critical Pre-Bake Setup
Set crust color to Light to prevent burnt edges on delicate cakes—this setting extends baking time slightly for even cooking. Only use 1.5-lb or 2-lb capacity machines; 1-lb models lack space for batter expansion and will overflow. Confirm your machine holds 6-7 cups before loading ingredients. A typical Cuisinart cycle includes 25 minutes of gentle mixing (no kneading needed!), 70 minutes of precise baking, and 15 minutes of cooling—so resist peeking until the “0:00” display.
Bake a Classic Vanilla Pound Cake in Your Cuisinart
Why This Recipe Never Fails
This vanilla pound cake leverages the bread maker’s gentle paddle action to create a fine, even crumb without overmixing—a common pitfall in hand-mixed cakes. The secret? Fresh baking powder activated at the perfect moment. Always test yours first: stir ½ teaspoon into ¼ cup hot water. If it doesn’t bubble vigorously, replace it—stale leavener causes dense, sunken cakes. Room-temperature eggs and milk emulsify smoothly with melted butter, creating a light, airy crumb that cold ingredients can’t achieve.
Perfect Ingredient Ratios for 12 Slices
Use these exact measurements for a flawless 2-lb loaf (1.5-lb machines reduce by 25%):
– 3 large eggs + ⅓ cup milk (both room temperature)
– ½ cup melted unsalted butter (cooled 2 minutes to avoid cooking eggs)
– 1 cup granulated sugar
– 2 cups all-purpose flour
– 3 tsp fresh baking powder
– 1 tsp pure vanilla extract
Foolproof Baking Steps
- Load ingredients in strict order: Eggs → milk → melted butter → sugar → flour → baking powder sprinkled evenly on top. This prevents premature activation of leaveners.
- Select Cake cycle, 2-lb size, Light crust.
- Within 3 minutes of mixing, lift the lid and scrape down flour pockets with a silicone spatula—this critical step eliminates dense streaks.
- Let the full 1 hour 50 minute cycle complete uninterrupted. Opening early collapses the structure.
Pro Tip: When the display hits “0:00,” the cake is perfectly set. Wait 5 minutes before removing—it firms up during this rest. Invert onto a rack immediately to prevent steaming and sogginess. Serve warm with fresh berries or cool completely for clean slicing.
Rich Chocolate Cake: Your Cuisinart’s Decadent Secret
Why Dutch-Process Cocoa is Non-Negotiable
This recipe demands Dutch-process cocoa powder—its neutral pH reacts optimally with baking powder for maximum lift. Natural cocoa’s acidity interferes with leavening, yielding a dense, gummy cake. Measure precisely: ½ cup (45g) for balanced flavor without bitterness. The bread maker’s consistent heat ensures even cocoa distribution without lumps—a common hand-mixing flaw.
Ingredients for 12 Moist Slices
- 1 cup whole or 2% milk
- 12 Tbsp melted unsalted butter (171g)
- 2 large eggs + 2 tsp vanilla extract
- 1¼ cups granulated sugar (250g)
- 1¾ cups all-purpose flour (220g)
- ½ cup Dutch-process cocoa powder
- 2 tsp baking powder + ½ tsp salt
Critical Baking Adjustments
Layer ingredients exactly as the pound cake: Liquids (milk, butter, vanilla, eggs) → sugar → flour/cocoa/salt → baking powder on top. Select Light crust to prevent chocolate’s dark color from triggering premature browning.
Pro Tip: At cycle end, insert a long skewer into the center. If wet batter clings, return the pan to the warm machine for 5-10 minutes—chocolate cakes often need this extra time to set fully. Never skip the 5-minute cooling rest before inverting. Optional: Dust with powdered sugar or frost with chocolate buttercream after cooling.
Fix These 5 Common Cuisinart Cake Disasters
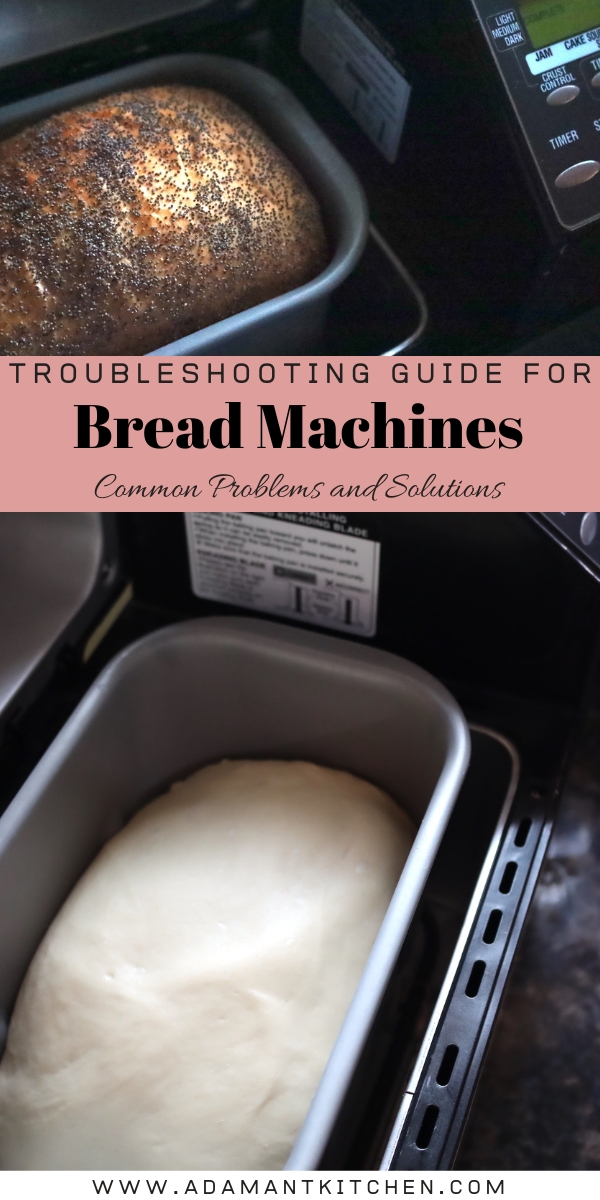
Why Your Cake is Dense and Flat
Cause: Stale baking powder or a warm pan that activated leavening too early.
Instant Fix: Test baking powder freshness before every bake (½ tsp + ¼ cup hot water = vigorous fizz). Always start with a room-temperature pan—never preheat.
Overflowing Batter Spills
Why It Happens: You’re using a 1-lb machine or overfilling a 1.5-lb model.
Solution: Stick strictly to 1.5-lb or 2-lb capacity recipes. A 2-lb Cuisinart pan holds 7 cups max—our recipes use 6.5 cups of batter.
Wet Center With Sunken Top
The Culprit: Under-baking due to inaccurate timing.
Pro Move: At cycle end, insert a skewer. If wet batter sticks, return the pan to the warm machine for 5-10 minutes. Selecting Light crust extends baking time slightly for foolproof results.
Dry Edges and Gummy Middle
What’s Wrong: Uneven heat from room-temperature ingredient clashes.
Prevention: Ensure all ingredients (especially eggs and milk) are truly room temperature before loading. This creates uniform emulsification for even baking.
Cake Tears When Removing
Critical Mistake: Skipping pan grease or removing while too hot/cool.
Guaranteed Fix: Lightly spray the pan with baking oil before adding ingredients. Wait exactly 5-10 minutes after the cycle ends—any sooner and it tears, any later and it sticks.
Customize Your Cuisinart Cake: Mix-Ins & Swaps
Flavor Boosters That Won’t Sink
- Nutty Twist: Replace ½ cup flour with finely ground almonds or pecans for a moist, tender crumb.
- Chocolate Chips: Add ½ cup mini chips during the “add-in” beep (if your model has this feature)—their small size prevents sinking.
- Citrus Zest: Stir 1 tbsp lemon or orange zest into the sugar for bright flavor.
High-Altitude Baking Adjustments
Works flawlessly up to 3,700 feet. Above 4,000 feet:
– Reduce baking powder by ¼ teaspoon to prevent rapid rise and collapse
– Cut sugar by 2 tablespoons for better structure
Dietary-Friendly Swaps
- Dairy-Free: Use oat milk + refined coconut oil (melted) instead of butter/milk. Avoid unrefined coconut oil—it adds flavor.
- Gluten-Free: Swap flour for 1:1 GF blend + ½ tsp xanthan gum. Expect a slightly denser texture but full moisture.
Keep Cakes Fresh: Storage Secrets for Bread Maker Bakes
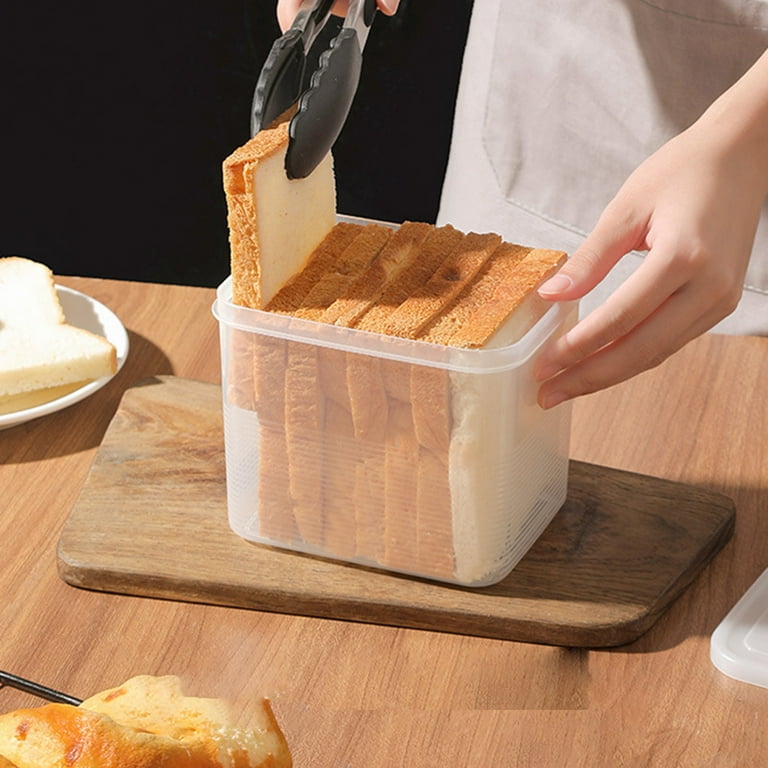
Room Temperature Perfection
Wrap completely cooled cakes airtight in plastic wrap—the bread maker’s gentle baking creates a fine, moist crumb that stays fresh for 3 days (vs. 2 days for oven cakes). Never store in the pan; trapped steam causes sogginess.
Freezer Hacks for Instant Dessert
- Slice cake when fully cooled.
- Freeze slices in a single layer on a baking sheet for 1 hour.
- Transfer to airtight bags with all air squeezed out.
Thaw slices at room temperature for 30 minutes—they retain bakery-fresh texture without drying out.
Protect Your Cuisinart: Post-Cake Cleaning Protocol
Immediate Post-Bake Care
Remove the paddle and pan within 10 minutes of cooling—dried-on batter becomes stubborn. Wash both in warm, soapy water using only soft sponges; metal scrubbers destroy non-stick coatings and void warranties.
Monthly Deep Clean
For stuck-on crumbs: Fill the pan with hot water + 1 drop dish soap, soak 15 minutes, then wipe with a nylon brush. Vacuum the drive belt area monthly with a soft brush attachment to prevent crumb buildup that interferes with paddle rotation.
Proper Storage
Always store your Cuisinart unplugged with the lid ajar—this prevents moisture condensation and musty odors during idle periods. Never stack items on top of the machine.
Warranty Protection: Avoid These Costly Mistakes
Your Cuisinart bread maker includes a 3-year limited warranty, but damage from metal utensils or abrasive cleaners voids coverage immediately. Perform this monthly check:
1. Run the Cake cycle with plain water in the pan.
2. Verify it runs 1 hour 45 minutes to 2 hours.
If timing is off or heating fails, contact Cuisinart support—do not attempt repairs yourself. Remember, improper cleaning is the #1 reason warranties get denied.
Master these Cuisinart bread maker cake recipes once, and your machine transforms from a bread baker to your secret dessert weapon. Start with the vanilla pound cake—it’s the most forgiving recipe for learning your machine’s personality. The precise timing and gentle heat handle the hard work while you focus on


