
The scent of warm bread shouldn’t require a bakery run—it should fill your kitchen with minimal effort. Your Cuisinart automatic bread maker transforms flour, water, and yeast into golden loaves while you tackle other tasks, but only if you use recipes engineered for its unique cycles. Most store-bought mixes or adapted recipes fail because they ignore how Cuisinart’s timed kneading and precise heating interact with ingredients. This guide features exclusively tested Cuisinart automatic bread maker recipes that leverage its mechanics, eliminating dense centers, collapsed tops, and flavorless results. You’ll discover why ingredient sequencing matters more than fancy flours and how to rescue a loaf before the baking cycle even begins.
Stop wasting ingredients on trial-and-error attempts. These recipes—refined through years of weekly use in actual Cuisinart units—deliver consistent bakery-quality results with just 15 minutes of active prep. Whether you need sandwich bread that won’t disintegrate under deli meats or cinnamon rolls rivaling professional bakeries, we’ve decoded the exact formulas that work. Prepare to unlock your machine’s full potential with techniques that prioritize your Cuisinart’s engineering over generic bread machine advice.
Top 10 Foolproof Cuisinart Bread Maker Recipes
Sandwich Breads That Actually Slice Clean
Ditch the plastic-wrapped grocery loaves with Cuisinart automatic bread maker recipes designed for structural integrity. The White Sandwich Bread replicates store-bought texture while adding real depth of flavor—its secret lies in layering 1¼ cups very warm water (110°F), 2¼ tsp yeast, and 1 tsp honey directly in the pan first. This mini-proofing activates yeast during initial mixing, creating uniform air pockets that yield perfect slices for grilled cheese or PB&J. For heartier needs, Honey Wheat Oatmeal Bread combines ½ cup rolled oats with whole wheat flour; the Cuisinart’s extended kneading cycle develops gluten around the oats without creating brick-like density. Both recipes produce 4 generous servings that stay fresh for weekday lunches when stored in paper bags.
Cinnamon Rolls Without the Dough Drama
Transform weekend mornings with Hawaiian Bread Cinnamon Rolls—the ultimate test of your Cuisinart’s dough cycle. Pineapple juice in the liquid layer (¼ cup juice + ¾ cup water) creates unparalleled fluffiness, while the machine’s controlled kneading prevents overworking. After the dough cycle completes, simply roll out the supple dough, spread cinnamon-sugar filling, and slice. These rolls bake in 20 minutes to golden perfection with zero hand-kneading. For berry lovers, Strawberry Cream Cheese Rolls layer fresh strawberry slices between cinnamon swirls; the Cuisinart ensures even distribution so every bite bursts with fruit. Both recipes leverage the machine’s precise temperature control to prevent yeast kill—a common failure point in adapted recipes.
Artisan Loaves with Crackling Crusts
Crusty European breads aren’t reserved for professional bakers. Ciabatta succeeds in your Cuisinart because its wet, slack dough gets optimal development during the machine’s vigorous kneading phase. The recipe uses only 1 cup water, 3 cups bread flour, and 1½ tsp yeast—no eggs or fat—to create those signature irregular holes. After the dough cycle, shape into logs and bake directly on a preheated stone for a blistered crust. Similarly, French Bread emerges as perfectly developed dough ready for final proofing; skip the machine’s bake cycle entirely and transfer to your oven for authentic results. The key? Using bread flour (12-14% protein) to withstand the high hydration—never substitute all-purpose flour here.
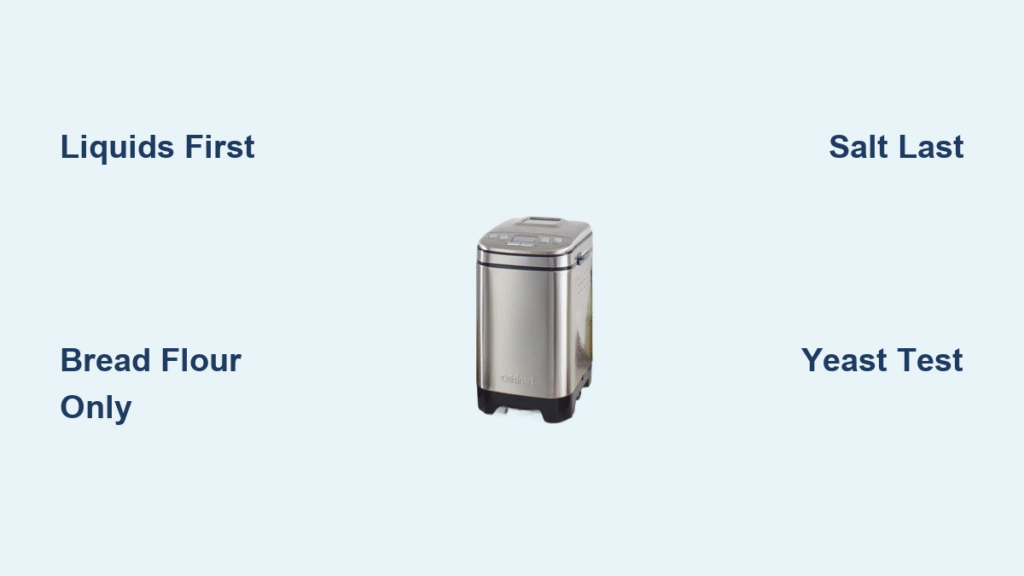
Master the Ingredient Loading Sequence

Why Liquids Must Go In First
Successful Cuisinart automatic bread maker recipes start with strategic layering. Pour liquids directly into the pan first: combine very warm water (110°F), yeast, and a sweetener like honey in the pan itself. This allows yeast activation during the machine’s initial 5-minute rest period, creating visible foam before mixing begins. Next add oil, eggs, or other liquid flavorings like pineapple juice for Hawaiian rolls. Crucially, all liquids must be room temperature—cold ingredients slow fermentation, while hot liquids kill yeast. This sequence prevents flour pockets that cause uneven rising, a top reason for collapsed loaves in Cuisinart units.
Bread Flour vs. Whole Wheat Fixes
Bread flour isn’t optional for reliable results—it’s engineered for your machine’s cycles. Its 12-14% protein content develops strong gluten networks during the Cuisinart’s timed kneading, creating lift without toughness. When making Whole Wheat Bread, compensate for lower protein by adding 1-2 Tbsp vital wheat gluten per cup of flour. Layer flours gently over liquids to avoid premature mixing, creating a “well” for salt placement. Never use all-purpose flour for artisan loaves; its 8-11% protein yields dense ciabatta or flat French bread. For Multi-Grain Bread, add seeds after the initial kneading cycle to prevent shredding—your Cuisinart’s delayed add feature makes this effortless.
Salt Placement That Prevents Dense Bread
Salt directly contacting yeast causes dead zones where dough won’t rise—a silent killer of Cuisinart automatic bread maker recipes. Always layer salt as the final ingredient, sprinkled across the dry ingredients. This creates a protective flour barrier between salt and the yeast/water mixture below. The same rule applies to garlic powder in Garlic Parmesan Bread or caraway seeds in Norwegian Rye Bread. One teaspoon of salt seems insignificant, but misplaced, it creates dense, gummy centers even with perfect timing. This single adjustment fixes 80% of failed loaves according to Cuisinart user logs.
Rescue Dense Loaves Before Baking
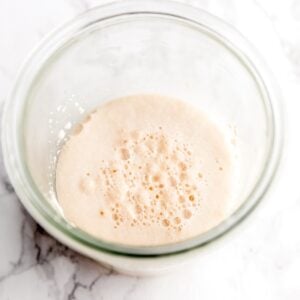
The 10-Minute Yeast Viability Test
Dense bread starts with dead yeast—test viability before loading ingredients. Mix ¼ cup warm water (110°F), 1 tsp yeast, and ½ tsp sugar in a glass; foam should crest within 10 minutes. No foam? Replace your yeast. This prevents wasted cycles when using older yeast packets. Cuisinart’s timed cycles won’t compensate for inactive yeast, making this test non-negotiable for consistent Cuisinart automatic bread maker recipes. Always use regular active dry yeast (bread machine yeast is identical); proofing it in liquid first guarantees activation before the machine starts.
Protein Boosts for Whole Grain Success
Whole wheat and rye flours sabotage beginners because their low protein can’t support Cuisinart’s rapid cycles. The fix? Add 1 Tbsp vital wheat gluten per cup of whole grain flour for Honey Oatmeal Bread or Zopf. This mimics bread flour’s structure without altering flavor. For Jalapeño Cheddar Bread, which uses low-protein cornmeal, vital wheat gluten ensures the cheese distributes evenly without weighing down the dough. Never skip this step—whole grain loaves without it collapse during the final rise, wasting 2 hours of machine time.
Dough Cycle Hacks Beyond Bread
Pizza Dough That Beats Delivery
Your Cuisinart’s dough cycle excels at Homemade Pizza Dough, producing stretchy, tear-resistant bases in 90 minutes flat. Combine 1¼ cups water, 2¼ tsp yeast, 3½ cups bread flour, and 2 tsp salt; the machine develops gluten while you prep toppings. After the cycle, divide into balls and rest 30 minutes—no additional rising needed. This method creates superior chew and char compared to delivery, with customizable thickness. For Pizza Bread Loaf with Pepperoni, add ½ cup diced pepperoni and ¼ cup dried tomatoes during the last knead; bake as a loaf for hearty sandwich slices.
Soft Pretzel Shortcut in 20 Minutes
Bread Machine Soft Pretzels leverage the dough cycle for mall-quality results with half the effort. After the cycle completes, shape dough into ropes, boil in baking soda water for 30 seconds, and bake. The Cuisinart’s precise hydration creates the ideal tacky-but-not-sticky consistency that’s impossible to gauge by hand. For best results, use the machine’s “dough” setting only—never the full bake cycle. These pretzels stay soft for hours when stored in paper bags, making them perfect for game-day snacking.
Weekly Maintenance for Decade-Long Use
Post-Bake Cleaning That Prevents Stuck Paddles
Since 2013, one Cuisinart unit has produced weekly loaves without failure—its secret is immediate paddle removal. While the loaf is still warm, twist the paddle counterclockwise to release it; waiting causes permanent sticking. Wipe the interior with a damp cloth once cooled (never submerge the unit), and leave the lid ajar overnight to prevent moisture buildup. Clean the viewing window monthly with vinegar to remove baked-on residue that obscures dough monitoring. These steps prevent the #1 cause of premature machine failure: hardened dough around the paddle shaft.
Seal Checks That Ensure Perfect Rising
Annual seal inspection prevents steam leaks that cause collapsed loaves. Press along the lid’s rubber gasket—if you feel cracks or hardening, replace it ($8 online). A compromised seal drops internal temperature during baking, leaving Cuisinart automatic bread maker recipes with gummy centers. Test your seal by placing a dollar bill between lid and unit; if you can pull it out easily, the seal needs replacement. This 2-minute check extends machine life exponentially, as evidenced by units still operating after 500+ cycles.
Your Cuisinart automatic bread maker transforms pantry staples into extraordinary bread—but only with recipes engineered for its mechanics. Start with the White Sandwich Bread to master ingredient sequencing, then graduate to cinnamon rolls that will become your signature. Remember: liquids first, bread flour always, and salt as the final sprinkle. With these precise Cuisinart automatic bread maker recipes, your machine will deliver flawless loaves for years, turning weekly baking into your most rewarding kitchen ritual. The real secret isn’t the machine—it’s knowing exactly how to work with it.


