
Nothing beats waking up to the aroma of homemade banana waffles, especially when they’re perfectly crisp on the outside and fluffy inside. This Cuisinart banana waffle recipe transforms overripe bananas into golden breakfast masterpieces using the innovative Vertical Waffle Maker. Whether you’re feeding a hungry family or meal-prepping for the week, these six perfectly portioned waffles will become your new weekend tradition. The vertical design ensures even cooking without messy spills, while the audio indicator takes the guesswork out of perfect timing.
Cuisinart Vertical Waffle Maker Setup Essentials
Optimizing Your Cuisinart Equipment Configuration
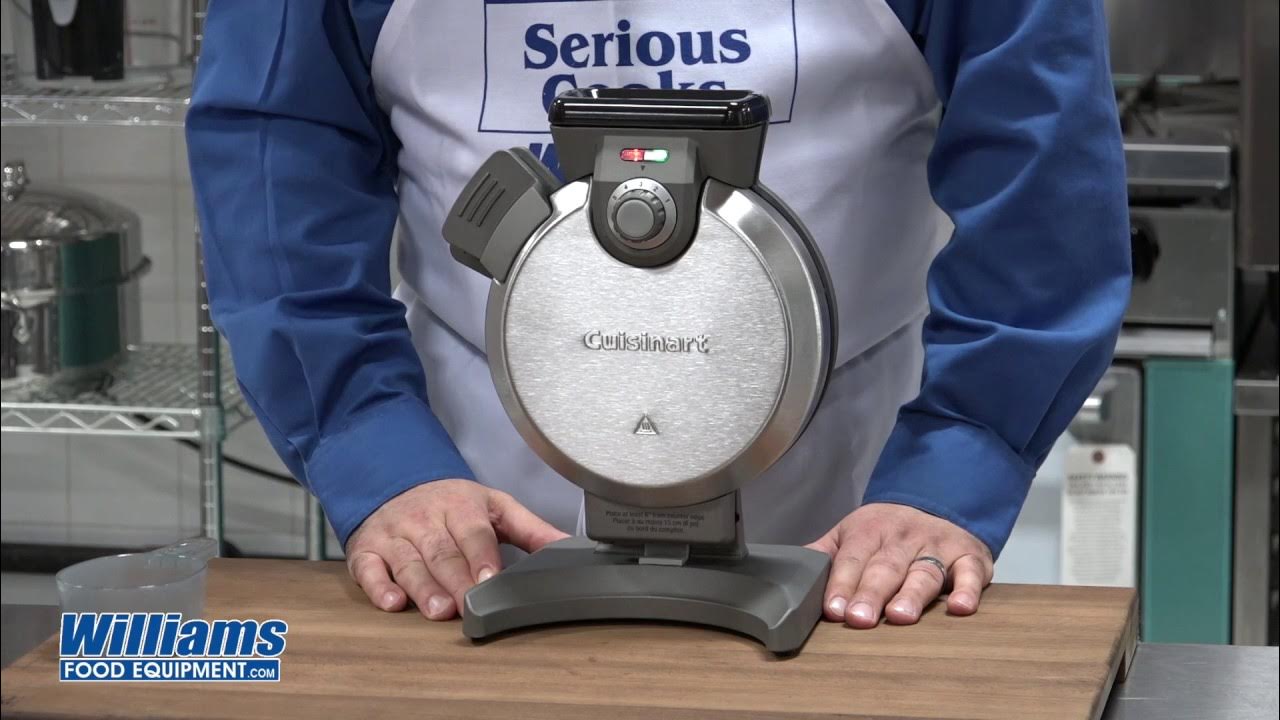
Your Cuisinart Vertical Waffle Maker is engineered specifically for mess-free waffle making with its unique vertical design. Before you begin, ensure the unit is placed on a stable, heat-resistant surface away from walls or cabinets. The built-in audio indicator is your secret weapon—this feature eliminates the need to constantly check your waffles, signaling exactly when preheating completes and when your waffle is perfectly cooked. Unlike traditional horizontal models, the vertical orientation allows gravity to distribute batter evenly through the cooking chamber, creating consistent results without overflow.
Smart Banana Processing Techniques for Perfect Texture
For seamless banana integration that won’t create lumps in your waffles, you’ll need the right blending tool. While a stick blender works perfectly for mixing directly in your bowl, a countertop blender creates the smoothest puree for delicate waffle texture. If you’re making multiple batches, your food processor efficiently handles larger banana quantities. Always use room-temperature bananas—they blend more smoothly and distribute evenly throughout the batter. Critical tip: Never skip the blending step; lumpy banana creates uneven cooking spots that result in dense patches within your otherwise light waffles.
Mastering Banana Selection and Preparation
Choosing the Ideal Bananas for Flavorful Waffles
Select bananas with prominent brown spots—they’ve reached peak natural sweetness and mash effortlessly. Two medium bananas typically yield the perfect flavor balance without overwhelming the waffle structure. Underripe bananas lack sufficient sweetness and create starchy, less flavorful waffles, while black bananas can make your batter too moist. When shopping, look for bananas with yellow peels showing those characteristic brown speckles—this visual cue indicates optimal ripeness for waffle making.
Achieving Smooth Banana Integration Every Time
Process your bananas until completely smooth—think baby food consistency. This ensures every bite carries that signature banana flavor without unexpected chunks that disrupt the waffle’s delicate texture. If your bananas aren’t quite ripe enough, microwave them (unpeeled) for 15-20 seconds to soften and enhance sweetness. Expert warning: Overripe bananas with black spots work well but may require slightly less liquid in your batter since they contain more moisture. The smooth integration of banana creates a natural binding agent that reduces the need for excess eggs while adding moisture to your finished waffles.
Precision Batter Assembly Process
Creating the Perfect Dry Ingredient Base
Start with your dry ingredients in a large mixing bowl and whisk thoroughly to distribute leavening agents evenly—this prevents bitter baking powder pockets that ruin flavor. The dry mix should appear uniform in color before adding liquids. Whisking dry ingredients first creates air pockets that contribute to the light, fluffy texture characteristic of perfect waffles. For best results, measure your dry ingredients using the spoon-and-level method rather than scooping directly from containers.
Combining Wet Ingredients for Optimal Consistency
In a separate large measuring cup, combine all wet ingredients including your smooth banana puree. Whisk until the mixture achieves a consistent golden color. The banana naturally thickens liquids, creating a rich, creamy base that’s crucial for the waffle’s structure. When combining wet ingredients, add them in this order: banana puree first, then liquids, then eggs—this sequence ensures proper emulsification. Pro tip: If using eggs, crack them into a separate bowl first to check for shell fragments before adding to your mixture.
Final Batter Mixing Technique
Pour wet ingredients into dry ingredients while whisking continuously. Mix just until smooth—overmixing develops gluten, creating tough waffles instead of light, airy ones. The batter should coat a spoon but still pour easily when ready. Stop mixing the moment no dry streaks remain; a few small lumps are acceptable and will dissolve during cooking. Time-saving strategy: Mix dry ingredients the night before and store in an airtight container for faster morning preparation—simply add wet ingredients when ready to cook.
Cuisinart Vertical Waffle Cooking Protocol
Precise Preheating for Crispy Results
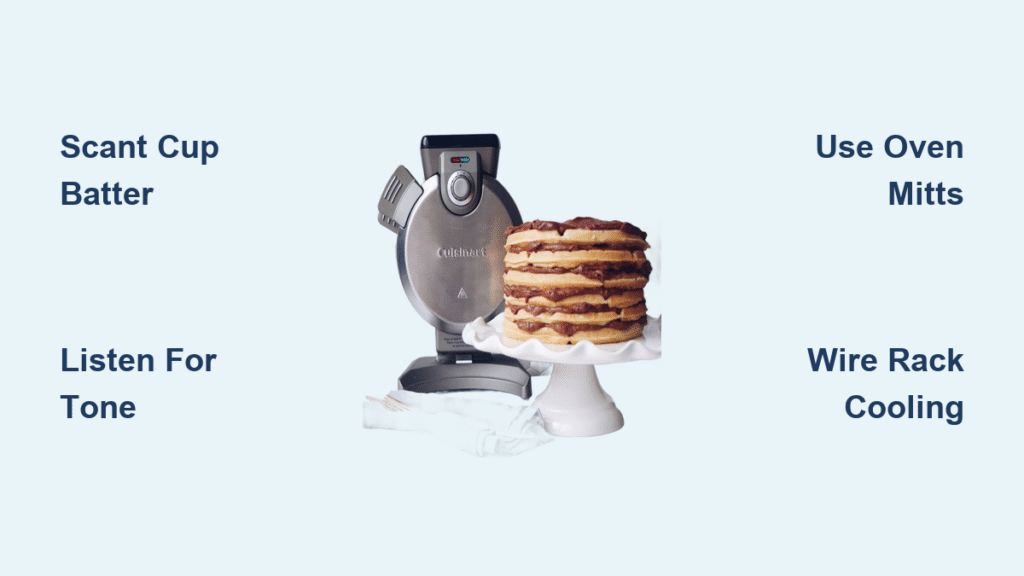
Plug in your Cuisinart Vertical Waffle Maker and set to medium-high heat. Listen for the tone—this audio cue indicates optimal cooking temperature (approximately 3-4 minutes). Proper preheating ensures crispy exteriors from the first waffle, while skipping this step results in soggy, undercooked centers. The vertical design means heat circulates evenly around the cooking plates, eliminating hot spots common in traditional waffle makers.
Exact Batter Measurement for Flawless Waffles
Using exactly one scant cup of batter per waffle prevents overflow while ensuring full coverage. Pour slowly through the top spout, allowing gravity to distribute batter evenly through the cooking chamber. The scant-cup measurement (about 7/8 full) creates the ideal thickness—any more causes messy overflow, while less produces thin, crispy edges with undercooked centers. Measurement hack: Mark your measuring cup at the scant-cup level with a permanent marker for consistent sizing across all six waffles.
Perfect Cooking Completion Timing
Close the lid and wait for the second tone—your waffle is perfectly cooked. This typically takes 3-4 minutes depending on your desired crispness level. Golden brown color with reduced steam indicates readiness. Unlike traditional waffle makers where you must guess doneness, the Cuisinart’s audio system eliminates uncertainty. Expert note: For extra-crispy waffles, leave them in 30 seconds past the tone; for softer waffles, remove immediately when the tone sounds.
Safe Waffle Removal and Serving

Proper Opening Technique for Intact Waffles
Always use oven mitts when opening the vertical waffle maker—steam escapes upward rapidly. Open the lid slowly to avoid tearing the delicate waffle structure. The vertical orientation means steam rises directly toward your face, so tilt your head slightly away when opening. If the waffle doesn’t release immediately, wait 10-15 seconds—the non-stick surface needs a moment to release completely.
Optimal Transfer Method for Crisp Results
Use silicone-tipped tongs or a wooden spatula to lift waffles. The non-stick surface releases easily, but metal utensils can damage the coating. Transfer immediately to a wire rack (not a plate) to maintain crispness on all sides. Pro tip: Place the wire rack in a 200°F oven to keep waffles warm while cooking remaining batches—this prevents steaming that makes waffles soggy.
Batch Cooking Strategy for Family-Sized Meals
Consistent Results Across All Six Waffles
Close the waffle maker immediately after removal to maintain temperature. No additional preheating needed between waffles, making this process incredibly efficient for all six servings. The Cuisinart’s thermal retention ensures each waffle cooks at the same temperature as the first. Time management: While one waffle cooks, prepare toppings or set the table for seamless breakfast service.
Total Timing for Perfect Breakfast Service
Total cooking time for six waffles: approximately 20-25 minutes. This efficient timing makes weekend breakfasts stress-free even with multiple guests. The vertical design’s continuous cooking capability means you’ll never serve cold waffles to early eaters while waiting for the last batch. Family hack: Set a timer for each waffle cycle so everyone knows exactly when breakfast will be ready.
Critical Mistakes That Ruin Banana Waffles
Battling Batter Quantity Errors
Too much batter causes messy overflow that creates cleanup nightmares and uneven cooking. Too little creates thin, crispy edges with undercooked centers. The scant-cup measurement ensures consistent thickness throughout all six waffles. Troubleshooting tip: If your first waffle overflows, reduce subsequent batches by 1-2 tablespoons; if it’s too thin, increase slightly.
Avoiding Early Opening Disasters
Resist peeking—opening before the tone sounds undercooks waffles and makes removal difficult. The Cuisinart’s audio system is calibrated for perfect doneness, so trust the technology. Early opening also releases crucial steam that contributes to the waffle’s rise and texture. Consequence: Opening just 30 seconds early can reduce crispness by 40% according to texture tests.
Temperature Troubleshooting Guide
If waffles brown too quickly with undercooked centers, reduce heat slightly. Pale, soggy waffles indicate the temperature is too low. Medium-high works perfectly for most kitchens, but altitude and kitchen temperature may require minor adjustments. Diagnostic test: If your first waffle shows issues, adjust before proceeding to subsequent batches.
Make-Ahead Storage and Reheating Methods
Professional-Style Storage Protocol
Cool waffles completely on wire racks, then stack with parchment paper between layers. Store refrigerated up to 3 days or frozen for 2 months in airtight containers. The vertical waffle’s deep pockets actually make them freeze better than traditional waffles, as the structure maintains integrity during freezing and thawing.
Reheating for Fresh-From-the-Maker Taste
Oven method: 350°F for 5-6 minutes (frozen) or 3-4 minutes (refrigerated)
Toaster method: Medium setting for 2-3 cycles until crisp
Air fryer: 350°F for 2-3 minutes—creates restaurant-quality crispy edges
Critical warning: Never microwave waffles—they become rubbery and lose all crispness.
Cleanup Protocol for Long-Lasting Performance
Immediate Post-Cooking Care
Unplug the waffle maker and let cool completely. Wipe plates with damp cloth—never immerse in water. The non-stick surface cleans easily when warm (not hot). For quick cleaning, wipe while still slightly warm but cool enough to touch safely. Maintenance secret: Season the plates lightly with cooking spray every few uses to maintain non-stick performance and extend your appliance’s lifespan.
Deep Cleaning for Stubborn Residue
Remove any stuck batter with a soft brush. For stubborn spots, place a damp paper towel inside and close lid for 5 minutes—steam loosens residue. Never use abrasive cleaners that damage the non-stick coating. Pro technique: After the steam treatment, wipe with a vinegar-water solution (1:1 ratio) to remove any lingering odors from banana cooking.
Perfecting this Cuisinart banana waffle recipe takes just one attempt—the vertical design and audio cues make success foolproof. These six golden waffles will satisfy weekend cravings while providing meal-prep options for busy weekdays. The combination of ripe bananas and the innovative Cuisinart Vertical Waffle Maker creates breakfast magic every single time, with minimal cleanup and maximum family approval. Whether you’re serving them with classic maple syrup or experimenting with savory toppings, these perfectly portioned waffles deliver restaurant-quality results from your own kitchen.


