
Granite countertops deliver unmatched durability and elegance to any kitchen, but professional installation can cost thousands of dollars. Learning how to install granite countertops in kitchen spaces yourself saves significant money while giving you complete control over the process. This guide walks you through every critical step of DIY granite countertop installation, from precise measurements to final sealing. Whether you’re remodeling your kitchen or replacing outdated surfaces, understanding the proper techniques ensures your granite installation withstands daily use for decades.
Before starting, recognize that granite weighs approximately 18-20 pounds per square foot, demanding careful handling and proper cabinet reinforcement. The installation process typically requires 2-3 days for an average kitchen, with physical demands that necessitate adequate help for lifting and positioning heavy slabs. By following this comprehensive guide, you’ll achieve professional-quality results while avoiding common pitfalls that lead to costly mistakes.
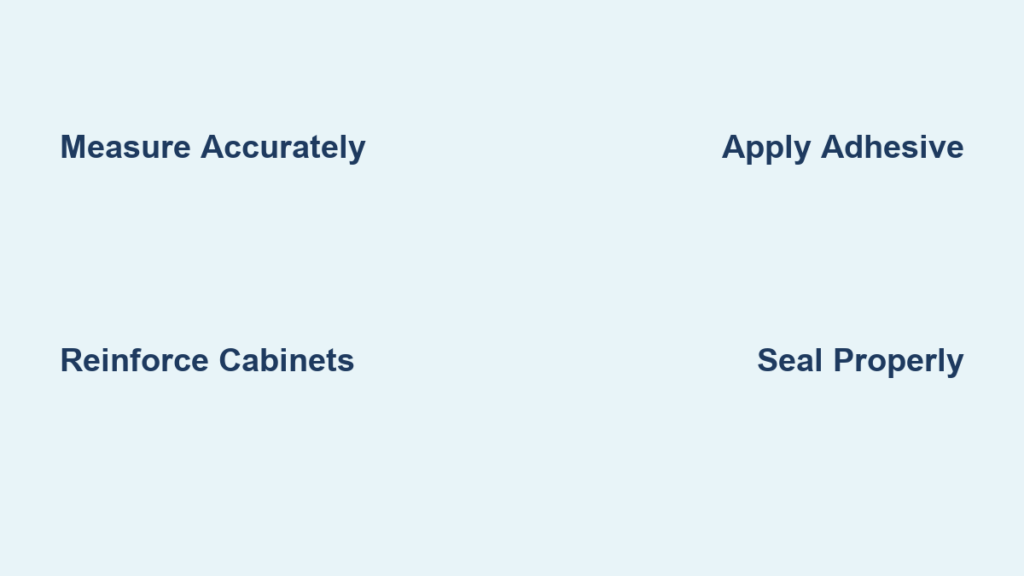
Plan and Measure Your Kitchen Layout Precisely
Accurate measurements form the absolute foundation of successful granite countertop installation. Begin by creating a detailed sketch of your kitchen layout, noting sink locations, cooktop positions, electrical outlets, and any other fixtures penetrating your countertops. Measure each section at both the wall edge and front edge, recording depth from wall to cabinet front with precise millimeter accuracy.
For L-shaped or U-shaped kitchens, measure each leg separately and document corner connection points. Sink openings require particular attention—measure from sink edges to nearest walls or cabinets to ensure proper support and fitment. If installing a cooktop, record its exact cutout dimensions from manufacturer specifications and verify positioning relative to cabinets.
Calculate overhang requirements into your measurements, as standard overhang extends 1-1.5 inches beyond cabinet fronts while bar areas often feature 6-12 inch extensions. Account for eased or bullnose edges that add approximately 1/4 inch to dimensions. Many homeowners benefit from requesting a template visit from their granite supplier, as professional templates create exact patterns using your cabinets as a guide, eliminating measurement errors around complex obstacles.
Gather Essential Tools and Materials Before Starting
Assemble all necessary tools before installation day to prevent frustrating delays. Cutting and shaping granite requires a circular saw with diamond blade designed for stone, with wet saws preferred for cleaner cuts and reduced dust. Angle grinders with diamond blades handle edge finishing and sink cutouts, while safety equipment including goggles, ear protection, and respirators protect you during physically demanding work.
Leveling and securing tools include a 4-foot level for checking cabinet and countertop alignment, shims for adjustments, and a caulking gun for adhesive application. You’ll need a heavy-duty drill with mixing attachment for epoxy, along with various bits for screw driving and hole boring. A rubber mallet helps seat pieces without damaging stone surfaces.
Critical materials include construction adhesive specifically designed for stone applications, color-matched epoxy for seams, shims in various thicknesses, masking tape for surface protection, and cleaning supplies including acetone. If cabinets require reinforcement, gather additional 3/4-inch plywood before installation begins.
Prepare Cabinets for Granite’s Significant Weight

Your cabinets must provide a solid, level foundation capable of supporting granite’s substantial weight without flexing. Inspect each cabinet unit for stability, ensuring doors operate properly and interior shelves are securely fastened. Anchor cabinets to wall studs using screws through the back rail, connecting adjacent units to create a unified structure.
Add 3/4-inch plywood over existing cabinet tops if particle board construction shows any flex when weight is applied. This reinforcement layer distributes granite weight evenly and prevents sagging that could crack stone over time. Secure the plywood with screws every 6-8 inches, ensuring flush alignment across all cabinet surfaces.
Verify levelness across the entire installation area using a 4-foot level—cabinets must be level within 1/8 inch across their entire span. Shim low spots beneath cabinet bases until level, then anchor cabinets to floor through shims if necessary. Install plywood strips or solid blocking beneath all planned seam locations, extending at least 6 inches beyond each side to prevent stress on epoxy joints during daily use.
Transport and Position Granite Slabs Safely
Moving granite slabs requires careful planning and adequate manpower. Each full-size slab weighs 300-500 pounds, making professional equipment advisable for larger pieces. If handling slabs yourself, recruit at least three strong helpers and use suction cup handles designed for stone handling to distribute weight evenly without scratching surfaces.
Transport granite on edge in a truck with proper support, never flat which risks cracking. Secure slabs with straps to prevent shifting during transit, padding contact points with cloth or rubber. Inspect slabs upon delivery for shipping damage, noting cracks, chips, or edge damage before signing delivery documents.
Position slabs near their installation location before beginning work. Lay moving blankets on floors and cabinet tops to protect surfaces during positioning. Using suction cups, carefully lift each slab and place it approximately where it will be installed, allowing room for adjustment during final positioning.
Cut and Fit Countertop Sections with Precision
Dry-fit each countertop section before applying adhesive, checking fitment against cabinets and adjacent pieces. Granite fabrication shops typically cut to specifications, but on-site adjustments frequently prove necessary. Make test fits with all pieces, including sink and cooktop cutouts, before committing to permanent installation.
Make cuts using a circular saw with diamond blade, scoring the surface first before completing the cut to prevent chipping. Always cut with the finished side facing down to minimize visible edge chipping. For curved cuts around sinks, use an angle grinder with diamond blade, making multiple shallow passes rather than attempting deep cuts in one pass.
Check edges after cutting and smooth rough areas using diamond grinding wheels or sandpaper progression from 100 to 600 grit. Test-fit pieces repeatedly during this process, making small adjustments until fitment meets your satisfaction.
Apply Adhesive and Secure Countertops Properly
With all pieces fitted, apply construction adhesive designed for stone applications using a caulking gun, creating a continuous bead across all support surfaces. Avoid sparse application, as gaps create weak points vulnerable to cracking under stress.
Lower each countertop section carefully onto the adhesive bed using suction cups for controlled positioning. Press firmly to seat the stone into adhesive, checking for full contact across the entire surface. Verify levelness immediately after placement, as adhesive begins curing within minutes.
Secure countertops by driving screws up through cabinet rails into the granite’s underside, placing screws in locations that won’t be visible from normal viewing angles. Apply masking tape along cabinet edges before driving screws to protect surfaces from scratches.
Create Professional-Quality Seams Between Sections

Seams between granite pieces require careful attention for nearly invisible results. Ensure both pieces align perfectly at the seam line with no height variation. Apply pieces from the same slab batch when possible for better color and pattern matching.
Mix epoxy coloring agents to match your granite’s base color, testing on scrap pieces until the match appears seamless. Apply epoxy to the seam gap using a syringe, forcing material deep into the joint. Place masking tape along both sides of the seam before application to keep adjacent surfaces clean.
After epoxy partially cures (15-30 minutes), scrape excess material using a razor blade held at a shallow angle. Allow epoxy to fully cure before subjecting seams to stress. Once cured, polish the seam area using progressively finer grit sandpaper, blending the epoxy flush with surrounding stone surfaces.
Install Sink and Fixtures Correctly
Cutout installation requires precision to ensure proper fitment and watertight seals. Most sinks come with cardboard templates—tape these to your countertop surface, verifying position before cutting. Double-check template orientation to avoid backwards installation.
Cut along template lines using a circular saw for straight sections and an angle grinder for curved corners. Support the cutout area from below during cutting to prevent cracking. Remove the waste piece carefully, then test-fit your sink to verify dimensions.
Apply silicone caulk around the sink lip before lowering the fixture into position, creating a waterproof seal. Secure clips according to manufacturer specifications, tightening evenly around the perimeter to distribute pressure without overtightening.
Seal and Protect Your Granite Countertops
Test your countertop’s sealed status by placing water drops on the surface—if water beads and doesn’t darken the stone within 5-10 minutes, your seal remains effective. If water penetrates quickly, apply fresh sealant before use.
Apply penetrating sealer designed specifically for natural stone, following product instructions carefully. Typically, this involves applying sealer generously, allowing penetration time, then wiping excess residue. Avoid walking on sealed surfaces until fully cured (24-48 hours).
Maintain your sealed granite by using pH-neutral cleaners formulated for stone surfaces. Wipe up spills immediately, particularly from acidic substances like wine and citrus. Reapply sealer annually to maintain optimal protection.
Avoid Common DIY Installation Mistakes
Inadequate support at seams and overhangs leads to cracking under normal use—every seam requires solid support underneath. Rushing measurements ranks among the most expensive errors; verify cabinet levelness before granite arrives.
Improper adhesive selection creates weak points—never use standard construction adhesive not rated for stone applications. Apply adhesive in continuous beads across all support surfaces, avoiding gaps that create stress concentrations.
Failing to account for granite’s weight during planning leads to cabinet failure—ensure cabinet construction can support 18-20 pounds per square foot. Plan your workforce needs realistically, recruiting adequate help for moving and positioning heavy slabs safely.
By following these detailed guidelines for planning, preparation, installation, and maintenance, you achieve professional-quality results while avoiding common pitfalls. Your careful attention throughout this process rewards you with beautiful, durable countertops that enhance your daily life and your home’s value for years to come.


