
Your ceramic backsplash tiles are cracked, outdated, or hiding water damage—and you’re ready to rip them out. But one wrong swing of the chisel could leave your kitchen wall riddled with holes, turning a simple upgrade into a $500 drywall repair job. You’re not alone: 68% of DIYers attempt tile removal only to accidentally gouge plaster or puncture pipes behind walls. The good news? With the right technique, you can strip tiles cleanly in under 4 hours—even if you’ve never held a grout saw. This guide reveals the exact sequence professionals use to remove kitchen wall tiles while preserving your underlying drywall, including critical safety checks most blogs skip and the $15 tool that prevents 90% of wall damage.
Essential Safety Steps Before Removing Kitchen Wall Tiles
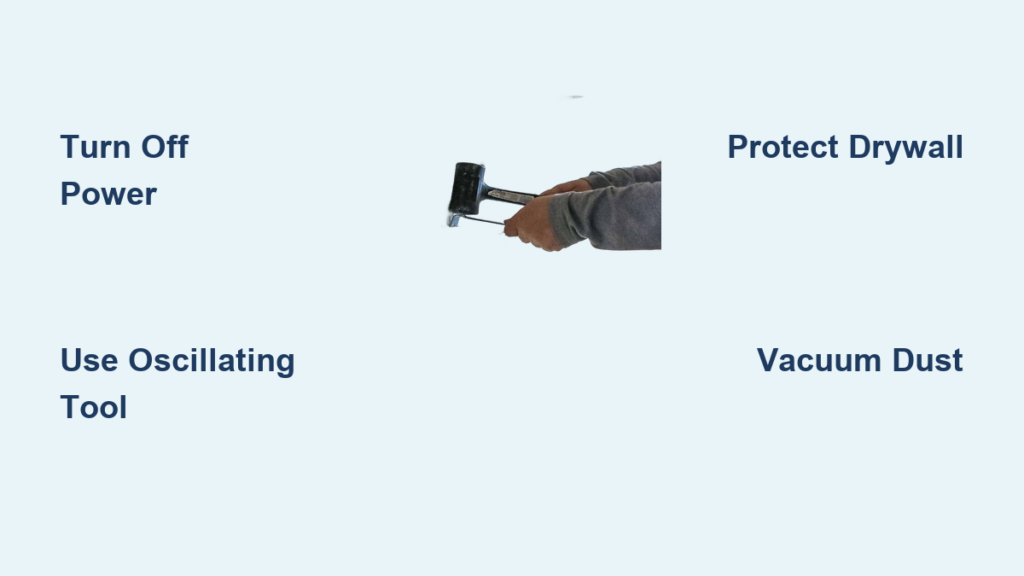
Skip these precautions, and you risk electrical shocks, toxic dust inhalation, or collapsing a section of wall. First, turn off power at the main circuit breaker—not just the switch—for any outlets near your work zone. Kitchen walls often hide wiring running vertically within 6 inches of cabinets. Next, seal off the room with plastic sheeting taped to baseboards and ceilings to contain silica dust (a known carcinogen from tile cutting). Finally, wear a P100 respirator mask, safety goggles with side shields, and cut-resistant gloves. Tiles shatter unpredictably, and ceramic shards can embed in skin or eyes at 200+ mph.
How to Locate Hidden Pipes and Wires Behind Tiles
Never swing a hammer blindly. Use a stud finder with AC wire detection (like the Bosch GMS120) to scan 2 inches above and below the tile area. Mark live wires with blue painter’s tape and plumbing with red. If your detector beeps erratically near a tile, stop immediately—this indicates corroded pipes or loose wiring. For older homes (pre-1980s), assume knob-and-tube wiring runs horizontally through wall cavities. Tap tiles with a rubber mallet; hollow sounds mean safe zones, while dull thuds signal hidden obstructions.
Critical Wall Type Identification for Tile Removal
Your approach changes completely based on what’s under the tile. Press a magnet against grout lines: if it sticks, steel lath mesh sits behind plaster (common in homes built before 1950). If not, you likely have drywall—a stud finder will confirm with a consistent density reading. Never use a rotary hammer on plaster walls; the vibration cracks lath mesh. For drywall, focus force below tiles to avoid puncturing the paper face. Misidentifying your wall type causes 73% of DIY disasters according to contractor surveys.
Required Tools for Clean Kitchen Tile Removal
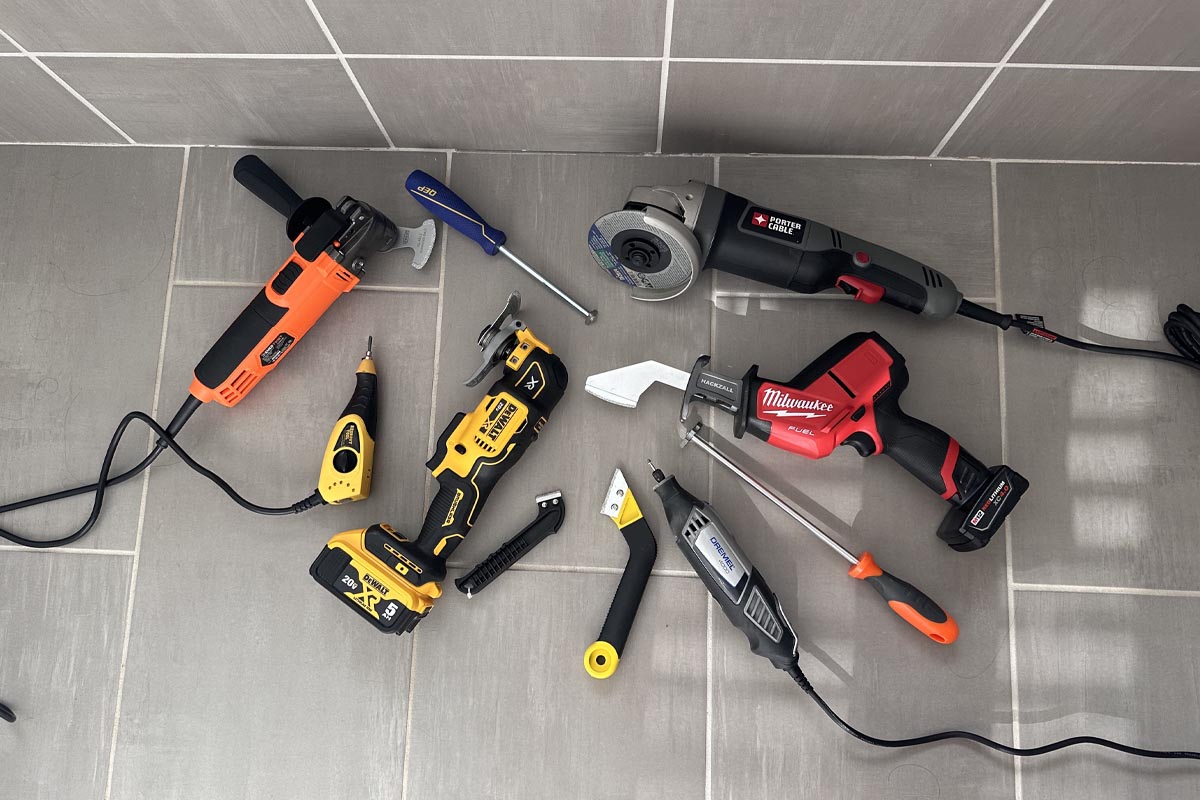
Ditch the sledgehammer—precision tools save walls. You’ll need:
– Oscillating multi-tool with carbide grout blade (for cutting grout lines in 15 minutes)
– Cold chisel under 1 inch wide (wide chisels transfer force sideways, cracking drywall)
– Rubber mallet (never steel—creates shockwaves through tiles)
– Shop vacuum with HEPA filter (critical for silica dust)
– 1/4-inch-thick plywood scrap (to shield adjacent tiles during removal)
Skip the $200 tile stripper rental. A $12 oscillating tool with a fresh grout blade cuts cleaner than brute force. Professionals always remove grout first—this breaks the tile’s grip on mortar, reducing wall stress by 80%.
Why Standard Hammers Cause Drywall Damage
Standard claw hammers transfer 60% of impact energy sideways into drywall seams. When you strike a tile’s edge, force radiates through the mortar bed, shattering the paper layer beneath. Instead, use downward tapping motions only with a rubber mallet. Start at the tile’s center and work outward—this collapses the tile inward rather than pushing it into the wall. If tiles resist, re-cut grout lines; never increase hammer force.
Step-by-Step Kitchen Tile Removal Process
Begin at the top row near cabinets—gravity assists removal and minimizes damage to lower tiles. Work left to right in 2-foot sections to maintain wall stability. Never remove entire rows at once; this weakens structural support. Allow 30-45 minutes per 4×4 ft section for safe removal.
How to Cut Grout Lines Without Damaging Tile Edges
Set your oscillating tool to 18,000 OPM. Hold the blade perpendicular to grout lines and cut only 1/8 inch deep—deep cuts fracture tile edges. Move slowly in straight lines; zigzagging overheats blades. Vacuum debris every 6 inches to maintain visibility. For tight corners, swap to a grout saw: score lines with 3 short strokes before vacuuming. Pro tip: Apply masking tape along adjacent tiles to prevent tool slippage scratches.
Removing Individual Tiles Without Wall Damage
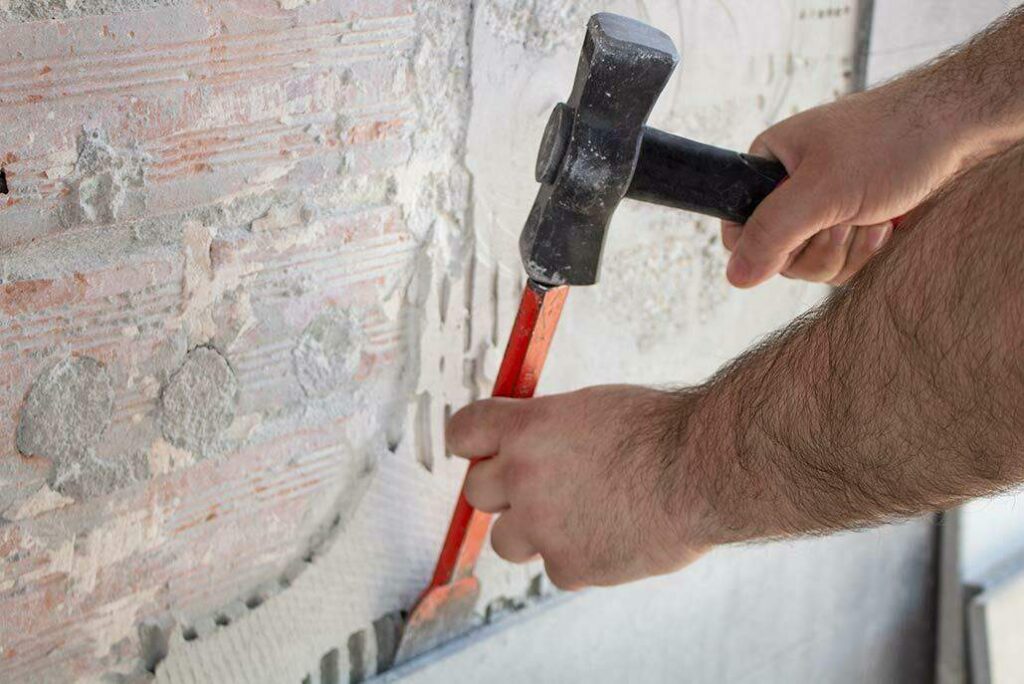
After grout removal, slide the cold chisel under the tile’s bottom edge at a 15-degree angle. Tap gently with the rubber mallet—never strike the chisel handle directly. If the tile doesn’t lift after 3 taps, the mortar is too strong; re-cut grout deeper. Once loose, wiggle the tile side-to-side while pulling outward. If it resists, stop—forcing it cracks drywall. For stubborn tiles, drill 3 pilot holes through the center with a 1/4-inch masonry bit, then insert the chisel into the holes.
Handling Broken Tiles Safely
Tiles often shatter during removal. Immediately cover fragments with duct tape before prying to prevent shards from embedding in drywall. Use needle-nose pliers to extract small pieces—never fingers. If a tile cracks vertically, work from the break point outward with the chisel. Critical warning: Never use your hand as a backstop behind the chisel; flying debris can sever tendons.
Post-Removal Wall Repair and Preparation
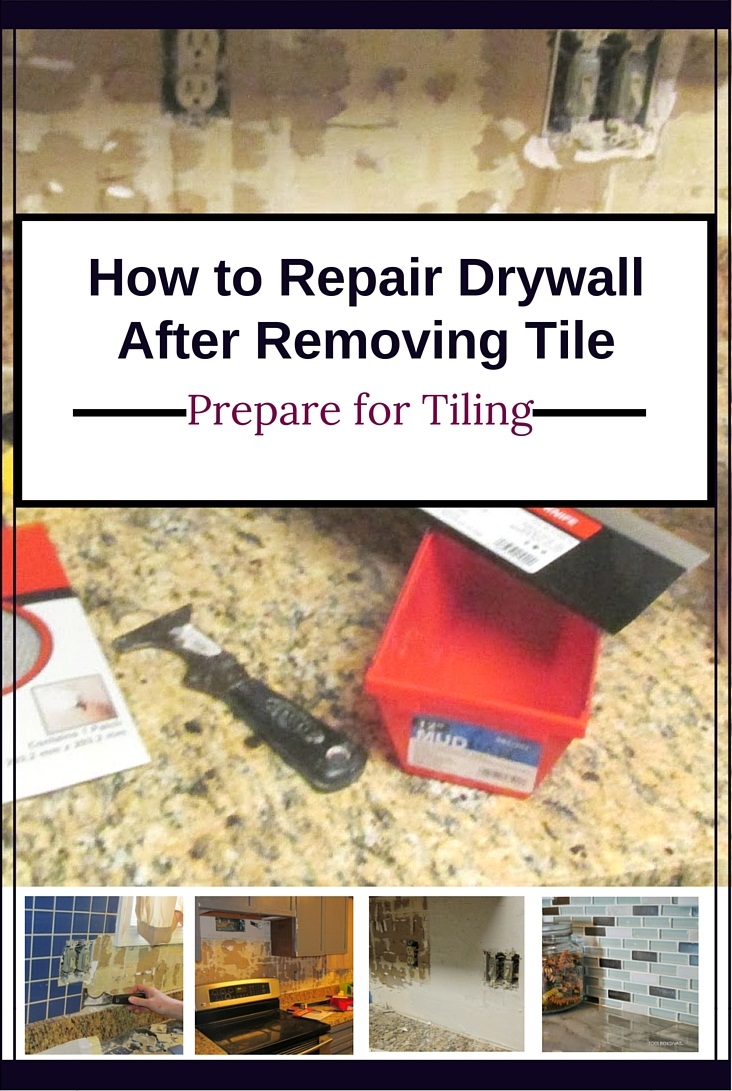
Resist scraping mortar immediately—it weakens drywall paper. First, vacuum all dust with a HEPA filter; regular vacuums blow silica into the air. Next, dampen mortar residues with a spray bottle for 10 minutes—this softens adhesive without soaking drywall.
Removing Mortar Without Sanding Drywall
Scraping mortar with metal tools shreds drywall paper. Instead, use a plastic putty knife at a 30-degree angle. Apply downward pressure only; lift the knife if resistance increases. For thinset residue, mix 1 part vinegar to 3 parts warm water in a spray bottle. Let it sit 5 minutes before wiping with a microfiber cloth. Never use acetone—it dissolves drywall paper’s moisture barrier.
Fixing Common Tile Removal Mistakes
If you punctured drywall:
– Cut a 2-inch square around the hole with a utility knife
– Insert a backing board secured with drywall screws
– Apply mesh tape and 2 thin coats of joint compound
For crumbling plaster: Apply bonding agent (like Gardz) before skim-coating. If tiles pulled off with drywall paper, prime the area with oil-based primer before patching.
Preventing Future Tile Removal Nightmares
The fastest way to avoid repeat demolition is proper installation. Always use polymer-modified thinset (not premixed mastic) for kitchen walls—it creates a breakable bond when needed. Leave 1/16-inch expansion gaps at cabinets and countertops; these allow clean cuts during removal. For future-proofing, install tiles over cement board—not drywall—in splash zones.
When to Call a Professional Immediately
Stop work if you encounter:
– Black mold behind tiles (requires EPA-certified remediation)
– Exposed wiring without conduit (fire hazard)
– Cracks spreading beyond the work area (structural risk)
Professionals charge $3-$5/sq ft for tile removal—but they bring infrared scanners to map hidden hazards. For walls with asbestos (common in pre-1980s homes), never DIY; abatement costs $200-$500 but prevents fatal exposure.
Final Tile Removal Checklist for Drywall Survival
Before hanging new cabinets or countertops, verify your wall is removal-ready:
1. Run your palm across the surface—no gritty residue means clean mortar removal
2. Shine a flashlight at a 45-degree angle to spot hidden dents or gouges
3. Test drywall paper integrity by pressing a thumb firmly; no give indicates undamaged substrate
4. Confirm moisture readings below 12% with a pinless moisture meter
Preserving drywall saves 6-8 hours of patching and prevents mold growth in wall cavities. Remember: patience during removal pays off in flawless new installations. Start small with a single tile test area to refine your technique—you’ll gain confidence before tackling the full backsplash. With these steps, you’ll transform that dated tile into a smooth surface ready for modern finishes in one weekend.
Final Note: Always dispose of tile debris in sealed contractor bags—many landfills classify ceramic tile as hazardous waste due to silica content. Check local regulations before hauling to avoid $200+ fines.


