
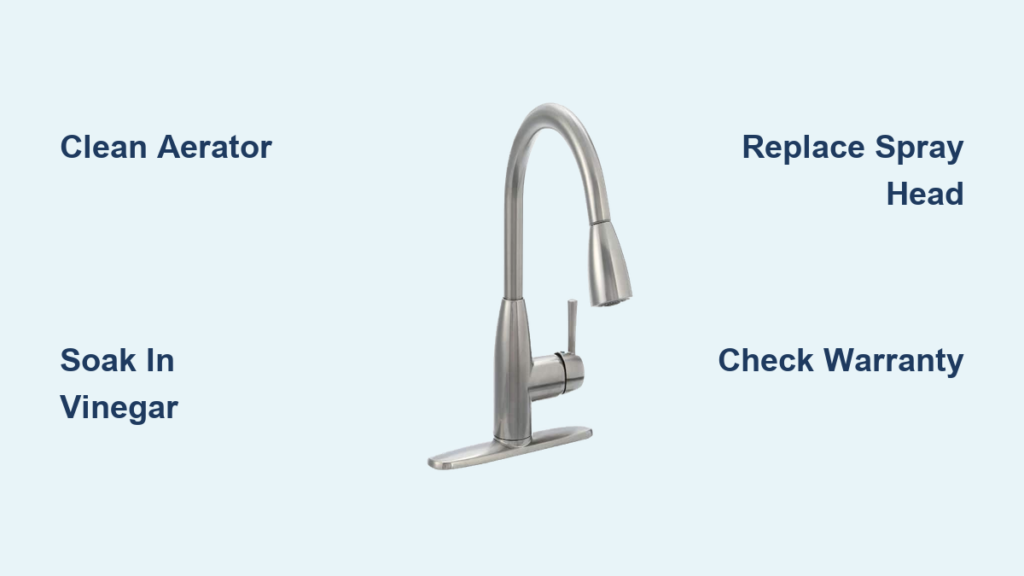
Is your American Standard kitchen faucet spray head delivering weak water flow or refusing to switch between spray patterns? You’re not alone—these are among the most frequent issues homeowners encounter with these reliable fixtures. When your faucet’s performance declines, understanding how to diagnose and address the problem can save you unnecessary service calls and expensive replacements. This guide provides proven solutions for the two most common American Standard kitchen faucet problems: restricted water flow from mineral buildup and failed spray pattern selectors. By following these step-by-step instructions, you’ll restore full functionality to your faucet without professional help in most cases.
Diagnose Your Specific Faucet Problem
Before attempting any repair, you need to accurately identify which component is causing your American Standard kitchen faucet to malfunction. Spray head issues generally fall into two distinct categories requiring different solutions: water flow restrictions and spray pattern switching failures. Misdiagnosing the problem leads to wasted effort and potentially purchasing unnecessary parts.
Start by turning on your faucet and observing the spray head performance. If water flows weakly, unevenly, or with reduced pressure compared to normal operation, you’re dealing with a flow restriction caused by mineral deposits, sediment, or debris in the spray head or aerator. This condition typically responds well to cleaning procedures. Alternatively, if water flow appears normal but you cannot switch between spray patterns (stream, spray, pause), the internal pattern selection mechanism has failed and requires complete spray head replacement.
Identify Low Flow Symptoms Accurately
Low water flow from your American Standard kitchen faucet spray head manifests in several unmistakable ways. You may notice the water stream lacks pressure, appearing weak or dribbling instead of flowing steadily. The spray pattern might become uneven, with some nozzles producing strong streams while others barely emit water. You might also hear unusual gurgling or hissing sounds as air is drawn inconsistently through partially blocked passages.
To confirm a flow restriction problem, remove the spray head from the hose and examine it closely. Check the aerator at the tip for visible mineral buildup or debris clogging the small openings. Even if the aerator appears clean, mineral deposits could be restricting flow inside the spray head’s internal passages. If water flow improves significantly when you bypass the spray head and run water directly from the hose, you’ve confirmed the spray head needs cleaning or replacement.
Test Spray Pattern Functions Thoroughly
If your American Standard kitchen faucet includes multiple spray patterns, test each mode to determine if the switching mechanism functions properly. Press or toggle the selector while water is running and listen for the distinctive click that indicates engagement. Observe whether the water pattern actually changes in response to your input.
When the spray pattern selector fails, the button feels different—mushy or loose instead of providing crisp tactile feedback. The selector might move without changing the spray pattern or become stuck in one position entirely. These symptoms indicate internal components governing pattern selection have worn out, become damaged by mineral intrusion, or suffered mechanical failure. Unfortunately, these internal mechanisms are sealed within the spray head housing and contain precision parts that cannot be accessed, cleaned, or repaired. When spray pattern switching fails, replacement is your only effective solution.
Clean Faucet Components to Restore Flow

Cleaning is your first-line solution for American Standard kitchen faucet problems related to restricted water flow. Most flow issues stem from mineral deposits that accumulate over time, particularly in households with hard water. The good news is these deposits can typically be dissolved using simple household materials, restoring full water flow without replacement parts.
Remove and Clean the Aerator Properly
The aerator is the small screen-like attachment at your spray head’s tip that controls water flow. This component is the most common site of mineral buildup. To remove it, grasp firmly and turn counterclockwise—most American Standard aerators come off by hand, but if stuck, use adjustable pliers with a cloth to prevent scratching.
Once removed, examine the aerator for visible debris. Rinse under strong running water to flush loose particles. For mineral deposits, soak in white vinegar for 30 minutes to dissolve calcified buildup. After soaking, use an old toothbrush to gently scrub the mesh, then rinse thoroughly. Reattach by screwing clockwise, hand-tightening firmly but avoiding over-tightening that could damage threads or O-rings.
Soak Spray Head in Vinegar Solution Effectively
When cleaning the aerator alone doesn’t restore flow, mineral deposits likely accumulated within the spray head’s internal passages. Prepare a 50/50 white vinegar and water mixture in a container large enough to submerge the spray head completely.
Submerge the spray head and allow it to soak for one hour. For heavy buildup, extend soaking to two hours. The vinegar penetrates and dissolves mineral deposits in spray nozzles and internal channels. After soaking, remove and rinse thoroughly, flushing each nozzle individually. Shake to expel remaining liquid from internal passages, then reattach and test water flow. Performing this cleaning every few months maintains consistent performance, especially with hard water.
Inspect and Clear Internal Passages Completely
If soaking doesn’t fully restore flow, manually clear individual spray nozzles. Many American Standard spray heads have removable spray face plates—check documentation to determine if yours includes these components. If removable, take them out and clean individually using a small brush or pin.
Even without removable components, direct water backward through the spray head to flush debris. Disconnect the spray head, hold with spray face downward, and turn on water briefly to flow backward through it. Alternatively, use compressed air to blow through in reverse. After clearing, reattach and test flow. If flow remains restricted after thorough cleaning, replacement becomes necessary.
Replace Faulty Spray Head Components
When your American Standard kitchen faucet’s spray pattern selector stops functioning or the spray head suffers physical damage, cleaning won’t resolve the issue. Replacing the entire spray head assembly is straightforward and typically takes under an hour with basic tools.
Identify Your Exact Faucet Model
Accurate identification of your American Standard faucet model is essential for obtaining the correct replacement spray head. Check the faucet’s underside, original documentation, packaging, or metal tags on supply hoses beneath the sink for the model number—typically a combination of letters and numbers.
Once you have the model number, search American Standard’s website or authorized retailers for compatible parts. Their detailed parts diagrams help identify the exact spray head assembly for your design. If uncertain, American Standard’s customer service can assist based on your description or photos of the existing spray head.
Install New Spray Head Correctly
Before installation, shut off water supply valves beneath your sink by turning clockwise, then open the faucet to relieve pressure. Place a towel beneath the connection area to catch drips.
Disconnect the old spray head by grasping the hose firmly in one hand and the spray head connector in the other, twisting counterclockwise. Some connections may require an adjustable wrench, but many loosen by hand. Compare the old spray head with your new replacement to confirm compatibility. Attach the new spray head by screwing the connector onto the hose clockwise, hand-tightening firmly. Turn water supply back on slowly and test all spray patterns, checking for leaks at the connection point.
Understand Warranty Coverage for Repairs
American Standard backs their kitchen faucets with a Limited Lifetime warranty covering manufacturing defects. Understanding this coverage helps determine when repairs qualify for free replacement parts.
Review Warranty Terms Thoroughly
The American Standard Limited Lifetime warranty covers defects in materials and workmanship under normal household use. It’s available to the original purchaser and remains valid if the faucet is sold, making it valuable for resale situations.
To qualify, you must provide valid proof of purchase documentation—original sales receipt, invoice, or canceled check showing purchase date, price, and retailer. Without this, claims may be denied. The warranty doesn’t cover damage from improper installation, misuse, cosmetic damage not affecting function, or failures from conditions beyond normal use. Damage from freezing, hard water deposits, or unauthorized modifications is excluded.
File a Warranty Claim Successfully
If your American Standard kitchen faucet develops a problem you believe is covered, contact American Standard through their official customer service channels. Be prepared to provide proof of purchase, problem description, model number, and photos illustrating the defect.
Upon receiving your claim, their team reviews the information and determines coverage. If approved, you receive necessary replacement parts at no charge, typically including shipping. Common warranty replacements include spray head assemblies and internal valve components. They can also provide installation guidance if you’re uncomfortable performing the repair yourself.
Maintain Your Faucet Proactively
Regular maintenance significantly extends your American Standard kitchen faucet’s service life and prevents common problems. Implementing consistent cleaning routines keeps all components functioning optimally.
Establish Effective Cleaning Routine
Wipe your American Standard kitchen faucet daily with a soft cloth dampened with mild soap and water, then dry thoroughly to prevent water spots. Pay special attention to the spray head connection area, which accumulates debris affecting the seal.
For the spray head, implement deeper cleaning quarterly (monthly with hard water). Remove and clean the aerator, then soak the spray head in vinegar solution to dissolve internal mineral deposits. While performing maintenance, inspect components for signs of wear, corrosion, or damage to catch potential problems early.
Protect Against Hard Water Effects
Hard water causes mineral accumulation in kitchen faucets. If your water supply has high mineral content, consider installing a whole-house water softener or a point-of-use filter for your kitchen faucet. Even without treatment equipment, increasing your spray head cleaning frequency helps counteract hard water effects. The vinegar soaking procedure becomes your primary defense against mineral accumulation—performing it monthly maintains optimal flow and spray performance.
When to Call a Professional
While many American Standard kitchen faucet repairs are DIY-friendly, certain problems warrant professional assistance. Leaks from the faucet base despite tightening mounting hardware, or water pooling beneath the sink cabinet, indicate issues beyond spray head maintenance that require professional diagnosis.
Professional installation is particularly recommended for repairs involving supply line connections, as improper installation can cause extensive water damage. If your faucet requires replacement rather than repair, professional installation ensures proper mounting, seal integrity, and connection to your plumbing system.
Key Takeaways

Fixing an American Standard kitchen faucet often requires nothing more than routine cleaning to address mineral deposits restricting water flow. The 50/50 vinegar and water soak procedure effectively dissolves calcified deposits in spray heads and aerators, restoring full performance without replacement parts. When spray pattern selectors fail, complete spray head replacement is necessary as internal mechanisms are sealed and not serviceable. American Standard’s Limited Lifetime warranty provides coverage for manufacturing defects with proof of purchase, making warranty claims the most economical option for covered issues. Regular maintenance, particularly for households with hard water, significantly extends faucet service life and prevents common problems. Identifying your specific faucet model before ordering replacement parts ensures compatibility and proper function. By understanding these fundamentals, you can confidently diagnose problems, perform appropriate repairs, and maintain your American Standard kitchen faucet for years of reliable service.


