
Nothing frustrates homeowners more than purchasing new kitchen drawers only to discover they don’t fit properly—wobbling, sticking, or refusing to close completely. Whether you’re upgrading to soft-close mechanisms, installing custom organizers, or replacing entire drawer assemblies, precise measurements determine success. Many DIYers make the critical mistake of guessing dimensions, leading to costly returns and wasted weekends. This comprehensive guide reveals exactly how to measure kitchen drawers with professional accuracy, ensuring perfect functionality and eliminating installation headaches. You’ll learn specific techniques for capturing every critical dimension, from opening sizes to hardware specifications.
Gather Essential Measurement Tools Before Starting
Skip the fabric tape measure—steel tapes deliver the sixteenth-of-an-inch precision needed for drawer installations. Professional cabinetmakers swear by 25-foot steel tapes with clear markings that won’t stretch during use. Pair this with a mechanical pencil for sharp markings and a dedicated notepad that won’t get lost in the kitchen chaos. A 24-inch level proves invaluable for detecting cabinet misalignment that affects measurements. For hardware-specific tasks, keep digital calipers handy to measure slide thickness, bore hole diameters, and mounting bracket dimensions down to 0.001 inches. Organize these tools in a dedicated container so you’re not scrambling mid-measurement.
Why Standard Tape Measures Fail for Cabinet Work
Household tape measures often show wear at the metal hook end, creating measurement discrepancies of 1/16 to 1/8 inch—enough to ruin drawer functionality. Test your tape by measuring a known 12-inch object; if it doesn’t read exactly 12 inches, replace it. Professional-grade tapes feature riveted hooks that maintain consistent tension, eliminating “hook play” that causes inaccurate readings. Always pull the tape taut against cabinet surfaces rather than letting it sag, which adds false inches to your measurements.
Measure Drawer Opening Dimensions at Multiple Points
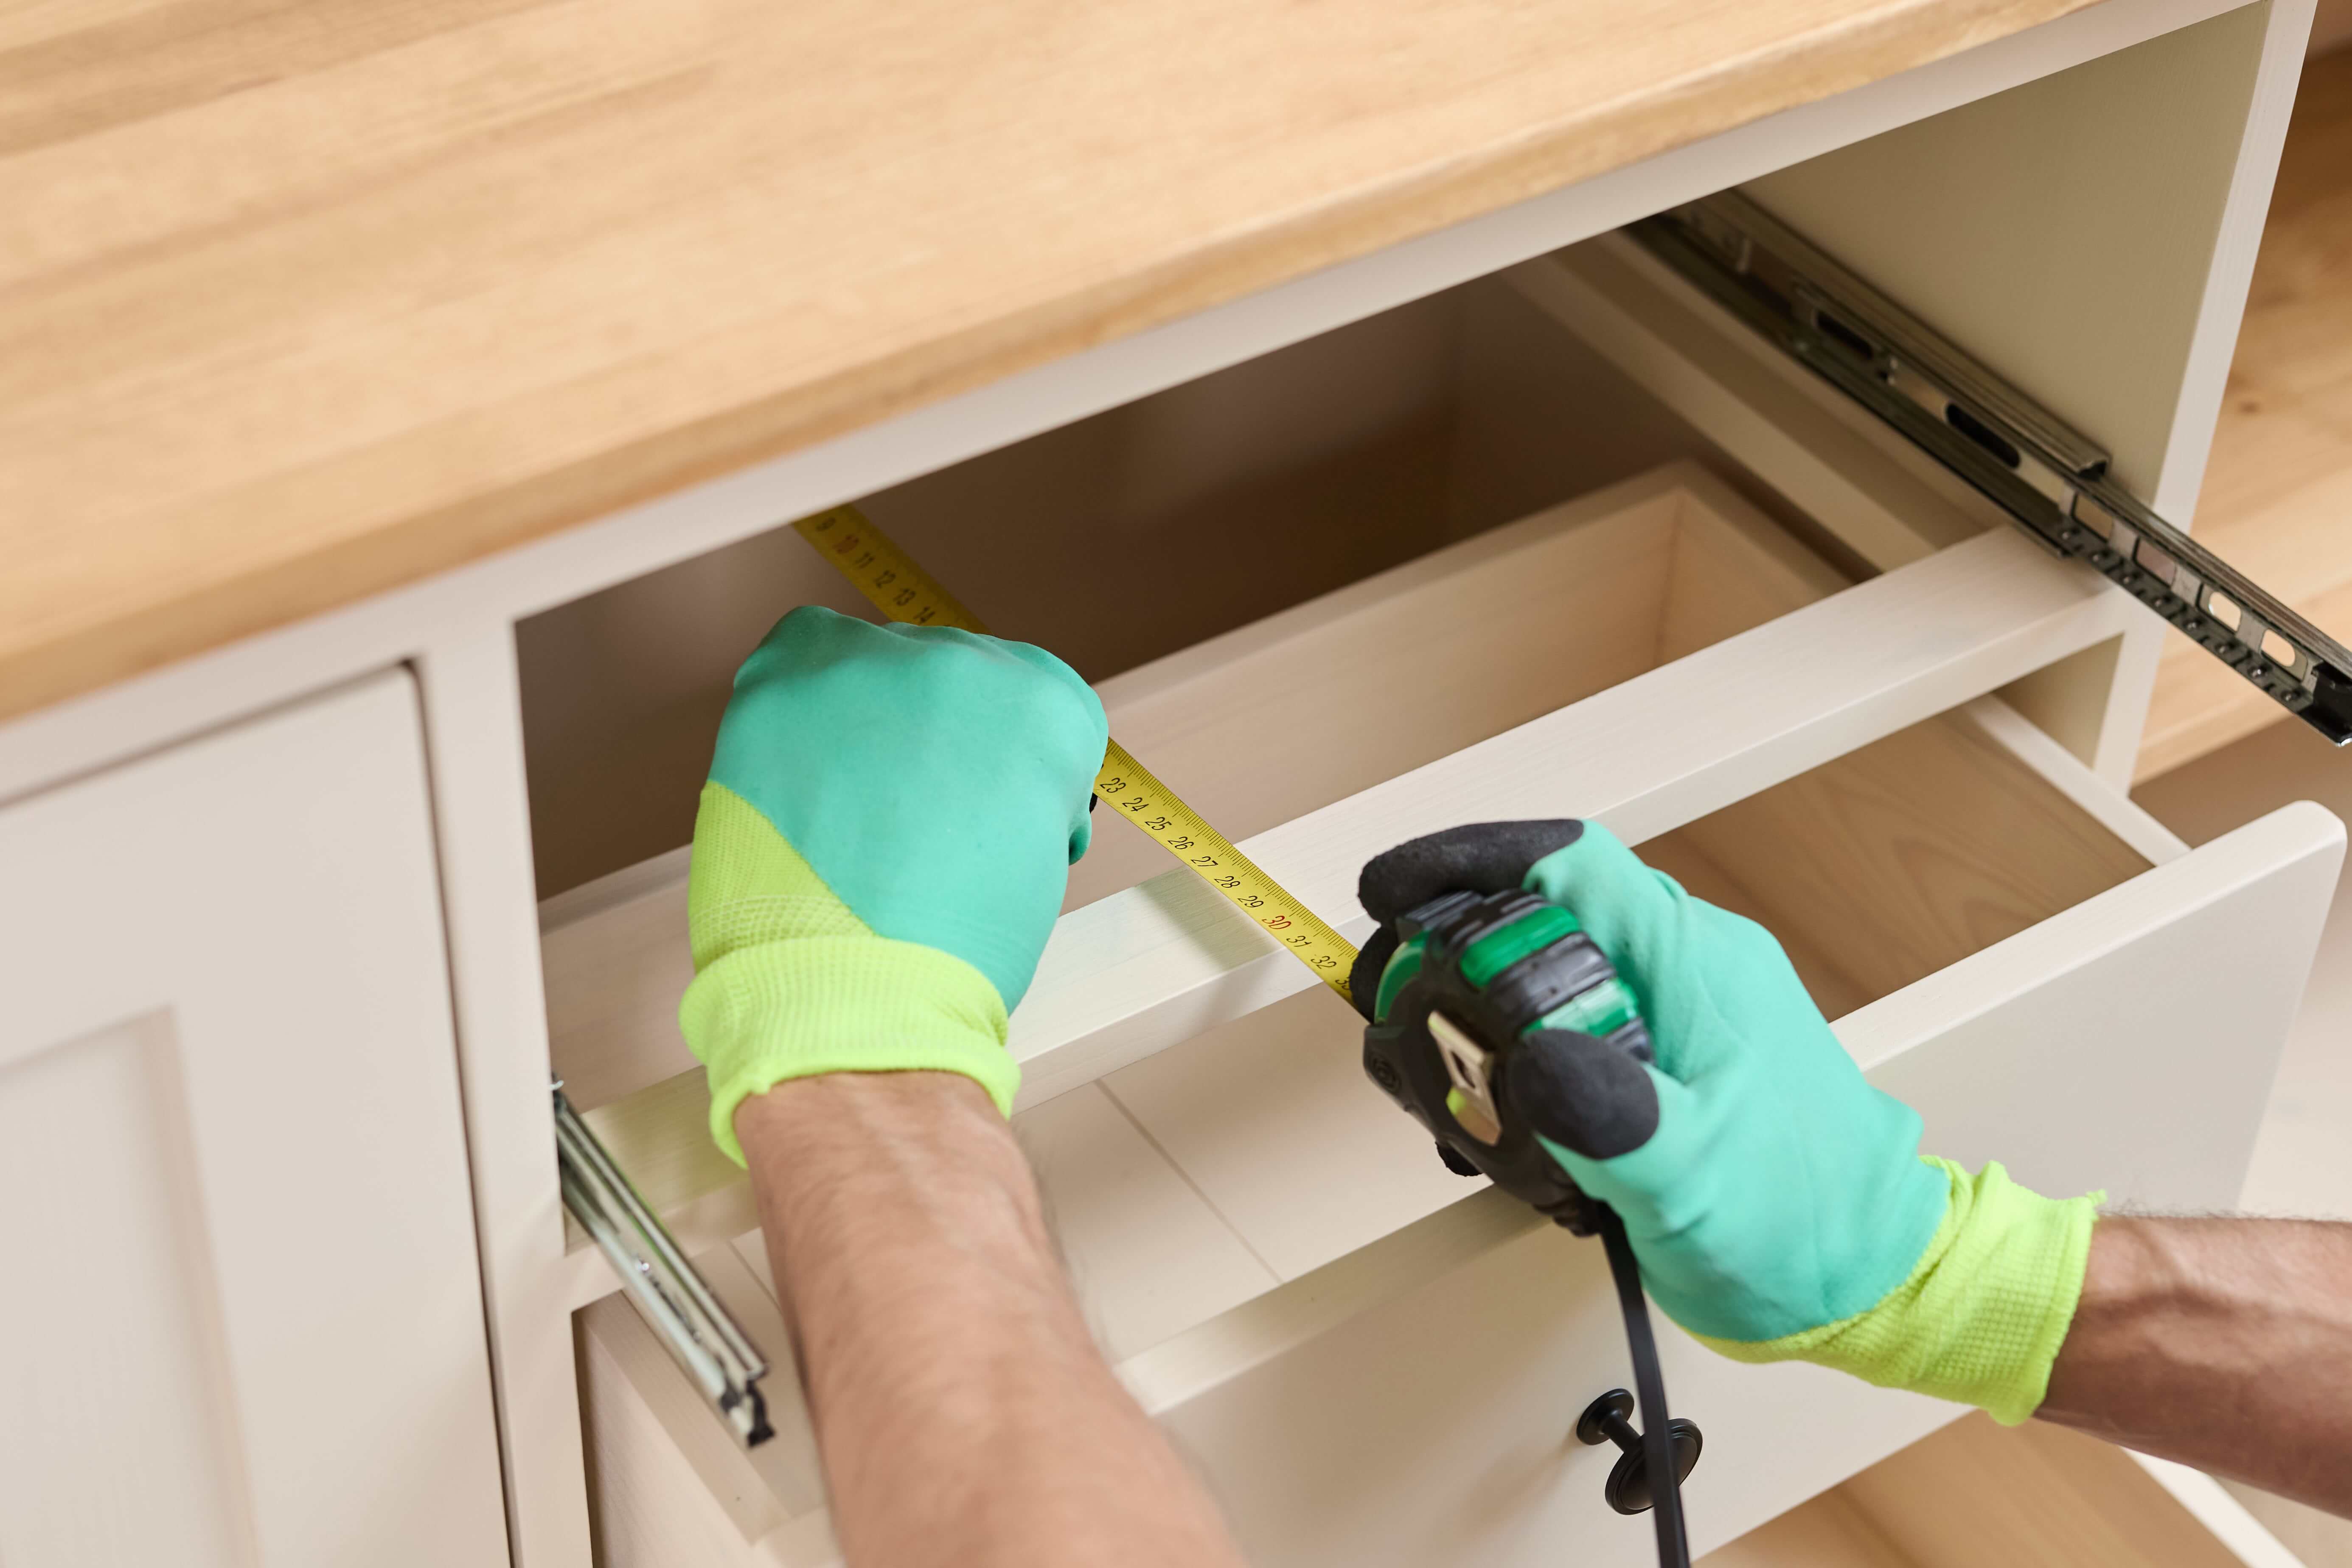
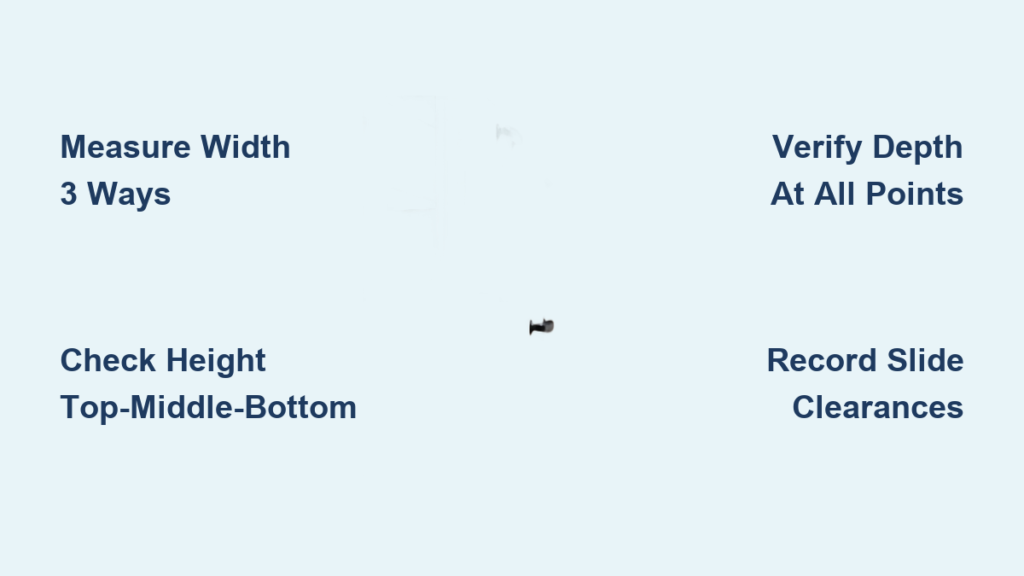
Cabinets rarely remain perfectly square over time, making single-point measurements dangerously inaccurate. Start with width: position your tape measure horizontally across the drawer opening at top, middle, and bottom positions. Record each measurement separately—differences of 1/4 inch or more indicate significant cabinet distortion. Use the narrowest width measurement as your critical dimension, ensuring your new drawer will clear the tightest point in the opening.
Proper Height Measurement Technique for Consistent Results
Measure vertical clearance from the bottom of the drawer opening to the shelf above at three locations: left, center, and right. Base cabinets often sag in the middle, while wall cabinets may have uneven mounting. The smallest height measurement determines your maximum drawer height, preventing binding when the drawer moves vertically. Never measure from cabinet base to shelf—this includes non-functional space below the drawer opening.
Depth Measurement Protocol to Avoid Back-Wall Collisions
Position your tape measure from the front cabinet face to the back wall at left, center, and right positions. Cabinets typically bow inward at the sides, making center depth measurements shorter than side measurements. Your shortest depth measurement prevents drawers from jamming against the back wall when fully extended. For corner cabinets, measure the diagonal depth at the narrowest point where the drawer will travel.
Record Existing Drawer Specifications for Replacement Projects
When replacing existing drawers, measure the drawer box itself rather than the opening. Exterior width at the front face should be approximately 1 inch narrower than the cabinet opening—this provides necessary clearance for slides on both sides. Measure height from the bottom of the drawer box to the top edge of the front panel, not including any decorative molding. Interior depth measurements from back panel to front edge determine usable storage space.
Critical Slide Mounting Point Measurements
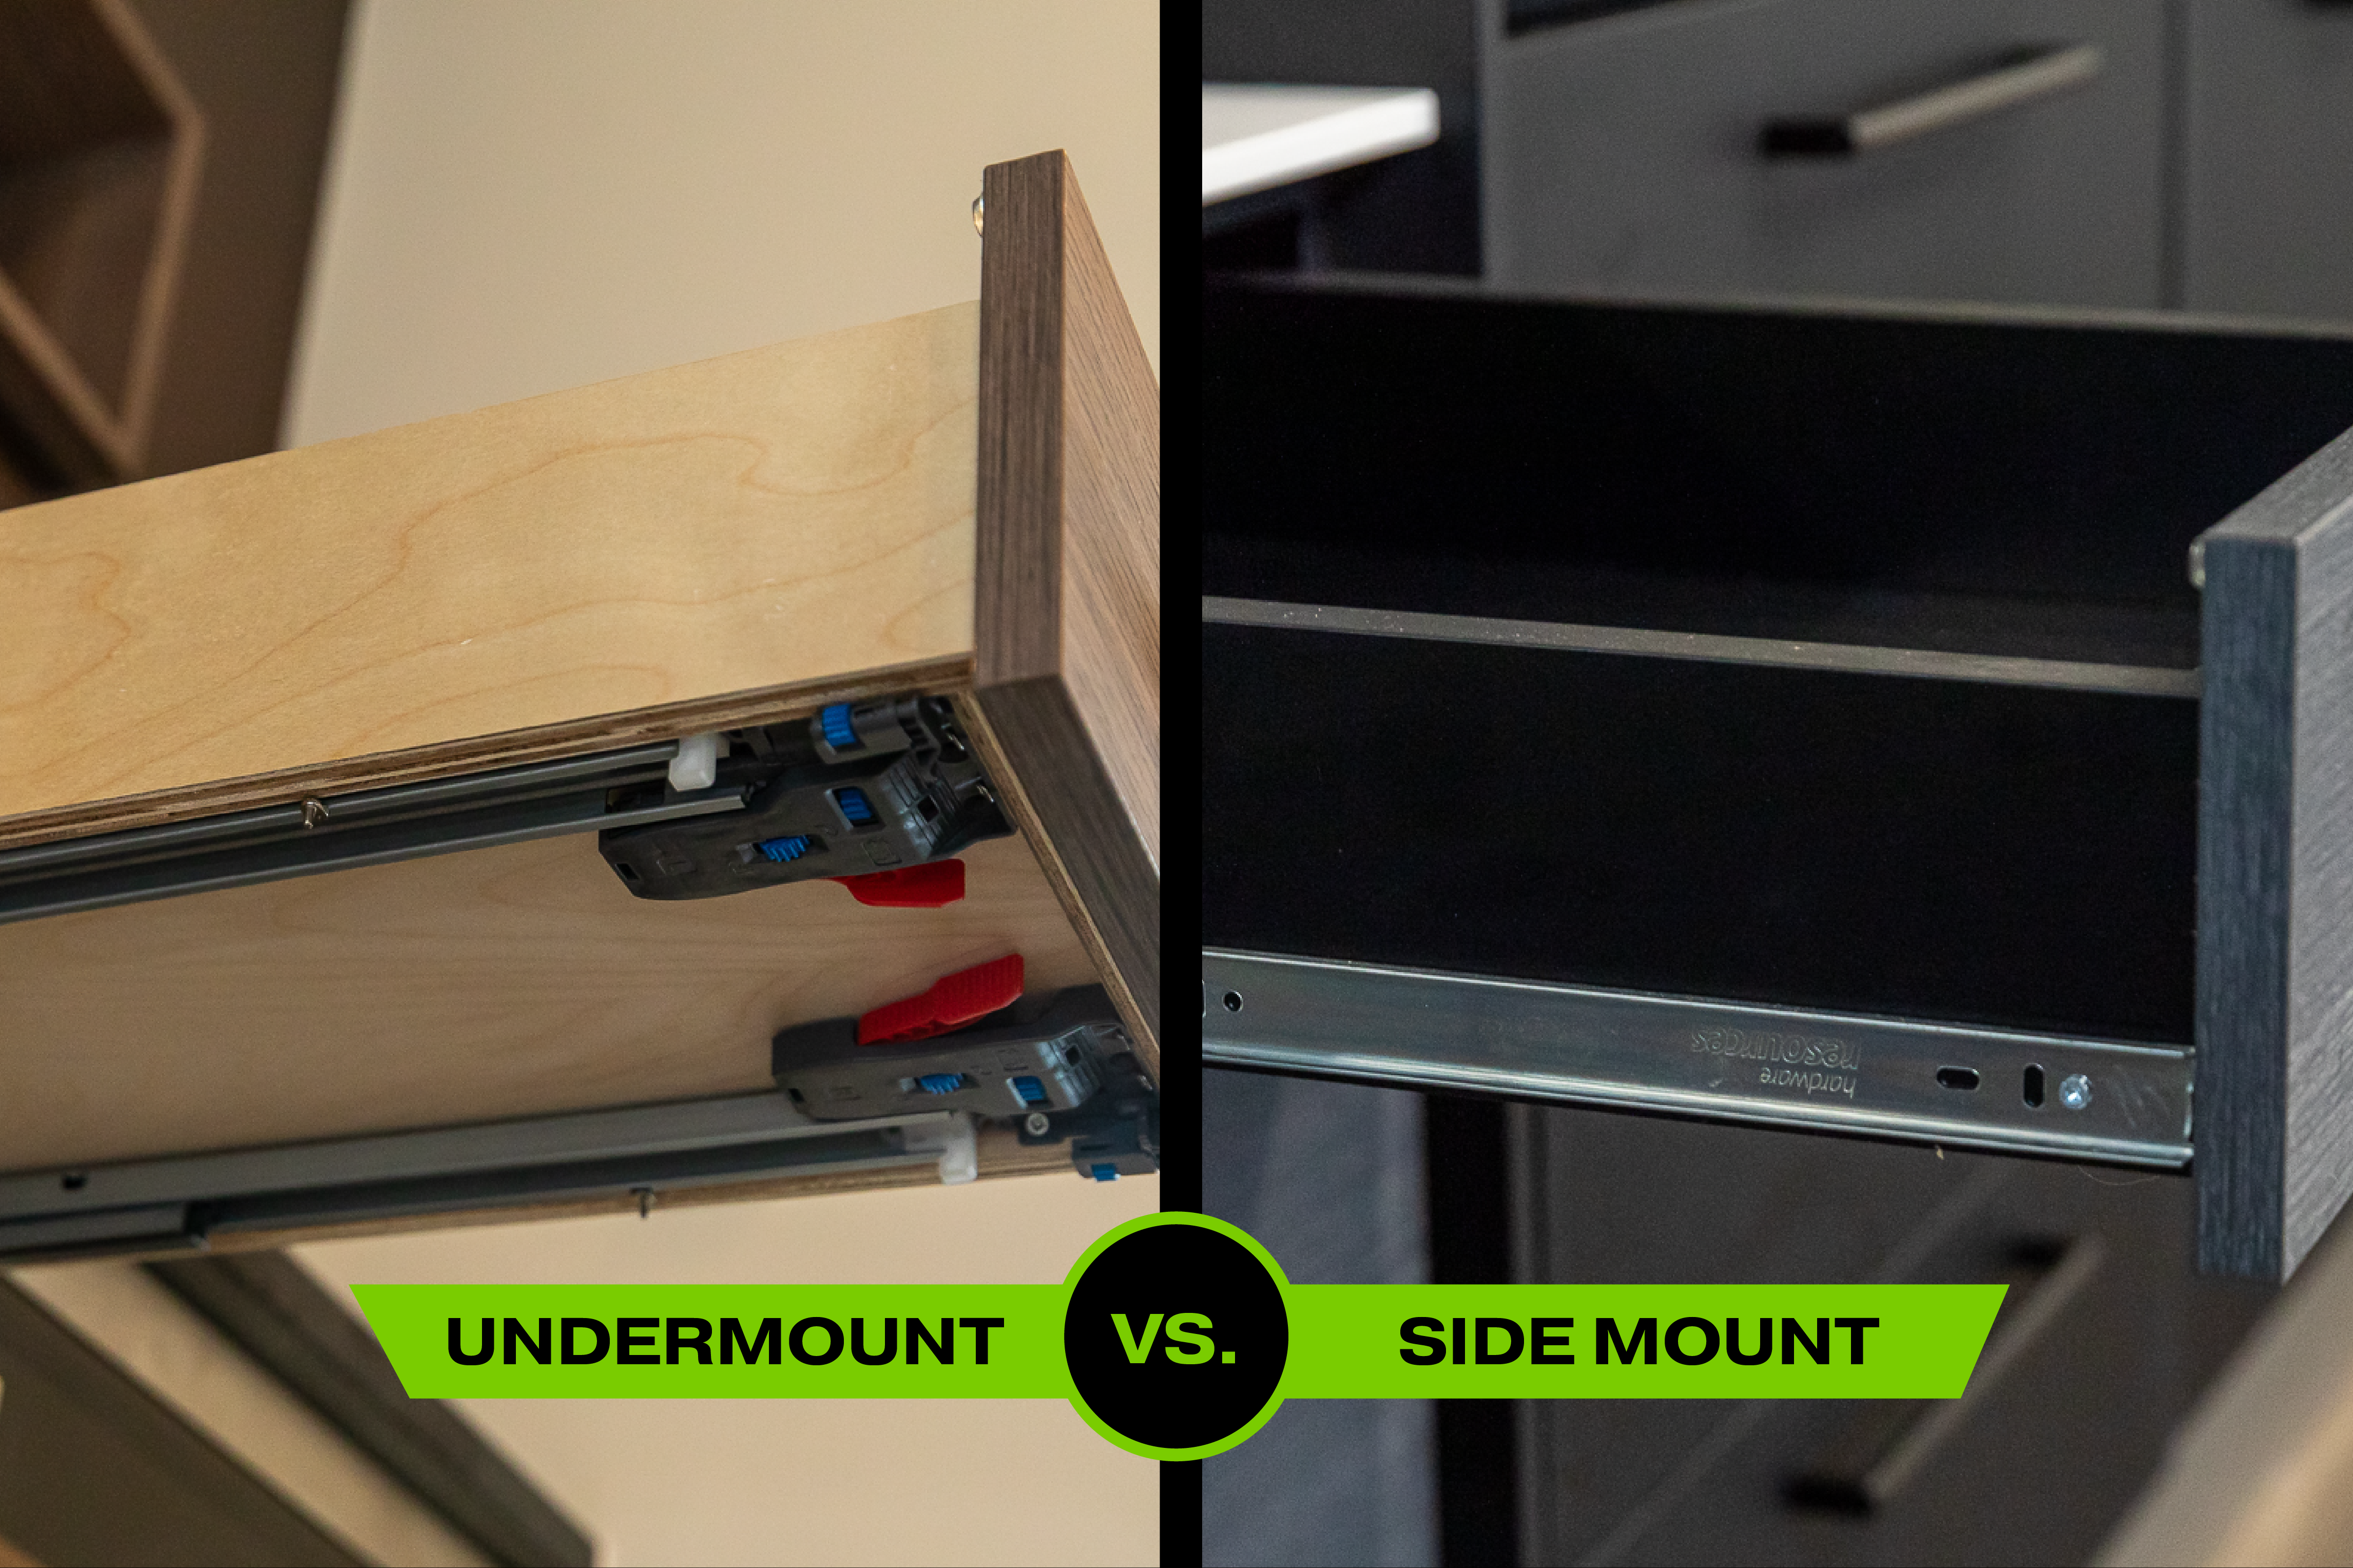
Identify your slide type first—side-mount, under-mount, or center-mount systems each require different measurements. For side-mount slides, measure from cabinet sidewall to slide centerline at multiple heights. Note whether slides mount to cabinet walls or drawer sides, as this affects replacement compatibility. Under-mount systems require measuring the rail mounting surface width and the distance between mounting screw holes.
Calculate Required Clearances for Smooth Operation
Most drawers need specific breathing room to function correctly. Allow 1/4 inch clearance on each side for standard side-mount slides, totaling 1/2 inch width reduction from your opening measurement. Bottom clearance of 1/4 inch prevents binding from seasonal wood expansion in humid environments. Full-extension under-mount slides typically require 1-1/2 inches less depth than the cabinet opening to accommodate their mechanical extension system.
Special Clearance Requirements for Modern Hardware
Soft-close mechanisms need additional front clearance—measure from the drawer front to the slide mounting point to ensure adequate space for the damping mechanism. Push-to-open systems require at least 1 inch of clearance behind the drawer front for the spring-loaded mechanism. Measure existing mechanisms if replacing, or consult manufacturer specifications for new installations to avoid clearance issues.
Document Hardware and Mounting Specifications Accurately
Handle installation requires precise hole spacing measurements. Measure center-to-center distance between mounting holes on existing hardware—common standards include 3″, 4″, 5″, and 6″ centers. Never measure from outer edge to outer edge, as this introduces significant errors. For new installations, standard handle placement positions hardware 2-3 inches from drawer edges, but adjust based on drawer proportions and user comfort.
Critical Screw Hole Specifications Often Overlooked
Record screw hole diameter using calipers—most North American hardware uses #8 screws (5/32″ diameter), while European systems often employ M4 or M5 metric screws. Measure hole depth too, as shallow holes may require different fasteners. Note whether holes are straight through or countersunk, as this affects handle positioning and screw selection.
Account for Cabinet Type Variations in Your Measurements
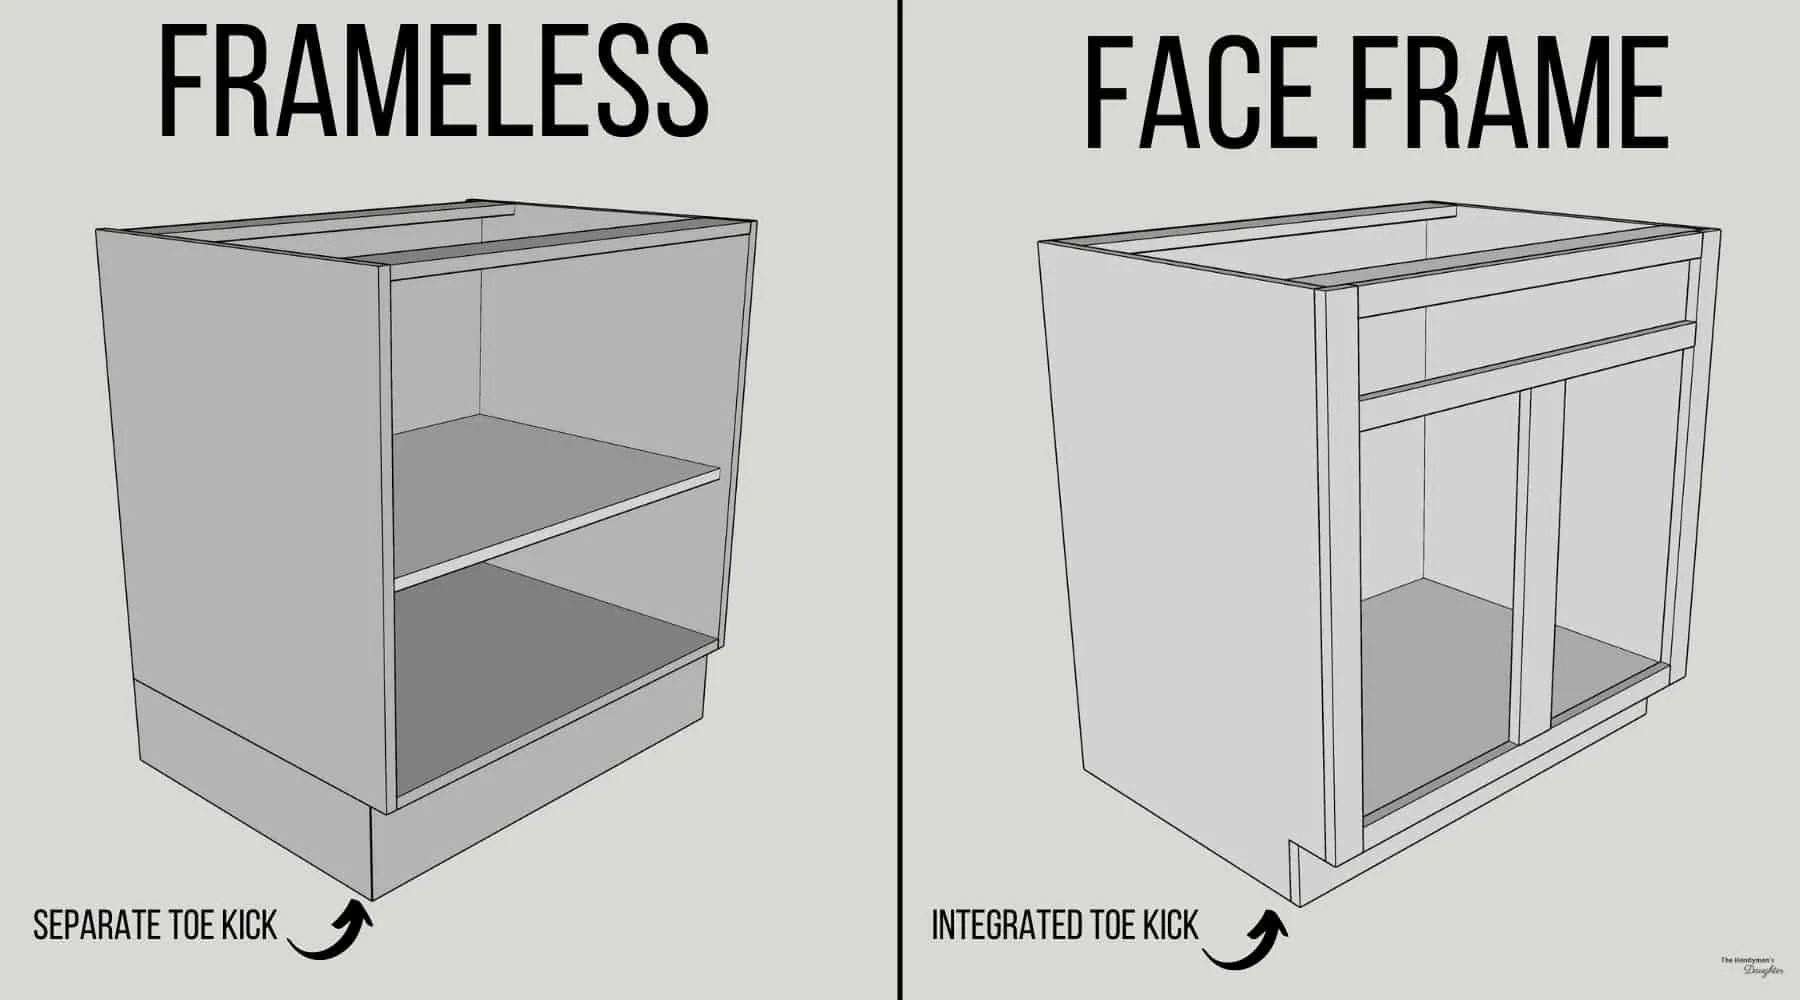
Base cabinets typically accommodate deeper drawers (18-24 inches) while wall cabinets use shallower units (12-18 inches). Tall pantry cabinets often feature narrow, deep drawers optimized for vertical storage. Measure cabinet box thickness—standard 1/2″ or 5/8″ material affects slide mounting positions and usable interior space. Face-frame cabinets reduce usable opening width by 1-1/2 inches compared to frameless European-style cabinets.
Frameless vs. Face-Frame Cabinet Measurement Differences
For face-frame cabinets, measure the opening width between stiles (vertical frame members) rather than overall cabinet width. Frameless cabinets require measuring the entire cabinet interior width since slides mount directly to box sides. Depth measurements for frameless cabinets include the full cabinet depth, while face-frame cabinets lose 1-1/4 inches to the frame depth at the front.
Verify Measurements Before Purchasing Replacement Parts
Double-check every dimension before ordering. Recite measurements aloud and have someone else confirm them against product specifications. Convert measurements to both inches and millimeters—some manufacturers use metric dimensions that don’t convert cleanly to fractions. Create a detailed diagram labeling each cabinet with its specific width, height, and depth measurements.
Critical Verification Steps Professionals Never Skip
Measure twice, cut once applies perfectly to drawer installations. Re-measure after initial measurements when you’re less focused on the process—fresh eyes catch errors. Test-fit mockups using cardboard cut to your measurements before purchasing expensive components. Compare your measurements against standard drawer sizes—if your dimensions fall outside common ranges (12″, 15″, 18″, 21″, 24″ widths), double-check for errors.
Common Measurement Mistakes That Ruin Drawer Installations
Measuring only one point instead of three creates binding issues when cabinets aren’t square—always measure top, middle, and bottom. Confusing drawer front dimensions with drawer box dimensions leads to slides that don’t align properly. Forgetting to account for hardware thickness causes new handles to protrude awkwardly or not fit existing holes. Measuring from cabinet edge to cabinet edge rather than opening to opening produces drawers too large for the functional space.
Costly Errors That Could Have Been Prevented
A drawer measuring just 1/8 inch too wide creates binding that wears out slides prematurely and causes frustrating sticking. That same small error often requires expensive modifications or complete replacement. Drawers without adequate bottom clearance collect debris in gaps, accelerating wear and creating annoying grinding noises. Proper measurements prevent these issues and ensure smooth operation for decades.
Store your verified measurements in multiple locations—take photos with your phone, record them in a kitchen project file, and write them on the inside of cabinet doors. These dimensions remain valuable for future repairs, upgrades, or when replacing damaged components. Accurate measurements today mean perfect-fit drawers whenever you need them, saving you time, money, and frustration on future kitchen projects. When in doubt, consult a professional cabinetmaker who can verify your measurements before you commit to purchases.


