

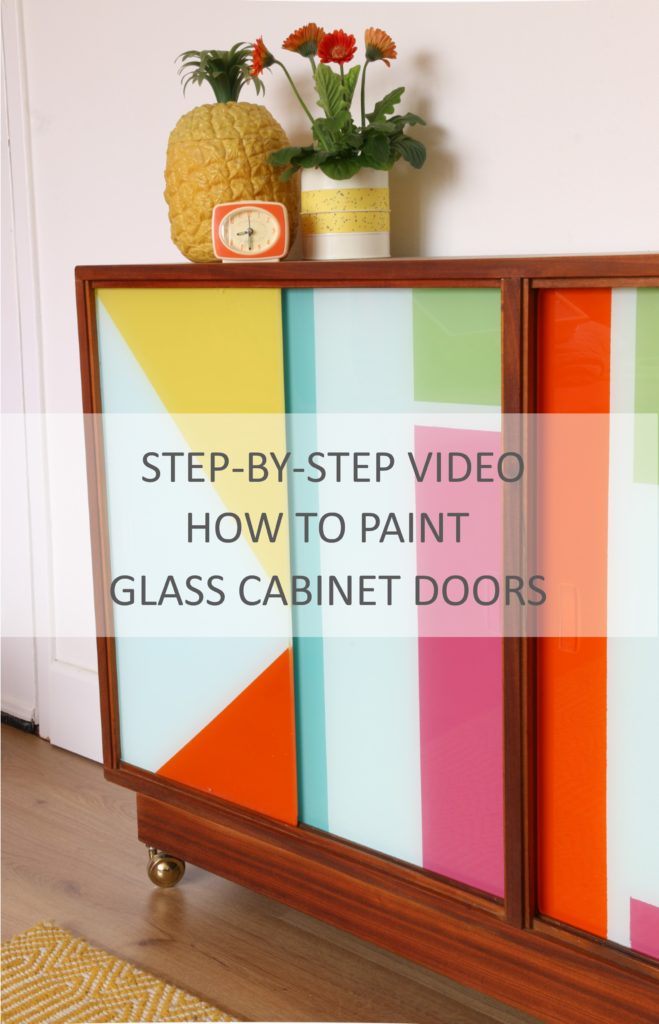
Transforming your kitchen cabinet doors with glass inserts creates an instant upgrade that makes your space feel more open, airy, and sophisticated. This DIY project allows you to showcase beautiful dishware, glassware, or decorative items while adding value to your home. Many homeowners successfully complete this renovation over a weekend, saving significant money compared to hiring professionals while achieving a custom look that perfectly matches their kitchen aesthetic. The process involves carefully measuring your existing doors, selecting appropriate glass, and either modifying your current doors or creating custom inserts that fit seamlessly within the frame structure.
Before beginning, assess your cabinet doors to determine if they’re suitable for glass installation. This technique works best on traditional raised-panel or recessed-panel cabinet doors with sufficient frame thickness (at least 1.5 inches) to accommodate glass clips or routing. Flat-panel doors present more challenges and may require additional framing or professional modification. Consider what you’ll display behind the glass—fine china benefits from clear glass for maximum visibility, while everyday dishes might work better with frosted glass that hides dust and fingerprints between cleanings. Proper planning prevents costly mistakes and ensures your finished project enhances rather than detracts from your kitchen’s appearance.
Gather Essential Tools and Materials
Your success hinges on having the right equipment before starting. Beyond basic tools like a tape measure, screwdriver, and utility knife, you’ll need specialized items: a router with straight bit (1/4″ or 3/8″) for creating recesses, a drill with small drill bits for pilot holes, and a glass cutter if modifying existing glass pieces. Quality clamps secure doors during routing, while a sharp chisel cleans corners of routed recesses. Sandpaper in 120, 220, and 320 grit ensures smooth surfaces before finishing, and a caulk gun applies silicone sealant precisely along glass edges. Don’t forget wood putty for filling screw holes and a quality paintbrush for applying finish to routed areas.
Safety gear is non-negotiable when working with glass and power tools. ANSI Z87.1-rated safety glasses protect your eyes from flying wood chips and glass fragments during cutting and routing. Heavy-duty cut-resistant gloves shield hands when handling glass edges, while a N95 respirator prevents inhalation of fine sawdust during sanding. Keep a first aid kit nearby with specialized supplies for glass cuts—sterile gauze, adhesive bandages in multiple sizes, and antibiotic ointment. Working on a stable workbench covered with a non-slip mat prevents doors from shifting during preparation, reducing accident risks significantly. Proper lighting over your work area helps spot imperfections and ensures precise measurements.
Select the Right Glass Type

Choosing appropriate glass balances aesthetics, safety, and practicality. Tempered glass offers superior strength—four to five times stronger than standard glass—and meets safety codes for cabinet installations. When broken, it shatters into small, relatively harmless pieces rather than dangerous shards, making it ideal for lower cabinets or homes with children. However, tempered glass must be cut to size before tempering, so measure meticulously before ordering. Standard thickness ranges from 1/8″ to 3/16″, with thicker glass providing more rigidity but requiring deeper recesses in your cabinet frames.
Clear glass provides maximum visibility but demands frequent cleaning in kitchen environments where cooking splatters and fingerprints accumulate quickly. Frosted or etched glass offers privacy while still transmitting light, making it perfect for displaying everyday dishes without constant cleaning. Textured glass—such as reeded, hammered, or seedy varieties—adds visual interest and hides minor imperfections while maintaining some visibility. Specialty options include leaded glass for traditional kitchens or insulated glass units for temperature-sensitive displays. Always order glass slightly smaller than your measured opening—typically 1/16″ less on each side—to allow for thermal expansion and easier installation without stress points that could cause breakage.
Measure Doors Accurately
Precise measurements prevent costly glass replacement and ensure professional results. Remove cabinet doors and lay them flat on a protected work surface. Measure the inner dimensions of each recessed panel at three points (top, middle, bottom) for width and height, recording the smallest measurement to account for frame irregularities. Subtract 1/8″ from each dimension to create clearance for expansion and installation ease—this small gap prevents glass from binding against wood frames during humidity changes. For example, if your recess measures 14.75″ x 22.75″, order glass at 14.625″ x 22.625″.
Document frame thickness by measuring from the front to back of the recess at multiple points, as older cabinets often have inconsistent depths. Note whether your doors have square or rounded inner edges, as this affects glass positioning and clip placement. Take clear photos of each door’s construction to reference during glass ordering and installation. Create a measurement chart for all doors, as even cabinets designed to be identical often have slight variations requiring custom glass pieces. When ordering, specify “cabinet glass” to ensure proper edge finishing—most suppliers polish edges for safety and aesthetics at no extra charge for standard sizes.
Prepare Cabinet Doors for Glass
Begin by removing doors from hinges and labeling each with its cabinet location to avoid confusion during reinstallation. For recessed panel doors, you have two preparation options: routing a deeper recess to accommodate glass or building up the existing frame with wood strips. Routing creates a seamless look but requires precision—mark cutting lines clearly with a pencil and straightedge, then clamp a straight board as a router guide. Set your router depth to match your glass thickness plus 1/16″ for silicone, making multiple shallow passes rather than one deep cut to prevent burning and maintain control.
After routing, clean recess corners with a sharp chisel and sand all surfaces with 220-grit paper to remove tool marks. Wipe away all dust with a tack cloth before applying finish, as trapped particles become visible through clear glass. For surface-mounted installations, attach thin wood strips around the panel opening using wood glue and brad nails, creating a frame that holds glass against the door surface. Miter corners at 45 degrees for professional-looking joints, and sand all edges smooth before finishing. Always test-fit glass pieces during preparation to verify proper fit before applying final finishes or installing hardware.
Finish Door Surfaces Professionally
Apply finish before glass installation for cleaner results and better protection. Sand all surfaces to 220-grit smoothness, removing old finish completely if changing colors or sheens. Vacuum and wipe with tack cloth to eliminate all dust particles that would show through glass. For painted finishes, apply a quality primer compatible with your cabinet material, followed by two thin topcoats of cabinet-grade paint—satin or semi-gloss sheens work best for durability and easy cleaning. When staining, apply pre-stain conditioner to softwoods like pine to prevent blotching, then wipe on stain with a clean cloth, allowing proper drying between coats.
Pay special attention to routed recesses—use small artist brushes to apply finish to corners without pooling. Allow at least 24 hours drying time between coats, and 72 hours before glass installation for complete curing. Test your finish by pressing clear tape into a routed area and pulling it off—if finish lifts, allow more drying time. For natural wood appearances, consider gel stains that sit on the surface rather than penetrating deeply, providing more consistent color on difficult woods. High-quality cabinet finishes contain UV inhibitors that prevent yellowing, crucial for glass doors that receive direct sunlight.
Install Glass Using Proper Techniques

For recessed installations, apply a thin bead of clear silicone caulk along the bottom edge of the routed recess. Carefully position glass, applying gentle downward pressure to create a seal without cracking the edges. Install glazing points every 4-6 inches around the perimeter using a putty knife to tap them into pre-scored grooves—avoid overtightening which can stress glass. Apply another bead of silicone along the interior edge where glass meets wood, smoothing with a damp finger for a professional seal. Allow 24 hours curing time before handling.
Surface-mounted installations use different techniques. Apply wood glue to the back of thin molding strips, then position them around the glass perimeter and secure with 3/4″ brad nails. For French door styles, create muntin bars from thin wood strips, gluing them to the glass surface for a divided-light appearance. Modern installations often use metal clips—brass, chrome, or stainless steel—that screw into pre-drilled holes around the door perimeter. Always handle glass with clean cotton gloves to prevent fingerprints, and wipe surfaces with isopropyl alcohol before final installation to remove oils that could interfere with adhesion.
Replace Doors and Make Final Adjustments
Reinstall doors with a helper to prevent dropping and damage. Attach hinges starting with the top screw, checking alignment before securing remaining screws. Adjust hinge plates incrementally to achieve even gaps between doors and adjacent cabinets—most hinges offer vertical, horizontal, and depth adjustment. Test door operation repeatedly, watching for binding or misalignment that indicates improper hinge placement. Install new hardware designed for glass doors, which often features longer screws to accommodate increased thickness.
Check glass alignment from multiple angles under different lighting conditions—subtle imperfections become visible when light strikes glass from various directions. Clean all glass surfaces with ammonia-free cleaner and microfiber cloths to avoid streaks. For doors with visible hinges, consider upgrading to soft-close mechanisms that prevent slamming and reduce stress on glass over time. Apply felt pads to cabinet interiors where doors contact surfaces to minimize vibration and potential glass damage during daily use.
Maintain Your Glass Cabinet Doors
Establish a regular maintenance routine to keep your glass doors looking pristine. Clean glass weekly with a vinegar-water solution (1:1 ratio) and lint-free cloths, avoiding ammonia-based cleaners that can damage certain edge treatments over time. Address cooking splatters immediately, as acidic residues can etch glass if left for extended periods. Check silicone seals annually for cracking or separation, reapplying as needed to maintain dust protection—simply remove old silicone with a razor scraper before applying new bead.
Inspect mounting hardware quarterly, tightening any loose clips or fasteners before they cause glass movement. Consider applying a hydrophobic glass treatment that repels water and oils, causing fingerprints to bead up for easy removal. When storing dishes behind glass, leave 1-2 inches of space between items and the glass surface to prevent condensation buildup. With proper care, your glass cabinet doors will maintain their beauty and functionality for decades, continuing to enhance your kitchen’s appearance while showcasing your favorite items.


