
That dream of fluffy Belgian waffles with deep syrup pockets shouldn’t require a countertop takeover. Your Cuisinart Griddler’s waffle plates solve this perfectly—transforming your multi-cooker into a waffle powerhouse without sacrificing precious space. But if you’ve ever struggled with stuck batter, uneven browning, or confusing plate installation, you’re not alone. Mastering how to use Cuisinart Griddler waffle plates unlocks restaurant-quality results in minutes. This guide cuts through the confusion with precise steps for installation, perfect cooking temps, and pro cleaning tricks—so you’ll consistently pull golden, crisp-on-the-outside, tender-on-the-inside waffles from your Griddler every single time.
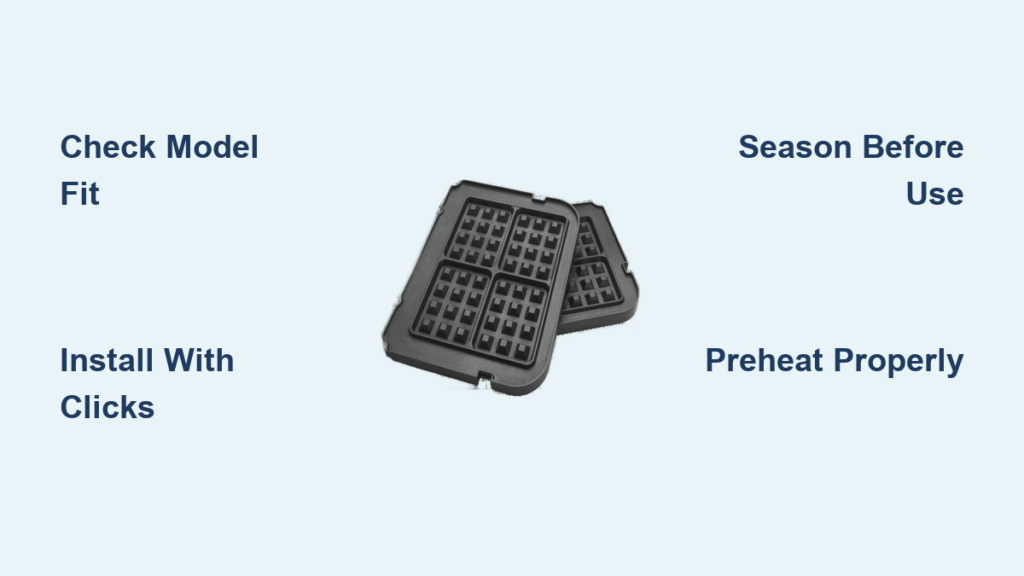
Confirm Your Griddler Model Compatibility First
Don’t risk damaging your appliance by forcing incompatible plates. How to use Cuisinart Griddler waffle plates successfully starts with verifying your model. These plates work exclusively with: GR-4N, GR-5B, GR-300WS Elite, 5-in-1, and Griddler Deluxe units. Each creates uniform 4-inch square Belgian waffles with deep grid pockets designed to hold generous syrup pours. The ceramic non-stick coating ensures easy release, but only if your unit matches. If you own an older or commercial model, check the base plate numbering—mismatched connectors cause uneven heating and potential safety hazards. Pro Tip: Snap a photo of your Griddler’s model plate (usually under the drip tray) before purchasing waffle plates online to avoid costly returns.
Install Cuisinart Griddler Waffle Plates Correctly

Remove Existing Plates Safely
Always unplug and fully cool your Griddler first—never handle plates near live heating elements. Open the lid to 180 degrees, press both top release buttons simultaneously, and slide the current plate forward. For the bottom plate, press the front lever and pull straight out. Critical Warning: Forcing stuck plates can warp internal connectors. If plates resist, gently wiggle side-to-side while applying pressure—never yank.
Secure Plates with Audible Clicks
Align the waffle plate tabs with the mounting brackets, then push firmly until you hear two distinct clicks. Test security by tugging each plate—no movement should occur. Gaps or wobbling mean improper installation, causing hot spots and uneven cooking. Installation Checklist:
– ✅ Dual audible clicks confirmed
– ✅ Zero gaps between plate edges and unit
– ✅ Handles face forward for safe operation
– ✅ Plates sit flush against heating elements
Season Plates Before First Use
Skipping this step guarantees sticking disasters. Coat both plate surfaces lightly with vegetable oil using a pastry brush. Close the Griddler and preheat for 5 minutes on 375°F, then cool completely. Wipe excess oil with paper towels and repeat once more. This polymerizes the ceramic coating, creating a natural non-stick barrier that improves with each use. Never skip seasoning—new plates without this treatment shed coating particles into your first 2-3 batches.
Set Perfect Temperature for Crisp Results
Temperature precision makes or breaks your waffle’s texture. Use these verified settings:
– 375°F for classic golden-brown Belgian waffles (ideal for standard batters)
– 400°F for extra-crispy exteriors (best for buttermilk or yeast-based recipes)
– 350°F for soft, pillowy interiors (perfect for delicate batters like almond flour)
– 375°F + 30 seconds for whole wheat or protein-rich batters (prevents undercooking)
Pro Tip: Always wait for the indicator light to turn off after preheating—rushing this step causes batter to seize and stick.
Master Cooking with Cuisinart Griddler Waffle Plates

Execute the 5-Step Pour Technique
- Preheat thoroughly (5-6 minutes until light extinguishes)
- Pour ¾ cup room-temperature batter into the center—cold batter won’t spread evenly
- Close lid gently without pressing down—let steam escape for 30-45 seconds
- Apply light pressure to the handle for 5-10 seconds once steam reduces
- Cook 3-4 minutes until steam nearly stops (peel back edge to check crispness)
Avoid Overflow and Sticking
Overfilling is the #1 cause of messy spills. Stick to ¾ cup max per section—even 1-2 extra tablespoons causes batter to leak into hinge mechanisms. For thin batters, thicken with 1-2 tbsp flour before cooking. If waffles stick during removal, immediately unplug the unit and let plates cool 2 minutes—forcing them out now scratches the non-stick surface.
Prevent Common Waffle Disasters
Fix Pale, Undercooked Waffles
This signals insufficient heat penetration. Increase temperature by 25°F and never open the lid early—steam reduction is your true doneness indicator. If waffles stay pale at 400°F, your plates may need replacement (ceramic coating degrades after 100+ uses).
Stop Uneven Browning Instantly
Pour batter precisely in the center—spreading it manually creates thin spots that burn. Also, place your Griddler on a level counter; a 5-degree tilt causes one side to overcook. Visual cue: Perfect batter coverage should leave ¼ inch clearance from plate edges.
Clean Plates Without Damaging Non-Stick Coating
Immediate Post-Cooking Protocol
Unplug and cool plates 15-20 minutes (warm—not hot—to loosen residue). Wipe with damp paper towels while warm, using silicone scrapers for stubborn bits. Never submerge hot plates—thermal shock cracks ceramic coatings.
Deep Cleaning for Longevity
Remove fully cooled plates using release buttons. Hand-wash with soft sponge and mild soap, or place on dishwasher top rack (avoid harsh detergents). Critical: Never use steel wool or abrasive pads—micro-scratches accelerate coating wear. Dry completely before storage to prevent moisture corrosion.
Create Gourmet Waffles Like a Chef
Strategic Mix-In Placement
Press chocolate chips or blueberries into the batter after pouring—not mixed in. This prevents burning and ensures picture-perfect distribution. For savory options, use cornbread batter at 375°F for waffle “sandwiches” with fried chicken.
Flawless Batch Cooking
Preheat oven to 200°F with a wire rack on a baking sheet. Transfer finished waffles directly here—stacking more than two high traps steam, causing sogginess. Time-saving hack: Cook 4 waffles consecutively without re-preheating (Griddler retains heat for 90 seconds between batches).
Store Plates to Maximize Lifespan
Completely dry plates prevent rust under the ceramic coating. Slide them into included protective sleeves or wrap in paper towels before storing upright in a cool, dark cabinet. Never stack plates loosely—even light contact causes micro-scratches that compromise non-stick performance over time. For storage beyond 30 days, apply a rice-grain-sized oil drop to each plate’s center.
Troubleshoot Like a Pro
Burnt edges with raw centers? Batter’s too thick—thin with 2 tbsp milk. Waffles tearing during removal? Plates need re-seasoning (repeat initial oiling process). Persistent sticking? Inspect plates for visible scratches—if coating is flaking, replacement is essential (Cuisinart part # WPL-GR).
Your Cuisinart Griddler waffle plates deliver café-quality results when you nail the installation, temperature control, and cleaning rhythm. Remember: proper preheating prevents 90% of failures, and gentle handling extends plate life for hundreds of waffle mornings. Now that you’ve mastered how to use Cuisinart Griddler waffle plates, try our next guide: “5 Cuisinart Griddler Breakfast Hacks for Busy Weekdays” to transform pancakes, bacon, and eggs—all on the same appliance.


