
Running out of soap at your kitchen sink creates an inconvenient interruption to your dishwashing routine. Whether you’ve just installed a new dispenser or your current one has finally run dry, knowing exactly how to refill it properly prevents messy spills and keeps your system working smoothly. The right filling technique combined with appropriate soap selection makes all the difference between a dispenser that works reliably for years and one that constantly clogs or leaks. This guide delivers step-by-step instructions for both built-in and freestanding dispensers, along with crucial tips for preventing common problems that plague kitchen soap dispensers.
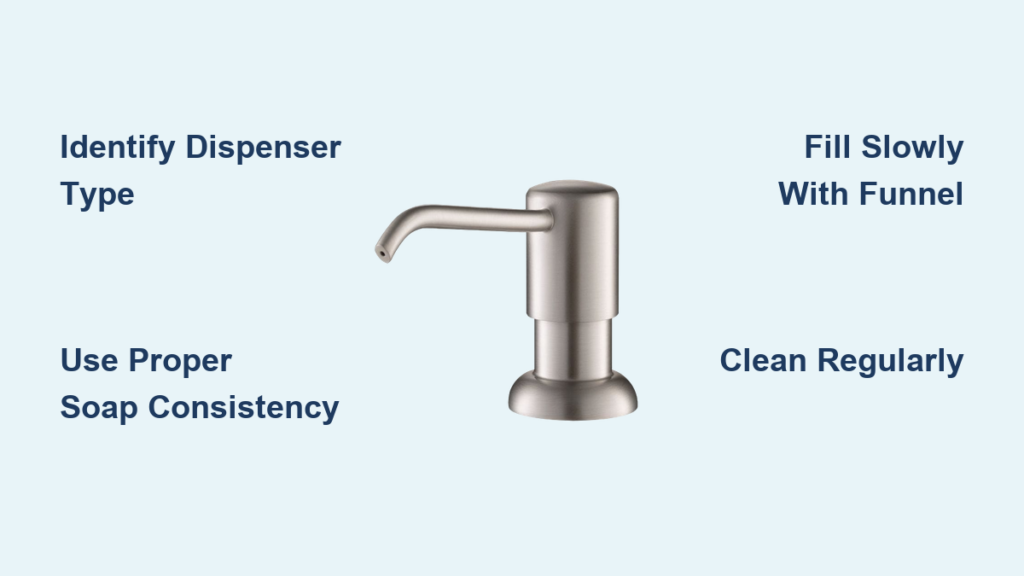
Identify Your Dispenser Type Before Filling
Determining whether you have a built-in mounted dispenser or a freestanding countertop model dictates your entire refilling approach. This critical first step prevents frustration and potential damage to your dispenser system.
Built-in mounted dispensers integrate directly into your sink deck or countertop surface with the reservoir hidden beneath. These units feature a pump head visible above the counter that connects via tubing to a larger reservoir underneath. The refill opening typically sits flush with your countertop surface, often concealed beneath a small cap that twists or pulls off. You’ll usually find these dispensers in modern kitchen setups where clean lines and minimal counter clutter are priorities.
Countertop freestanding dispensers operate as self-contained units that sit beside your sink. These models feature a visible reservoir that you remove or unscrew to access for refilling. Their transparent or semi-transparent bodies allow you to monitor soap levels at a glance, though they consume valuable counter space. Most freestanding dispensers hold between 8-12 ounces of soap, requiring more frequent refills than their built-in counterparts.
Check for manufacturer markings on the pump head or base to identify your specific model. Many high-end kitchen faucet manufacturers like Moen, Delta, and Kraus produce matching dispenser systems with model numbers printed discreetly on the underside. If you can’t locate identification marks, examine how the dispenser attaches to your sink—built-in models require a mounting hole through your countertop, while freestanding units simply sit on the counter.
Choose Soap Formulas That Won’t Clog Your Dispenser

Selecting the right soap consistency prevents 90% of dispenser problems before they start. Many homeowners unknowingly sabotage their dispensers by using inappropriate soap formulations that lead to frustrating clogs and inconsistent flow.
Standard liquid dish soaps provide the ideal viscosity for most kitchen dispensers. Brands like Dawn Original, Joy, and store-brand equivalents maintain a water-like consistency that flows easily through narrow dispenser tubing. These formulas rinse cleanly without leaving residue that builds up over time. Avoid “ultra” or “heavy-duty” variants which often contain thickeners that compromise dispenser performance.
Thinned hand soaps work acceptably when diluted properly. If you prefer hand soap at your kitchen sink, mix three parts liquid hand soap with one part warm water in a separate container before filling your dispenser. This simple dilution reduces the glycerin content that typically causes clogs while maintaining cleaning power. Test the mixture’s flow by pouring it through a funnel—if it moves as freely as water, it’s suitable for your dispenser.
Products to avoid include thick lotion soaps, foaming hand soaps (which require specialized air-pump mechanisms), antibacterial soaps with heavy additives, and any soap containing exfoliants or suspended particles. These ingredients accumulate inside dispenser mechanisms, creating stubborn blockages that often require complete disassembly to clear.
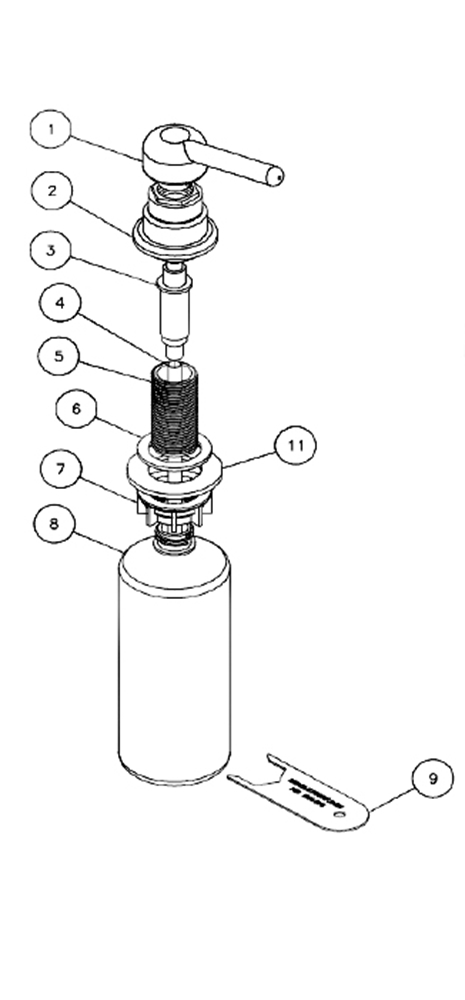
Gather Essential Tools for a Clean Refill Process
Preparation prevents messy accidents when refilling your soap dispenser. Having the right tools ready saves time and avoids mid-task interruptions that lead to spills.
For built-in dispensers, assemble a small funnel (2-3 inch diameter works best), your chosen liquid soap, clean microfiber cloths, and possibly a flathead screwdriver if your model has a screw-type cap. Specialty dispensers sometimes include a refill key—check your original packaging or manufacturer’s website if you can’t locate yours. A measuring cup helps achieve proper dilution ratios if thinning your soap.
For freestanding dispensers, you’ll primarily need your soap and a funnel if the reservoir opening is narrow. Many countertop models accept direct pouring, but a funnel still prevents drips down the bottle exterior. Keep several paper towels nearby for quick cleanup of accidental spills.
Consider having distilled water available for dilution purposes, especially if you live in an area with hard water. Tap water minerals can interact with soap ingredients to create stubborn residue inside your dispenser over time.
Fill a Built-In Dispenser Without Creating a Mess
Built-in dispensers require precision during refilling to avoid overfilling and potential leaks into your cabinet space. Follow these specific steps for a clean, efficient refill.
Locate and remove the refill cap by examining the top surface of your dispenser head. Most caps twist counterclockwise or pull straight up—older models may require a small screwdriver. Set the cap aside in a designated spot to prevent loss. Inside the opening, you’ll see the reservoir chamber and possibly the intake tube extending downward.
Insert your funnel gently into the opening, ensuring it sits securely without forcing it. The funnel should extend past any threading but not touch internal components. A slight wiggle confirms proper placement without obstruction.
Pour soap slowly until the reservoir reaches ¾ full capacity. Most built-in dispensers hold 8-16 ounces, though commercial models may accommodate up to 32 ounces. Stop pouring well before the opening to allow space for the cap and prevent overflow when reinstalled. Watch for air bubbles rising to the surface as you pour—excessive bubbling indicates you’re pouring too quickly.
Test the flow immediately by pressing the pump lever several times before replacing the cap. Properly filled dispensers should produce consistent soap flow within 5-10 pumps. Sputtering or weak output suggests air in the system or improper soap consistency.
Secure the cap firmly by aligning any tabs or threading before twisting into place. Wipe any residual soap from the cap area with a damp cloth to prevent sticky buildup. Perform a final flow test to confirm no leaks around the cap seal.
Refill Countertop Dispensers with Professional Results

Freestanding dispensers offer simpler access but still require careful handling to maintain optimal performance and prevent counter messes.
Remove the pump mechanism by twisting counterclockwise until it releases from the reservoir. Avoid pressing the pump during removal, which causes accidental dispensing. Some models feature a locking mechanism that requires simultaneous upward pressure while twisting.
Assess remaining soap before adding new product. Mixing old and new soap can create separation issues, especially if the existing soap has thickened or changed texture. Discard any soap that appears cloudy, separated, or has an off odor.
Fill to proper capacity by pouring soap to approximately one inch below the reservoir neck. Overfilling causes leaks when reattaching the pump or during normal use. If using a funnel, position it so the narrow end sits just inside the reservoir opening to prevent drips.
Reassemble with care by twisting the pump clockwise until snug. Some models click into place when properly secured. Wipe the entire exterior with a damp cloth to remove any soap residue that attracts dust and grime.
Prime the system by pressing the pump 10-15 times until consistent flow appears. Initial sputtering indicates air clearing from the mechanism. If flow remains inconsistent after 20 pumps, check for obstructions in the intake tube.
Prevent Clogs Through Regular Maintenance
Proactive care extends your dispenser’s lifespan and prevents the frustration of sudden clogs during meal cleanup.
Dilute thick soaps to achieve whole milk consistency. Mix three parts soap with one part warm water in a separate container before filling. This simple adjustment maintains cleaning power while ensuring smooth flow through narrow tubing.
Monthly cleaning sessions prevent buildup before it causes problems. For built-in models, fill with a solution of warm water and dish soap, pump several times, and let sit for 20 minutes before flushing with clean water. Freestanding units can be completely disassembled for thorough cleaning.
Weekly water flushes maintain functionality in infrequently used dispensers. Pump clean water through the system to prevent soap from thickening inside the mechanism during periods of low use.
Daily nozzle wiping prevents dried soap accumulation. A quick swipe with a damp cloth after each use keeps the dispensing point clear and ensures consistent flow.
Troubleshoot Common Dispenser Problems Immediately
Addressing issues promptly prevents minor problems from becoming major headaches requiring complete replacement.
Weak or no flow typically indicates clogs or thickened soap. First, try thinning your soap with warm water and pumping repeatedly. If unsuccessful, disassemble the pump mechanism and soak it in warm water for 15 minutes to dissolve hardened soap.
Leaking from the base usually means overfilling or improper sealing. Reduce soap levels to ¾ capacity and inspect the cap’s rubber gasket for damage or debris. Clean both sealing surfaces thoroughly before reassembly.
Excessive air bubbles during dispensing signals air in the system. Continue pumping slowly for 20-30 cycles to draw soap through the tubing. Persistent bubbling may indicate a cracked intake tube requiring replacement.
Complete failure to dispense suggests a major blockage or pump failure. Disassemble and soak all components in warm water, using a pipe cleaner to clear the narrow exit hole. If cleaning doesn’t restore function, contact the manufacturer for replacement parts.
Maintain Peak Performance Through Smart Habits
Consistent care habits ensure years of reliable service from your kitchen soap dispenser.
Store replacement soap properly in sealed containers to maintain consistency. Transfer only what you need for refilling to minimize exposure to air and contaminants.
Monitor soap levels weekly to prevent complete depletion. Running dry introduces air into the system that requires additional pumping to clear when refilled.
Address hard water issues with periodic vinegar treatments. Flush the system with a 50/50 mixture of white vinegar and water to dissolve mineral deposits, followed by thorough rinsing with clean water.
Thoroughly clean between soap type changes when switching between dish soap and hand soap. Residual product mixing can cause clumping and inconsistent performance.
A properly maintained kitchen sink soap dispenser delivers convenient, mess-free access to soap exactly when you need it. By following these specific filling techniques, selecting appropriate soap formulations, and implementing regular maintenance, you’ll avoid common frustrations and enjoy reliable performance for years. The small investment in proper care saves you from frequent replacements and keeps your kitchen functioning smoothly during daily cleanup tasks.


