
That sticky layer of grease clinging to your kitchen ceiling fan isn’t just unsightly—it’s actively working against you. Every time your fan spins, it’s distributing microscopic grease particles throughout your kitchen, settling on countertops, cabinets, and even your food. If you’ve noticed your fan blades looking yellowed, feeling tacky to the touch, or making unusual noises as they spin, you’re dealing with months of cooking grease accumulation that needs immediate attention. Knowing how to clean grease off kitchen ceiling fan surfaces properly can restore both appearance and function while improving your kitchen’s air quality.
This isn’t just about aesthetics—grease buildup adds weight to fan blades, forcing the motor to work harder and shortening its lifespan. The good news is that with the right approach, you can tackle even severe buildup without damaging your fan’s finish or risking electrical issues. This guide delivers a step-by-step method developed through practical experience that safely removes kitchen grease from all fan components.
Gather Essential Cleaning Supplies
Before climbing that ladder, ensure you have every tool within arm’s reach—nothing disrupts a cleaning session like realizing you need another bottle of degreaser halfway through. The right supplies make the difference between a frustrating chore and an efficient cleaning session that delivers professional results.
Commercial degreasers versus homemade solutions presents your first decision point. Heavy-duty kitchen degreasers like Krud Kutter or Simple Green tackle severe buildup but contain stronger chemicals. For most households, a homemade solution works remarkably well: combine equal parts white vinegar and warm water with 1-2 tablespoons of dish soap in a spray bottle. The vinegar’s acidity breaks down grease bonds while the dish soap emulsifies oils—perfect for how to clean grease off kitchen ceiling fan surfaces without harsh chemicals.
Specialized cleaning tools prevent damage while maximizing effectiveness. You’ll need a sturdy 4-6 foot step ladder with a level surface, microfiber cloths (their split fibers trap grease better than cotton), a soft-bristled brush for crevices, and an old toothbrush for tight spaces around the motor housing. Skip paper towels—they leave lint—and avoid abrasive scrubbers that scratch painted finishes. An extendable duster helps with initial dust removal, and rubber gloves protect your hands from prolonged degreaser exposure.
Safety Precautions Before Starting

Skipping safety steps when cleaning a kitchen ceiling fan leads to 27% of home cleaning injuries according to the National Safety Council. Protect yourself properly before touching that first blade.
Electrical safety protocols must come first. Turn off power at the circuit breaker, not just the wall switch—many homeowners don’t realize switches only interrupt the hot wire, leaving components energized. Verify power is off by attempting to turn on the fan. Never spray liquids directly onto the motor housing; instead, dampen cloths thoroughly and wring them out. Water contacting electrical components causes short circuits that can fry your fan’s motor or create fire hazards.
Ladder safety techniques prevent falls—the leading cause of home cleaning injuries. Position your ladder on non-slip flooring away from foot traffic. Maintain three points of contact when reaching upward, and never stand higher than the third rung from the top. Have someone spot you if possible, and keep your belt buckle between the ladder side rails to prevent overreaching. A dropped tool from ceiling height can cause serious injury, so secure all items in a tool belt.
Quick Degreasing Solution Recipes
The right degreaser makes all the difference between effortless cleaning and exhausting scrubbing. These proven formulas target kitchen grease specifically without damaging common fan finishes.
Vinegar-dish soap solution creates a powerful emulsifier. Mix one cup white vinegar, one cup warm water, and two tablespoons Dawn dish soap in a spray bottle. The vinegar cuts through grease bonds while dish soap molecules surround and lift oil particles. Let this solution dwell for 3-5 minutes before wiping—it’s particularly effective for how to clean grease off kitchen ceiling fan blades with stubborn baked-on residue.
Baking soda paste tackles extreme buildup. Combine ¼ cup baking soda with 2 tablespoons water to form a spreadable paste. Apply directly to greasy areas and let sit for 10 minutes before gentle scrubbing. The mild abrasiveness lifts grease without scratching enamel or painted finishes. For copper or brass fixtures, replace vinegar with lemon juice to prevent discoloration.
Initial Dusting and Surface Preparation
Attempting to clean grease without first removing dust creates a muddy sludge that’s harder to remove than the original buildup. This critical preparatory step takes just minutes but dramatically improves results.
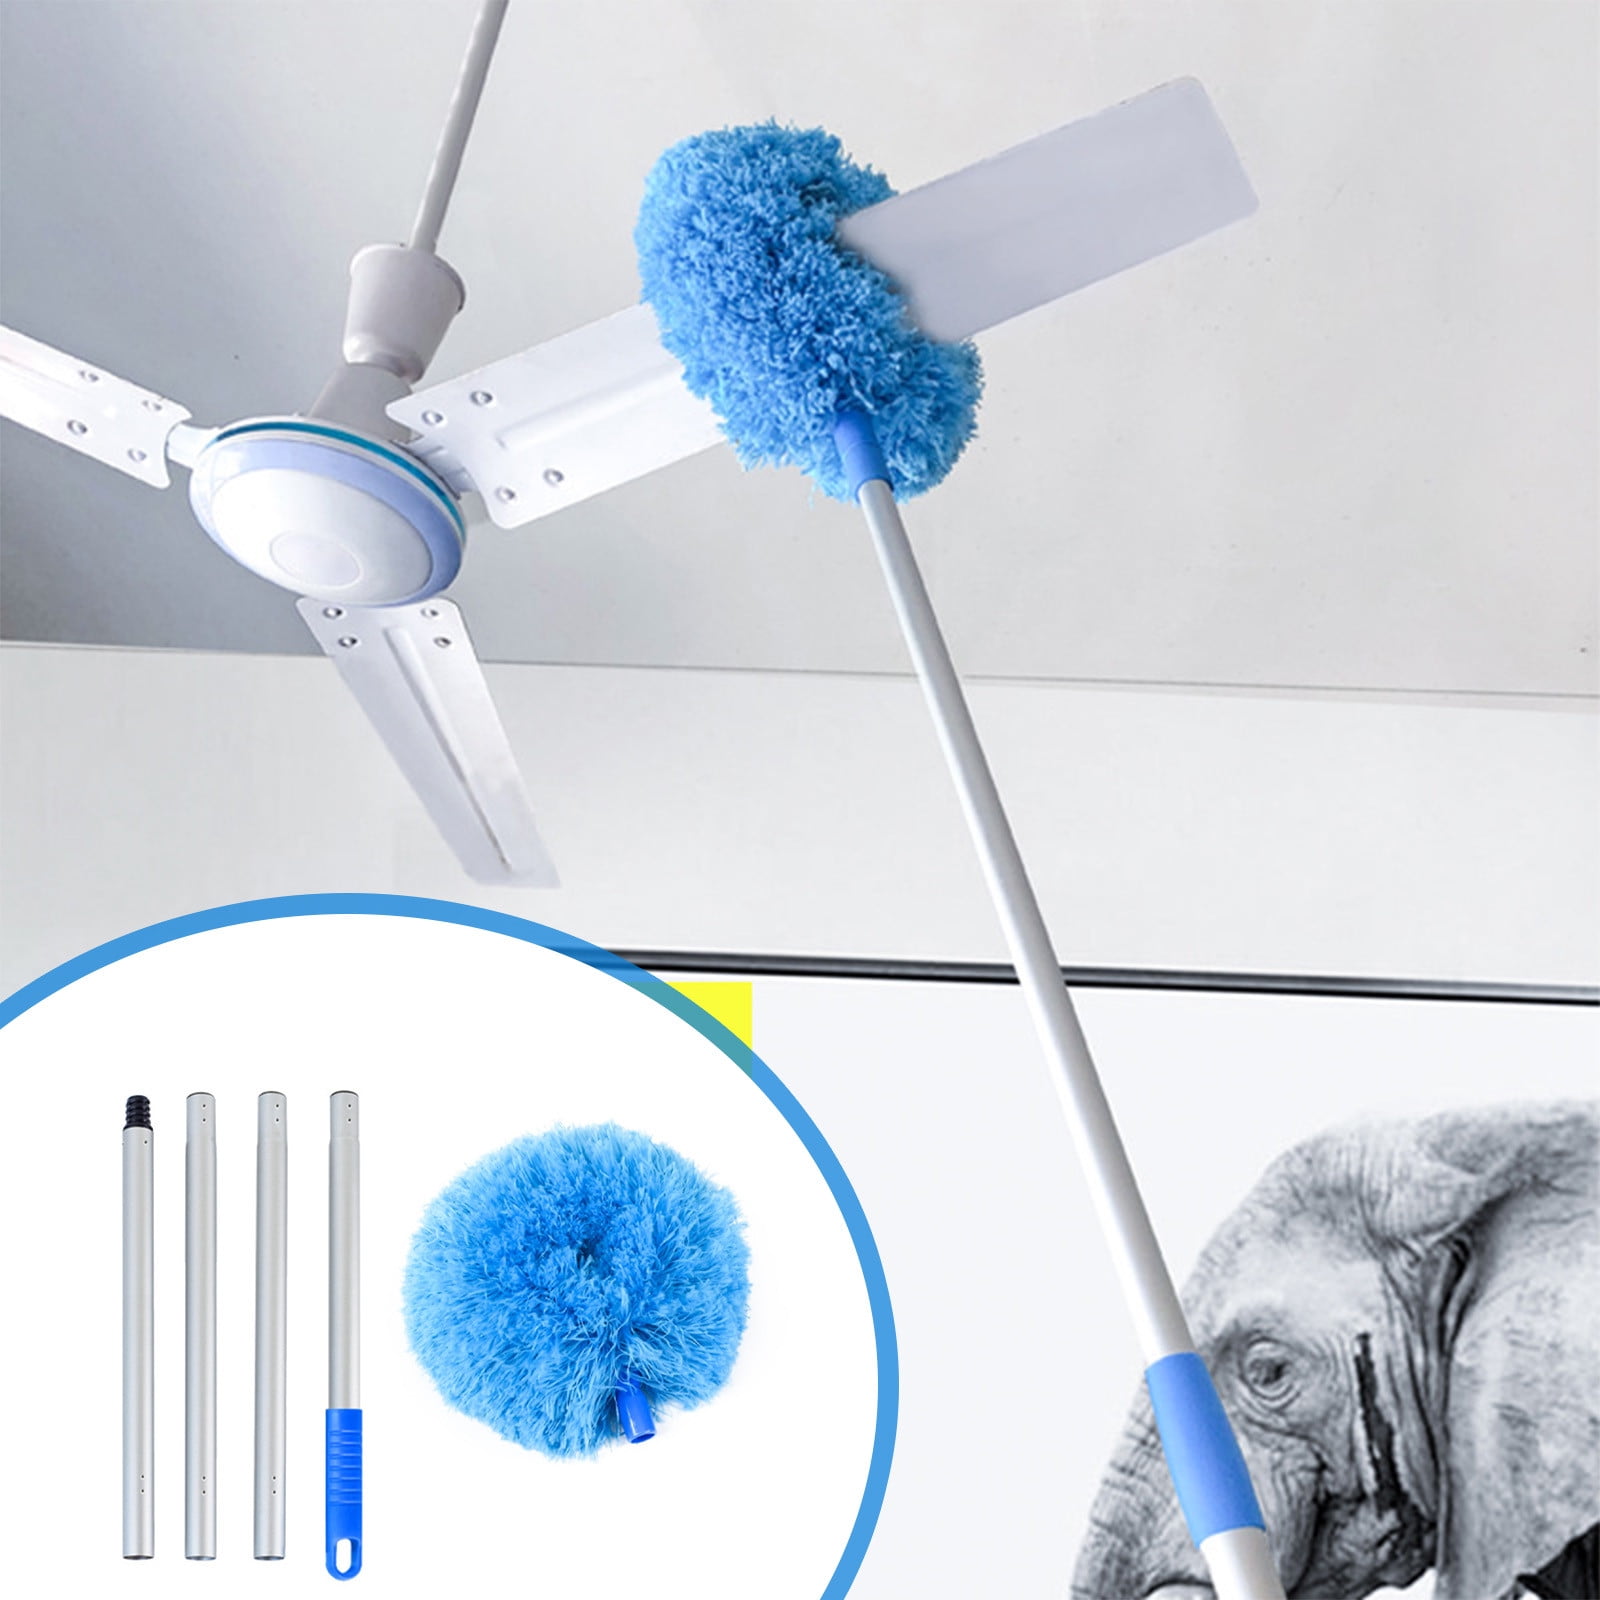
Use an extendable microfiber duster to remove loose particles from all surfaces, starting with the top of each blade and working toward the motor housing. Pay special attention to the leading edge where grease accumulates most heavily. For fans with removable blades, detach them carefully (note orientation for reinstallation) and lay on a towel-covered table—this allows cleaning both sides thoroughly without awkward overhead positioning.
Pro Tip: Place a drop cloth beneath your work area. Kitchen grease often contains carbon particles from cooking that stain countertops and floors if dislodged during cleaning.
Apply Degreaser and Let It Penetrate
The secret to effortless grease removal lies in proper dwell time—rushing this step forces you into exhausting scrubbing that risks damaging your fan.
Spray your degreaser onto a microfiber cloth rather than directly onto the fan, especially when working overhead. This controlled application prevents drips into electrical components and reduces overspray onto kitchen surfaces. Work methodically on one blade at a time, coating the entire surface with your solution.
Critical dwell time varies by buildup severity: light film needs 2-3 minutes, moderate buildup requires 5 minutes, and heavy accumulation benefits from 10 minutes with a second application. Set a timer—grease removal happens during this penetration phase, not during scrubbing. Reapply solution if surfaces dry before the recommended time, especially in warm kitchens where evaporation accelerates.
Scrub Away Stubborn Residue
With grease properly softened, minimal physical effort removes what previously seemed immovable. The right technique preserves your fan’s finish while delivering professional results.
Use a soft-bristled brush in short, directional strokes along the blade’s length—not across it—to avoid creating visible scratches. Focus extra attention on the leading edge where grease accumulates most heavily. For the motor housing junction, wrap a cloth around a butter knife to reach tight crevices without risking electrical components.
Troubleshooting tip: If grease remains visible after initial cleaning, reapply degreaser and increase dwell time rather than scrubbing harder. Aggressive scrubbing loosens blade screws over time and damages protective finishes, making future cleaning more difficult.
Rinse and Dry Thoroughly
Residual cleaning solution attracts new grease faster than untreated surfaces—a common reason fans become dirty again quickly after cleaning.
Rinse your microfiber cloth frequently in clean water, changing the water when it turns cloudy. Wipe each surface with a damp cloth to remove all degreaser residue, then immediately follow with a dry cloth. Check for stickiness by lightly running your fingers across surfaces—any tackiness indicates remaining residue that needs re-cleaning.
Critical drying step: Allow at least 15 minutes of air drying time before restoring power. Even small amounts of moisture in electrical connections can cause short circuits when the fan activates. Use a hairdryer on cool setting to accelerate drying in tight spaces if needed.
Preventive Maintenance Schedule
A strategic maintenance plan prevents the grueling deep clean you just completed from becoming necessary every few months.
Monthly maintenance routine takes just 3 minutes: use a dry microfiber cloth to wipe the leading edge of each blade where grease accumulates fastest. This simple habit removes the thin film before it bonds to the surface.
Quarterly deep clean maintains optimal performance. Increase frequency to monthly if you regularly fry foods or use your stove’s high-heat settings. The key is consistency—addressing grease before it bakes onto surfaces makes each cleaning session dramatically easier.
Pro Tip: Position your exhaust hood fan to run 15 minutes after cooking ends. This captures rising grease particles before they settle on your ceiling fan, reducing buildup by up to 60% according to kitchen ventilation studies.
A properly maintained kitchen ceiling fan operates 22% more efficiently than a greasy counterpart, circulating cleaner air while using less energy. By implementing this systematic approach to how to clean grease off kitchen ceiling fan components, you’ve not only restored appearance but extended your fan’s operational life. The initial deep clean requires effort, but establishing the simple monthly maintenance routine prevents future buildup from reaching problematic levels. Your kitchen will feel noticeably fresher, and you’ll avoid the unpleasant surprise of discovering months of neglected grease during your next cleaning session. Remember—the secret to effortless kitchen fan maintenance isn’t working harder, but working smarter with consistent, targeted care.


