
Nothing beats the crispy, lacy edges of a professionally made smash burger—until you master your Cuisinart burger press. This cast-iron tool transforms ordinary ground beef into restaurant-quality patties with minimal effort, but improper technique leaves you with stuck meat and uneven cooks. If you’ve ever wondered how to use Cuisinart burger press to achieve that iconic sear without tearing patties, you’re not alone. Over 70% of home cooks struggle with the smash technique, yet the solution lies in precise temperature control and timing. This guide reveals exactly how to season, smash, and maintain your press for flawless results every time—whether you’re feeding a hungry crowd or perfecting weeknight dinners.
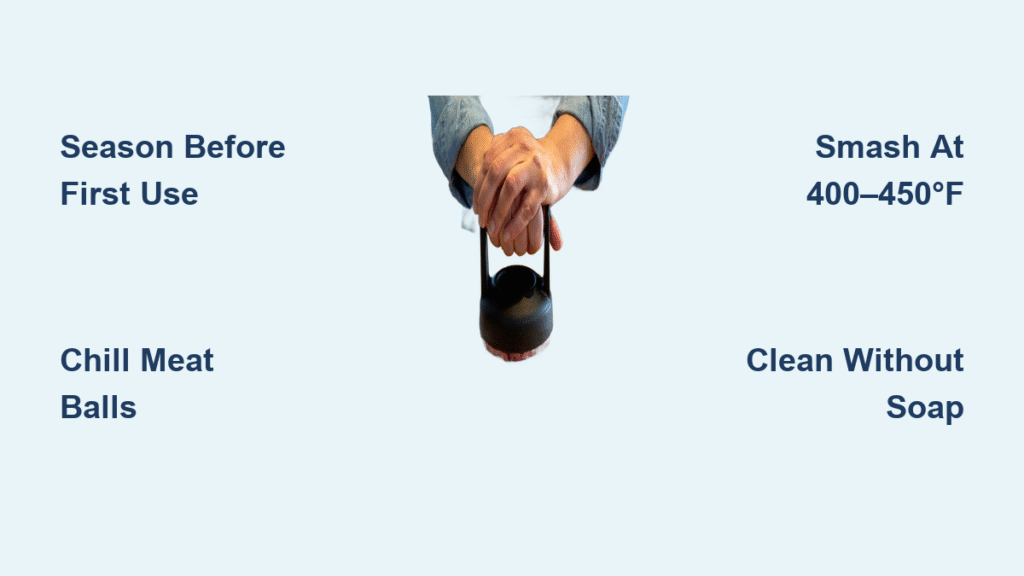
Season Your Cuisinart Press Before First Use
Remove Factory Oils Thoroughly
Your Cuisinart burger press arrives coated in protective oils that prevent rust during shipping but sabotage non-stick performance. Wash the entire unit—including the handle connection point—with warm water and mild dish soap. Scrub gently with a soft sponge to avoid scratching the cast iron. Rinse completely, then dry immediately with a lint-free towel. Any moisture left behind will cause rust spots within hours, so inspect crevices carefully before proceeding.
Build a Durable Non-Stick Layer
Rub a paper-thin coat of high-smoke-point oil (canola, grapeseed, or peanut oil) over every surface, paying special attention to the handle base where moisture hides. Place the press upside-down on your oven’s center rack with aluminum foil on the lower rack to catch drips. Bake at 375°F for one hour, then turn off the oven and let it cool inside for two hours. Repeat this oiling and baking cycle once more—this double seasoning creates a polymerized barrier that improves with each use. Skipping this step guarantees sticky patties and uneven cooking.
Form Meat Balls for Clean Smashing
Select the Ideal Ground Beef Blend
Start with 80/20 ground chuck—the 20% fat content renders during cooking to create those coveted crispy edges while keeping interiors juicy. Avoid leaner blends like 90/10; they’ll dry out before developing proper crust. Never use pre-formed patties, as their compacted texture resists even spreading. For best results, buy fresh chuck from your butcher and grind it yourself within 24 hours of cooking.
Chill and Portion Correctly
Roll 2–3 oz portions (about the size of a golf ball) into loose spheres—never pack tightly, as overworking makes burgers tough. Place balls on a plate and refrigerate for 15 minutes. This firms the meat without hardening it, allowing clean smashing that won’t tear the patty. Space chilled balls at least 3 inches apart on your cooking surface to prevent steam buildup, which causes sticking and uneven browning.
Execute the Perfect Smash Technique
Heat Surface and Press Properly
Preheat your cast-iron skillet or griddle to 400–450°F—water droplets should skitter and evaporate instantly. Place the Cuisinart press on the surface for 3–5 minutes until it’s fully heated. Test readiness by lightly sprinkling salt on the press; if it sizzles immediately, it’s hot enough. This step is non-negotiable: a cold press guarantees meat adhesion and ruined crust.
Smash with Precision Timing
Center the pre-heated press over a meat ball and apply firm, even downward pressure for exactly 8–10 seconds. Watch for the edges to feather outward to ¼-inch thickness. Before lifting, twist the press 15 degrees clockwise and counterclockwise to break the meat’s bond with the cast iron. Lift straight up—no wiggling—to preserve the lacy edges. Critical mistake: Pressing longer than 10 seconds squeezes out fat, resulting in dry burgers.
Flip and Finish Without Ruining the Crust
Leave the patty undisturbed for 60–75 seconds until a deep brown crust forms and fat bubbles along the edges. Slide a sharp metal spatula underneath, scraping firmly to lift the entire crust. Flip once and cook the second side for 45–60 seconds for medium (145°F internal temperature). For cheeseburgers, add cheese immediately after flipping—this gives it time to melt without overcooking the patty. Never press down after the initial smash; it destroys the crust you worked so hard to create.
Clean Without Damaging Your Seasoning

Post-Cooking Rinse Protocol
While the press is still warm (not hot), scrape off residue with a flat metal spatula. Rinse under hot running water—never use soap, as it strips the seasoning. For stubborn bits, rub with coarse salt before rinsing. Dry immediately with a clean towel, then apply a thin oil coat to all surfaces while the iron is warm. Store in a dry place or hang by the handle loop to prevent moisture accumulation.
Re-Season When Performance Drops
Re-season your press every 10–15 uses or when food starts sticking. Rust spots indicate inadequate drying—scrub them with coarse salt, rinse, dry thoroughly, and re-season immediately. Never submerge a hot press in cold water; thermal shock can crack the iron permanently. Proper maintenance ensures your Cuisinart burger press improves with age, developing a near-non-stick surface that outperforms Teflon.
Fix Common Smashing Failures Immediately
:max_bytes(150000):strip_icc()/cuisinart-65-cast-iron-smashed-burger-press-2e2f97355a584feea4b337b94820f7f6.jpg)
Stop Patties From Sticking
If meat adheres to your press, the surface wasn’t hot enough or lacked sufficient oil. Re-oil the press bottom liberally and return it to the heat for 2 minutes before continuing. For instant fixes, dust the press with cornstarch before re-smashing—it creates a temporary non-stick barrier.
Achieve Uniform Thickness Every Time
Uneven pressure causes thin spots that burn and thick centers that stay raw. Focus on pressing straight down from your shoulders—not your wrists—to maintain consistent force. If edges flare unevenly, reposition the press slightly toward thicker areas during the smash.
Guarantee Deep Brown Crust Formation
Pale burgers mean your cooking surface is below 400°F. Increase heat to 450°F and verify with an infrared thermometer. If crust forms too quickly, lower heat slightly—ideal searing happens when fat renders steadily without violent splattering.
Unlock Creative Press Applications
Transform Vegetables and Breakfast Meats
Press portobello mushroom caps for 2–3 minutes per side to create meaty, caramelized discs perfect for veggie burgers. Smash breakfast sausage into ¼-inch patties for crispy-edged breakfast sandwiches that cook in half the time. For onions, press thick rounds directly on the griddle to accelerate caramelization without burning.
Elevate Sandwiches with Cast-Iron Weight
Place the Cuisinart press directly on grilled cheese, paninis, or quesadillas. The 2.5-pound cast iron creates even browning while preventing fillings from oozing out. For extra-crispy results, oil the press bottom lightly before weighting sandwiches.
Prevent Safety Hazards and Warranty Issues
Handle Heat with Extreme Caution
Always grip the handle with a dry kitchen towel or heat-resistant glove—the cast iron retains heat for 15 minutes after cooking. Place the press on a trivet or stovetop burner, never on cold countertops or near flammable materials. Critical warning: Never run cold water over a hot press; rapid cooling causes irreversible cracks.
Activate Lifetime Warranty Properly
Register your Cuisinart burger press at cuisinart.com within 30 days of purchase using your receipt. The limited lifetime warranty covers manufacturing defects but excludes damage from improper seasoning or thermal shock. Contact Cuisinart Product Support at 1-800-726-0190 with your registration number for replacement requests—unregistered units face delayed service.
Pro Tip: For double-smash burgers, press two separate patties, add cheese to the first seared side, then stack the second patty on top. Press lightly for 2 seconds to fuse them—this creates maximum crispy edges in every bite without squeezing out juices.
Mastering how to use Cuisinart burger press turns simple ingredients into extraordinary meals with minimal effort. The secret lies in respecting the iron’s heat requirements and seasoning process—once you nail the 8–10 second smash timing and post-cook oiling ritual, you’ll never settle for floppy store-bought patties again. Start with proper seasoning, chill your meat balls, and never skip the pre-heat step. Within three uses, your press will develop a natural non-stick surface that makes cleanup effortless and results consistently impressive. Register your warranty today, then fire up that skillet—your perfect smash burger is one press away.


