
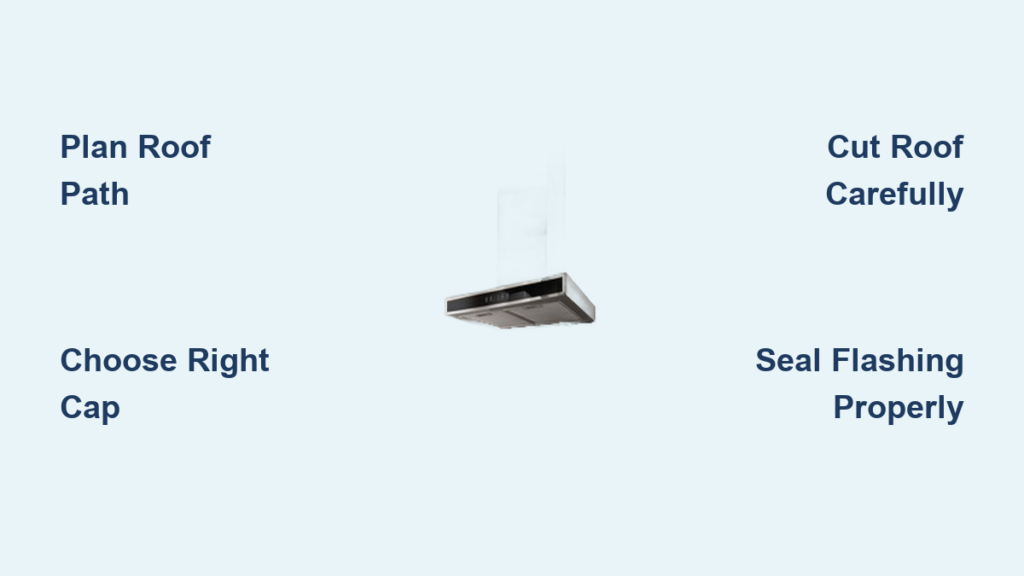
A malfunctioning kitchen exhaust system leaves greasy residue on cabinets, creates lingering cooking odors, and can even contribute to moisture damage over time. When your range hood isn’t properly vented outside, you’re not just dealing with inconvenience—you’re potentially creating health hazards from accumulated airborne grease and contaminants. Installing your kitchen exhaust vent through the roof provides the most direct path for removing cooking byproducts from your home, but improper installation leads to roof leaks, reduced ventilation efficiency, and expensive repairs down the line. In this guide, you’ll discover the critical steps to successfully install a kitchen exhaust vent through your roof while avoiding the common pitfalls that plague DIYers.
Planning Your Roof Ventilation Path Before Cutting
Before making a single cut in your roof, careful planning prevents costly errors and ensures optimal performance. The shortest, straightest path from your range hood to the roof creates the most efficient airflow with minimal resistance. Measure from your hood’s exhaust collar to your proposed roof exit point, keeping in mind that every 90-degree bend reduces effective duct length by 25%.
How to Determine the Ideal Roof Exit Location
Position your roof vent at least 3 feet away from any roof edge or wall to prevent exhausted air from being drawn back into your home. Avoid locations directly above living spaces where condensation might drip through ceilings. Check for obstructions like roof valleys, chimneys, or skylights that could interfere with your duct run. For multi-story homes, ensure your planned path doesn’t intersect with plumbing vents or other mechanical systems.
Critical Measurements for Proper Duct Sizing
Most residential range hoods require 6-inch round ducting, though high-CFM commercial-style units may need 7- or 8-inch ducts. Measure your hood’s exhaust collar diameter before purchasing materials—never downsize to match existing ductwork. Longer duct runs with multiple bends require larger diameter ducting to maintain airflow. For roof installations exceeding 15 feet, consider upgrading to 7-inch ducting to compensate for increased resistance.
Selecting the Correct Roof Vent Cap and Flashing

Choosing the right vent cap prevents rain infiltration while maintaining strong airflow. Roof-mounted exhaust vents differ significantly from standard dryer vents—kitchen exhaust systems require caps with backdraft dampers that close when the fan is off to prevent cold air infiltration and pests from entering.
Why Standard Dryer Vents Won’t Work for Kitchen Exhaust
Dryer vents lack the necessary backdraft dampers for kitchen applications and often have inadequate weather protection. Kitchen exhaust contains significant grease particles that standard dryer vents aren’t designed to handle, leading to rapid buildup and fire hazards. Invest in a purpose-built kitchen exhaust roof cap with a grease-resistant damper mechanism and proper weather flange.
Matching Flashing to Your Roof Type
Asphalt shingle roofs require different flashing than metal, tile, or slate roofs. Self-flashing vent kits work for most composition shingle roofs, but specialty roofing materials need custom flashing solutions. Check with your roofing manufacturer for compatible venting solutions—improper flashing voids many roof warranties. For flat roofs, you’ll need a curb-mounted vent with extended flashing to prevent water ponding.
Cutting the Roof Opening Without Causing Leaks
Precision matters when cutting through your roof deck—too small and you can’t install the vent properly; too large and you create a potential leak point that’s difficult to seal effectively.
How to Locate Roof Rafters Before Cutting
Use a stud finder from inside your attic to mark rafter positions on your roof decking. Your vent hole must fit between rafters with at least 1 inch of clearance on all sides. For standard 16-inch on-center rafters, a 7-inch hole fits perfectly between supports. Never cut through rafters—this compromises your roof’s structural integrity and requires expensive repairs.
Making the Perfect Hole Size for Your Duct
Trace your vent collar’s exact diameter onto the roof using a template. A hole saw specifically sized for your duct diameter creates cleaner edges than a reciprocating saw. For 6-inch ducting, use a 6 1/8-inch hole saw to allow for minor positioning adjustments. Always cut from the top down to prevent tear-out on the roof’s exterior surface.
Installing Roof Flashing to Prevent Water Intrusion

Flashings represent the most common failure point in roof vent installations—proper installation creates a watertight seal that lasts for decades.
Step-by-Step Flashing Installation Process
- Slide the base flashing under existing shingles, working from bottom to top
- Apply roofing cement generously along the bottom edge before sliding into position
- Position the vent collar over the hole, ensuring proper alignment with roof slope
- Install step flashing pieces on all sides, overlapping shingles correctly
- Seal all joints with roofing cement and embed in shingle granules for camouflage
Why Sloped Roofs Need Special Attention
On roofs with pitches steeper than 6:12, water flows faster and requires additional sealing measures. Install counter-flashing above the vent to direct water around the penetration rather than toward it. For steep roofs, consider a vent with an extended weather skirt that channels water away more effectively than standard models.
Securing Ductwork for Maximum Airflow Efficiency
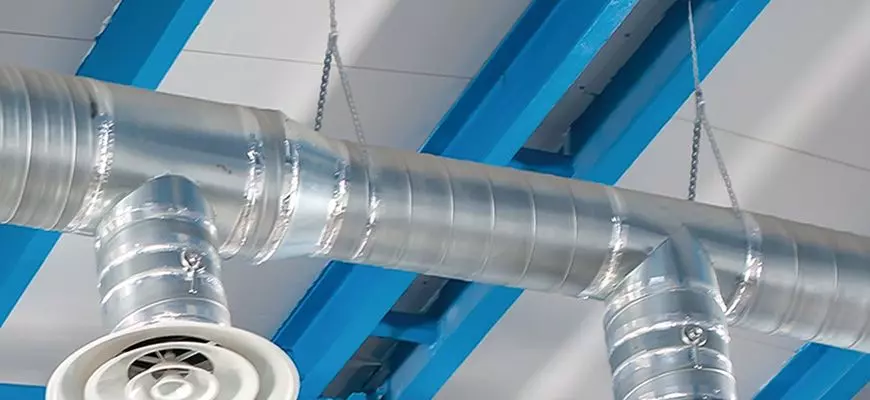
Your roof vent installation fails if ductwork creates airflow restrictions that reduce your hood’s effectiveness.
Proper Duct Support Spacing for Roof Installations
Support ducting every 5 feet along horizontal runs and every 10 feet on vertical sections. Use metal straps rather than wire to prevent duct compression. Near the roof penetration, install additional support within 18 inches of the vent collar to prevent stress on the roof flashing. Unsupported duct sections sag over time, creating low spots where grease and condensation collect.
Avoiding Airflow-Killing Bends and Transitions
Limit bends to no more than two 90-degree turns in your entire duct run. Use long-radius elbows instead of sharp turns when possible—they reduce turbulence by 30%. Never use flexible ducting for roof installations—its ridged interior creates significant airflow resistance and collects grease. Maintain consistent duct diameter throughout—reducing size at any point creates a bottleneck that severely impacts performance.
Testing Your Ventilation System After Installation
Verification ensures your installation works properly before hidden problems develop.
Simple Airflow Test Using Tissue Paper
Turn on your range hood at maximum speed and hold a single-ply tissue against the roof vent cap from outside. The tissue should stick firmly to the cap when the fan runs and fall away immediately when turned off. Weak suction indicates duct restrictions, while delayed damper closing suggests improper installation.
Checking for Proper Damper Operation
Inspect the damper mechanism from inside your attic when the fan is off—light should be visible through a properly closed damper. When the fan runs, the damper should open fully without sticking. A damper that doesn’t close completely allows conditioned air to escape and pests to enter your ductwork.
Critical Mistakes That Cause Roof Leaks After Installation
Understanding common failures helps you avoid expensive water damage.
Why Improper Shingle Cutting Creates Hidden Leaks
Cutting shingles too high above the flashing creates a gap where water can penetrate behind the flashing. Always cut shingles 1 inch below the top edge of your step flashing pieces. Water follows the path of least resistance and will find even tiny gaps in your installation.
The Dangers of Insufficient Roofing Cement
Using too little roofing cement creates gaps that shrink and crack over time. Apply a continuous 1/4-inch bead along all flashing edges and press firmly into place. Never rely solely on nails—roofing cement provides the actual waterproof seal while nails only hold components in position during installation.
When to Call a Professional Roof Vent Installer
Some situations require expert intervention to avoid catastrophic failures.
Complex Roof Designs Need Specialized Knowledge
Intersecting roof planes, dormers, or multiple valleys create challenging venting scenarios where water flow patterns become unpredictable. Professional installers understand how to integrate vents into complex roof geometries without compromising weather protection.
High-Performance Range Hoods Demand Precision Installation
Commercial-grade range hoods with 1200+ CFM require specialized ducting, reinforced roof supports, and larger vents that most DIYers aren’t equipped to handle properly. The increased airflow creates greater stress on all components—professional installation ensures your system performs as designed without leaks or fire hazards.
Properly installed, your kitchen exhaust vent through the roof should function efficiently for 15+ years with minimal maintenance. Regularly inspect the exterior cap for debris buildup and check for proper damper operation—simple maintenance prevents most common issues. By following these guidelines, you’ll create a ventilation system that effectively removes cooking odors and grease while protecting your roof’s integrity for years to come.


