
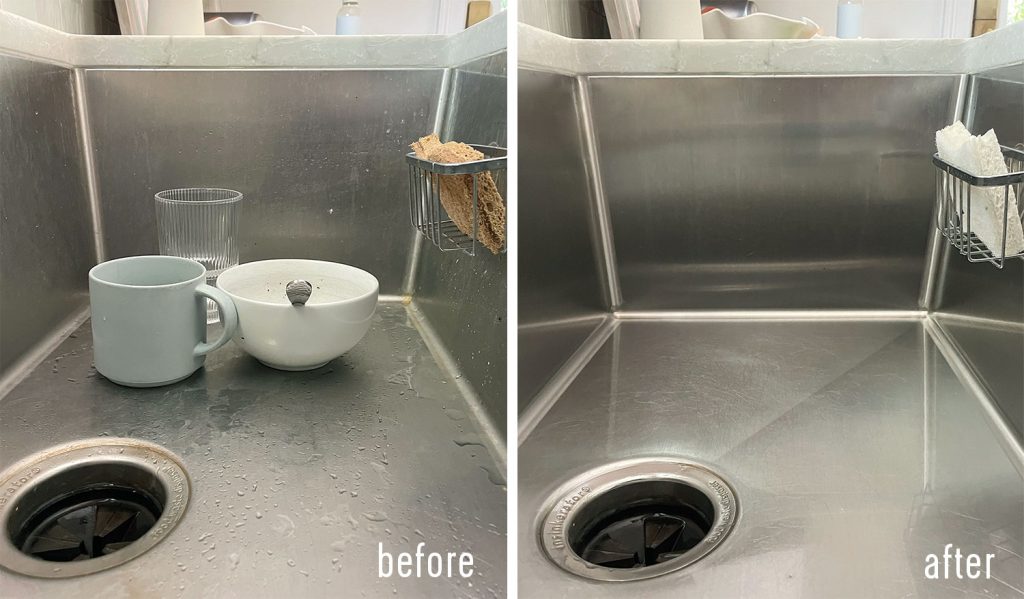
Kitchen sink racks accumulate grime, soap scum, and food debris faster than most homeowners realize. That stainless steel or plastic tray beneath your dishes might look clean at first glance, but after weeks of use, it transforms into a breeding ground for bacteria and stubborn stains. If you’ve noticed a persistent film on your sink rack, rust spots developing, or an unpleasant odor coming from your sink area, you need to know how to clean kitchen sink racks properly. This comprehensive guide reveals the most effective methods to restore your sink rack to like-new condition—without damaging its finish or wasting expensive cleaning products. You’ll learn time-tested techniques that work on all common rack materials, discover which household items make the best cleaners, and implement a simple maintenance routine to prevent future buildup.
Essential Tools for Deep Cleaning Your Sink Rack
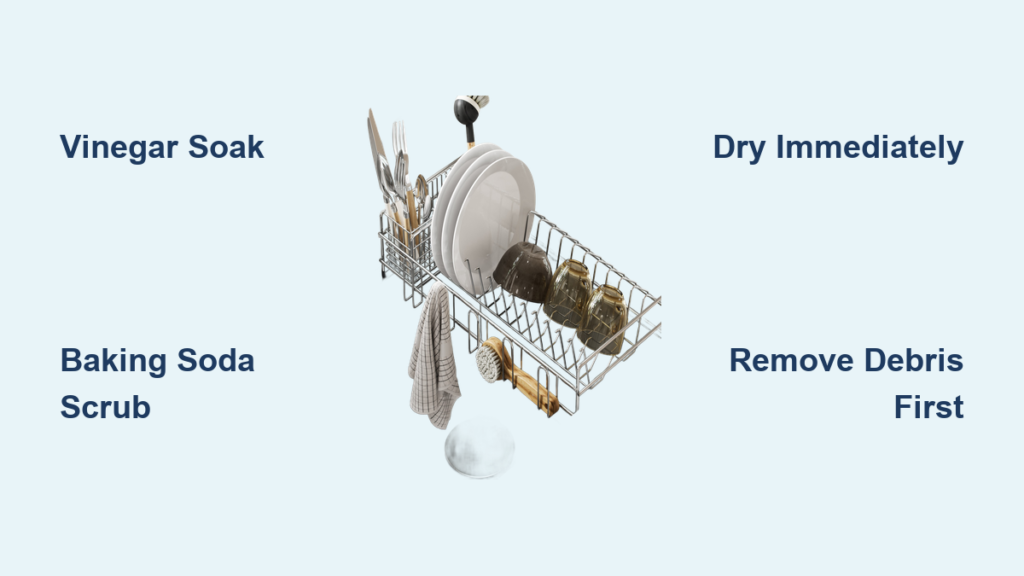
Before you begin cleaning kitchen sink racks, gather these household items that deliver professional results without harsh chemicals. You likely already have most of these in your pantry or cleaning supplies. The right tools make the process faster, more effective, and less physically demanding than scrubbing with just a sponge and dish soap. Having everything prepared before removal prevents mid-cleaning frustration when you realize you’re missing a crucial item.
What You’ll Need for Basic Cleaning
- White vinegar (undiluted for tough jobs)
- Baking soda (for scrubbing and deodorizing)
- Old toothbrush or soft-bristle brush (for detailed work)
- Microfiber cloths (lint-free drying)
- Rubber gloves (protect hands from chemicals)
- Plastic container or sink stopper (for soaking)
Specialized Solutions for Stubborn Buildup
When regular cleaning fails to remove years of accumulated grime, these targeted solutions restore functionality without damaging your sink rack’s finish. For stainless steel racks with pitted rust spots, a paste of baking soda and hydrogen peroxide works better than abrasive cleaners that scratch the surface. Plastic racks with yellowed discoloration respond well to a 30-minute soak in a solution of one part bleach to nine parts water—but never mix bleach with vinegar or ammonia. Copper sink racks require special care; a mixture of lemon juice and salt removes tarnish without harsh abrasives that damage the metal’s patina.
Removing and Preparing Your Sink Rack for Cleaning
How to Safely Remove Your Sink Rack Without Damage
Kitchen sink racks typically secure in one of three ways: sitting freely in the sink basin, attaching with suction cups, or mounting with brackets under the counter edge. For free-standing racks, simply lift straight up—don’t slide across the sink surface which can scratch both the rack and sink. Suction-mounted racks require breaking the seal by inserting a butter knife between the cup and sink surface before lifting. Bracket-mounted racks often have hidden release mechanisms; check for small levers near the mounting points before forcing removal. If your rack feels stuck, don’t yank it—soak the contact points with warm water first to loosen any mineral deposits bonding it to the sink.
Initial Debris Removal Techniques That Save Time
Before deep cleaning, remove loose debris with these efficient methods that prevent clogging your sink during the cleaning process. Place the rack over a trash can and shake vigorously to dislodge food particles trapped between bars. Use a dry paintbrush to sweep crumbs from hard-to-reach corners where water might push debris deeper. For racks with drainage channels, run a pipe cleaner through each groove to extract hair and stringy debris that regular shaking misses. This preliminary step reduces cleaning time by 40% and prevents creating a muddy sludge when you apply liquid cleaners.
Deep Cleaning Methods for Different Sink Rack Materials
Stainless Steel Rack Cleaning Protocol
Stainless steel sink racks develop two common problems: white mineral deposits from hard water and rust spots from prolonged moisture exposure. To address mineral buildup, soak the rack in undiluted white vinegar for 20 minutes, then scrub with a baking soda paste using a non-abrasive sponge. For rust spots, make a paste of cream of tartar and hydrogen peroxide, apply with an old toothbrush, and let sit for 15 minutes before rinsing. Never use steel wool or abrasive pads on stainless steel as they create micro-scratches that accelerate future corrosion. After cleaning, dry thoroughly with a microfiber cloth and apply a light coat of mineral oil to create a protective barrier against moisture.
Plastic Sink Rack Restoration Process
Yellowed or cloudy plastic racks indicate either sun exposure damage or chemical reactions from certain cleaning products. For surface-level discoloration, soak the rack in a solution of one tablespoon oxygen bleach per quart of warm water for 30 minutes. Avoid chlorine bleach which further yellows plastic over time. For sticky residue from food oils, sprinkle baking soda directly on the rack and scrub with a damp cloth—its mild abrasiveness removes film without scratching. Deep-set stains may require multiple treatments. Always air dry plastic racks completely before reuse as trapped moisture accelerates bacterial growth in porous surfaces.
Troubleshooting Common Sink Rack Cleaning Problems

Why Your Sink Rack Still Looks Dirty After Cleaning
If your sink rack appears cloudy or streaky after cleaning, you’re likely dealing with either hard water minerals or improper drying techniques. Hard water leaves behind calcium carbonate deposits that look like film even on clean surfaces. To solve this, wipe the rack with a 50/50 vinegar-water solution after your regular cleaning, then dry immediately with a microfiber cloth. Streaking often occurs when air-drying chrome-plated racks—water evaporates leaving mineral traces. The solution? Dry all metal sink racks with a clean, dry towel immediately after rinsing. For persistent film, check if your dishwasher detergent contains sodium carbonate which can etch glass and metal surfaces over time.
Preventing Rust on Metal Sink Racks Long-Term
Rust formation indicates your metal sink rack isn’t drying properly between uses. The critical factor isn’t how thoroughly you clean it, but how consistently you remove standing water. After each use, lift the rack slightly and tilt your sink to drain all water from the channels. Place a microfiber drying mat under the rack when not in use to absorb residual moisture. For prevention, apply a food-safe mineral oil coating monthly—just enough to create a sheen without making the surface greasy. If rust returns frequently, consider replacing steel racks with nickel-plated or solid stainless steel versions which resist corrosion better.
Daily Maintenance Habits That Reduce Deep Cleaning Frequency
Three-Second Technique to Prevent Buildup
The most effective way to maintain clean kitchen sink racks requires just three seconds daily. After your last dishwashing session, lift the rack slightly and run a dry microfiber cloth underneath to absorb standing water. This simple action prevents mineral deposits from forming and reduces bacterial growth by eliminating the moisture these organisms need. For households with hard water, follow this with a quick wipe using a vinegar-dampened cloth once weekly to neutralize mineral accumulation before it becomes visible.
Optimal Placement for Maximum Air Circulation
How you position your sink rack dramatically affects how quickly it dries and stays clean. Never place the rack flush against the sink back panel—this creates a moisture trap where air can’t circulate. Instead, position it at least ½ inch away from all sink edges to allow airflow around the entire structure. When loading dishes, alternate plate orientations to prevent stacking items that block drainage holes. For double-basin sinks, rotate which basin holds the rack weekly to prevent permanent water marks on one specific area.
When to Replace vs. Repair Your Sink Rack
Signs Your Sink Rack Is Beyond Cleaning
Certain damage indicators mean no amount of cleaning will restore functionality. Look for these irreversible conditions: deep pitting in metal racks (not just surface rust), cracked plastic components that compromise structural integrity, or broken mounting hardware that can’t be secured safely. Racks with warped frames won’t drain properly even when clean, leading to constant water pooling. If your cleaning efforts take longer than 20 minutes monthly and the rack still looks unsightly, replacement becomes more cost-effective than continued maintenance.
Cost-Benefit Analysis of Replacement Options

Replacing a basic sink rack costs between $15-$50 depending on material and size. Before purchasing, measure your sink dimensions precisely—many homeowners buy racks that are slightly too large, causing improper drainage. Stainless steel racks cost more upfront but last 3-5 times longer than plastic equivalents. Consider models with removable drain channels for easier cleaning. The break-even point comes at approximately 18 months; if you’re spending significant time cleaning a low-quality rack, investing in a premium model saves long-term effort. For renters, removable suction-cup models offer flexibility without permanent installation.
Final Note: Regular maintenance prevents most sink rack problems before they start. Implement the three-second drying technique after each use and schedule a deep cleaning session every four to six weeks based on your water hardness. Keep your cleaning supplies stocked with just vinegar and baking soda—the dynamic duo that handles 95% of sink rack cleaning challenges without harsh chemicals. For immediate results on neglected racks, the vinegar soak method delivers noticeable improvement within 30 minutes. Remember that proper drying matters more than aggressive cleaning; a well-maintained sink rack should never require more than a five-minute weekly refresh. Your clean kitchen sink racks will not only look better but also create a more hygienic workspace for food preparation.


