
That persistent drip under your kitchen sink isn’t just annoying—it’s a ticking time bomb for potential water damage that could cost thousands in repairs. When your kitchen water valve fails, whether from corrosion, mineral buildup, or simple wear and tear, knowing how to replace kitchen water valve components yourself puts you in control of the situation. Most homeowners can complete this essential plumbing task in under an hour with basic tools, saving both time and money while preventing catastrophic leaks that could destroy cabinetry and flooring.
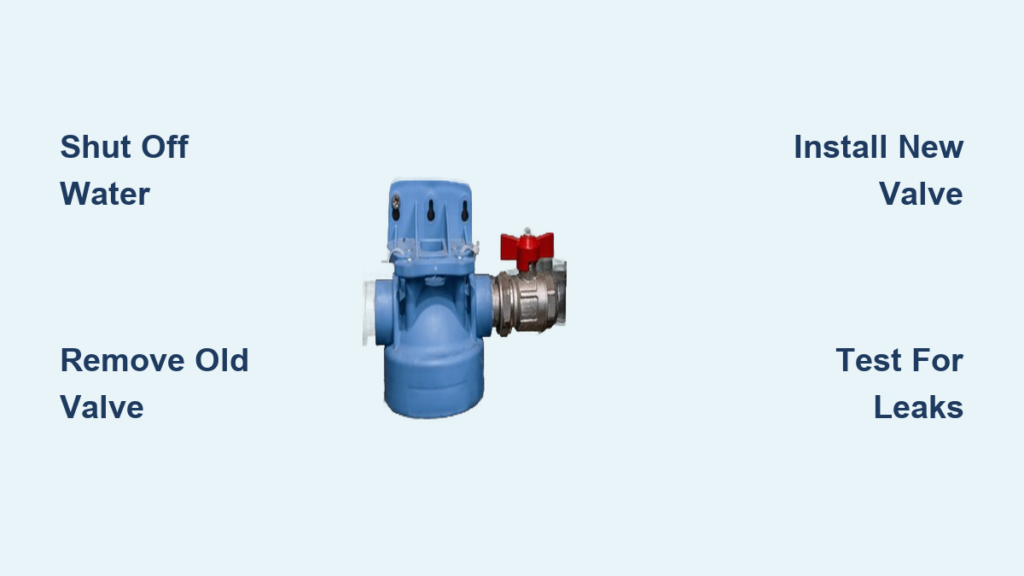
Replacing a kitchen water valve typically costs between $15-$50 for quality replacement parts and takes 30-90 minutes for those with basic DIY skills. The process involves identifying valve failure signs, gathering proper tools, safely shutting off water supplies, removing the damaged valve, installing the new component correctly, and thoroughly testing for leaks. Beyond immediate repair, mastering this skill gives you confidence to handle future plumbing issues and dramatically reduces the risk of emergency flooding that affects thousands of homes annually.
Why Your Kitchen Water Valve Needs Replacement Now
Visible leaks around valve connections represent the most urgent reason to replace kitchen water valve components immediately. If you notice consistent dripping even when the valve is fully closed, water pooling beneath your sink cabinet, or mineral deposits forming crusty rings around connection points, these indicate failing seals that will only worsen. Ignoring these warning signs allows moisture to penetrate cabinetry, creating perfect conditions for mold growth and structural damage that escalates repair costs exponentially.
Stiff or frozen valve handles that resist turning signal internal corrosion that compromises the valve’s functionality. When you struggle to open or close the valve—requiring excessive force or multiple attempts—you’re dealing with deteriorated internal components that will eventually fail completely. Similarly, valves that no longer shut off water flow entirely, allowing continuous trickling even in the “off” position, have reached the end of their service life and require immediate replacement to prevent accidental flooding.
Low water pressure specifically at your kitchen faucet, particularly when other fixtures maintain normal flow, often indicates a partially blocked or failing supply valve. While sediment buildup in aerators can cause similar symptoms, a restricted valve limits water flow regardless of faucet condition. Testing water pressure before and after valve replacement confirms whether the valve was the source of pressure issues.
Critical Tools for Successful Kitchen Water Valve Replacement
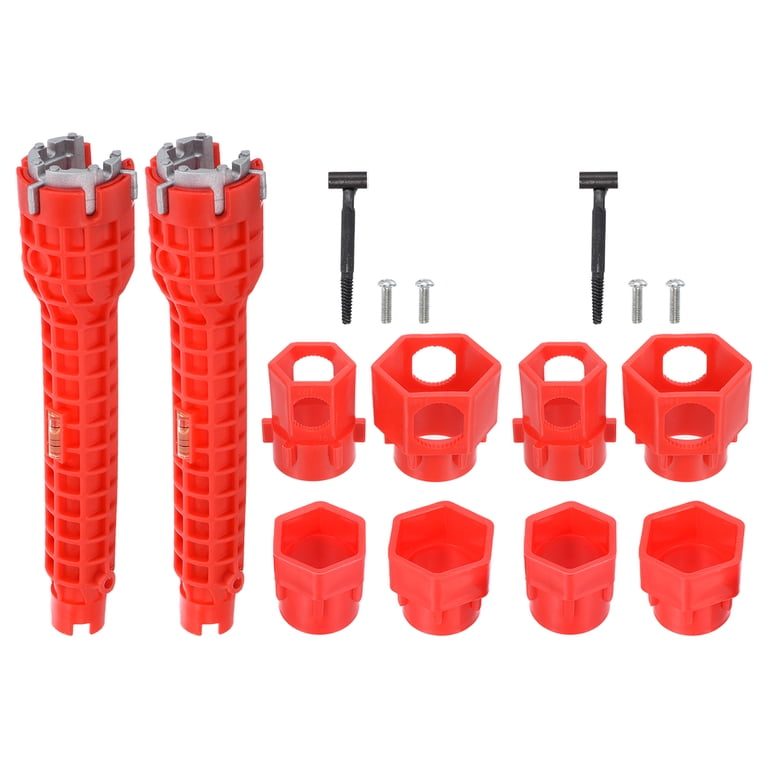
Gathering all necessary tools before starting your kitchen water valve replacement prevents frustrating interruptions mid-project. An adjustable wrench (8-10 inches) provides essential leverage for stubborn connections, while a basin wrench reaches tight spaces behind sinks where standard tools can’t maneuver. Slip-joint pliers grip supply lines securely during disconnection, and a small bucket with absorbent towels catches residual water that drains from disconnected lines.
Don’t overlook the importance of plumber’s tape (PTFE tape) for creating watertight seals on threaded connections—wrap it clockwise around male threads 2-3 times for optimal effectiveness. Pipe joint compound serves as an excellent alternative or supplement to tape, especially for larger connections. A wire brush or emery cloth cleans corrosion from pipe threads before installing your new valve, ensuring proper seating and preventing future leaks.
When purchasing replacement valves, measure your existing valve’s connection sizes (typically 1/2-inch or 3/8-inch) and verify inlet/outlet configurations match your plumbing. Brass valves offer superior durability for hidden installations, while stainless steel provides excellent corrosion resistance. Take photos of your current plumbing setup before visiting the hardware store to guarantee you select the correct replacement valve type and orientation.
Proper Water Shut-Off Procedure Before Valve Replacement
Locating and closing the correct water supply valves represents the most critical safety step in any kitchen water valve replacement project. Most modern kitchens feature individual shutoff valves beneath the sink where flexible supply lines connect to fixed household plumbing—these typically appear as small, oval handles mounted on horizontal pipes. Turn both hot and cold supply valves clockwise until snug, then test by opening your kitchen faucet; you should hear air hissing as lines drain but no water should flow.
If your under-sink valves leak when operated or refuse to close completely, immediately shut off your home’s main water supply. This valve usually appears as a large gate valve or ball valve where the water service line enters your home—typically in a basement, utility room, or near the water heater. Use an adjustable wrench to turn the main valve perpendicular to the pipe direction, then open your kitchen faucet to relieve remaining pressure and drain residual water from the lines.
For older homes with valves that haven’t been operated in years, apply penetrating oil to valve stems and let it sit for 15-30 minutes before attempting closure. Work valves gently back and forth rather than forcing them, as excessive pressure can break brittle components. If valves remain stubborn despite treatment, consider professional assistance—forcing a failed valve could cause immediate flooding that outweighs the cost of plumber services.
Removing the Old Water Valve Without Damage

With water supplies secured and pressure relieved, place your bucket beneath connection points and carefully disconnect supply lines using your adjustable wrench. Support the supply line with your free hand to prevent stress on faucet connections above, working slowly to avoid damaging adjacent components. For stubborn connections, apply additional penetrating oil and wait 10 minutes before attempting again—never use excessive force that could crack fittings.
Disconnect the mounting nuts securing the valve to supply pipes, supporting the valve body as you loosen connections to prevent accidental dropping. For compression fittings, simply loosen the compression nut and slide the valve off the pipe; for threaded connections, turn the valve counterclockwise while supporting the supply pipe to prevent twisting. Clean pipe threads thoroughly with your wire brush, removing old plumber’s tape and corrosion that could interfere with your new valve installation.
Inspect disconnected supply lines for cracks, bulges, or corrosion—replace any showing signs of age or wear to prevent future leaks. Take this opportunity to clean the shutoff valve area thoroughly, removing dust and debris that could contaminate your plumbing system when restoring water flow. Proper preparation at this stage ensures a smooth installation process and prevents callbacks to address preventable issues.
Installing Your New Kitchen Water Valve Correctly
Begin installation by wrapping plumber’s tape clockwise around male pipe threads 2-3 times, pressing firmly to embed the tape into thread grooves. Apply even tension as you wrap, avoiding overlaps that could create uneven seals. For valves requiring pipe joint compound, apply a thin, even layer covering all threads without excess that could squeeze into water passages.
Position your new valve carefully, ensuring proper orientation before tightening connections. Hand-tighten all fittings first to verify alignment, then use your adjustable wrench for final tightening—typically one full turn beyond hand-tight is sufficient. Overtightening is the most common installation mistake, often causing cracked valve bodies or stripped threads that create immediate leaks. For compression fittings, slide the ferrule onto the pipe before inserting the valve body, then tighten the compression nut until resistance increases significantly.
Reconnect supply lines to your new valve, hand-tightening first then applying moderate wrench pressure—approximately 1/4 to 1/2 turn beyond hand-tight. Ensure connections align straight without stress points that could cause leaks over time. Proper installation technique prevents the most common post-replacement issues and ensures your new valve functions reliably for years.
Leak Testing and Final Verification Steps
Restore water supply slowly by turning valves counterclockwise, allowing pressure to build gradually rather than subjecting new connections to sudden surges. Watch all connection points closely for the first five minutes, feeling for moisture with a dry paper towel and checking for drips or seepage. Even minor leaks require attention before they cause water damage.
Operate the new valve through its full range of motion, verifying smooth operation without resistance and complete shutoff when closed. Run your kitchen faucet at various flow rates to confirm normal water pressure and check for leaks beneath the sink during and after operation. Pay special attention to connection points where supply lines meet the valve and faucet.
For minor leaks at threaded connections, tighten affected fittings slightly—typically 1/8 to 1/4 turn resolves seepage. Persistent leaks require disassembly, thread cleaning, and reapplication of plumber’s tape or joint compound. Never overtighten in an attempt to stop leaks, as this frequently damages components and worsens the problem.
Preventative Maintenance for Long Valve Life
Extend your new kitchen water valve’s lifespan by operating it fully every 3-4 months—turn completely on then fully closed—to prevent internal components from seizing due to mineral deposits. This simple habit maintains valve functionality and alerts you to developing issues before they become emergencies. Pair this with regular visual inspections for moisture, staining, or corrosion that might indicate slow leaks.
Consider installing a whole-house water softener if your home has hard water, as mineral deposits significantly shorten valve lifespan and contribute to the seizing issues requiring replacement. Annual plumbing inspections that include testing all shutoff valves help identify developing problems early, giving you time to plan repairs before failures occur.
When replacing kitchen water valve components, choose brass or stainless steel models over plastic alternatives for superior durability and resistance to corrosion. Quality valves properly installed and maintained can last 10-15 years before requiring replacement, protecting your home from unexpected flooding and expensive water damage.
Replacing a kitchen water valve represents one of the most valuable DIY plumbing skills you can master—preventing thousands in potential water damage while giving you confidence to handle future maintenance. With proper preparation, careful installation, and regular maintenance, your new valve will provide reliable service for years, keeping your kitchen functioning smoothly without unexpected leaks or emergencies.


