
That final sizzle of your last dish often comes with an unwelcome side effect: a kitchen that looks like a cooking tornado hit it. Grease-splattered stovetops, crusted pans, sticky counters, and lingering food odors can transform your culinary triumph into a cleaning nightmare. Yet what if you could restore your kitchen to pristine condition in less time than it takes to watch a sitcom? The secret isn’t special products or superhuman effort—it’s a strategic approach to how to clean kitchen spaces efficiently after cooking. This guide reveals the exact system professional chefs and organized home cooks use to maintain spotless kitchens without spending hours scrubbing.
Most home cooks make the critical mistake of waiting until after the meal to start cleaning, allowing grease to harden, food to dry, and messes to compound. But by implementing immediate post-cooking strategies and targeted cleaning sequences, you can cut your cleanup time in half while ensuring food safety and extending the life of your appliances. Discover how to transform chaotic post-cooking scenes into sparkling order with methods that work for busy households and perfectionists alike.
Immediate Post-Cooking Cleanup Strategy That Saves 20+ Minutes
The most effective kitchen cleaning begins while you’re still cooking—not after you’ve finished eating. This counterintuitive approach leverages residual heat and moisture to dissolve grease before it hardens, dramatically reducing scrubbing time later.
Start by placing dirty pots and pans with food residue directly into the sink filled with hot, soapy water as soon as you’ve finished using them. The soaking time does the heavy lifting while you focus on other tasks. For stubborn baked-on foods, add a tablespoon of baking soda to the water—it creates a gentle abrasive solution that loosens residue without requiring hours of soaking. While these soak, wipe down your stovetop while the burners are still warm (but not hot enough to cause burns). Warm grease lifts with a single swipe of a damp microfiber cloth, whereas cooled grease requires aggressive scrubbing.
How to Clean Kitchen Counters Without Spreading Mess
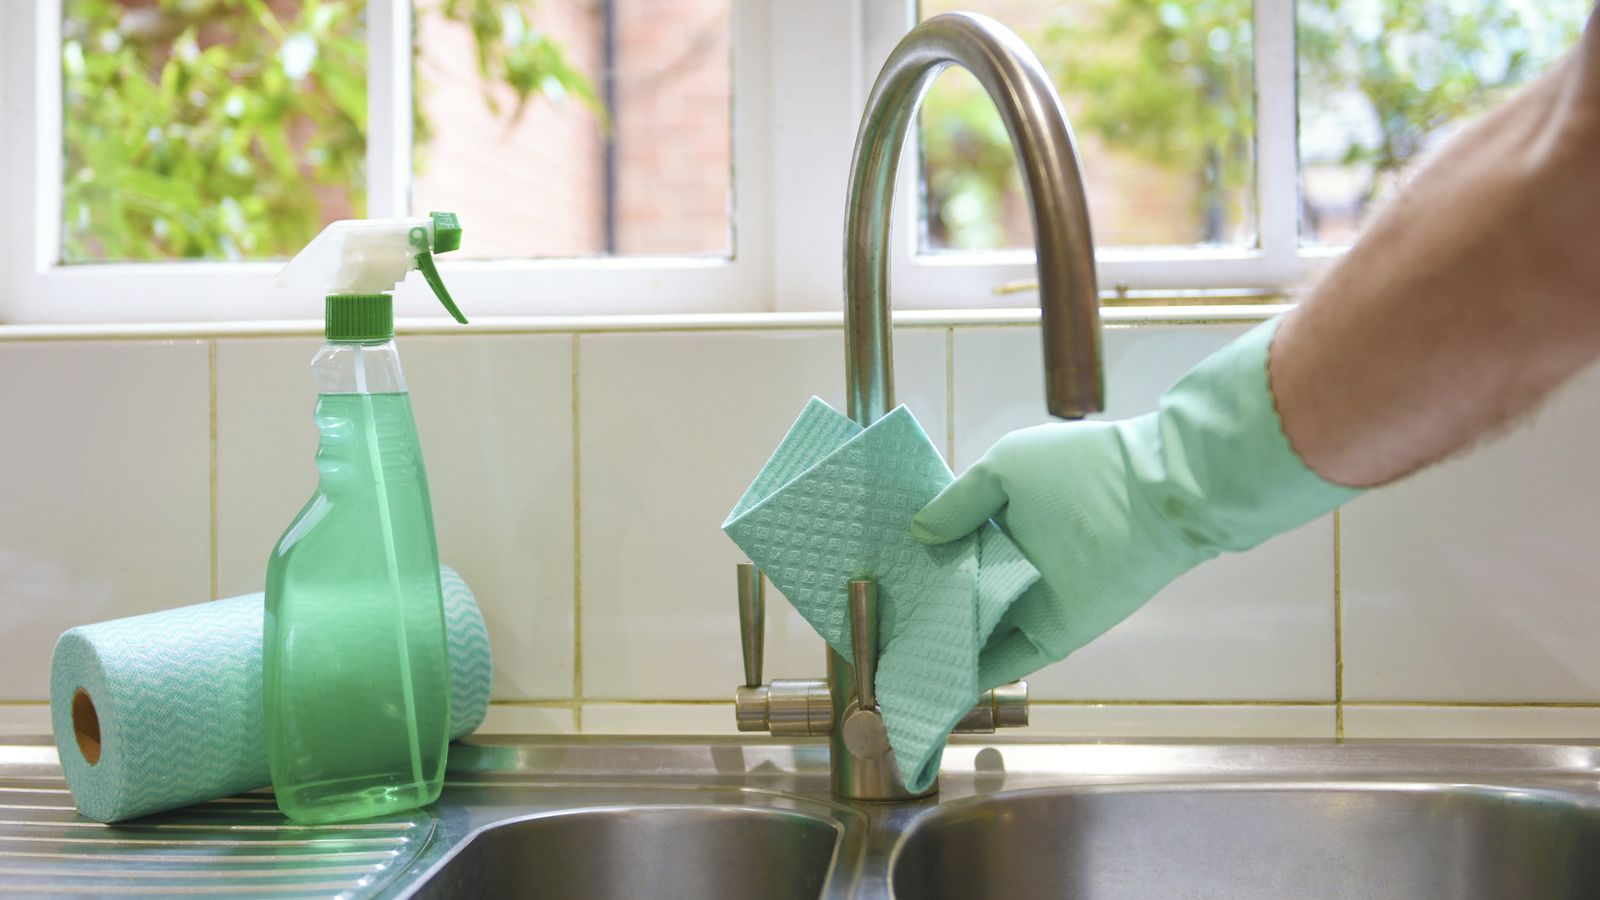
Begin counter cleaning from the back of your workspace toward the front to avoid missing spots near walls and cabinets. Use a two-cloth system: first a damp cloth to remove loose debris, followed by a second cloth with your multi-surface cleaner. Focus on high-traffic zones like the area around the stove where grease splatter accumulates most heavily. For sticky residues around the toaster or coffee maker, apply a small amount of vinegar to cut through the buildup without harsh chemicals.
Why You Should Never Rinse Plates Before Loading Dishwasher
Contrary to popular belief, pre-rinsing dishes before loading your dishwasher wastes time and water while potentially reducing cleaning effectiveness. Modern dishwashers are designed to work with food particles—pre-rinsing can actually cause the machine to misjudge soil levels and use less water than needed. Instead, simply scrape larger food remnants into the trash or compost, then load dishes directly. For baked-on foods, position items facing the spray arms and add a rinse aid to help dislodge stubborn residues during the cycle.
Deep-Clean Your Range Hood Filters in 30 Minutes Flat
Grease accumulation in your range hood represents both a fire hazard and efficiency killer—yet most homeowners only address it when smoke fills the kitchen. Implementing a monthly deep-cleaning routine prevents dangerous buildup while maintaining optimal ventilation performance.
How to Clean Kitchen Range Hood Without Damaging Finish
Remove metal filters carefully (consult your manual for specific removal instructions) and place them in a sink filled with hot water, two tablespoons of dish soap, and half a cup of baking soda. Let soak for 20-30 minutes—the alkaline reaction breaks down solidified grease without requiring aggressive scrubbing. For stainless steel hoods, avoid abrasive cleaners that can damage the finish; instead, use a vinegar-water solution (1:1 ratio) applied with a soft cloth wiped in the direction of the grain. Pay special attention to the interior surfaces where invisible grease accumulates, using an old toothbrush to reach crevices around the fan housing.
When to Replace vs. Clean Your Range Hood Filters
Aluminum mesh filters can typically be cleaned 8-12 times before losing effectiveness, while baffle filters may last 20+ cleanings. Replace filters when you notice persistent grease odors during cooking, visible warping, or when cleaning no longer restores proper airflow. Keeping a spare set on hand ensures you always have a clean filter ready for installation immediately after cleaning the dirty set.
Remove Stubborn Grease from Countertops in 5 Minutes
Different countertop materials require specific cleaning approaches to avoid damage while effectively removing post-cooking grease splatter. Using the wrong technique can cause etching, staining, or premature wear on your expensive surfaces.
How to Clean Kitchen Countertops Based on Material
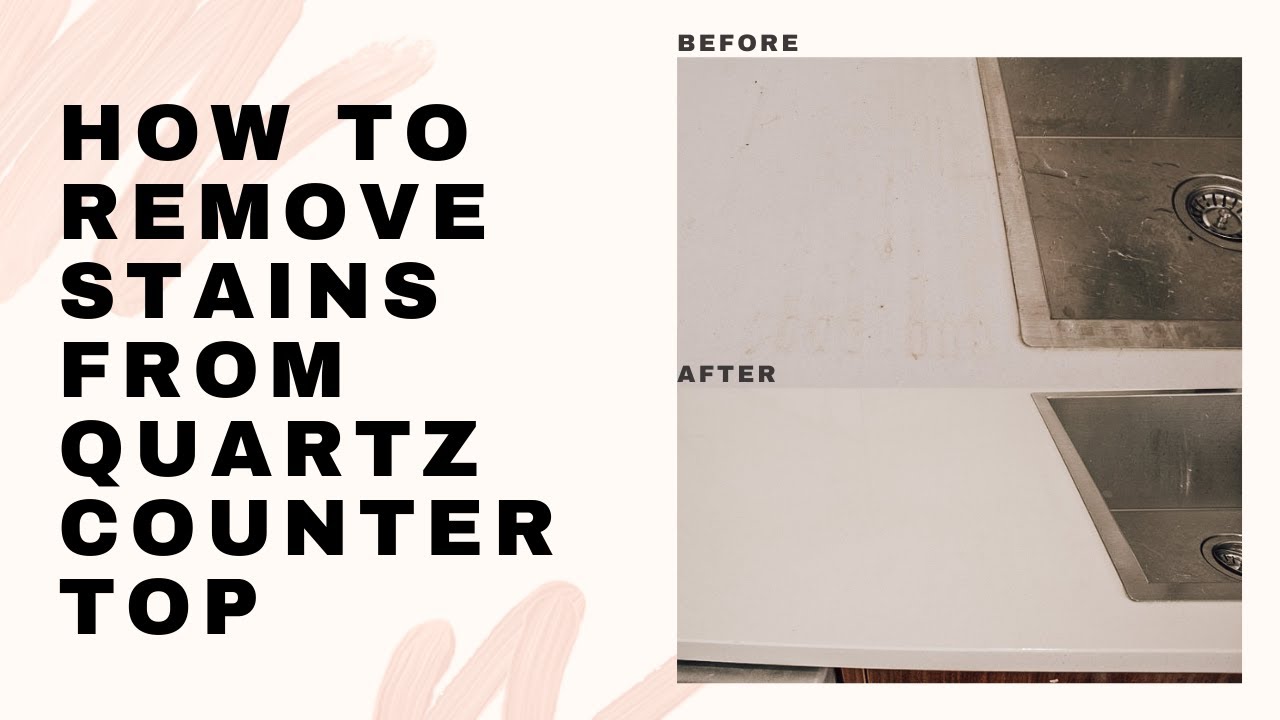
For quartz and solid-surface countertops, create a paste of baking soda and water for stubborn grease spots, applying with a soft cloth in circular motions. Avoid bleach-based cleaners that can discolor the surface over time. Granite requires special care—never use acidic cleaners like vinegar which can etch the sealant. Instead, use a pH-neutral stone cleaner specifically formulated for natural stone surfaces. Laminate countertops tolerate more aggressive cleaning but still benefit from immediate wipe-downs to prevent grease penetration into seams and edges. Always finish by wiping with a clean, damp cloth to remove any residue that could affect future food preparation.
The 30-Second Grease Spot Emergency Fix
When you notice fresh grease splatter during cooking, act immediately before it sets. Spray directly with a 50/50 mixture of water and dish soap, let sit for 30 seconds, then wipe with a microfiber cloth. The dish soap emulsifies the grease instantly, preventing it from drying into a stubborn stain that requires intensive cleaning later.
Sanitize Your Sink and Drain to Eliminate Cooking Odors
Your kitchen sink handles more food waste and potential contaminants than almost any other surface, yet it often receives cursory cleaning that leaves behind odor-causing bacteria in hard-to-reach areas.
How to Clean Kitchen Sink Without Scratching
Begin by removing all dishes and debris, then spray the entire basin with a disinfecting cleaner, paying special attention to the drain area and garbage disposal opening. For stainless steel sinks, wipe in the direction of the grain using a soft sponge—not a abrasive scrubber that creates micro-scratches where bacteria can hide. Rinse thoroughly with hot water after the cleaner sits for the recommended contact time (usually 3-5 minutes).
How to Clean Kitchen Drain Naturally and Effectively
For odor elimination, pour half a cup of baking soda followed by one cup of white vinegar down the drain. The chemical reaction creates a fizzing action that breaks down organic buildup. Let it work for 10 minutes, then flush with boiling water. Follow this with citrus peels ground through the garbage disposal—the natural oils freshen the drain while the fibrous material scrubs the grinding mechanism. Repeat this monthly to prevent stubborn buildup that requires professional intervention.
Mop Kitchen Floors Without Leaving Streaks or Residue
Kitchen floors accumulate invisible grease that creates slippery, sticky surfaces between cleanings—yet improper mopping techniques often just redistribute the grime rather than removing it.
How to Clean Kitchen Floors After Cooking Spills
Before mopping, sweep thoroughly with a microfiber dry mop that traps fine particles regular brooms miss. For tile floors, focus on grout lines with an old toothbrush dipped in a paste of baking soda and water—this removes the discoloration that regular mopping can’t reach. Use a damp (not soaking wet) microfiber mop with a vinegar-water solution (1:4 ratio) that cuts through grease without leaving residue. Work in small sections from the farthest corner toward the exit, rinsing the mop head frequently in clean water. For stubborn spots, apply a small amount of dish soap directly to the area before mopping.
The Critical Mistake Most Home Cooks Make When Mopping
Using the same mop section for the entire floor spreads dirt rather than removing it. Instead, fold your mop head into quarters and use a fresh section for each quadrant of your kitchen. This simple technique prevents redistributing grease and food particles you’ve already cleaned up. For high-traffic areas near the stove and sink, make a second pass with a clean water rinse to ensure no cleaning solution residue remains.
Establish a Sustainable Kitchen Cleaning Routine That Sticks
The key to maintaining a consistently clean kitchen isn’t deep cleaning marathons—it’s integrating micro-cleaning sessions into your natural cooking workflow. Professional chefs stay ahead of messes by cleaning as they go, and you can adapt this philosophy for home kitchens.
How to Clean Kitchen in 5 Minutes After Every Meal
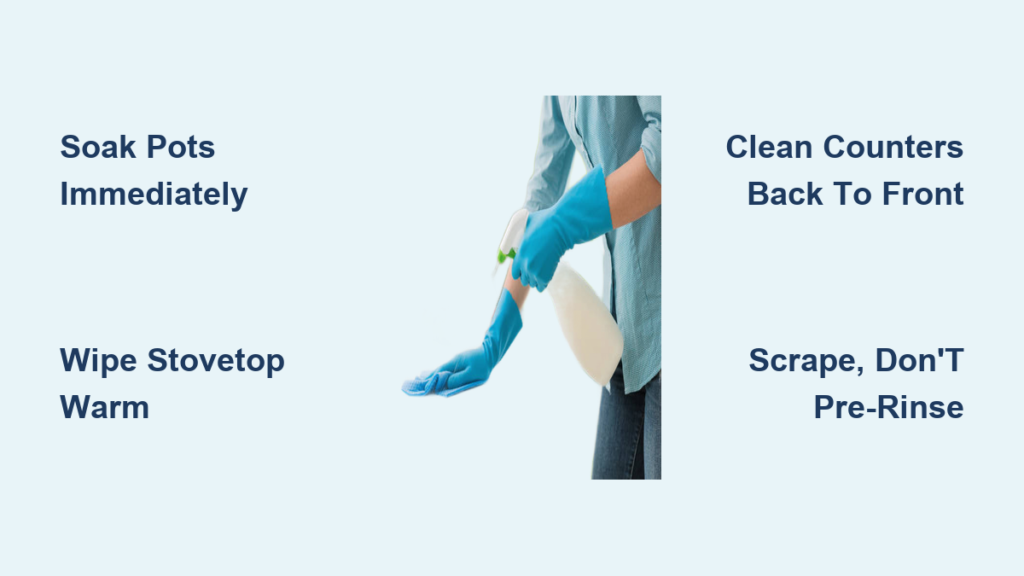
Implement this post-cooking sequence: (1) Soak dirty cookware immediately, (2) Wipe stovetop while still warm, (3) Clean counters from back to front, (4) Scrape and load dishes without pre-rinsing, (5) Sweep floor debris into dustpan. This five-minute routine prevents the accumulation that turns manageable messes into overwhelming projects. Store your cleaning caddy under the sink with pre-measured supplies so you’re never searching for what you need.
Monthly Deep Cleaning Tasks You Can’t Skip
Schedule these critical maintenance tasks on your calendar: clean range hood filters (monthly), deep-clean refrigerator interior (monthly), and degrease oven exterior (monthly). Set phone reminders to ensure these tasks don’t get overlooked. For each session, gather all necessary supplies first to avoid interrupting your workflow. Most homeowners discover these monthly tasks take less than 30 minutes when performed consistently, versus hours of catch-up cleaning when neglected.
By implementing this strategic approach to how to clean kitchen spaces after cooking, you’ll transform what once felt like a chore into a seamless part of your cooking routine. The result? A kitchen that’s always ready for your next culinary adventure—without the hours of scrubbing you used to endure. Your future self will thank you when post-cooking cleanup becomes a brief, satisfying conclusion to every meal rather than an afterthought you dread.


