
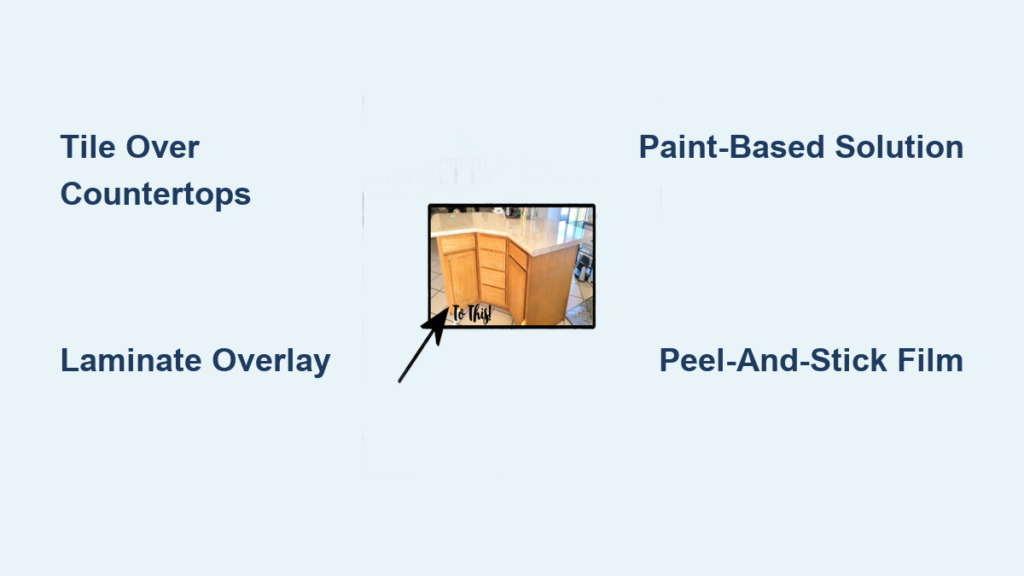
Your kitchen countertops shouldn’t make you cringe every time you enter the room. Whether you’re stuck with outdated laminate, stained surfaces, or rental-imposed limitations, how to cover ugly kitchen countertops effectively is a question thousands of homeowners and renters face daily. The good news? You don’t need a $10,000 renovation to transform your kitchen’s focal point. From renter-friendly peel-and-stick solutions to permanent stone overlays, this guide reveals the most practical approaches that deliver stunning results without the demolition mess.
Most homeowners discover their countertops show wear within 5-7 years, but replacement costs often exceed budget constraints. The solutions we’ll explore range from $20 weekend projects to more substantial investments that add real value to your home. Whether you’re a DIY novice or seasoned renovator, you’ll find actionable methods tailored to your skill level, timeline, and long-term plans for the space.
Tile Over Existing Countertops for Permanent Transformation

Skip the expensive removal process and install new tile directly over your existing countertops for a durable, high-end look that lasts decades.
Choose Heat-Resistant Tile Options That Won’t Crack
Glazed ceramic and porcelain tiles withstand direct contact with hot pans better than natural stone alternatives. Select tiles with a PEI rating of 3 or higher for kitchen durability, and avoid sizes smaller than 4×4 inches to minimize grout lines in high-traffic areas. Critical tip: Measure your sink cutout first—most standard tiles fit within 1-inch tolerance without professional cutting equipment.
Complete Tile Installation in One Weekend
- Deep clean existing surface with TSP cleaner and allow to dry completely
- Apply thin-set mortar with 1/4-inch notched trowel in 2×2 foot sections
- Press tiles firmly into place using spacers for consistent gaps
- Cut edge tiles with wet saw (rent for $35/day) for professional finish
- Grout after 24 hours and seal within 72 hours
Expect to spend 8-12 hours for a standard 25-square-foot kitchen. While DIY-friendly, this method requires steady hands for clean cuts around sinks—consider hiring a professional for complex layouts if you lack tile experience.
Laminate Overlay for Square-Edged Countertops Only
This factory-finish alternative works exclusively on countertops with straight, square edges—not curved or rounded profiles—delivering seamless results that mimic new installation.
Identify if Your Countertops Qualify for Laminate Overlay
Examine your countertop edge profile: if you can place a straight edge against the side and it touches completely without gaps, you have square edges suitable for overlay. Laminate sheets come in 5-foot widths that cover most standard countertops in one piece, eliminating seams. Popular patterns include Silestone replicas and wood-look finishes that fool even close inspection.
Master the Contact Cement Bonding Technique
The secret to bubble-free laminate application involves:
– Sanding existing surface with 120-grit paper to create “tooth”
– Applying contact cement to both surfaces with roller
– Waiting precisely 20 minutes until tacky (not wet)
– Aligning laminate using dowel rods for perfect placement
– Rolling firmly with J-roller from center outward
DIYers report best results when working on cool days (below 75°F) with low humidity. Allow 48 hours curing time before using the countertops to ensure maximum adhesion.
Paint-Based Solutions for Budget-Friendly Makeovers
Specialized countertop paint systems transform tired surfaces for under $100 in materials, with results that withstand daily kitchen use when properly applied.
Apply Giani Granite Kit for Realistic Stone Effect
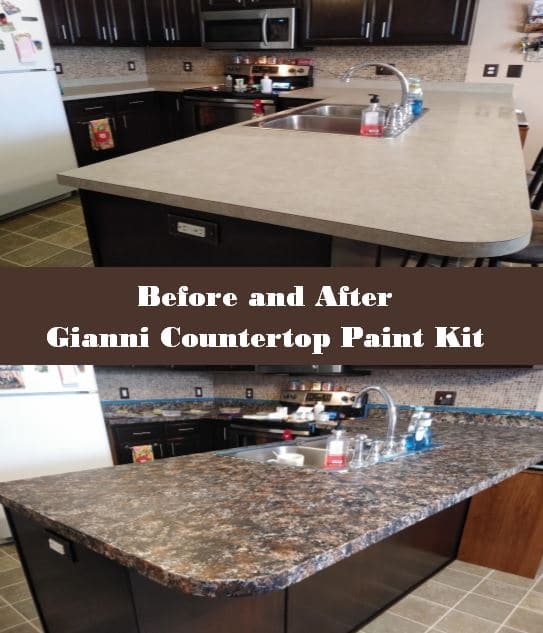
This $80 kit includes three-step paint process specifically formulated for countertops. Critical mistake to avoid: Skipping the included degreaser step—countertop oils prevent proper adhesion. Follow this sequence:
- Clean with included degreaser and sand lightly
- Apply base coat with foam roller (2 hours drying time)
- Create stone pattern with included technique card
- Seal with protective topcoat
The entire process takes 3 days from start to use, with 6-8 hours of active work. Homeowners report results lasting 3+ years with proper care—simply wipe spills immediately and avoid abrasive cleaners.
Renters’ Secret: Peel-and-Stick Films That Won’t Damage Surfaces
Temporary wallpaper and vinyl films provide completely reversible transformations that landlords approve, making them ideal for rental kitchens.
Install Contact Paper Without Bubbles or Lifting
Professional-looking results require meticulous preparation:
– Clean with rubbing alcohol to remove invisible oils
– Measure twice, cut once with utility knife
– Apply in 12-inch sections using credit card squeegee
– Seal edges with clear acrylic sealer
One renter transformed their 30-square-foot kitchen for $75 using marble-pattern contact paper that lasted 18 months despite daily use. Pro tip: Apply to backsplash simultaneously for cohesive look—this dramatically enhances the visual impact.
Butcher Block Top-Over for Instant Warmth
Place pre-fabricated butcher block directly over existing countertops for food-safe, repairable surfaces that add serious kitchen value.
Select the Right Thickness for Your Space
Choose 1.5-inch thick boards for durability without overwhelming your kitchen’s scale. Maple offers hardest surface (ideal for heavy chopping), while walnut provides dramatic visual contrast. Time-saving shortcut: Buy pre-cut boards from Home Depot’s remnant bin—often 30% cheaper than custom cuts.
Installation takes 2-4 hours:
1. Clean existing surface thoroughly
2. Apply food-safe adhesive (like Titebond III)
3. Position board carefully (use shims for leveling)
4. Clamp overnight before use
This method works best for galley kitchens where you can cover primary work zones without full coverage.
Concrete Skim Coat for Industrial Chic
Create poured-concrete appearance with thin-layer application that adds minimal weight to existing structures.
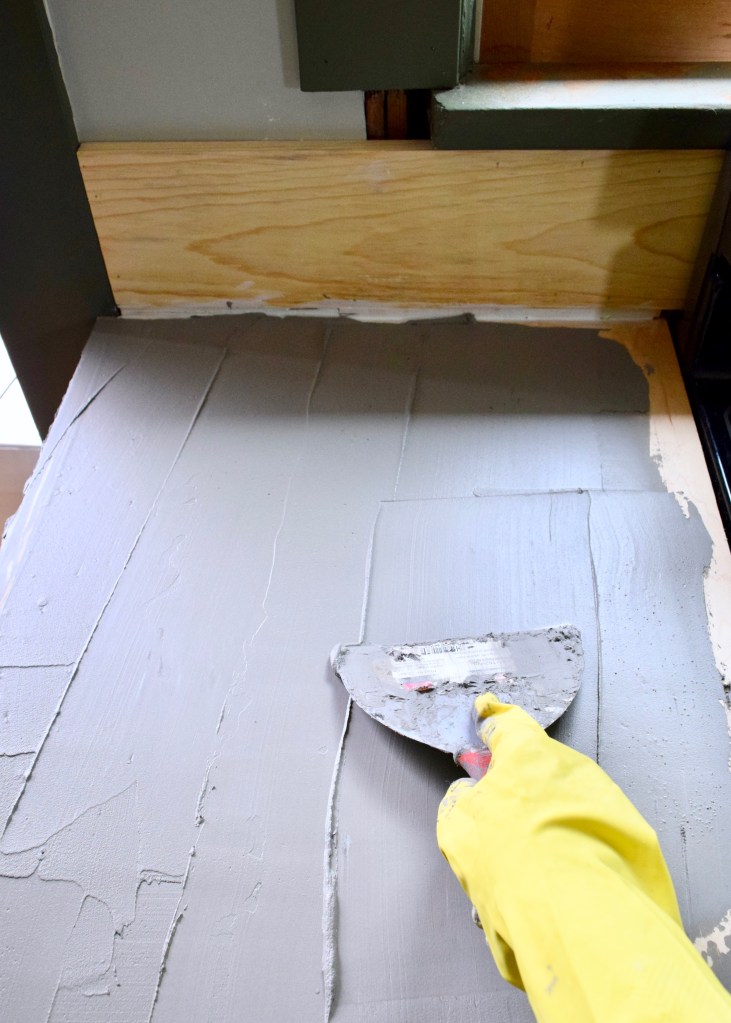
Achieve Smooth Finish Without Professional Tools
Mix Quikrete Countertop Mix to pancake batter consistency for optimal flow. Apply in thin layers (1/8-inch max) using drywall knife, working from back to front to avoid footprints. Critical step: Sand between coats with 220-grit paper for seamless transitions—skip this and you’ll see visible layer lines.
Allow 72 hours curing before sealing with food-safe concrete sealer. The entire project takes 4 days but creates an Instagram-worthy industrial aesthetic that pairs beautifully with stainless appliances.
Modular Granite Panels for Authentic Stone Look
Thin granite panels (16×18 inches) install directly over existing counters with minimal tools, delivering real stone appearance at half the cost of full replacement.
Avoid Visible Seams with Strategic Layout
Dry-fit panels first to position seams in least noticeable areas. Cut panels using angle grinder with diamond blade (rent for $40)—this creates cleaner edges than tile saws for stone. Pro tip: Apply silicone caulk along seams before final placement to prevent moisture penetration.
Installation takes one weekend for average kitchen. The 3/8-inch thickness adds negligible weight while providing authentic stone texture and cool-to-the-touch quality you can’t replicate with paint.
Large Cutting Boards as Strategic Cover-Ups
Interior designers recommend this renter-friendly trick: place oversized (24×18 inch) maple boards over primary work zones to hide ugly surfaces while adding function.
Choose Boards That Double as Design Elements
Select boards with live edges or unusual grain patterns that become kitchen focal points. Critical consideration: Ensure board thickness matches existing countertop height—add felt pads underneath if slightly taller. For best results, position boards where they cover damaged areas but leave some original surface visible for visual interest.
This $50 solution takes 5 minutes to implement but transforms your kitchen’s perceived quality immediately. Bonus: boards double as serving trays when guests arrive.
Essential Prep Steps for Any Countertop Cover-Up
Skipping proper preparation causes 90% of covering failures—follow these non-negotiable steps regardless of method:
- Deep clean with degreaser (TSP works best)
- Sand thoroughly with 120-220 grit paper
- Repair damage with appropriate filler
- Wipe clean with tack cloth—no dust allowed
Allow 24 hours drying time after prep before applying any covering. This single step determines whether your transformation lasts years or peels off in weeks.
Match Your Cover-Up Method to Your Timeline and Goals
Your perfect solution depends on three critical factors: how long you’ll stay in the space, your budget, and skill level. Homeowners planning 5+ years should invest in tile or modular granite. Renters under 2-year leases do best with contact paper or strategic cutting boards. Weekend warriors with moderate skills can tackle paint kits successfully, while complex installations warrant professional help.
The most successful transformations combine method with preparation—spend 30% of your time prepping and 70% applying for flawless results. Whether you need a permanent upgrade or temporary fix, these proven techniques deliver beautiful countertops without the stress of full replacement. Start with one visible section to test your chosen method—you’ll be surprised how quickly an ugly countertop dilemma becomes your kitchen’s best feature.


