
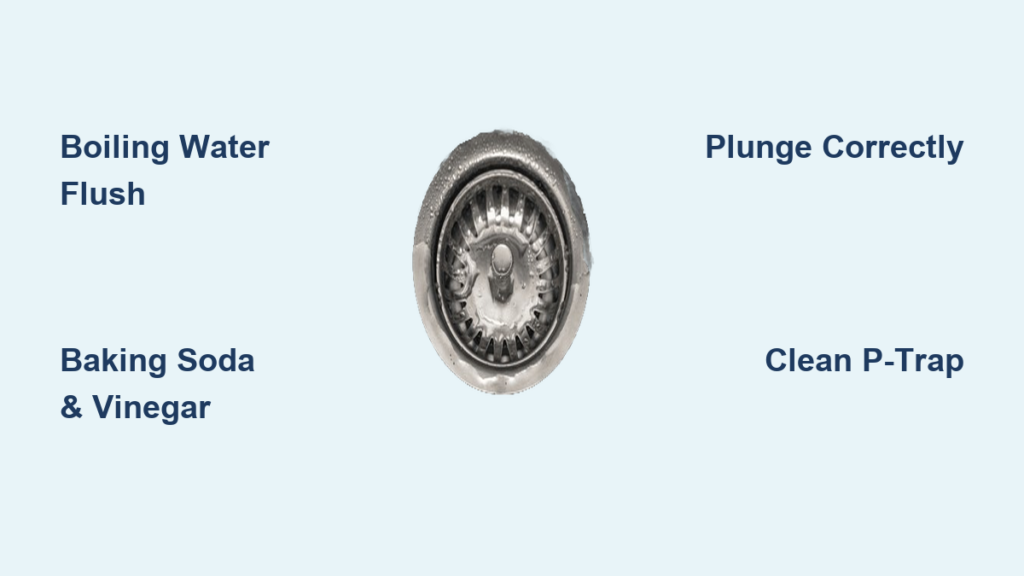
You’re standing at your kitchen sink watching water pool around dirty dishes, waiting far too long for what should be a simple rinse. That frustrating slow drain isn’t just annoying—it’s your plumbing screaming for attention before a minor issue becomes a full-blown clog. The good news is that most slow-draining kitchen sinks can be fixed without calling a plumber if you use the right techniques in the correct order. This guide delivers exactly how to fix a slow draining kitchen sink using methods that work at every stage of clog development—from minor buildup to stubborn obstructions—saving you time, money, and unnecessary stress.
Kitchen sink drains handle more abuse than any other fixture in your home. Grease, food particles, soap scum, and random debris accumulate daily along pipe walls, gradually narrowing the pathway until water struggles to pass through. By working through these solutions methodically, you’ll restore proper drainage without damaging your pipes or wasting money on ineffective products. Let’s dive into the specific techniques that will get your sink flowing freely again.
Why Your Kitchen Sink Drains Slowly (Despite Regular Cleaning)
Kitchen sink drainage problems develop through multiple interconnected factors that accumulate over months of regular use. Grease and oil represent the primary culprit in most households. When you wash greasy pans or pour cooking oil down the drain, these substances coat pipe interiors. As the grease cools, it solidifies into a sticky surface that traps food particles and soap residue passing through the system. Each layer of buildup progressively narrows the pipe diameter, restricting water flow until you notice the sink draining slower than normal.
Grease Buildup: The Invisible Culprit in 80% of Kitchen Drain Clogs
Grease creates the most insidious slow-drain problem because it’s invisible until the damage is done. Unlike food scraps that might occasionally back up, grease flows freely when hot but coats pipes as it cools. This greasy film becomes a magnet for other materials, accelerating clog formation. Even small amounts of grease added daily create significant buildup over weeks and months. The worst offenders include bacon grease, cooking oil, butter, and fat from meats—substances that seem harmless when poured down the drain but cause major problems as they accumulate.
Critical warning: Never pour grease down your sink at any temperature. The myth that hot water carries grease all the way through your pipes is dangerously false—grease solidifies as it cools in the drain system, not just in your sink.
How Food Particles and Soap Scum Combine to Create Stubborn Blockages
Food particles escape even careful dishwashing, especially small bits that rinse off plates. Starchy foods like rice and pasta are particularly problematic because they expand when wet and turn gummy, adhering to pipe walls. Stringy vegetables such as celery and onion skins tangle around drain components, creating net-like obstructions that catch additional debris. Coffee grounds pack tightly like sediment and resist flushing, while soap scum combines with hard water minerals to create stubborn film that coats pipes.
This combination creates what plumbers call “sludge buildup”—a semi-solid mass that gradually hardens over time. Unlike a complete blockage that stops drainage entirely, sludge buildup causes the slow-draining problem that worsens progressively until addressed.
Start with the Boiling Water Flush Method (Works for 60% of Minor Clogs)
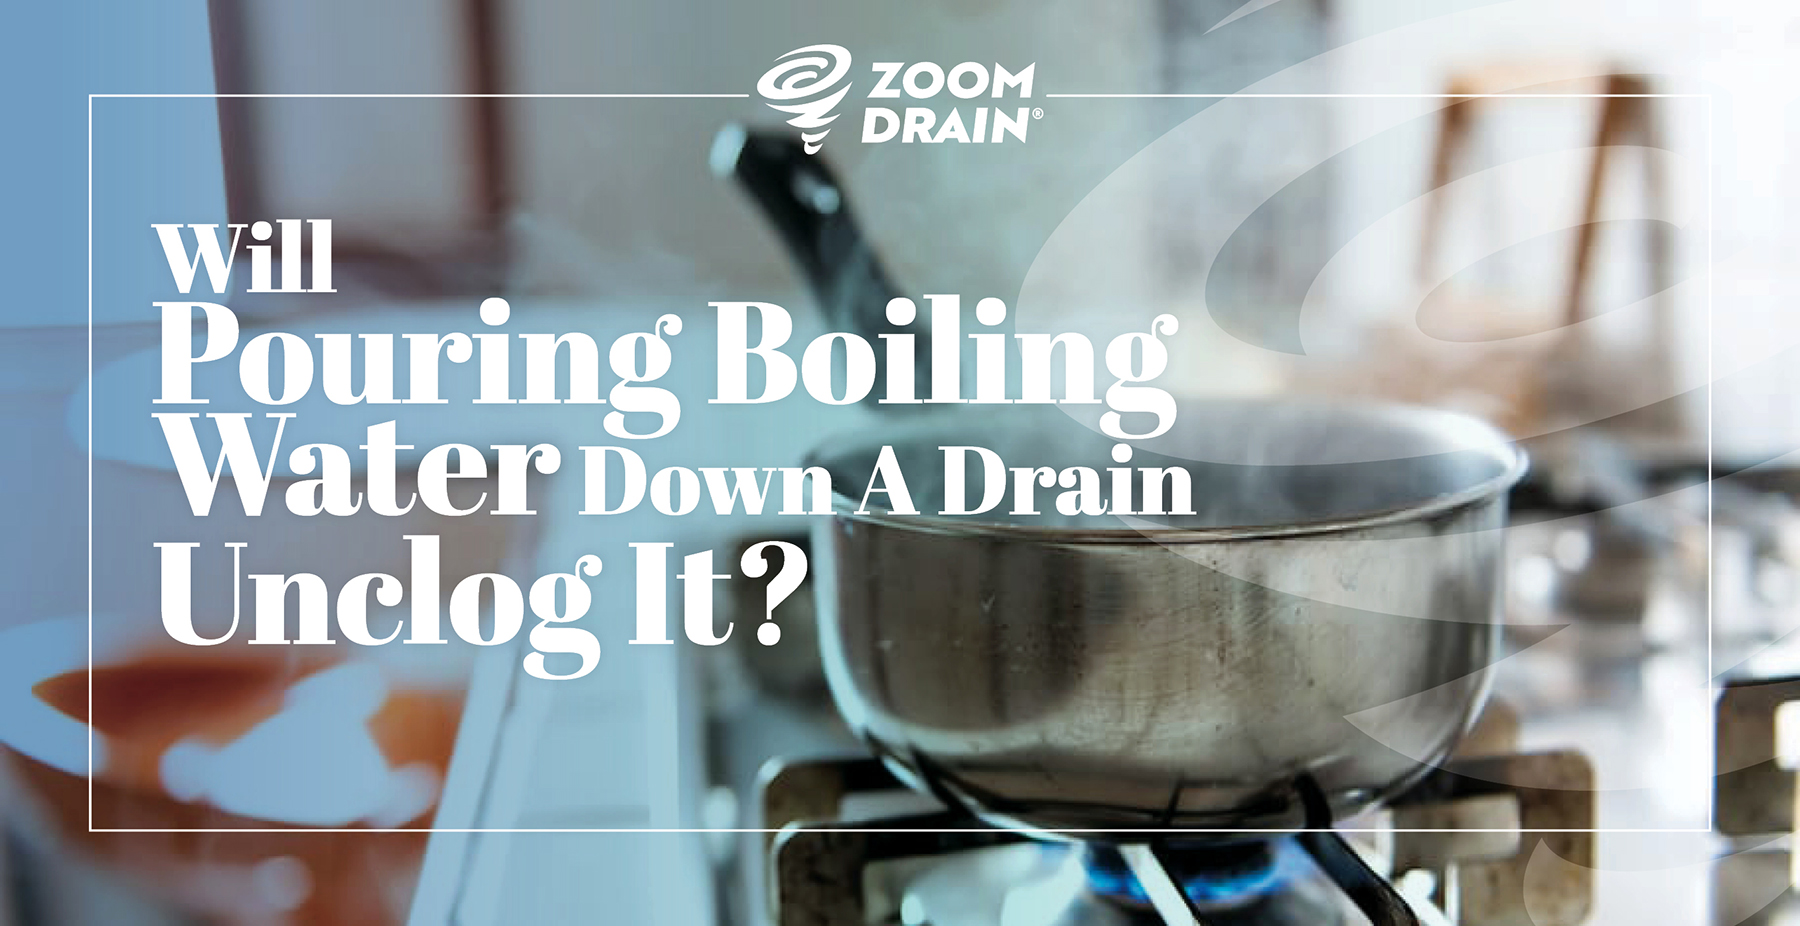
The simplest solution deserves your first attempt before moving to more involved methods. A boiling water flush works best for minor clogs caused by recent grease accumulation or light debris that has only begun restricting flow. This method requires no special tools—just a kettle and water from your stove.
The Correct Way to Pour Boiling Water Without Damaging PVC Pipes
Begin by boiling a full kettle of water on your stove. While heating, remove standing water from the sink using a cup so you’re pouring directly into the drain opening. Pour the boiling water slowly in stages rather than dumping it all at once—this gradual approach allows the heat to penetrate grease deposits more effectively. The hot water melts grease and loosens debris clinging to pipe walls, letting water pressure flush the material through the system.
Critical tip: If your home has PVC pipes (common in homes built after 1980), avoid boiling water—use very hot tap water instead. Extreme temperatures can weaken PVC joints over time. You may need to repeat this process two or three times for stubborn buildup, waiting several minutes between applications to let the heat penetrate the clog.
When to Use Hot Tap Water Instead of Boiling Water
For PVC pipe systems, fill your sink basin with the hottest water your tap produces (typically 120-140°F). Let it sit for 2-3 minutes to soften grease, then pull the stopper to create a strong flushing action. The thermal shock from hot water hitting cooler pipes helps dislodge buildup. Repeat this process three times for best results. This method works particularly well as a monthly preventive measure to keep pipes clear before significant buildup develops.
Baking Soda and Vinegar Drain Cleaner That Outperforms Chemical Solutions
When boiling water alone doesn’t restore proper drainage, a baking soda and vinegar treatment offers a natural chemical reaction that breaks down organic matter causing the clog. This method works especially well for soap scum, food residue, and light grease accumulations.
The Exact Ratio for Maximum Clog-Busting Power
Pour one-half cup of baking soda directly down the drain, followed immediately by one cup of white vinegar. The combination creates an immediate fizzing reaction as the acidic vinegar reacts with the basic baking soda. This bubbling action helps dislodge material clinging to pipe walls. For stubborn clogs, try pouring the baking soda first, letting it sit for ten minutes, then adding the vinegar—this allows the baking soda to penetrate deeper into the clog before the reaction begins.
Pro tip: Some homeowners add a tablespoon of salt to the baking soda before adding vinegar. The salt provides mild abrasive action while the vinegar dissolves gunk, creating a more powerful cleaning combination.
Why Covering the Drain Boosts Effectiveness by 75%
After adding the vinegar, quickly cover the drain with a plug, rag, or drain cover. This containment keeps the fizzing reaction working within the pipe system where it can break down the blockage. Allow the mixture to sit for fifteen to thirty minutes without using the sink—this extended contact time lets the chemical reaction thoroughly break down organic buildup. After the waiting period, flush the drain with hot water to clear the loosened debris completely through the system.
Plunge Your Kitchen Sink Correctly (Most People Do This Wrong)
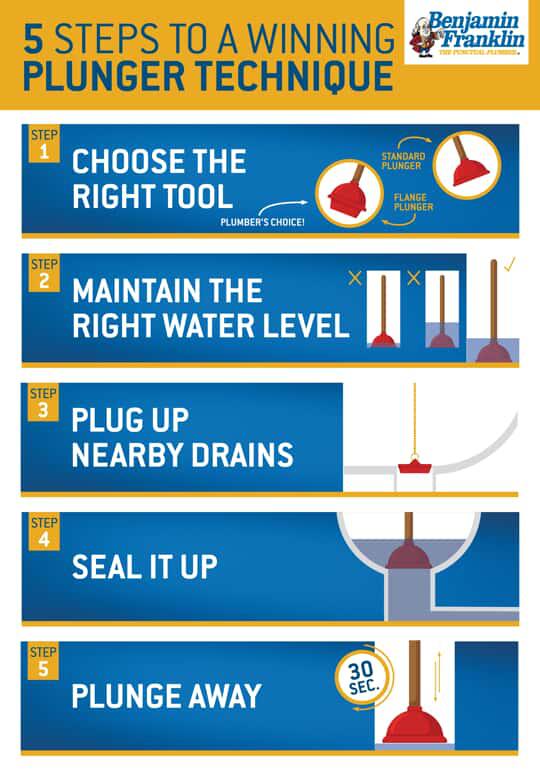
If previous methods haven’t fully resolved the slow drainage, plunging creates pressure changes that can dislodge clogs further down the drainage system. Many people plunge incorrectly, reducing effectiveness—learning the proper technique makes this tool significantly more useful.
How to Create a Proper Seal That Actually Moves the Clog
Remove the drain stopper and any other components before beginning. Fill the basin with two to three inches of hot water—this water is essential for creating the proper seal and transmitting pressure effectively. Position the plunger over the drain opening, then roll it rather than pressing straight down. This rolling motion locks air underneath the cup and creates the tight seal necessary for effective plunging.
Critical mistake to avoid: Pressing straight down initially forces air out and breaks the seal before you can generate useful pressure. Test your seal by pushing down on the handle—if no resistance is felt, air is escaping and the seal must be adjusted.
The Rolling Motion Technique That Makes Plunging 3x More Effective
Once you have a proper seal, grab the plunger handle with both hands and plunge vigorously for ten to twenty seconds. Use firm, consistent pressure rather than aggressive force, as excessive pressure can compact the clog further. After plunging, pop the plunger off the drain abruptly—this sudden release creates suction that helps pull the clog loose. Test drainage by running water; if the sink still drains slowly, repeat the process until the obstruction clears.
Remove and Clean Your P-Trap in 5 Minutes (Step-by-Step Guide)
Many slow-draining sinks have obstructions located in easily accessible components. The P-trap (the U-shaped pipe beneath your sink) collects debris and is a common location for clogs to develop.
What to Look For: Identifying Problematic Buildup in Your Drain Trap
Place a bucket beneath the P-trap to catch water and debris. Loosen the slip nuts connecting the trap to the drainage system by hand (a wrench helps with stubborn connections). Carefully remove the P-trap assembly and inspect its interior. In kitchen sinks, you’ll typically find food particles, grease buildup, and other accumulated material. Manual removal of visible debris using gloved fingers or a brush provides immediate improvement.
Warning: Wear rubber gloves during this process—P-trap contents are unpleasant and potentially hazardous. Have paper towels ready for immediate cleanup.
Reassembly Tips to Prevent Leaks After Cleaning
After cleaning the P-trap with hot water and dish soap, reinstall it by reconnecting the slip nuts. Hand-tighten connections—over-tightening can crack PVC fittings. Test for leaks by running water and checking connections. Plumbing professionals recommend inspecting and cleaning the P-trap every one to three months as part of regular maintenance to prevent slow drainage before it starts.
When to Skip DIY Methods and Call a Professional Plumber
Professional intervention becomes necessary when DIY methods fail or when circumstances suggest complex underlying issues.
4 Warning Signs Your Clog Needs Professional Attention
Multiple failed attempts at clearing the drain indicate the clog’s location or nature exceeds consumer equipment capability. Recurring clogs in the same sink despite proper clearing suggest an underlying problem requiring professional diagnosis. When multiple drains throughout your house exhibit simultaneous drainage issues, the problem likely lies in your main sewer line. Complete blockages where water refuses to drain at all despite multiple clearing attempts suggest substantial accumulated debris requiring professional equipment.
Critical indicator: Gurgling sounds during drainage indicate air displacement caused by partial blockages affecting system pressure—this often precedes complete blockages and requires prompt attention.
Cost Comparison: DIY vs. Professional Service for Different Clog Types
For minor clogs (slow drainage but still flowing), DIY methods cost virtually nothing and succeed 90% of the time. For moderate clogs (partial blockage requiring multiple methods), DIY costs $5-15 in supplies with a 70% success rate. For severe clogs (water barely moving), professional service costs $150-300 but succeeds 99% of the time. Attempting to force severe clogs with DIY methods often leads to water damage or pipe damage that increases total costs.
Prevent Future Slow Drains With These Daily Habits
Once you’ve restored proper drainage, implementing preventive measures keeps your sink flowing freely.
The 30-Second Post-Dishwashing Routine That Keeps Pipes Clear
After washing dishes, run hot water for 30 seconds to help move residual grease through the system before it deposits. Once weekly, flush drains with hot water mixed with liquid dish soap to break down grease and soap scum. Monthly, treat drains with baking soda and vinegar followed by hot water flush. Quarterly, remove and inspect the P-trap, cleaning accumulated debris before it compacts into problematic clogs.
What NOT to Put Down Your Kitchen Sink (Common Mistakes)
Never pour grease, oil, or fat down the drain at any temperature. Scrape all food scraps into trash before rinsing dishes—especially starchy foods like rice and pasta that expand when wet. Avoid disposing of coffee grounds, stringy vegetables, or eggshells down the drain. Install mesh drain covers to catch food particles before they enter the drainage system.
By following these preventive practices consistently, you’ll avoid the frustration of recurring slow-draining kitchen sinks and maintain free-flowing drainage for years to come. The key is addressing slow drainage immediately rather than waiting for a complete blockage—you’ve now got the exact methods professionals use to keep kitchen sinks flowing freely.


