
Your kitchen sink drain has sprung a leak and you’ve decided to tackle the repair yourself, only to discover the lock nut is completely frozen in place. That stubborn metal or plastic ring beneath your sink has likely seized due to years of mineral buildup from hard water, corrosion, or hardened plumber’s putty bonding it to the strainer assembly. When you try turning it with your wrench, either nothing happens or the entire drain assembly spins uselessly. This common plumbing headache can turn a simple 30-minute repair into hours of frustration, but the right approach can free even the most stubborn lock nut without damaging your sink.
Before reaching for the most aggressive tool in your arsenal, understand that success depends on matching your technique to the severity of the binding. Working in the tight, awkward space under your sink requires patience and methodical progression through removal strategies. Start with the least invasive methods and only escalate to cutting techniques when absolutely necessary. This guide walks you through proven approaches that have helped countless DIYers complete this frustrating task, saving the cost of a plumber while preserving your sink’s integrity.
Why Your Kitchen Sink Drain Lock Nut Won’t Budge
Hard water mineral deposits create crystalline bonds that effectively weld your lock nut to the strainer assembly over time. These white or off-white crusty formations penetrate between the threads, creating resistance that standard wrenching can’t overcome. In areas with hard water, this process happens gradually, often going unnoticed until you attempt maintenance years after installation.
Corrosion from constant moisture exposure causes metal components to oxidize, locking threads in place through rust buildup. This problem worsens in homes with high humidity or aggressive water chemistry, particularly in older installations where galvanized pipes were common. One homeowner discovered their lock nut had become a solid mass of rust fused to the strainer body after 20 years of service.
Plumber’s putty migration creates a different challenge—when excess sealant works its way into the threads during installation, it hardens over time into an adhesive bond stronger than the threads themselves. Unlike corrosion, this binding mechanism requires different tactics since penetrating oils won’t dissolve the hardened putty. Recognizing which culprit you’re facing helps you select the most effective removal strategy from the start.
Gather These Essential Tools Before Starting
Organize your workspace under the sink with bright lighting before attempting removal. Lay out all necessary tools within easy reach to avoid frustrating interruptions during the process. You’ll need basic hand tools including pump pliers for gripping pipes, an adjustable wrench sized to fit the lock nut, and a pipe wrench for additional leverage on particularly stubborn nuts.
Don’t forget a flathead screwdriver for prying and separation tasks, along with a bucket and towels to catch residual water. For chemical assistance, have penetrating oil like WD-40 or Liquid Wrench ready—specialized formulas often outperform generic options on severe corrosion. If you prefer natural solutions, keep white vinegar on hand for mineral deposit removal.
Safety equipment is non-negotiable when working in tight spaces. Safety glasses protect against flying debris, especially during cutting operations, while cut-resistant gloves shield your hands from sharp edges. If cutting becomes necessary, add hearing protection and consider a face shield for maximum safety during rotary tool operation.
Break the Bond With Penetrating Oil Treatment

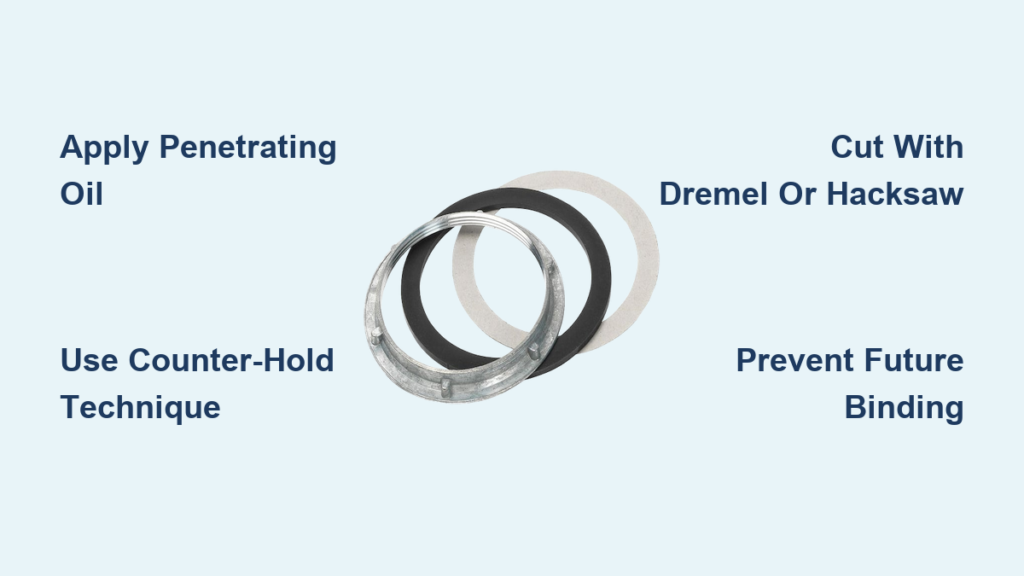
Apply penetrating oil generously directly to the lock nut threads, using the precision applicator to target the problem areas without making a mess in your confined workspace. Focus on saturating all visible corrosion points and the seam where the nut meets the strainer body, as this is where the binding occurs.
Allow the oil to work for at least 8-12 hours—overnight treatment yields dramatically better results than impatiently rushing the process. One DIYer reported complete success after allowing WD-40 to sit for 24 hours, stating the nut removed with “no effort” the following day. During this dwell time, the oil penetrates microscopic cracks in the corrosion, breaking down the mineral bonds that have formed.
After waiting, attempt removal using a pipe wrench with steady, firm counterclockwise pressure. If resistance remains, reapply oil and wait longer rather than forcing it. For mineral deposits specifically, substitute white vinegar which dissolves calcium buildup naturally. Apply the vinegar, then use a small hammer to gently tap around the nut, helping the liquid work deeper into the corroded threads.
Apply Proper Counter-Hold Technique to Stop Assembly Spin
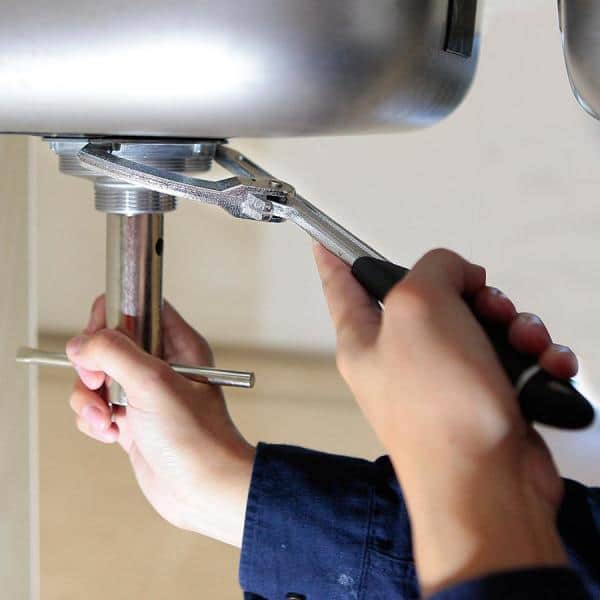
The most common frustration when removing a stuck lock nut is the entire drain assembly spinning uselessly instead of the nut loosening. To solve this, grip the tailpiece (the vertical pipe extending down from the strainer) firmly with pump pliers, creating a solid counter-hold that prevents rotation of the entire assembly.
Position your wrench on the lock nut for maximum grip surface, ensuring the jaws fully engage the nut’s flats rather than rounding the edges. Apply steady, continuous counterclockwise pressure while maintaining absolute grip on the tailpiece—any movement there wastes your torque. If working alone, loop a cloth strap around the tailpiece and secure it to a stationary object, freeing both hands for the wrench.
This technique requires coordination but prevents the common mistake of applying excessive force that cracks the strainer body. One plumber shared that 80% of failed removal attempts result from inadequate counter-hold technique rather than insufficient force. When properly executed, this method often succeeds where brute force has failed repeatedly.
Cut Through the Nut When All Else Fails
When chemical and mechanical methods prove unsuccessful, cutting through the nut provides a reliable last-resort solution. Begin by removing connected pipes to gain clear access, then place a bucket beneath to catch debris. Insert a hacksaw blade through the strainer’s cross slots from below, carefully cutting toward the lock nut while angling away from the sink surface.
For greater precision, use a Dremel rotary tool with a cut-off disk attachment. Carefully cut through the nut from beneath, working slowly to maintain control—most plastic nuts take 10-20 seconds while metal varieties require slightly longer. After completing the cut, insert a flathead screwdriver into the gap and twist to separate the nut pieces, which then fall away or remove easily.
Critical safety note: Always wear safety glasses when cutting, as one user reported a cut-off disk fragment striking their lip during operation. The confined space increases risk, so secure the tool properly and let it do the work without excessive pressure.
Select the Best Cutting Tool for Your Situation

The Dremel rotary method offers the best balance of precision and accessibility for most homeowners. Its compact size fits easily in sink cabinets, and variable speed control allows careful material removal. Users consistently report success with both plastic and metal nuts, with cutting times typically under 30 seconds when using a fresh cut-off disk.
For those without power tools, the hacksaw blade technique provides a viable alternative despite requiring more patience. The limited blade exposure makes control challenging, but the manual nature eliminates electrical risks and provides valuable tactile feedback to prevent sink damage.
If you own pneumatic equipment, an air die grinder with a thin cut-off wheel delivers professional results. This method requires a pancake compressor but cuts through stubborn metal nuts quickly and cleanly. Angle your cut to maximize material removal, then drive a flat screwdriver into the gap to expose enough nut edge for gripping with needle-nose vise grips.
Adjust Technique for Plastic vs Metal Lock Nuts
Plastic lock nuts, common in newer installations, cut easily but crack under excessive torque. If you hear cracking during removal attempts, stop immediately—you’re dealing with plastic that requires cutting rather than wrenching. These brittle components often shatter when subjected to force that metal nuts would withstand.
Metal lock nuts, typically found in older quality fixtures, can often be loosened with penetrating oil and proper technique. They tolerate more force but require longer cutting times when that becomes necessary. Be aware that some metal nuts may be softer than expected, having been damaged during original installation through over-tightening.
When uncertain about material type, begin with the gentlest methods and observe the nut’s response. Plastic shows visible cracking under pressure while metal simply resists turning. This diagnostic approach prevents unnecessary damage to either material type.
Prevent Future Binding During Reinstallation
Apply pipe dope to threaded connections before assembly to create a moisture barrier that prevents corrosion. However, avoid getting sealant on the strainer flange mating surface, which requires plumber’s putty for proper sealing. This distinction is crucial—many future binding issues stem from improper sealant application during previous installations.
Hand-thread the lock nut first to ensure proper engagement before using tools. Continue turning until resistance indicates full seating on the threads, then tighten only until putty begins squeezing out around the flange. This indicates proper compression without over-tightening that could crack components.
Never reuse damaged parts—the old lock nut you’ve removed has likely failed for reasons that would recur with reuse. Install new components throughout, including the rubber gasket and tailpiece, to ensure a leak-free result that will serve for years without binding.
Complete Your Sink Drain Repair Successfully
After removing the stuck lock nut, thoroughly clean the drain hole of any debris, corrosion, or old putty to ensure a proper seal with your new installation. Inspect the sink surface for damage that might compromise the new seal, addressing minor imperfections before proceeding.
Install the new strainer assembly in the correct order: strainer flange → plumber’s putty → rubber gasket → new lock nut → tailpiece. Hand-tighten first, then use tools to snug the connection just until putty begins squeezing out. Wipe away excess putty with a clean cloth and allow proper curing time before regular use.
Test for leaks by running water through the system while observing connections beneath the sink. A properly installed drain should show no signs of weeping or dripping. With these techniques and proper installation practices, you’ll avoid the frustration of a stuck kitchen sink drain lock nut during your next maintenance task.


