
Standing water in your kitchen sink is more than just an inconvenience—it’s a growing health hazard that needs immediate attention. When your kitchen drain clogs, dirty water filled with food debris and bacteria starts to pool, creating unpleasant odors and potential mold growth. Most kitchen drain blockages occur from the gradual buildup of grease, food particles, and soap scum that solidify over time. The good news is that 90% of kitchen sink clogs can be resolved with simple DIY methods before you need to call a plumber. This guide provides step-by-step instructions for unblocking your kitchen drain using household items and basic tools, saving you money while restoring your sink’s functionality.
Identify Your Clog Type Before Taking Action
Before attempting any unclogging method, determine exactly what you’re dealing with to avoid wasting time on ineffective solutions. If water drains slowly but eventually empties, you likely have a partial clog caused by accumulated debris that responds well to household remedies. However, if water sits completely motionless in your basin, you’ve developed a complete blockage requiring more aggressive intervention. Remove the drain strainer immediately and check for visible debris—this simple step solves many “clogs” that are actually just blocked strainers. For double-bowl sinks, test both sides to see if the problem affects only one bowl or both, which helps pinpoint whether the clog is localized or deeper in your plumbing system.
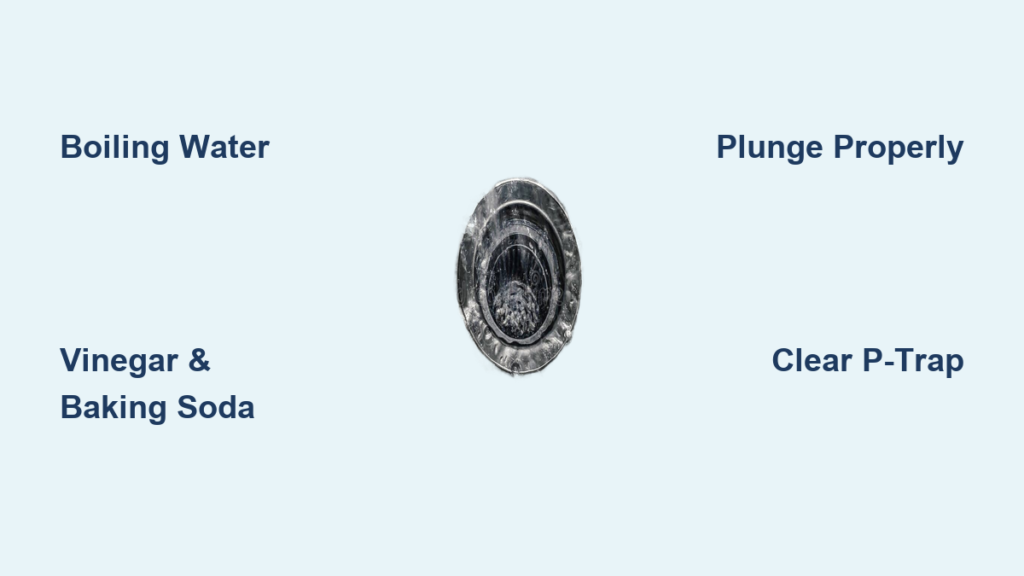
Boiling Water Flush for Grease Blockages
This simplest solution works surprisingly well for minor clogs caused by grease or soap buildup. First, remove as much standing water as possible using a cup or bowl. Bring a full kettle of water to a rolling boil, then carefully pour it directly down the drain opening. The extreme heat melts solidified grease, allowing it to flow through the pipes. Wait 5 minutes, then check if drainage improves. Repeat 2-3 times if needed, but never use boiling water on PVC pipes as it can soften and damage them. Skip this method entirely if your sink connects to a garbage disposal, as extreme heat can harm internal components.
Salt and Hot Water Abrasive Treatment
For clogs that resist plain hot water, add coarse salt for extra scrubbing power. After removing standing water, pour ½ cup of table salt down the drain, followed by very hot tap water (not boiling). Let the mixture sit for 5-10 minutes—the salt acts as thousands of tiny scrubbers while hot water loosens debris. Flush with additional hot water to clear dislodged material. This method excels at breaking up grease-related clogs before they solidify completely. If your sink drains better but not perfectly, repeat once more before moving to stronger methods.
Vinegar and Baking Soda Chemical Reaction
This household staple combination creates a powerful fizzing action that breaks down organic matter. Pour 1 cup of baking soda directly into the drain, followed immediately by 1 cup of white vinegar. The mixture will bubble vigorously—place a stopper over the drain to contain the reaction downward. Wait 15-30 minutes, then flush with warm water. The carbon dioxide gas generated helps dislodge clog material while the chemical action dissolves grease. For double sinks with standing water, stuff a wet rag in the unclogged side first to maximize pressure. This method also eliminates unpleasant drain odors, leaving your kitchen smelling fresh.
Extended Baking Soda and Salt Deep Clean
When quick treatments fail, this overnight solution tackles stubborn buildup. Mix 1 cup baking soda with ½ cup salt, pour down the drain, and let sit for several hours or overnight. The extended contact time allows the abrasive mixture to penetrate deep into accumulated gunk. In the morning, flush thoroughly with hot water. This method works exceptionally well for clogs that have built up over weeks or months and doubles as monthly maintenance to prevent future blockages. For best results, follow with the vinegar and baking soda treatment to neutralize any remaining residue.
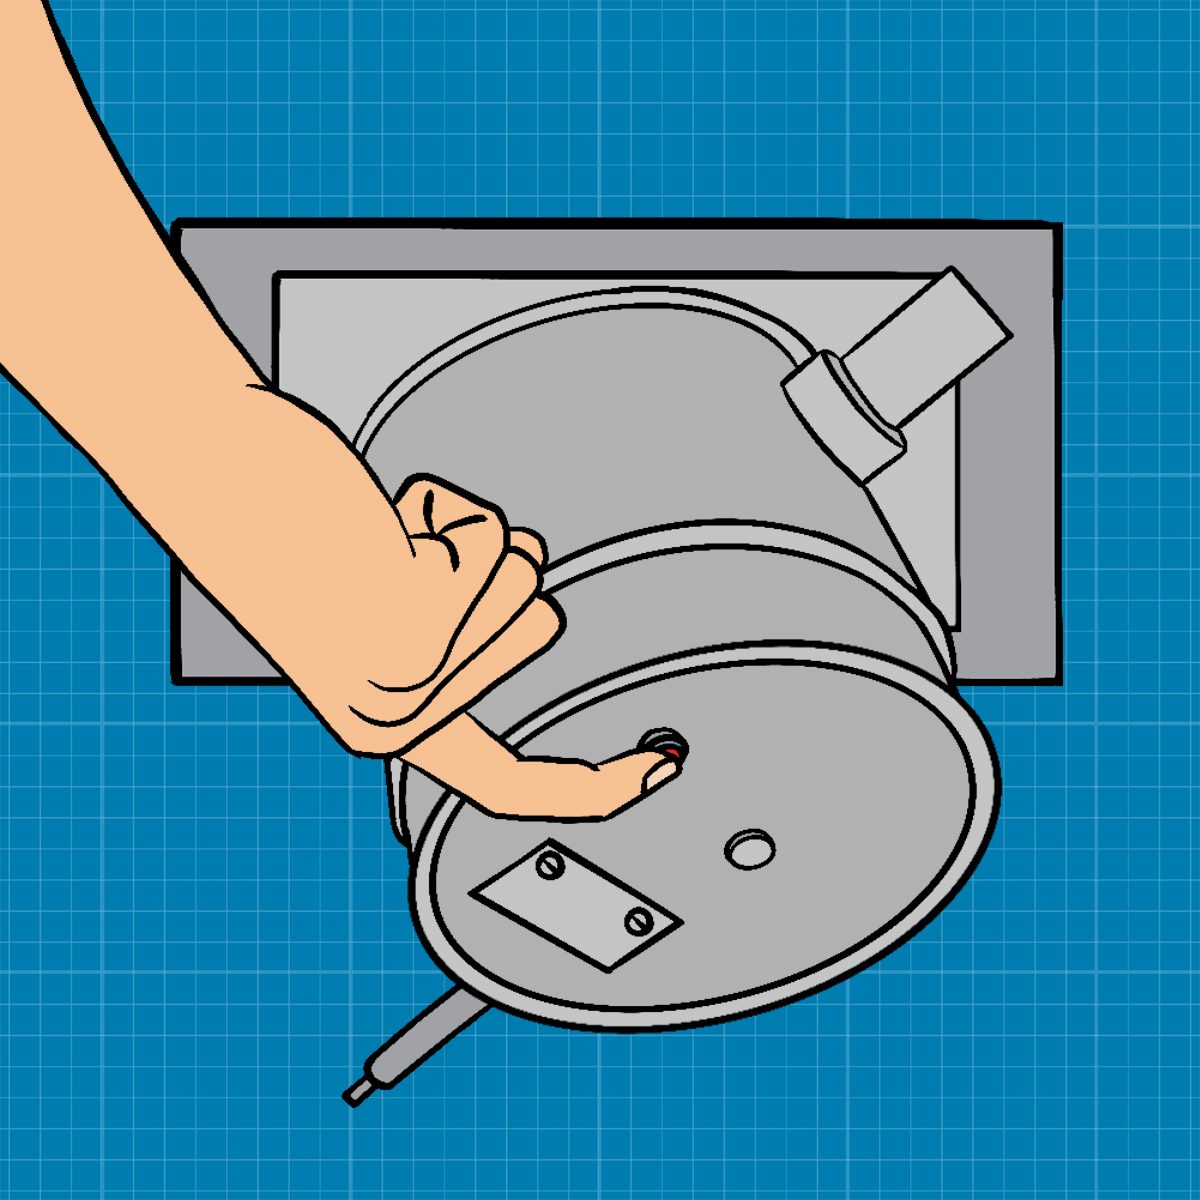
Proper Plunger Technique for Kitchen Sinks
:max_bytes(150000):strip_icc()/how-to-unclog-a-kitchen-sink-2718799_sketch_FINAL-6d86f43bcb464f8ca5b61f240c2d8bf9.png)
When household remedies don’t work, a plunger becomes your most reliable tool—but only if used correctly. Use a flat-bottomed kitchen plunger, not a flanged toilet plunger. For double sinks, stuff a wet rag into the unclogged drain to create proper suction. Fill the sink with enough water to cover the plunger bell, then position it squarely over the drain. Push down firmly, then pull up sharply—focus on the upward motion to create suction that dislodges the clog. Repeat 10-15 times, then quickly remove the plunger to check if water drains. If you see improvement, continue until water flows freely.
Clearing the P-Trap Under Your Sink
The curved P-trap beneath your sink catches debris before it enters main pipes. Place a bucket underneath, then unscrew the slip nuts connecting the P-trap to the drainpipe. Remove the P-trap and dump accumulated gunk into the bucket. Use an old toothbrush to scrub the interior clean, then rinse thoroughly. Reassemble the P-trap, hand-tightening connections (don’t overtighten), and run water to check for leaks. Wear rubber gloves during this process as the debris is often unpleasant. This simple fix resolves many “stubborn” clogs that are actually trapped in this accessible section.
Manual Drain Snake for Deep Clogs
When the P-trap is clear but water still won’t flow, use a drain snake to reach deeper blockages. Remove the P-trap first and place a bucket underneath. Insert the snake’s end into the drainpipe, then crank the handle to feed the cable deeper. When you feel resistance, you’ve hit the clog—twist while pushing to break it up. Continue until resistance disappears, then slowly retract the snake, wiping off debris as you go. Reinstall the P-trap and test drainage. A basic $15 manual snake works for most home clogs and belongs in every homeowner’s toolkit.
Improvised Coat Hanger Unclogging Tool
No snake? Straighten a wire coat hanger, leaving a small hook at one end. Insert the hooked end into the drain and gently wiggle it while pushing down to snag debris. This works best for food clumps caught in the P-trap section. Never insert tools into a garbage disposal without first disconnecting power at the breaker box—this prevents serious injury if the disposal accidentally activates.
Shop Vacuum Suction Method
A wet/dry vacuum can extract clogs when other methods fail. Set to “liquid” mode, create a tight seal between the hose and drain opening, and cover the overflow hole with your hand. The powerful suction often pulls clogs upward rather than pushing them deeper. Check the vacuum contents afterward to identify what caused the blockage—this helps prevent future issues.
Garbage Disposal Clog Fixes
If your sink has a disposal, reset it first by pressing the bottom-mounted reset button. Run cold water and turn on the disposal—if it hums but doesn’t spin, it’s jammed. Unplug the unit first, then use the hex key (usually stored under the sink) to manually rotate the grinding plate. Never insert hands or utensils while power is connected.
Chemical Drain Cleaner Safety Guidelines
Use chemical cleaners only as a last resort before calling a plumber. For disposal-equipped sinks, Drano Max Gel works safely with standing water. For non-disposal sinks, Drano Kitchen Granules melt grease effectively. Always wear gloves, follow instructions precisely, and never mix different drain cleaners—they can create dangerous chemical reactions.
Prevent Future Kitchen Drain Clogs
Stop clogs before they start by never pouring grease down the drain—let it solidify in a container for trash disposal. Install a drain strainer to catch food debris, and clean it after every use. Monthly maintenance with baking soda and vinegar keeps pipes clear. Run hot water for a full minute after washing greasy dishes to ensure complete flushing through the system.
When to Call a Professional Plumber
Seek professional help if multiple drains back up simultaneously, you hear gurgling sounds from plumbing, or sewage odors emerge. These indicate main sewer line issues beyond DIY solutions. Plumbers use motorized snakes and hydro-jetting for deep clogs that homeowners can’t reach. Investing in professional service prevents costly water damage from persistent clogs that compromise your plumbing integrity.
A clogged kitchen sink doesn’t have to disrupt your day. By starting with simple household remedies and progressing through these targeted methods, you’ll successfully unblock your kitchen drain 9 times out of 10. Implement regular maintenance and proper disposal habits to keep your sink flowing freely for years to come—saving you time, money, and the frustration of standing water in your most used household fixture.


