

Water pooling in your sink after washing dishes or a complete drainage standstill creates immediate frustration in any kitchen. Knowing how to open kitchen drain pipe effectively saves you money on emergency plumber calls and restores functionality to your most used household fixture. When grease, food particles, and other debris accumulate in your pipes, the solution often lies in understanding where the blockage formed and selecting the right technique to clear it. This guide walks you through proven methods that target different clog types and locations, helping you restore proper drainage without professional assistance in most cases.
Kitchen drain pipes clog primarily because of what flows through them daily—grease, food scraps, and other debris gradually build up along pipe walls. The problem typically begins subtly, with water draining more slowly than usual, before progressing to a complete blockage. Your kitchen plumbing includes the drain pipe from the sink basin, the curved P-trap that prevents sewer gases from entering, and the stub pipe connecting to your main drainage system. Blockages can form at any point in this system, from beneath your sink to deep within walls.
Identify Your Drain Pipe Blockage Type
Recognizing the specific nature of your clog determines which unclogging method will work best. A slow-draining sink that takes thirty minutes or more to empty a half-filled basin indicates a partial blockage that has developed over time. Complete drainage failure requires immediate attention, as the clog has reached critical mass. Some blockages produce distinctive white, powdery substances resembling flour after plunging—this signals congealed grease combined with food debris clinging stubbornly to pipe surfaces.
Before attempting any unclogging method, remove standing water from your sink using a cup or bowl. This allows your chosen treatment to contact the clog directly rather than being diluted. If multiple fixtures drain slowly simultaneously, your main drain line may be blocked rather than just the kitchen piping. Isolated kitchen sink problems typically indicate a localized clog you can address with DIY methods.
Apply Boiling Water to Melt Grease Clogs
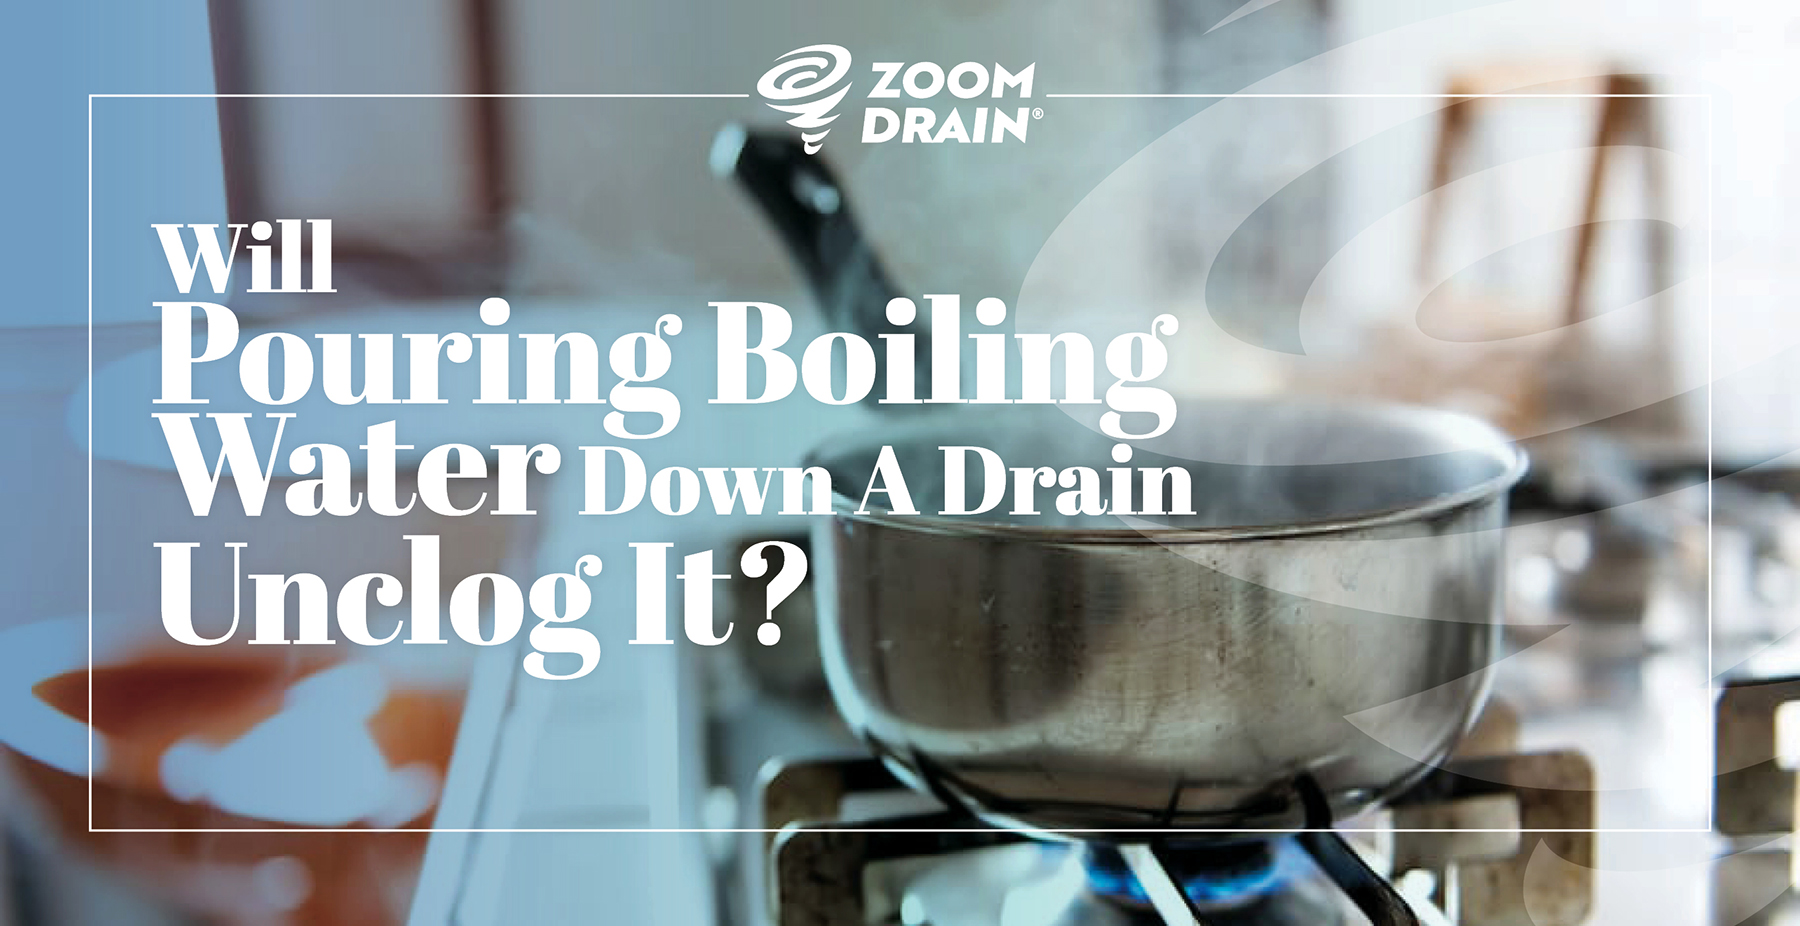
The simplest solution for how to open kitchen drain pipe starts with boiling water, which softens and liquefies grease deposits that form the core of many kitchen clogs. Remove standing water first, then pour a full kettle of boiling water directly into the drain. The thermal energy immediately begins melting grease upon contact.
Allow the water several minutes to work while the heat penetrates the blockage. Grease-based clogs respond best to this method, while mineral deposits may require additional treatment. For stubborn blockages, repeat the process two or three times, as each application progressively weakens the clog structure. Never use boiling water on PVC pipes that may be damaged by extreme heat—check your pipe material first.
Enhance this method by adding coarse salt for abrasive action. Pour one-half cup of table salt directly into the drain before the boiling water. The salt crystals physically dislodge material adhered to pipe walls while creating channels for hot water to penetrate deeper. This dual-action approach works particularly well for clogs that combine grease with food particles.
Deploy Vinegar and Baking Soda Chemical Reaction
The powerful chemical reaction between vinegar and baking soda creates carbon dioxide gas that dislodges blockages through bubbling action while carrying cleaning agents into clog crevices. Remove standing water, then pour one cup of baking soda directly into the drain. Immediately follow with one cup of white vinegar—the order matters as baking soda must be in place first.
The combination immediately begins fizzing as carbon dioxide generates. Quickly cover the drain with a stopper to contain the reaction and force gases downward into the clog. Allow the mixture to work for fifteen to thirty minutes before flushing with hot water. This method dissolves grease and organic matter while the bubbling action mechanically breaks apart the clog structure.
For stubborn blockages, try a baking soda and salt mixture instead. Combine one cup of baking soda with one-half cup of table salt and pour down the drain. Let it sit overnight—the salt crystals physically abrade pipe surfaces while baking soda provides alkaline cleaning action. Flush thoroughly with hot water in the morning.
Execute Proper Plunger Technique
When natural methods fail, a plunger creates hydraulic pressure that dislodges resistant blockages. For double sinks, seal the second drain with a wet cloth to prevent pressure escape. Fill the sink with enough water to submerge the plunger’s rubber bell completely.
Position the plunger over the drain and press down firmly to create an airtight seal. Pump vigorously for twenty to thirty seconds in a rhythmic motion—this generates suction on the upstroke and pressure on the downstroke, repeatedly compressing the clog material. After sustained plunging, remove the plunger suddenly to create a final burst of suction.
If water begins draining, flush with warm water for several minutes to clear remaining debris. Always wash hands thoroughly after plunging—you’ve just handled potentially contaminated materials.
Remove and Clean the P-Trap Manually

The P-trap’s curved design makes it a common collection point for debris. When other methods fail, manually cleaning this component often resolves the problem. Place a bucket beneath the P-trap before beginning, as water and debris will escape when connections loosen.
Loosen the two slip nuts connecting the P-trap to the sink tailpiece and stub pipe by rotating counterclockwise. As connections loosen, be prepared for water and accumulated debris to flow out. Once removed, inspect the P-trap interior and clear debris with a small brush or old toothbrush.
Flush the P-trap with water to clear remaining material, then reattach by tightening slip nuts clockwise. Hand-tightening usually suffices, but use pliers cautiously if needed. After reassembly, run water through the sink to check for leaks and verify improved drainage.
Operate a Plumber’s Snake for Deep Blockages
For blockages beyond plunger reach, a plumber’s snake provides mechanical capability to reach and break apart deep obstructions. Disconnect the P-trap if necessary to provide direct access to the drainpipe. Insert the snake end into the exposed opening and feed the cable by rotating the handle clockwise.
Continue feeding until you encounter resistance—this indicates the cable has reached the clog. When resistance is felt, rotate deliberately while applying gentle forward pressure to work the tip through the blockage. Avoid scraping pipe walls, which can cause future leaks.
After working through the blockage, slowly retract the snake while continuing to rotate, bringing captured debris out with the cable. Clean the snake thoroughly after use and flush the drain with water to verify the blockage cleared.
Address Stubborn Deep Clogs Beyond DIY Reach
When standard methods fail, the blockage may be located deep within pipes running through walls or beneath floors. If multiple fixtures drain slowly, the clog likely exists in your main drain line rather than kitchen-specific piping.
For deep grease-based blockages, enhanced heat treatment works better than standard methods. Pour boiling water repeatedly, allowing each application to pool around the obstruction and transfer heat over several minutes. Repeat multiple times as each application progressively softens the grease.
Commercial alkaline drain cleaners containing sodium hydroxide may prove more effective than acid-based products for grease clogs, as they specifically target fat molecules. Always use gloves and eye protection when handling chemical treatments, and never combine different drain cleaning products.
Fix Garburator Problems Causing Drainage Issues
A malfunctioning garbage disposal can impede water flow as effectively as a conventional clog. Check the unit’s overload protection button on the housing underside and press firmly to reset. If the unit hums but doesn’t run, the motor is jammed.
First disconnect power before inspecting the grinding chamber with a flashlight. Remove visible obstructions using pliers—never insert hands without verifying power is off. For food waste jams, use the included jam-breaking tool to rotate the grinding mechanism back and forth.
Always run cold water while operating the disposal and for thirty seconds after turning it off to flush waste through the system. Avoid disposing of grease, fibrous foods, or non-food items to prevent future jams.
Prevent Future Drain Blockages Proactively
Monthly maintenance using baking soda and vinegar keeps pipe walls clean and prevents gradual accumulation. Pour one-half cup of baking soda followed by one cup of vinegar down the drain, cover, and allow to react for fifteen minutes before flushing with hot water.
Install sink strainers in all drains and empty collected material into the trash—never rinse it back into the sink. Run hot water through the sink for several minutes after each greasy dishwashing session to keep grease in liquid form as it travels through pipes.
Never pour grease down the drain—collect it in containers for trash disposal. Coffee grounds, eggshells, and fibrous foods also contribute to blockages when combined with grease. Wipe greasy pans with paper towels before washing to minimize grease entering your pipes.
By following these methods and maintaining regular preventive care, you can keep your kitchen drain pipes flowing freely and avoid the inconvenience of professional service calls for routine clogs. When simple techniques fail repeatedly, consult a professional plumber who can diagnose deeper system issues requiring specialized equipment and expertise.


