
Your Cuisinart coffee grinder sits ready with fresh beans, but when you press what looks like the power button, nothing happens. That frustrating moment when your morning coffee ritual hits a snag is more common than you might think. While Cuisinart doesn’t publish universal startup instructions across all their grinder models, understanding the typical activation process can solve most “how to turn on Cuisinart coffee grinder” dilemmas. This guide cuts through the confusion with practical steps based on common design patterns across Cuisinart’s grinder lineup.
Without access to specific model manuals in our current resources, we’ll focus on the universal principles that apply to most Cuisinart electric grinders. You’ll learn exactly where to find power controls, why safety features prevent startup, and how to troubleshoot common issues that stop your grinder from powering on. Let’s get your coffee grinding process back on track.
Locate Your Cuisinart Grinder’s Power Controls

Cuisinart strategically places power activation elements in consistent locations across most models. Finding these controls is your first step to successful operation.
Front Panel Power Activation
Most modern Cuisinart grinders feature a prominent power button on the front panel, typically positioned near the grind size selector. Look for a circular button marked with a standard power symbol (⏻) or labeled “ON.” On programmable models, this might be a touch-sensitive panel rather than a physical button. If your grinder has a digital display, the power button often doubles as the display activation control—press it once to wake the display, then again to start grinding.
Side Panel Switch Operation
Older Cuisinart models frequently use a rocker switch mounted on the right side of the grinder base. This switch typically has “I” (on) and “O” (off) markings rather than power symbols. To activate, press the side marked “I” firmly until you feel it click into place. If the switch feels loose or doesn’t stay in position, the internal mechanism may be faulty or the safety interlocks aren’t properly engaged.
Lid-Activated Power Systems
Many Cuisinart blade grinders employ a safety interlock system where power only flows when the bean hopper lid is correctly seated. These models lack a traditional power button—you simply fill the hopper, secure the lid with a quarter-turn clockwise motion until it clicks, then press down firmly on the lid to activate grinding. If pressing the lid does nothing, the alignment tabs aren’t properly engaged with the base unit.
Verify Critical Safety Interlocks Before Power-Up

Cuisinart incorporates multiple safety mechanisms that prevent operation if components aren’t properly positioned—these are the most common reasons your grinder won’t turn on.
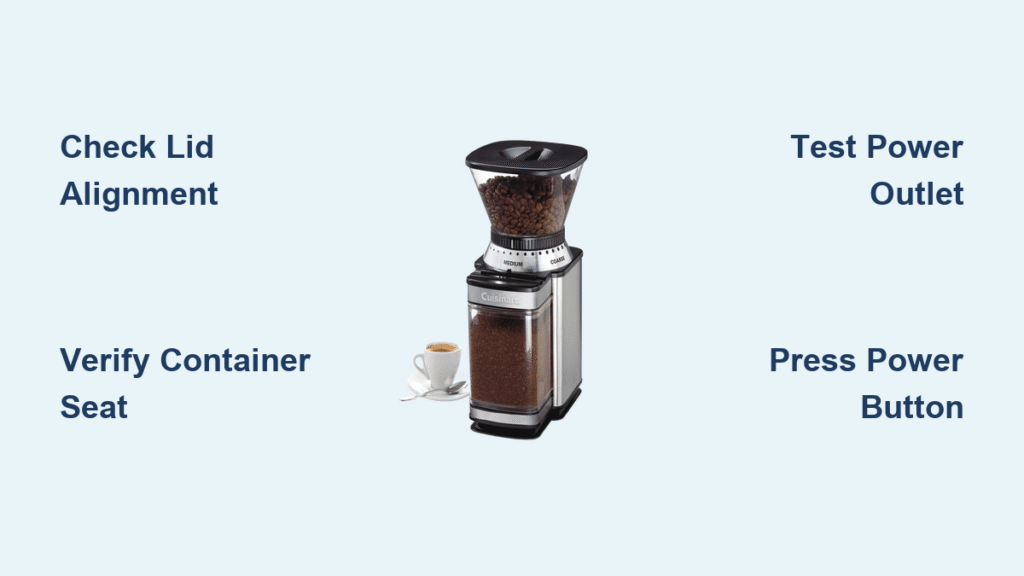
Hopper Lid Alignment Checks
Your grinder refuses to power on if the bean hopper lid isn’t correctly aligned with the base unit. Remove the lid completely, inspect the alignment tabs and slots for obstructions, then reposition the lid so the tabs line up perfectly with the slots. Rotate the lid clockwise until you hear a distinct double-click—this confirms both the mechanical lock and electrical contact are engaged. Models with transparent hoppers often have visible alignment markers that must line up precisely.
Grounds Container Position Verification
The used coffee grounds container must be fully inserted into the front or side receptacle before power activates. Most models feature a magnetic sensor that detects proper container placement. If your grinder won’t start, remove the container, check for coffee grounds obstructing the sensor port, then firmly reinsert until you feel resistance. Listen for the telltale “thunk” that indicates proper seating—without this sound, the safety system blocks power.
Power Connection Troubleshooting Protocol
Before assuming your grinder is defective, methodically verify these electrical fundamentals that commonly cause startup failures.
Cord and Outlet Diagnostic Steps
Follow this sequence when your Cuisinart grinder shows no response:
– Unplug the unit and inspect the cord for kinks, cuts, or frayed areas near the plug or grinder connection
– Ensure the plug is fully inserted into both the wall outlet and grinder base (some models require firm pressure)
– Test the outlet with another appliance like a phone charger to confirm power delivery
– Try a different outlet on a separate circuit—kitchen GFCI outlets frequently trip without visible indication
Voltage Compatibility Verification
Though rare, voltage mismatches can prevent startup. Locate the rating plate on your grinder’s bottom panel and verify it matches your household current (120V in North America). If you recently moved or received the grinder internationally, it may require a voltage converter. Never force operation with incompatible voltage—this can permanently damage the motor.
First-Time Startup Sequence for New Grinders
New Cuisinart grinders require specific preparation before their initial operation to ensure proper function and longevity.
Mandatory Pre-Use Cleaning Cycle
Before grinding your premium beans, run a cleaning cycle with inexpensive coffee or specialized grinder cleaner:
1. Add 1-2 tablespoons of plain, dry coffee beans to the hopper
2. Position the grounds container correctly
3. Activate the grinder for 15-20 seconds
4. Discard the grounds and wipe interior components
This removes manufacturing oils and metal particles from the grinding mechanism that could affect your first cup’s taste.
Initial Grind Setting Configuration
Starting with an extremely fine grind setting can overload the motor during initial use. For first-time operation:
– Set the grind selector to medium (#4 on most dials)
– Add at least 2 tablespoons of beans (never operate empty)
– Start with a 10-second grind cycle
– Adjust finer only after confirming proper operation
Troubleshooting Common Power-On Failures

When standard startup procedures fail, these targeted solutions address the most frequent Cuisinart grinder power issues.
Silent Grinder: No Lights or Sounds
If pressing power yields zero response:
– Check for a hidden thermal reset button (usually a small red button on the bottom)
– Try holding the power button for 5 full seconds—some models require this for initial activation
– Inspect the cord strain relief where it enters the grinder base for internal damage
– Verify none of the safety interlocks are physically obstructed by coffee grounds
Grinding Hums Without Bean Processing
When the motor runs but beans aren’t grinding:
– Immediately unplug the unit—continued operation can burn out the motor
– Disassemble and check for bean fragments jamming the burr or blade assembly
– Ensure you’re not using oily beans that can gum up the mechanism
– Clean the grinding chamber thoroughly before attempting restart
Intermittent Operation During Grinding
If your grinder starts but stops unexpectedly:
– Reduce bean quantity—overfilling causes motor strain
– Check that the grounds container hasn’t shifted during operation
– Allow 30 seconds between grinding cycles to prevent thermal overload
– Verify the power cord isn’t being pulled or disturbed during use
Model-Specific Startup Variations to Consider
While exact details vary by model, these general patterns apply across Cuisinart’s grinder range:
Burr Grinder Activation (DBM Series)
Burr grinders like the DBM-8 typically feature:
– Separate power button plus grind timer dial
– Power on first, then select grind time
– Longer startup sequence (2-3 second motor ramp-up)
– Digital display that must be active before grinding
Blade Grinder Operation (SG Series)
Blade models such as the SG-10 usually require:
– Press-and-hold lid activation (3-5 seconds)
– No separate power switch—activation is lid-dependent
– Shorter maximum continuous run time (15-20 seconds)
– Manual operation without timer settings
Programmable Model Startup (CBM Series)
Advanced models like the CBM-18 need:
– Initial setup menu navigation before first use
– Power button held for 2 seconds to activate
– Pre-programmed settings that must be selected
– Multiple safety checks before grinding commences
Essential Pre-Startup Checks for Reliable Operation
Implement these quick checks before every grinding session to prevent startup failures:
- Wipe contact points: Use a dry cloth to clean alignment tabs and sensor areas
- Verify component seating: Ensure audible clicks confirm proper positioning
- Check bean quantity: Never operate with less than 2 tablespoons of beans
- Inspect grind setting: Confirm it’s not set to an extremely fine setting
- Clear obstructions: Remove any stray beans from safety interlock areas
When Professional Service Becomes Necessary
Contact Cuisinart support if you experience:
– Complete lack of response after verifying multiple outlets and testing the cord
– Burning smells or visible smoke during attempted startup
– Grinding sounds without actual bean processing
– Repeated thermal shutdowns with normal use quantities
– Physical damage to power components or housing
Before contacting support, have your model number (typically on the bottom label) and purchase date ready—they’ll need these to verify warranty coverage.
Mastering how to turn on your Cuisinart coffee grinder comes down to understanding its specific activation pattern and respecting the safety systems built into the design. Always begin by confirming component positioning—more startup failures stem from misaligned parts than actual malfunctions. When in doubt, consult your model-specific manual (available digitally on Cuisinart’s website by entering your model number). With these insights, you’ll transform that frustrating moment of silence into the satisfying hum of freshly ground coffee, ensuring your morning ritual stays smooth and consistent. Keep this guide handy for quick reference, and enjoy perfectly ground coffee every time.


