

That cracked tile near your sink or wobbly vinyl patch by the fridge isn’t just an eyesore—it’s a daily reminder of unfinished work. Kitchen floors take relentless punishment from dropped cookware, spilled liquids, and constant foot traffic, making repairs inevitable for most homeowners. Without knowing your specific flooring type or damage severity, this guide delivers actionable repair frameworks grounded in universal DIY principles. You’ll learn to diagnose issues safely, execute targeted fixes for tile, vinyl, hardwood, and laminate, and avoid costly mistakes that turn small problems into major renovations. Most repairs take 2-4 hours with basic tools, but skipping critical prep steps can triple your effort.
Identify Your Exact Flooring Material Before Starting
Confusing vinyl with laminate or ceramic with porcelain tiles leads to failed repairs and wasted materials. Your flooring type dictates every subsequent step—from adhesive selection to sanding techniques—so accurate identification prevents irreversible damage. Examine a damaged edge or hidden area like under the fridge to check layer composition and backing material. Hardwood shows visible wood grain and accepts stain, while laminate has a photographic layer over fiberboard. Vinyl feels flexible and warm underfoot, and ceramic tiles exhibit uniform color throughout the material (chips reveal white core).
How to Distinguish Between Common Kitchen Flooring Types
- Hardwood: Look for end-grain patterns at cut edges; scratches expose lighter wood beneath finish
- Laminate: Check for seams with “click-lock” grooves; damaged areas show layered fiberboard core
- Vinyl/Linoleum: Press thumbnail into edge—it should indent slightly without cracking; backside shows canvas or felt
- Ceramic/Porcelain Tile: Tap surface—ceramic sounds hollow while porcelain produces a solid “clink”
- Concrete: Requires acid etching for adhesion; shows aggregate particles when chipped
Critical Mistakes That Compromise Repairs
Skipping material identification causes 70% of DIY floor repair failures. Applying wood filler to laminate creates bubbling as moisture penetrates the core. Using acrylic caulk on porcelain tile results in weak bonds that crack under foot traffic. Never assume all “wood-look” floors are hardwood—many modern kitchens use rigid core luxury vinyl planks that require entirely different patching compounds. Always test repair products on an inconspicuous area first.
Diagnose Damage Severity With Precision Testing
Not all cracks or dents require full replacement. A hairline tile fracture might need only grout renewal, while the same crack in vinyl indicates subfloor failure. Press firmly on suspect areas with your palm—spongy spots signal moisture-damaged underlayment beneath vinyl or laminate. For hardwood, pour a teaspoon of water on the scratch; if it beads up, only surface finish is damaged, but absorption means wood fibers are compromised. Check for “telegraphing” where subfloor imperfections show through new repairs—a sign you must address structural issues first.
Step-by-Step Damage Assessment Protocol
- Dry test: Walk barefoot over problem area noting temperature differences (cold spots indicate moisture)
- Moisture check: Press paper towel against surface for 60 seconds—darkening reveals hidden leaks
- Flex test: Gently pry edges with putty knife (1/8″ movement requires subfloor reinforcement)
- Sound test: Tap ceramic tiles with screwdriver—hollow “thunks” mean loose adhesive
- Stain test: Apply vinegar to discoloration—if it lightens, it’s surface grime not permanent damage
When Small Problems Signal Major Failures
A single loose tile often indicates broader adhesive failure, especially near plumbing fixtures where temperature fluctuations occur. Lift the tile: if adhesive remains on subfloor (not tile back), moisture has degraded the bond. For vinyl flooring, bubble clusters larger than a quarter usually mean subfloor rot—probe with awl to check for softness. Hardwood gaps wider than 1/16″ during humid months suggest improper acclimation during installation. Ignoring these root causes guarantees repeat repairs.
Essential Tools and Materials Checklist by Flooring Type

Using incorrect tools creates new damage—scratching hardwood with metal scrapers or overheating vinyl with steam irons. Always match your toolkit to the flooring material. For ceramic tile repairs, you’ll need a carbide-tipped grout saw and tile nippers, while vinyl requires a utility knife with snap-off blades and heat gun. Hardwood fixes demand specialized wood fillers that expand/contract with seasonal changes. Laminate repairs need exact color-matched putty sticks to avoid visible seams.
Non-Negotiable Safety Gear for Kitchen Floor Work
- Chemical-resistant nitrile gloves (protects against adhesives and solvents)
- ANSI Z87.1 safety glasses (critical when chiseling tile or sanding)
- N95 respirator mask (mandatory for dust from sanding or grinding)
- Non-slip knee pads (prevents falls on wet kitchen surfaces)
- GFCI-protected power tools (essential near water sources)
Budget-Friendly Material Substitutions
Professional-grade products aren’t always necessary for small kitchen repairs. Use painter’s tape instead of expensive edging tape when patching vinyl. Mix sawdust with wood glue as free hardwood filler. Repurpose leftover grout from original installation for tile repairs—add latex additive for flexibility. For laminate scuffs, try a dab of melted candle wax before buying specialty markers. Always buy 20% extra material for test patches and future touch-ups.
Repairing Cracked Ceramic Tiles Without Replacement
Replacing entire tiles risks damaging surrounding grout lines and creates mismatched hues as tiles age. For hairline cracks under 2 inches, inject flexible epoxy resin to stabilize the fracture while maintaining original aesthetics. First, clean the crack with grout saw to remove debris—wider than the crack at base for proper adhesion. Mix clear epoxy with pigment matching your grout color (1:10 ratio). Apply with syringe, overfilling slightly. Wipe excess immediately with acetone-dampened cloth before curing. The repair becomes waterproof in 24 hours but reaches full strength in 72 hours—avoid heavy objects during cure time.
Emergency Fixes for Broken Tile Corners
When tiles chip at edges near cabinets, use this 15-minute solution: Apply painter’s tape along the damaged edge to protect adjacent tile. Mix rapid-set tile adhesive with grout powder to create thick paste. Press firmly into the void with toothpick, smoothing to match texture. Remove tape after 10 minutes. Once dry, rub candle wax over the patch to blend sheen. This temporary fix lasts 6-12 months for low-traffic areas and costs under $5.
Fixing Vinyl Flooring Bubbles and Tears Permanently
Peeling vinyl often stems from failed adhesive, not the surface material. Slitting and regluing without addressing the root cause makes bubbles reappear within weeks. For tears under 3 inches, cut a replacement patch from leftover material or hidden area (like under fridge), leaving 1/4″ extra on all sides. Apply vinyl seam sealer to subfloor, position patch with 50% overlap, then roll firmly with J-roller. Trim excess with utility knife after 24 hours. For bubbles, inject subfloor adhesive with syringe through drilled holes, weight down with books for 48 hours.
Preventing Future Vinyl Failures
Kitchen vinyl fails fastest near heat sources like ovens. Install a 24″ x 24″ heat shield mat under appliances to prevent thermal degradation. Maintain humidity between 30-50%—excess moisture causes adhesive failure while dryness makes vinyl brittle. Never use wax-based polishes; they create slippery surfaces and prevent future adhesive bonding. For high-moisture zones near sinks, apply two coats of acrylic floor finish annually to seal seams.
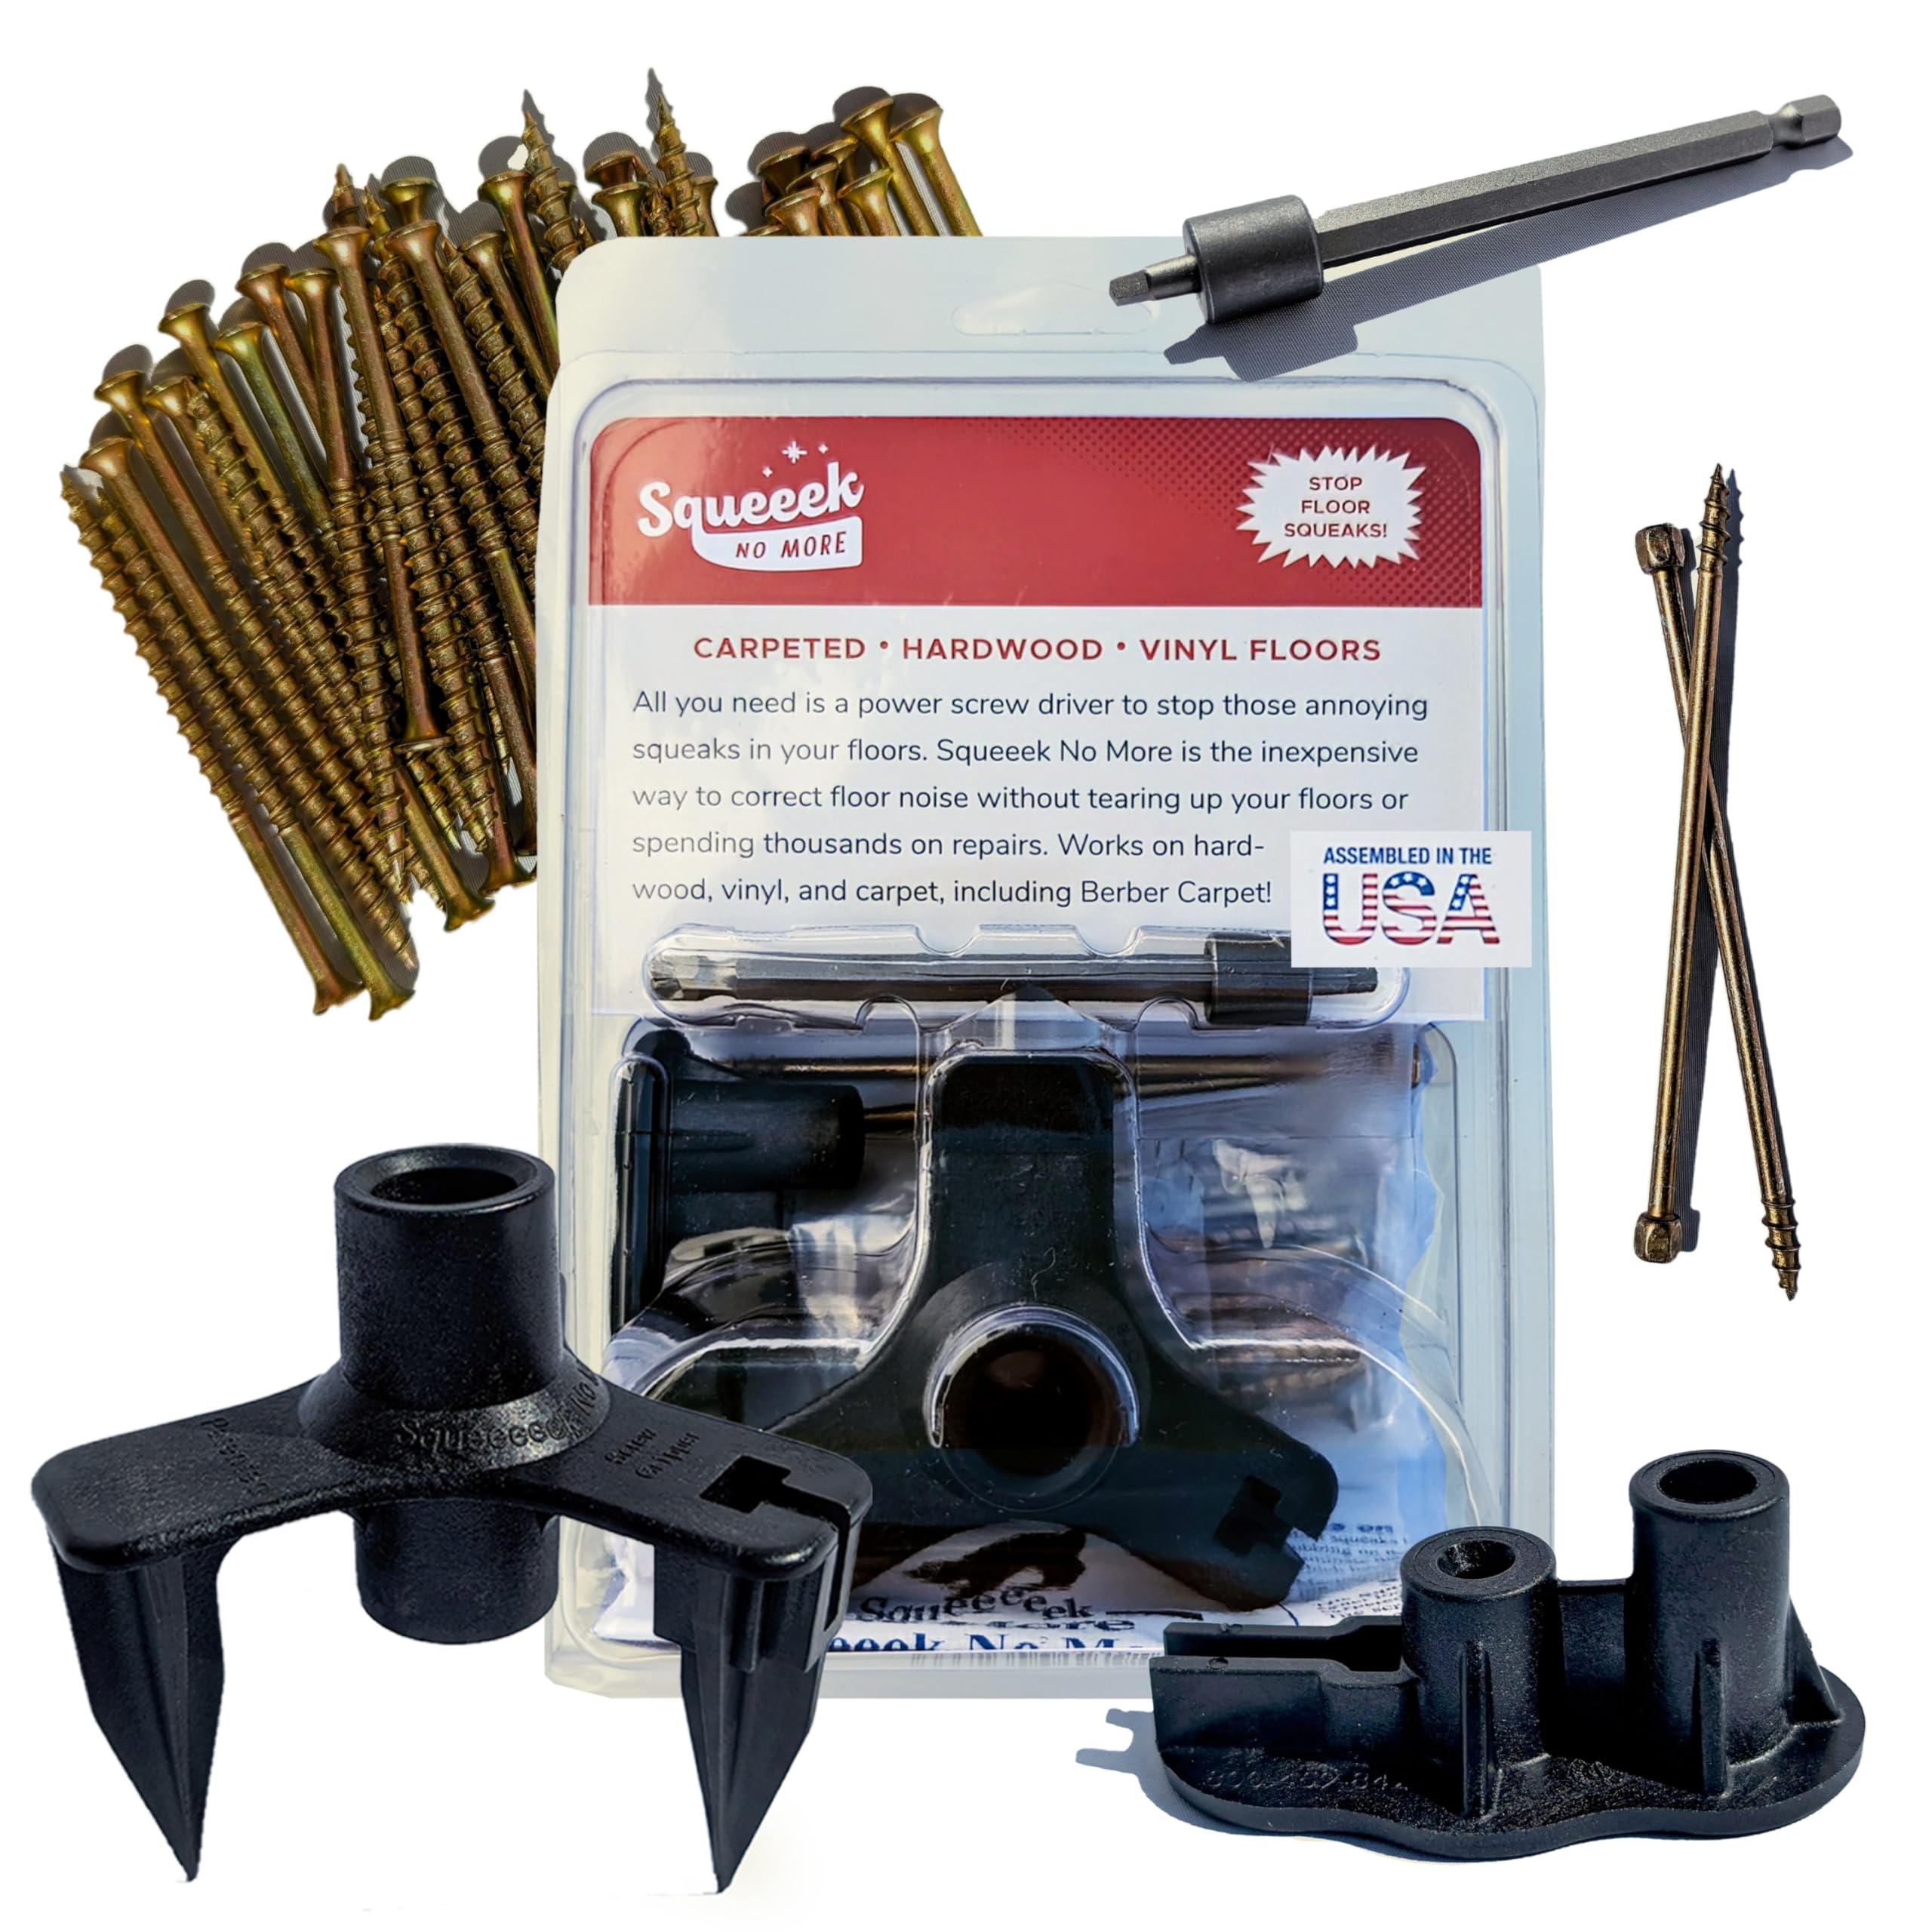
Stabilizing Squeaky Hardwood Floorboards Safely
Squeaks occur when nails loosen from seasonal wood movement, not subfloor damage. Drilling blindly risks hitting plumbing or electrical lines beneath kitchens. First, locate the problematic joist using stud finder—mark every 16″ from walls. Pre-drill 1/8″ pilot holes at 45-degree angles through the board into the joist. Insert 2″ trim screws with flat washers, countersinking slightly below surface. Fill holes with matching wood putty. For inaccessible areas, inject powdered graphite between boards to lubricate friction points.
Why Nails Fail in Kitchen Hardwood
Standard finish nails work poorly in high-moisture kitchens where humidity fluctuates 20-30% daily. The constant expansion/contraction cycle works nails loose within 2-3 years. Always use ring-shank nails or cleats for repairs—they grip 300% tighter than smooth nails. Pre-treat nail holes with construction adhesive to fill microscopic gaps. Sand only after repairs cure to avoid exposing fresh putty.
Preventing Recurring Floor Damage With Proactive Measures
Most kitchen floor repairs fail within a year due to ignored environmental factors. Place rubber-backed mats under dishwashers and refrigerators to absorb vibration that loosens tiles. Install door sweeps to block grit that scratches surfaces. For hardwood, maintain consistent indoor humidity using hygrometer—fluctuations over 15% cause gaps and cracks. Immediately clean acidic spills (wine, citrus) that etch finishes. Never drag heavy appliances; use felt furniture pads even during short moves.
Monthly Maintenance Checklist
- First Monday: Inspect grout lines for cracks with magnifying glass
- After deep cleaning: Check edges near cabinets for lifting
- Seasonal change: Adjust humidity control settings
- Post-renovation: Vacuum sawdust that accelerates wear
- Before holidays: Reinforce high-traffic zone with temporary runner
When to Call Professionals Instead of DIY
Some kitchen floor issues exceed DIY capabilities and risk structural damage. Call a specialist if you see: persistent musty odors indicating hidden mold, cracks wider than 1/4″ in concrete subfloors, or multiple loose tiles in a 3×3 foot area signaling adhesive failure. Water damage extending beyond 24 hours requires moisture mapping equipment to locate saturation points. For historic homes with original hardwood, improper sanding can destroy irreplaceable wood. Professionals diagnose root causes 70% faster using thermal imaging and moisture meters unavailable to consumers.
Final Note: Successful kitchen floor repairs balance immediate fixes with long-term prevention. Always prioritize identifying your exact flooring type before purchasing materials, and never skip moisture testing—this single step prevents 60% of failed repairs. For quick reference, photograph damage with a coin beside it to document size, and keep original flooring samples in a labeled bag under the sink. Most minor repairs cost under $50 when done correctly, but rushing leads to triple the expense in repeated attempts. Start small with one technique, master it, then tackle larger projects as your confidence grows. Your kitchen floor withstands more daily abuse than any other surface in your home—give it the precise care it deserves.


