
Tired of sanding dust filling your kitchen while prepping cabinets for a fresh coat of paint? Deglosser offers a faster, cleaner solution that most DIYers can complete in a single afternoon. This chemical alternative to sanding etches glossy cabinet surfaces, creating the perfect foundation for new paint without the mess or physical strain. If you’re planning a kitchen cabinet makeover but dread the sanding process, you’re in the right place.
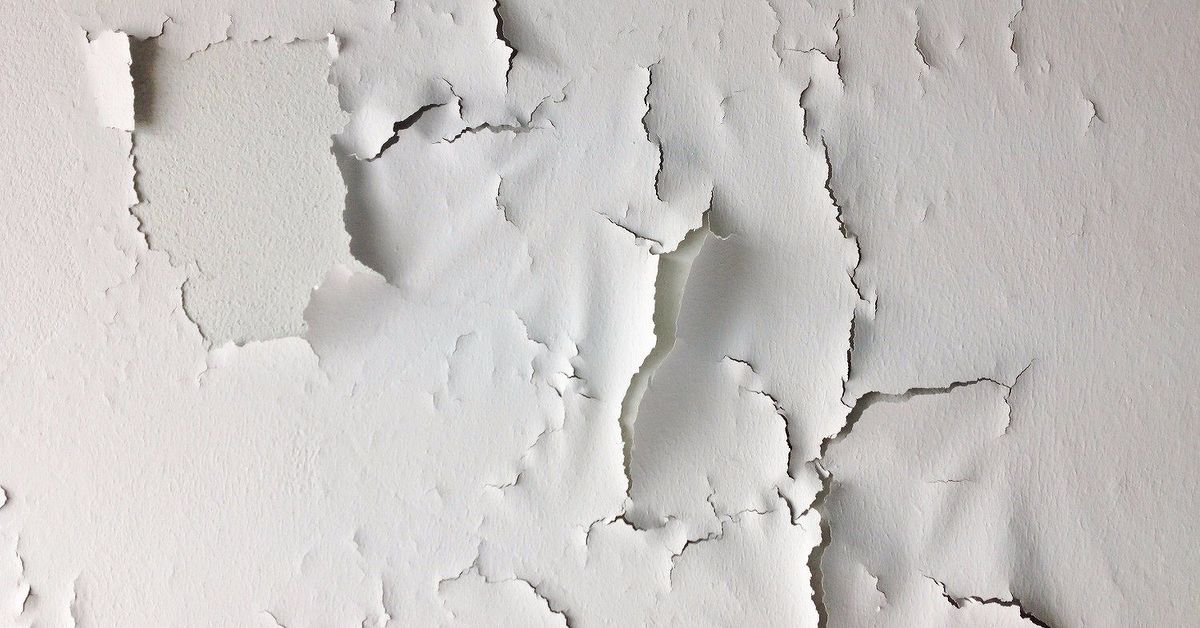
Proper deglosser application transforms stubborn, non-porous finishes into surfaces that new paint can grip for years. Skipping this critical step or doing it incorrectly leads to peeling paint within months—wasting your time, money, and effort. This guide reveals exactly how to use deglosser on kitchen cabinets for professional results, including product selection, application techniques, and avoiding common pitfalls that ruin paint jobs.
Why Sanding Isn’t Your Only Option for Cabinet Prep
Kitchen cabinets typically feature hard, non-porous finishes designed to withstand daily wear, moisture, and cooking splatters. This glossy coating prevents new paint from bonding properly—paint applied directly peels and chips within months. While sanding removes this barrier through physical abrasion, it creates fine dust that infiltrates every corner of your home and requires multiple tools and considerable elbow grease.
Deglosser works chemically rather than physically. Its solvents break down the glossy surface at a microscopic level, creating tiny grooves that paint can grip. The result? A properly prepared surface without the dust clouds or hours of labor. Professional painters often prefer deglosser for cabinet projects because it works faster and produces more consistent results on intricate cabinet details and edges.
Important note: Deglosser cannot fix underlying damage like water stains, peeling veneer, or deep scratches. Evaluate your cabinets first—if you see significant damage, you’ll need additional repair work beyond deglossing.
Selecting the Best Deglosser for Your Cabinet Project

Not all deglossers perform equally on kitchen cabinets. Choosing the right product makes the difference between a paint job that lasts years versus one that fails prematurely.
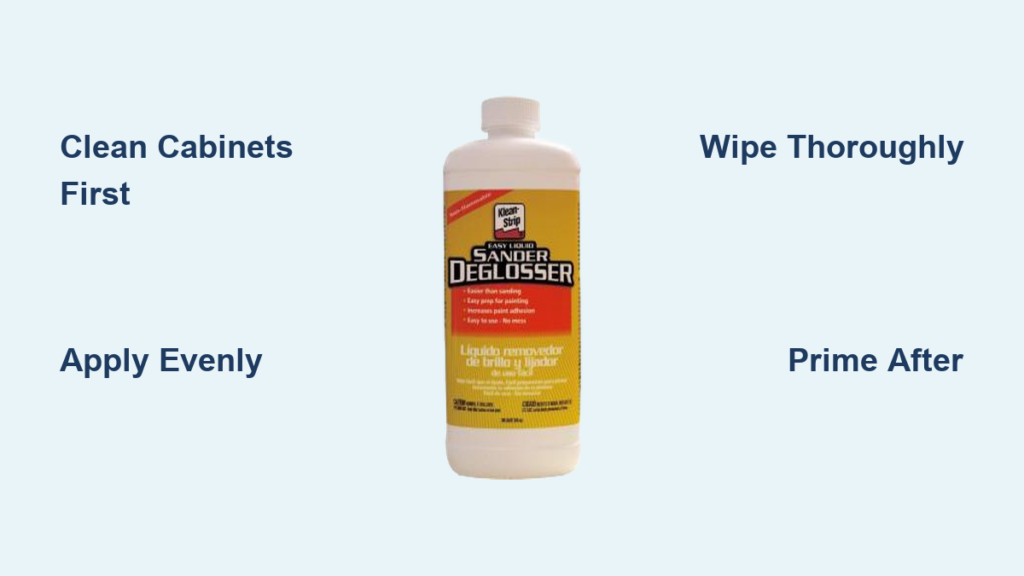
Household deglossers like liquid sandpaper work adequately for cabinets with standard factory finishes. These typically require longer dwell times (15-20 minutes) and more aggressive scrubbing. They’re budget-friendly but may struggle with extremely hard finishes like conversion varnish.
Professional-grade deglossers contain stronger solvents that penetrate more effectively. Look for products specifically labeled for cabinet refinishing—they often include built-in cleaners that remove grease while deglossing. These reduce prep steps and typically require less scrubbing for superior adhesion.
Avoid ammonia-based products if you’re working in a poorly ventilated kitchen. While effective, they require respiratory protection and longer waiting periods before painting. Water-based deglossers offer lower toxicity and easier cleanup, though they may need more thorough application.
Essential Supplies Checklist Before You Start
:strip_icc()/bhg-kitchen-cabinet-hero-22352_E8M0AuaH4gjAOmSXht58UQjpg-f5f7e8b5bf874249809be71f9021cecc.jpg)
Gather all materials before beginning to prevent mid-project interruptions. Missing one critical item can compromise your entire project.
- Cleaning supplies: Trisodium phosphate (TSP) or kitchen-specific degreaser, clean microfiber cloths, soft-bristle brush
- Deglosser application tools: Synthetic brushes, lint-free cloths, or chemical-resistant sponges (avoid standard household sponges)
- Safety gear: Nitrile gloves, safety glasses, and a respirator mask (even low-odor products release irritating vapors)
- Protection materials: Plastic sheeting, painter’s tape, drop cloths for countertops and floors
Pro tip: Test your deglosser on a hidden cabinet area first—some formulations may react differently with certain finishes.
Kitchen Workspace Preparation Checklist
Deglosser chemicals can permanently damage countertops, flooring, and appliances if spilled. Proper preparation prevents costly accidents and makes cleanup easier.
- Remove all items from cabinets—this gives you room to work and lets you clean interior surfaces
- Cover countertops with plastic sheeting, extending several inches beyond cabinet edges
- Protect flooring beneath work areas and pathways with canvas drop cloths (plastic can be slippery)
- Create cross-ventilation by opening opposite windows and positioning fans to push vapors outside
Critical warning: Never skip ventilation—deglosser vapors are flammable and can cause respiratory irritation with prolonged exposure.
Cleaning Cabinets: The Non-Negotiable First Step
Deglosser cannot penetrate grease and cooking residue. Skipping this step guarantees paint failure, even if cabinets appear clean.
- Mix TSP solution (1 tbsp per gallon warm water) or follow commercial degreaser instructions
- Scrub thoroughly with a soft brush, focusing on handle areas, top edges of upper cabinets, and front edges of lowers
- Rinse multiple times with clean water to remove all cleaning residue
- Dry completely with lint-free cloths—surfaces should feel clean and slightly tacky, not slippery
Time estimate: Allow 2-3 hours for thorough cleaning of a standard kitchen (10-12 cabinet doors).
Step-by-Step Deglosser Application Process
Follow this precise method for maximum adhesion without damaging your cabinets:
- Shake deglosser well and pour into glass or metal container (plastic may react)
- Apply with long, even strokes following wood grain or door patterns
- Work in 2-foot sections, keeping edges wet to prevent lap marks
- Allow dwell time per product instructions (typically 3-20 minutes)
- Wipe completely with clean cloths, turning to fresh sections frequently
Visual cue: Properly deglossed surfaces appear uniformly dull—not shiny in spots, not sticky with residue. If you see reflections, those areas need reapplication.
Fixing Common Cabinet Surface Problems
After deglossing, inspect surfaces closely for issues that require additional attention:
- Peeling finish: Sand to bare wood, repair substrate, then prime (deglosser alone won’t fix this)
- Deep scratches: Fill with wood filler after deglossing but before priming
- Water damage: Minor stains may bleach out; significant damage requires panel replacement
- Worn-through edges: Apply bonding primer to these areas before your main priming step
Expert note: Address these issues immediately after deglossing while your workspace is set up—fixing them later means re-prepping the entire cabinet.
Priming Techniques for Maximum Paint Adhesion
Deglosser prepares the surface, but proper priming creates the foundation for durable paint:
- Choose a bonding primer specifically for glossy surfaces
- Apply thin, even coats with quality brushes (synthetic for water-based, natural bristle for oil-based)
- Allow full drying time before sanding (check label for minimums)
- Lightly sand with 220-grit paper to smooth brush marks, then wipe clean
Critical mistake to avoid: Never skip priming after deglossing—this defeats much of your preparation work and leads to premature paint failure.
Painting Your Deglossed Cabinets for Long-Lasting Results
With proper prep complete, your paint choice becomes crucial for durability:
- Acrylic enamel: Best all-around choice—durable, low odor, water-based cleanup
- Oil-based alkyd: Superior flow and leveling but requires mineral spirits cleanup
- Apply in thin coats: Two to three thin coats beat one thick coat every time
- Sand lightly between coats: Use 320-grit paper to create mechanical adhesion
Pro tip: Use a paint sprayer for the smoothest finish, but practice on scrap material first—cabinet doors require steady, even passes.
Avoiding These 5 Costly Deglosser Mistakes
Even experienced DIYers ruin cabinet projects with these preventable errors:
- Skipping thorough cleaning—grease blocks deglosser effectiveness
- Applying to wet surfaces—water dilutes deglosser chemistry
- Rushing between steps—each product needs proper dwell and dry time
- Using cheap brushes—they shed bristles and leave visible marks
- Neglecting ventilation—creates health hazards and slows drying
Time-saving shortcut: Work on cabinet doors first while they’re removed—this prevents drips on cabinet boxes and lets you focus on one component at a time.
When to Hire a Professional Instead
Some situations warrant calling in experts:
- Extensive damage requiring structural repairs or panel replacement
- When you need spray-finish quality (brush/roll looks acceptable but not professional)
- If you’re on a tight timeline—a pro crew completes kitchens in 1-3 days versus 1-2 weeks DIY
- When you’re uncertain about products or techniques
Final tip: Even if you hire pros, understanding this process helps you evaluate their work and avoid being overcharged for basic services.
Using deglosser on kitchen cabinets properly eliminates the most tedious part of cabinet refinishing while delivering professional results. By selecting the right product, cleaning thoroughly, applying deglosser correctly, and following through with proper priming and painting, you’ll achieve a kitchen transformation that lasts for years. Remember: the key to success isn’t special tools or expensive products—it’s respecting each step in the process. Rush through prep, and your paint will fail; take your time, and you’ll enjoy beautiful cabinets that withstand daily kitchen life. Your dream kitchen update starts with the right preparation—now you know exactly how to do it right.


