
Water damage transforms sturdy kitchen cabinets into warped, swollen, and structurally compromised fixtures overnight. Whether caused by a slow leak under the sink, an appliance malfunction, or persistent humidity, water infiltration can ruin your kitchen’s appearance and functionality. Knowing how to repair kitchen cabinets with water damage saves you from costly replacements and restores your kitchen’s value. This guide provides step-by-step instructions to identify damage severity, execute proper repairs, and prevent future problems.
Identify Water Damage Signs Before It’s Too Late
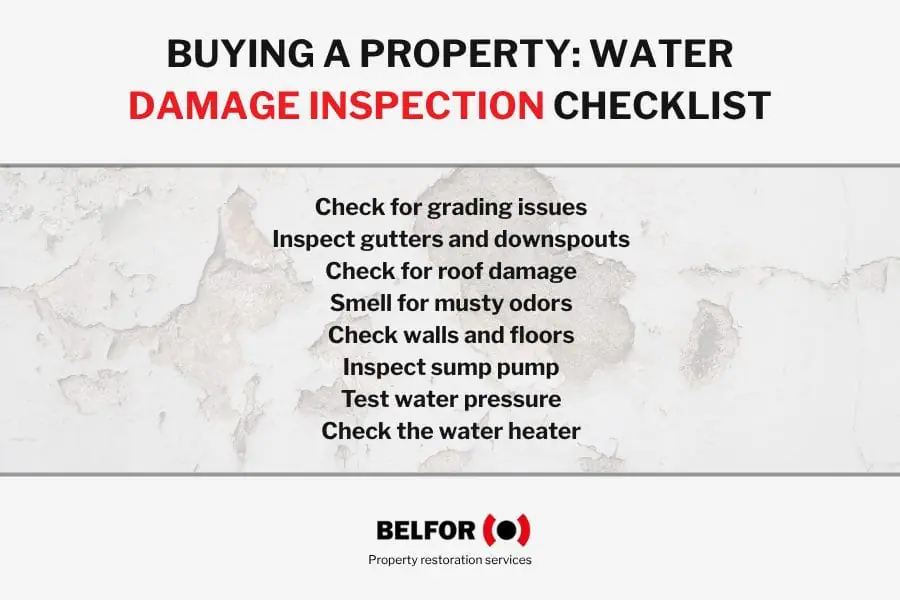
Recognizing water damage early saves substantial repair costs and prevents complete cabinet replacement. Both visible indicators and hidden warning signs should prompt immediate investigation.
Surface Indicators That Signal Trouble
Water damage manifests in several visible ways across cabinet surfaces. Bubbling or peeling paint and finish often appears first as moisture works its way through protective layers. Discoloration and staining—typically dark or amber-colored water marks—indicate where water has penetrated and affected the underlying material. These stains may appear on cabinet doors, end panels, or interior surfaces.
Swelling and bulging represent more advanced damage, particularly in cabinets constructed from particle board or MDF. When pressed, affected areas feel soft or spongy rather than firm. Warping occurs when uneven moisture exposure causes wood materials to distort, resulting in cabinet doors that no longer lie flat against the frame or rub against neighboring doors. Cracking and splitting along edges and joints develop as wood fibers separate under moisture stress.
Olfactory and Structural Warnings
A musty or mildew smell emanating from cabinets almost always indicates ongoing moisture problems and potential mold growth. This odor proves particularly noticeable in lower cabinets near the floor or in cabinets housing plumbing fixtures. Structural warning signs include doors and drawers that no longer align properly, hardware that has loosened or failed prematurely, and visible mold or mildew colonies appearing as black, green, or white spots. Pressing firmly on cabinet surfaces reveals soft spots where material has begun to deteriorate—severely damaged particle board will crumble or allow a screwdriver to penetrate easily.
Assess Damage Severity to Determine Repair Strategy
Thorough assessment determines whether damaged cabinets can be repaired or require complete replacement. Making this determination correctly prevents both unnecessary expense and future problems from inadequately restored cabinets.
Inspection Procedures for Complete Evaluation
Begin your inspection with all cabinet doors and drawers fully open. Use a flashlight to illuminate dark corners and shadowed areas, examining every surface including interior walls, shelves, floors, and the underside of cabinet tops. Look for discoloration, warping, mold growth, and physical deterioration throughout. Pay particular attention to areas near plumbing fixtures where leaks commonly originate, and along cabinet floors where water naturally accumulates.
Physical testing complements visual examination. Press firmly on surfaces throughout the cabinet interior and exterior—solid, intact material feels firm and resists pressure, while damaged material feels soft or spongy. Test corners, edges, and joints specifically, as these areas often show damage first. For particle board, probe gently with a small tool; severely damaged material crumbles or allows easy penetration.
Repair Versus Replacement Decision Guide
Several factors influence whether damaged cabinets can be repaired or require replacement. Surface damage affecting only the finish or a thin outer layer can often be sanded and refinished. Structural damage affecting the core material typically requires replacement of affected components. Complete saturation of particle board usually necessitates replacement because the material cannot be adequately dried and restored to its original properties.
Damage location affects repair feasibility significantly. Damage isolated to a single door or drawer front can often be resolved by replacing just that component. Damage to the cabinet box structure, particularly at corners or joints, may require more extensive intervention. Water damage concentrated at cabinet bases often requires floor panel replacement, while ceiling-level damage from upper-floor leaks may affect cabinet tops.
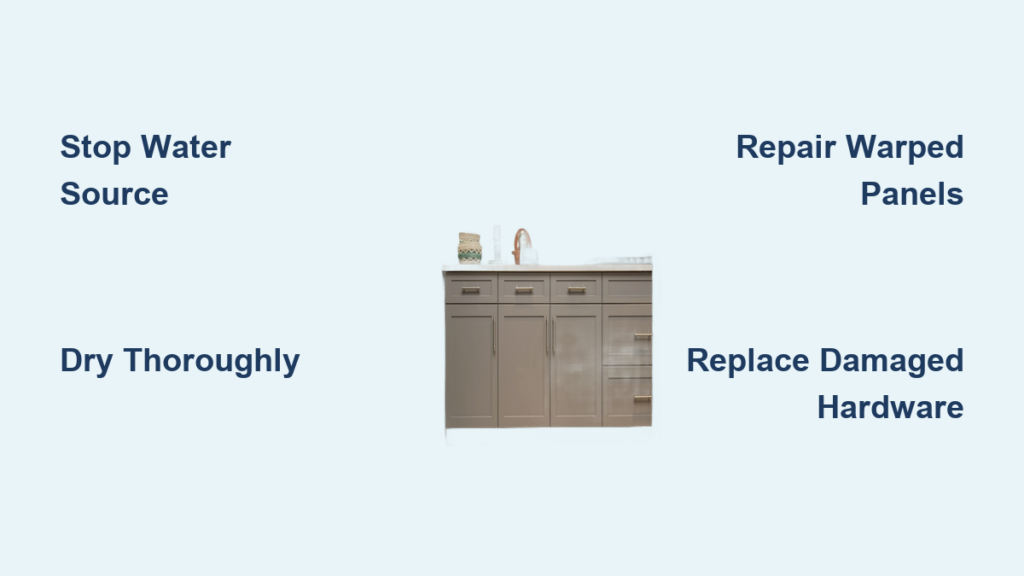
Stop Water Intrusion Before Repairing Cabinets
Addressing the water source must occur before any repair work begins. Continuing water exposure defeats repair efforts and causes additional damage.
Immediate Plumbing Response
For plumbing emergencies, locate and close the appropriate shutoff valve—typically found under the sink for supply line issues or at the main water supply for major leaks. Place containers to catch any continuing drips. For active leaks from pipes within walls, professional emergency plumbing service becomes necessary. Appliance issues often involve supply line failures; disconnect power to the appliance before addressing water supply lines, then replace damaged supply lines with new braided stainless steel lines that offer superior durability.
Temporary measures while awaiting permanent repairs include applying waterproof tape over small leaks, positioning towels and containers to manage continuing drips, and using buckets or tarps to protect surrounding areas. For roof or wall leaks, placing buckets beneath drips and covering furniture and flooring provides temporary protection until permanent repairs can be completed.
Dry Out Affected Cabinets Thoroughly
Prompt and thorough drying limits damage extent and prevents mold growth. Effective drying requires both time and appropriate techniques.
Removing Standing Water and Increasing Air Circulation
Remove standing water using wet vacuums, pumps, or towels depending on water depth. For cabinet interiors, absorbent towels and shop vacuums typically suffice. Remove drawers and doors completely to allow air circulation to all surfaces. Place removed components in a dry, well-ventilated area away from direct heat, which can cause warping.
Increase air circulation using fans positioned to create airflow through and around affected cabinets. Box fans, oscillating fans, and exhaust fans all contribute to drying. Position fans to push fresh air into enclosed spaces rather than simply circulating existing humid air. Running a dehumidifier in the room dramatically accelerates drying by removing moisture from the air. Continue drying efforts until moisture meter readings consistently indicate levels below 15-20%.
Repair Surface Finish Damage on Water-Affected Cabinets
Water exposure often damages cabinet finishes before affecting the underlying structure. Restoring the finish requires proper surface preparation and appropriate refinishing techniques.
Stripping and Sanding for Fresh Finish
Stripping old finishes becomes necessary when water damage has caused bubbling, peeling, or discoloration that cannot be sanded out. Chemical strippers remove paint and varnish layers effectively but require careful application and proper ventilation. Apply stripper according to manufacturer instructions, allow it to work for the specified time, then scrape away softened finish using a putty knife. Multiple applications may be necessary for thick or multiple finish layers.
Sanding creates a smooth surface for new finish application. Begin with 120-grit sandpaper to remove remaining finish and smooth damaged areas, then progress through 180-grit and finally 220-grit for a refined surface. Sand in the direction of the wood grain to avoid creating visible scratches. Clean all dust from surfaces using tack cloths before applying new finish.
Fix Warped Panels and Doors Caused by Water Exposure
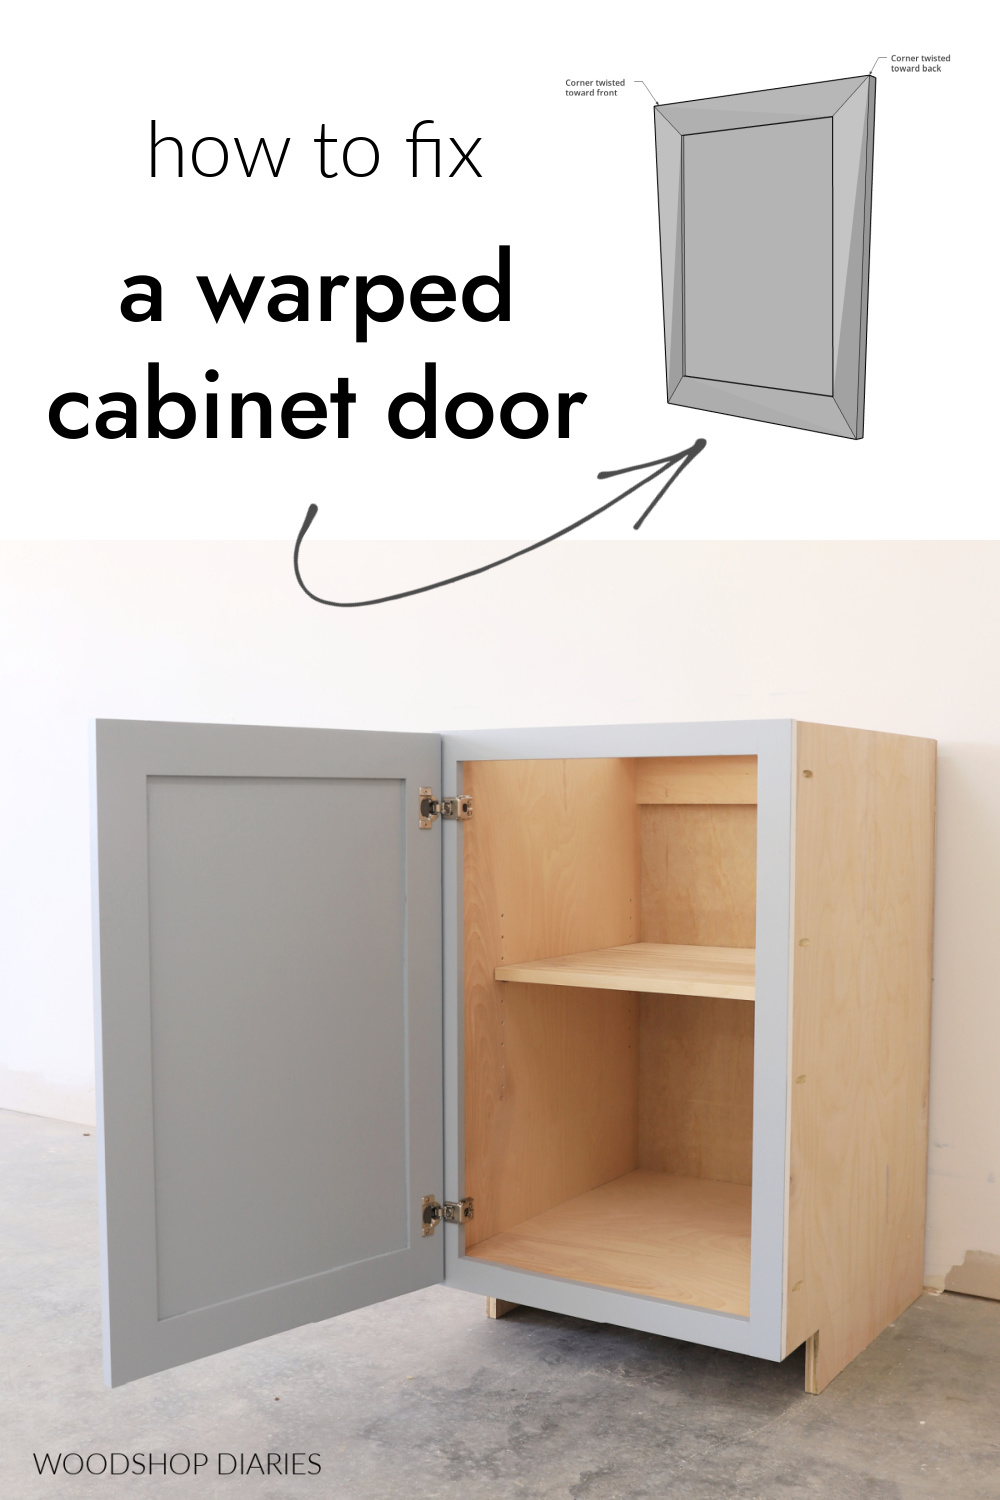
Warping occurs when uneven moisture exposure causes wood materials to swell and distort. Addressing warped components may require repair or replacement depending on severity.
Addressing Minor and Moderate Warping
Minor warping in solid wood doors may respond to weighted clamping. Remove the door and place it on a flat surface with heavy weights applied to the warped areas. This technique works best when combined with controlled drying—applying weight while the wood still contains excess moisture produces better results. Allow several days for the wood to gradually return to its original shape.
Moderate warping in panel doors can often be addressed by removing the affected panel and replacing it. This approach requires basic carpentry skills and appropriate tools. Measure the panel accurately, purchase or cut a replacement, and install it using wood glue and appropriate fasteners. Paint or finish the replacement panel to match existing components.
Restore Cabinet Structure After Water Damage
Water damage affecting cabinet box structure requires careful assessment and appropriate repair techniques. Structural integrity proves essential for cabinet function and longevity.
Corner Joint and Floor Panel Repair
Corner joints represent the most common structural failure point. When corner joints have separated or rotted, reinforcement or reconstruction becomes necessary. For exposed corner joints, wooden dowels or pocket screws provide strong reinforcement. Apply wood glue to clean, dry joint surfaces, insert dowels or drive screws, and clamp until the glue cures. For concealed or severely damaged joints, rebuilding the corner using new material may be necessary.
Floor panel replacement becomes necessary when cabinet floors have softened or deteriorated from water exposure. Support the cabinet from below using temporary blocking. Cut out the damaged floor section using a circular saw set to the correct depth to avoid cutting into surrounding material. Measure and cut new flooring from matching material, test the fit, then secure with appropriate adhesive and fasteners. Allow adhesive to cure fully before removing temporary support.
Replace Damaged Hardware on Water-Affected Cabinets
Water exposure frequently damages cabinet hardware, requiring replacement or restoration of hinges, handles, and drawer slides.
Hinge and Drawer Slide Service
Inspect hinges thoroughly for rust, corrosion, or physical damage. Remove doors and assess each hinge carefully. Clean minor surface rust using white vinegar or commercial rust remover, then apply rust-inhibiting primer and paint. Replace severely damaged hinges with new units matching the original style and mounting pattern. Adjust new hinges to ensure proper door alignment and operation.
Drawer slide service involves removing drawers and cleaning or replacing slides. Wipe accumulated debris from slides and rollers. Lubricate moving parts with silicone-based lubricant rather than oil-based products, which attract dirt and can gum up mechanisms. Replace slides showing excessive wear, bending, or corrosion. Full-extension slides improve drawer function and are available in sizes matching most cabinets.
When to Call Professionals for Cabinet Water Damage
Certain situations warrant professional expertise rather than DIY repair.
Indicators for Professional Intervention
Extensive damage affecting multiple cabinets or requiring significant structural work typically benefits from professional attention. Professionals possess specialized tools, experience, and manpower to complete large projects efficiently. Mold remediation involving significant mold growth requires professional handling due to health risks and the need for specialized containment equipment.
Plumbing-related damage should involve plumbers to ensure the water source is properly addressed before cabinet repair begins. Improper plumbing repairs can lead to continued damage and more expensive repairs later. Custom or high-value cabinets may require professional restoration to preserve value and ensure proper technique—antique cabinets, custom millwork, and high-end cabinetry warrant specialized professional attention.
Prevent Future Water Damage to Kitchen Cabinets
Preventing recurrence requires addressing water intrusion sources and implementing protective measures.
Addressing Underlying Causes
Plumbing maintenance prevents the most common cabinet water damage. Inspect supply lines to sinks, dishwashers, and refrigerators annually. Replace rubber supply lines with braided stainless steel for improved durability. Check drain connections and garbage disposal mounts for tightness. Test shutoff valves to ensure they operate properly.
Appliance maintenance includes regular inspection of dishwasher doors and seals, refrigerator ice maker connections, and water dispenser lines. Replace seals and connections at first sign of deterioration. Install leak detectors near appliances to provide early warning of problems. Ensure kitchen exhaust fans vent to outside rather than into attic or wall spaces, and use exhaust fans during and after cooking to remove steam.
Cabinet Protection Strategies
Apply water-resistant barriers behind sink cabinets and near plumbing fixtures. Waterproof underlayment or plastic sheeting provides a barrier between potential leaks and cabinet materials. Caulk around pipe penetrations through cabinet floors and walls. Clean up spills immediately, particularly near cabinet bases and around sinks. Check under sinks regularly for signs of leaks or moisture accumulation.
Place moisture sensors near potential leak sources for early warning. Battery-operated sensors sound alarms when moisture is detected, while smart sensors can send notifications to phones for remote monitoring. Continue regular monthly inspections even after repairs, watching for musty odors that often precede visible mold growth. Address any new signs of water intrusion immediately to prevent small problems from becoming major repairs.
Final Thoughts
Repairing kitchen cabinets with water damage requires systematic assessment, appropriate repair techniques, and attention to preventing recurrence. The approach ranges from simple surface repairs for minor damage to complete cabinet replacement for severe cases. Success depends on accurate damage assessment, proper repair techniques, and addressing underlying causes to prevent future problems.
Whether undertaking repairs as a DIY project or coordinating with professionals, understanding the principles outlined in this guide enables informed decision-making and quality outcomes. Regular maintenance and prompt attention to developing problems protect your investment and ensure your kitchen cabinets serve your home well for years to come. The key to successful cabinet repair lies in balancing immediate repair costs against long-term durability, addressing both visible damage and hidden structural concerns, and implementing preventive measures to protect against future water intrusion.


