
Knotty pine kitchen cabinets bring rustic warmth to any home, but their distinctive character creates unique refinishing challenges that leave many DIYers frustrated with uneven, blotchy results. Unlike smoother hardwoods, knotty pine’s soft grain and prominent knots absorb stains and finishes inconsistently, causing dramatic color variations that can ruin your kitchen transformation. The good news is that with the right preparation, materials, and techniques specifically tailored to pine’s characteristics, you can achieve beautifully refinished cabinets that highlight rather than hide their natural beauty. This guide reveals the exact process professional woodworkers use to refinish knotty pine cabinets successfully, including specialized knot treatment methods and stain application techniques that prevent the blotchiness that plagues most DIY attempts.
Before reaching for sandpaper, understand what makes knotty pine different from other cabinet woods. Pine contains large resin pockets around knots and has a softer, more porous grain structure than hardwoods like oak or maple. These characteristics cause traditional staining methods to produce dramatic dark spots around knots while leaving surrounding areas unnaturally light. Many homeowners make the critical mistake of treating pine like harder woods, resulting in disappointing, uneven finishes that require complete redoing. By adjusting your approach specifically for pine’s properties—using proper pre-stain treatments, selecting the right stain types, and applying specialized knot sealing techniques—you’ll transform your dated cabinets into stunning focal points that enhance your kitchen’s value and appeal.
Address Problematic Knots Before Sanding Begins

Knotty pine’s signature character comes with refinishing complications that demand special attention before you touch sandpaper. Open knots with missing filler or cracks require immediate repair to prevent finish from pooling in these voids. Carefully clean out loose debris from knot cavities using a dental pick or small flathead screwdriver, then apply wood hardener to any deteriorated areas surrounding the knot. This critical step strengthens compromised wood fibers that would otherwise crumble during sanding or finish application.
For filling knots and surface imperfections, select a two-part epoxy wood filler for maximum durability and minimal shrinkage. Unlike traditional wood fillers that often shrink and crack, epoxy fillers maintain their integrity through temperature and humidity changes. Mix small batches according to package instructions, working the material thoroughly into knot cavities with a plastic putty knife. For large knots, apply multiple thin layers rather than one thick application to prevent excessive shrinkage. Allow each layer to cure partially before applying the next for optimal bonding. Once fully cured, sand filled areas carefully with 150-grit sandpaper wrapped around a hard block to maintain a flat surface.
Sand Knotty Pine with Progressive Grits for Smooth Results
Sanding knotty pine requires a different approach than harder woods to avoid creating tear-out and uneven surfaces. Start with 120-grit sandpaper on your random orbit sander for initial finish removal, moving steadily with the grain direction. Pine’s softness means you need less pressure than with hardwoods—let the sander’s weight do the work to prevent creating low spots around dense knots. Pay special attention to areas surrounding knots, which often develop raised grain edges that need careful leveling.
Progress through 150-grit and 180-grit sandpaper for intermediate smoothing, then finish with 220-grit for your final preparation pass. Between each grit change, wipe surfaces with a tack cloth and inspect under bright light to identify remaining imperfections. When sanding near knots, switch to hand-sanding with folded sandpaper to maintain consistent pressure without creating depressions around the denser knot areas. After your final sanding pass, vacuum all surfaces thoroughly, then wipe with a damp microfiber cloth to raise the grain before your last tack cloth pass. This extra step ensures a perfectly smooth surface that won’t develop roughness after your first coat of finish.
Prevent Blotching with Professional Pre-Stain Treatment
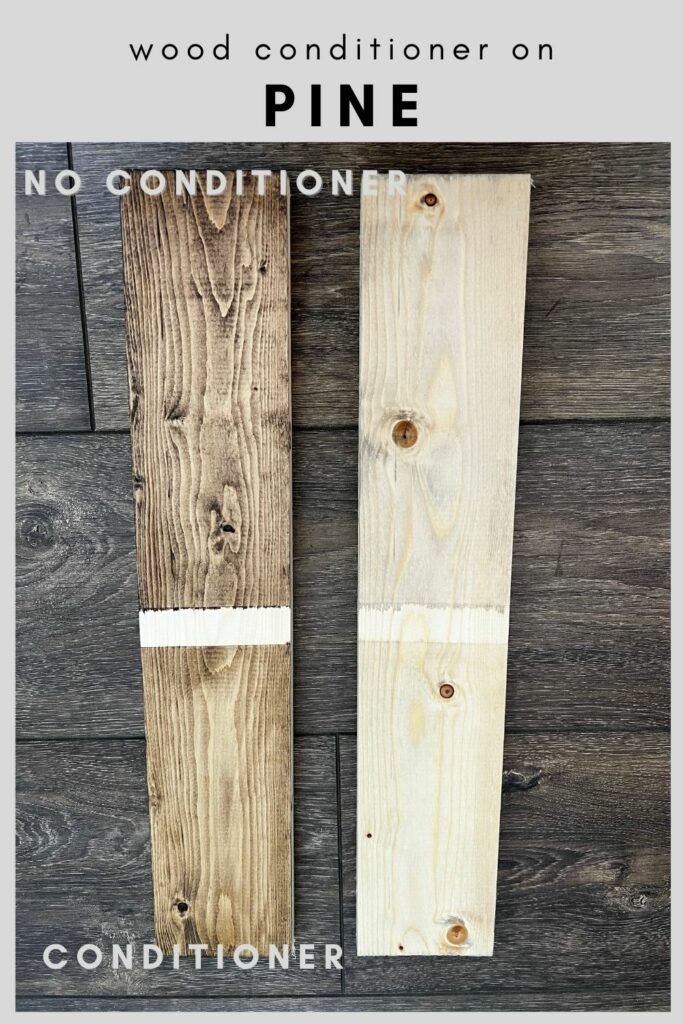
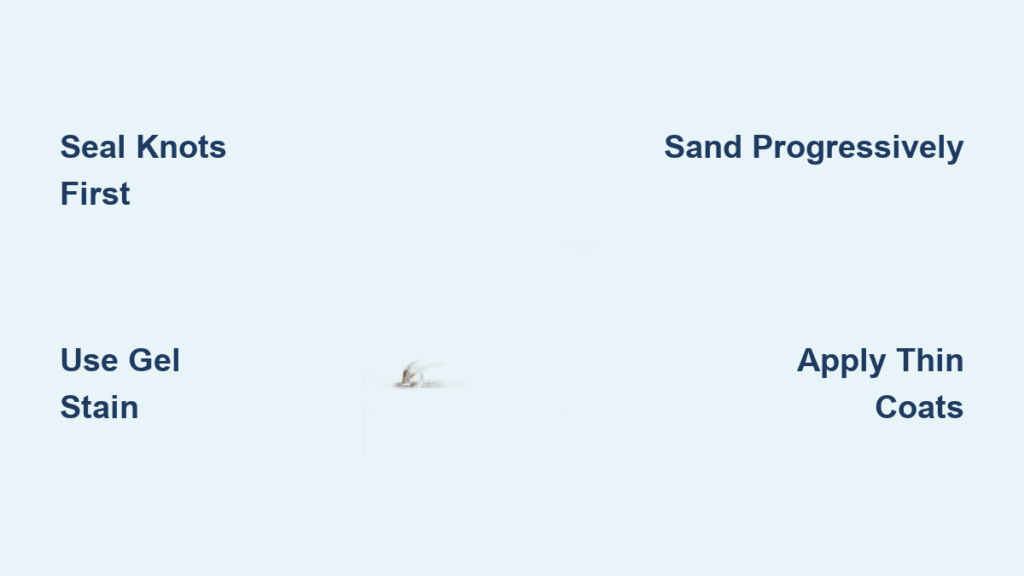
The biggest challenge when refinishing knotty pine is preventing uneven stain absorption that creates dark blotches around knots. Standard pre-stain wood conditioners often fail on pine because they don’t adequately address the dramatic density differences between knots and surrounding wood. Instead, use a two-step sealing process: first apply a thin coat of dewaxed shellac to all knot areas using a small artist’s brush, then follow with a commercial pre-stain wood conditioner over the entire surface.
Apply shellac to knots only, working it into the porous areas without spreading onto surrounding wood. Allow this sealant to dry completely (about 30 minutes), then lightly sand with 320-grit paper to remove any raised fibers. Next, apply your pre-stain conditioner to the entire surface, following product instructions for dwell time. This dual approach prevents excessive stain absorption in knots while allowing appropriate penetration in surrounding wood, creating remarkably even coloration. Test this technique on a hidden cabinet area first—most homeowners are shocked at the dramatic improvement compared to using conditioner alone.
Why Gel Stains Outperform Liquid Stains on Knotty Pine
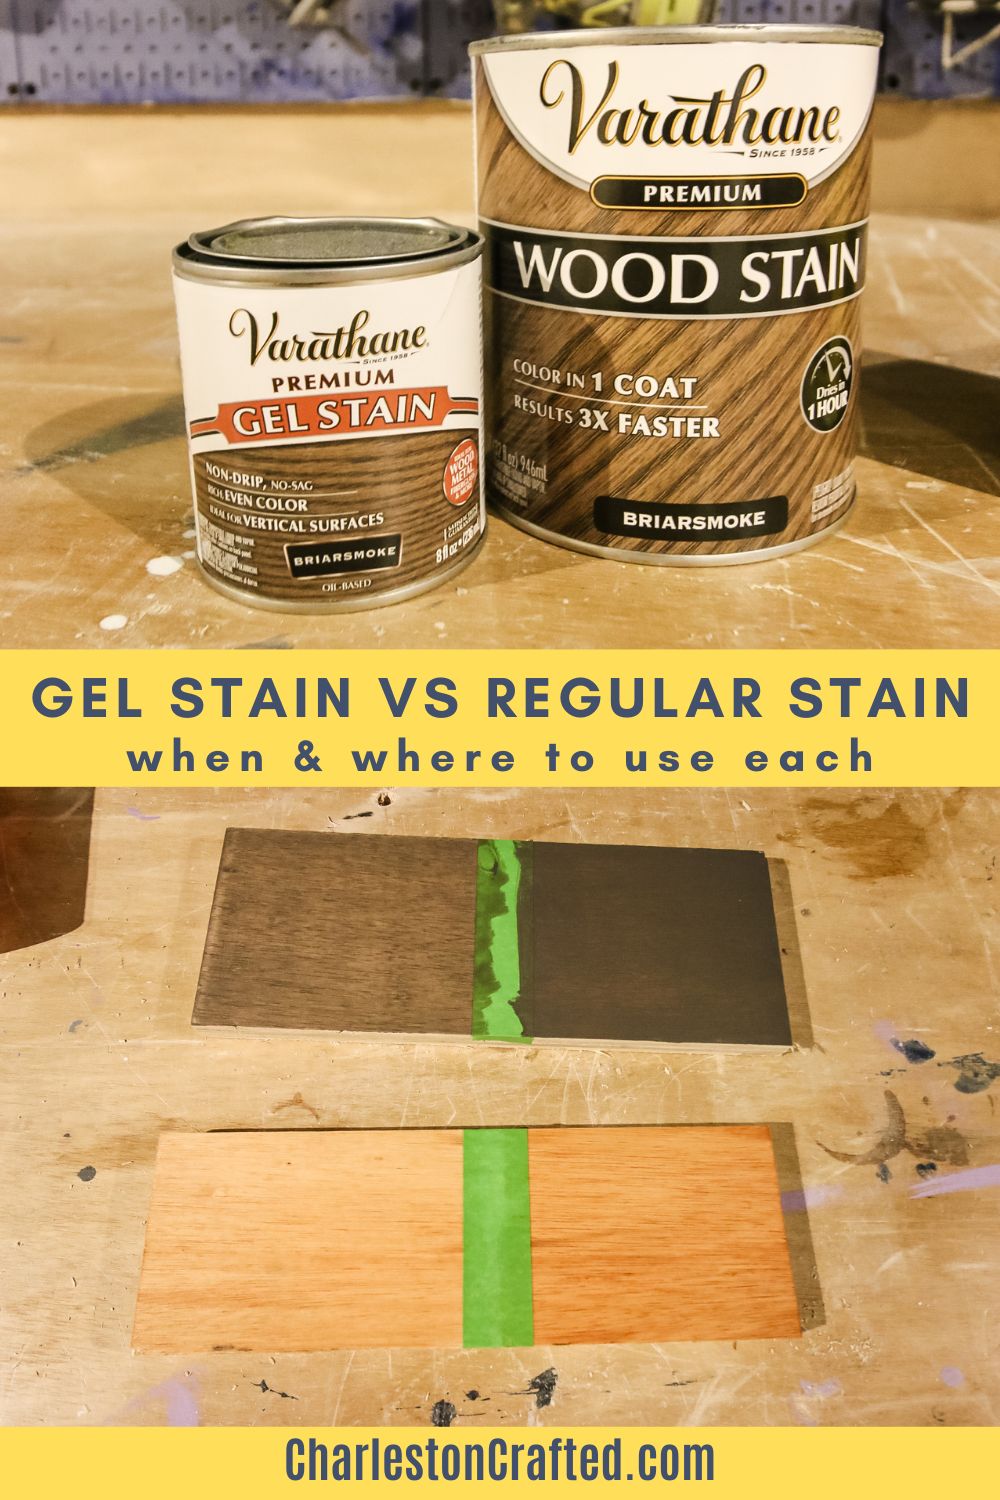
When choosing your stain, opt for a high-quality gel stain rather than traditional liquid stains for significantly more consistent results on knotty pine. Gel stains contain thickeners that prevent deep penetration into the wood, sitting primarily on the surface where you can control the color application. This characteristic makes them ideal for problematic woods like pine that absorb liquid stains unevenly.
Apply gel stain with a clean, lint-free cloth, working in small sections and immediately wiping off excess. Unlike liquid stains that require precise timing before wiping, gel stains give you a more forgiving working window. Focus extra attention on knot areas, applying slightly less product to prevent dark spots while ensuring surrounding wood receives adequate coverage. For best results, apply two thin coats rather than one heavy application, allowing proper drying time between coats. The final color will be more uniform while still preserving the wood’s natural character.
Prime Correctly for Painted or Stained Finishes
Priming serves different purposes depending on whether you’re painting or staining your cabinets. For painted finishes, use a high-adhesion shellac-based primer like BIN to seal the wood and prevent tannin bleed-through that creates yellowish discoloration under light paint colors. Apply primer with a high-quality synthetic brush in thin, even coats, avoiding heavy application that creates brush marks difficult to sand smooth.
When staining, skip traditional primers but consider a thin coat of dewaxed shellac over your entire surface after staining and before topcoating. This intermediate step seals the stain and creates a uniform base for your topcoat, preventing uneven sheen that sometimes occurs with pine. For both painted and stained finishes, allow primer or shellac to dry completely before lightly sanding with 320-grit paper and removing all dust before proceeding.
Apply Topcoat in Thin, Even Layers for Durable Protection
Kitchen cabinets require a durable topcoat that withstands daily use, moisture, and cleaning. Water-based polyurethane offers the best balance of durability, clarity, and ease of application for most DIYers. Its fast drying time allows multiple coats in a single day, and it yellows less over time than oil-based alternatives—critical for maintaining the warmth of knotty pine without adding excessive amber tones.
Apply topcoat in thin, even layers using a high-quality 2-inch synthetic brush, working with the grain direction. Maintain a wet edge to prevent lap marks, but avoid over-brushing which can create bubbles. Allow each coat to dry completely (usually 2-4 hours for water-based products), then lightly sand with 320-grit paper before applying the next coat. Three thin coats typically provide adequate protection for kitchen use, with the final coat left un-sanded for optimal sheen. Allow the finish to cure for at least 72 hours before reinstalling hardware.
Avoid These Costly Knotty Pine Refinishing Mistakes
Skipping the Knot Sealing Step
The single most common mistake when refinishing knotty pine is failing to properly seal knots before staining. Without this critical step, knots absorb excessive stain, creating dramatic dark spots that ruin the uniform appearance. Take the extra time to apply shellac specifically to knots before conditioning the entire surface—this small step makes the difference between professional results and disappointing blotchiness.
Using Inadequate Sanding Techniques
Many DIYers either sand too aggressively, creating low spots around dense knots, or not thoroughly enough, leaving old finish that causes adhesion problems. Use progressive grits with proper technique, paying special attention to the transition areas between knots and surrounding wood. The time invested in proper sanding pays dividends in your final finish quality.
Rushing Between Coats
Impatience between finish coats creates more refinishing failures than almost any other factor. Water-based products may feel dry to the touch in hours but need proper curing time before additional coats. Applying subsequent coats too soon creates adhesion problems that may not appear until months later when the finish begins peeling. Follow manufacturer drying times exactly, and when in doubt, wait longer.
Maintain Your Refinished Knotty Pine Cabinets Properly
After your cabinets have fully cured (typically 30 days), maintain them with gentle cleaning methods that preserve your beautiful new finish. Dust regularly with a soft microfiber cloth, and clean spills immediately with a slightly damp cloth followed by immediate drying. Avoid abrasive cleaners, citrus-based products, or ammonia that degrade finishes over time.
For stubborn kitchen grease, use a mild solution of dish soap and water applied with a soft cloth—never spray directly onto cabinets. Always dry immediately after cleaning to prevent moisture damage. Place felt pads under frequently stored items to prevent scratches, and use cabinet liners to protect against moisture from dishes and cookware. With proper care, your refinished knotty pine cabinets will maintain their beautiful appearance for many years.
Refinishing knotty pine kitchen cabinets successfully requires understanding and working with the wood’s unique characteristics rather than fighting against them. By addressing knots properly, using gel stains with pre-treatment, and applying thin, even finish coats, you transform dated cabinets into stunning kitchen features that showcase pine’s natural warmth without the blotchiness that typically frustrates DIYers. The process demands patience and attention to detail, but the results—a beautifully updated kitchen that retains its distinctive character—make every careful step worthwhile. With these professional techniques in your toolkit, you’ll achieve refinishing results that look like they came from a high-end cabinet shop rather than your own workshop.


