
Tired of staring at outdated, yellowed wood kitchen cabinets but dreading the cost of replacement? You’re not alone—kitchen cabinet replacement ranks among the most expensive home renovations, often costing $15,000 or more. The good news: with the right approach, you can transform those dated wood cabinets into a stunning focal point for less than $500 in materials. This guide reveals exactly how to paint old wood kitchen cabinets properly, avoiding the peeling, chipping, and uneven finishes that plague most DIY attempts. By following these proven steps, you’ll create cabinets that look professionally installed and withstand years of kitchen wear and tear.
Painting wood cabinets isn’t just about slapping on a fresh color—it’s a systematic process where preparation determines 80% of your success. Skip proper cleaning or rush the sanding, and you’ll face premature paint failure that costs more to fix than doing it right the first time. But tackle each stage methodically, and you’ll enjoy beautiful, durable cabinets that elevate your entire kitchen’s appearance. Let’s dive into the specific steps that separate amateur attempts from professional-quality results.
Diagnose Your Cabinet Condition Before Buying Supplies
Skipping this critical assessment leads to mid-project surprises that derail your timeline and budget. Not all wood cabinets respond the same to painting—your approach depends entirely on their current state.
Identify Your Existing Finish Type
Run your fingernail across an inconspicuous area like the inside of a cabinet door. If it leaves a white scratch mark, you’re dealing with previously painted cabinets. If no mark appears but the surface feels slightly waxy, you likely have stained wood with a polyurethane or varnish topcoat. This distinction matters because painted surfaces require different preparation than stained finishes.
Pay special attention to high-touch areas around handles where the finish has worn thin. These spots often reveal the underlying wood color, indicating how many layers of finish you’re working with. Previous owners may have painted over stained cabinets multiple times, creating a buildup that requires aggressive sanding before you can achieve proper adhesion.
Document Specific Problem Areas
Create a room-by-room checklist noting:
– Water damage spots (soft, discolored wood near sinks)
– Veneer lifting at edges or corners
– Deep scratches in high-traffic zones
– Areas with heavy grease accumulation
This inventory prevents mid-project supply shortages and helps you budget time realistically. Most DIYers underestimate how long problem areas take to repair—allowing extra time for damaged sections prevents rushed work that compromises your final result.
Assemble Professional-Grade Materials for Lasting Results
Hardware store recommendations often steer beginners toward inadequate products that fail within months. Invest in these specific supplies to ensure your paint job withstands kitchen conditions.
Cleaning Solutions That Actually Remove Kitchen Grime
Standard dish soap won’t cut through years of cooking residue. You need a dedicated degreaser like Krud Kutter or a diluted TSP solution (1/4 cup TSP per gallon of warm water). Purchase at least two large bottles—you’ll use more than expected during the initial cleaning phase. Pair this with microfiber cloths (not paper towels that leave lint) and soft-bristled nylon brushes for textured cabinet surfaces.
Don’t skip the final rinse step with clean water—even invisible degreaser residue prevents proper paint adhesion. Keep several buckets on hand: one for cleaning solution, one for rinse water, and one for dirty water disposal.
Primers That Prevent Common Failures
This is where most DIY projects fail. Standard wall primer lacks the adhesion strength needed for cabinet surfaces. Instead, choose one of these professional options:
- BIN Shellac Primer: The gold standard for blocking stains and ensuring adhesion (use for water-damaged areas)
- Zinsser Cover Stain: Superior for previously stained cabinets with tannin bleed issues
- Kilz Adhesion: Water-based alternative with excellent bonding properties and low odor
Purchase enough primer to apply two thin coats—most beginners underestimate coverage needs and run out mid-project.
Execute Flawless Surface Preparation (The Make-or-Break Stage)
Proper preparation accounts for 90% of your final result’s quality. Rush this phase, and no amount of high-end paint will save your project.
Remove Every Trace of Grease and Wax
Apply degreaser liberally to cabinet surfaces using a spray bottle, then scrub in circular motions with a microfiber cloth. Focus extra attention on areas within 18 inches of your stove—these zones accumulate the heaviest grease buildup. Rinse thoroughly with clean water and dry completely with lint-free towels.
Test your cleaning success with the “white glove test”: rub a clean white cloth across the surface. If any yellow or brown residue appears, repeat the cleaning process. Grease contamination causes paint to peel within weeks, so don’t proceed until surfaces pass this test.
Sand Strategically for Maximum Adhesion
Start with 120-grit sandpaper to remove the glossy finish, sanding in the direction of the wood grain. Your goal isn’t complete finish removal but creating a “tooth” for primer to grip. Switch to 220-grit for the final sanding pass to smooth the surface.
Pay special attention to detailed areas—wrap sandpaper around a pencil eraser to reach into grooves. After sanding, vacuum all surfaces with a brush attachment, then wipe with a tack cloth to remove invisible dust particles. Any remaining dust creates texture problems that show through your finish coats.
Apply Paint Like a Cabinet Refinishing Professional
The application stage transforms your prepared surfaces, but technique determines whether results look DIY or professionally done.
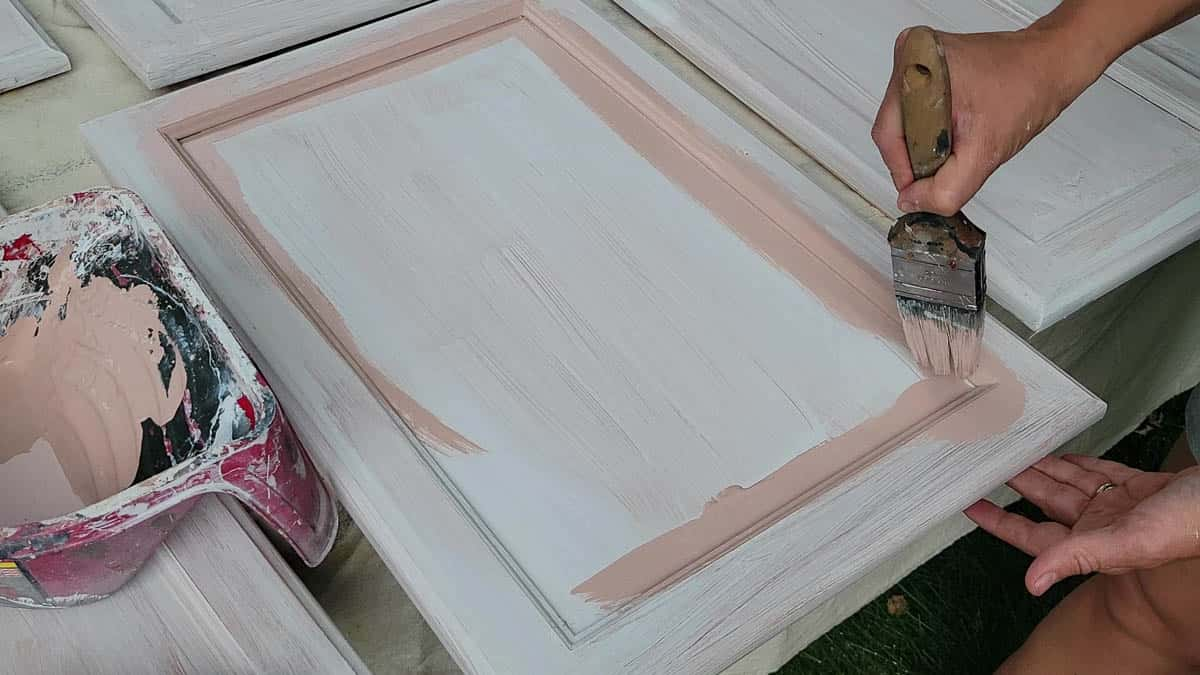
Master the Two-Coat Painting Method
Apply your first paint coat thinner than you think necessary—thick coats lead to drips and extended drying times. Use a high-quality 2-inch angled brush for edges and details, switching to a 4-inch foam roller for flat surfaces. Maintain a wet edge by working top to bottom on each door panel.
Allow the first coat to dry completely (minimum 4 hours for latex paints), then lightly sand with 320-grit paper to remove any texture. Wipe clean with a tack cloth before applying your second coat. Most cabinets require two thin coats for even coverage—never attempt full coverage in one heavy coat.
Avoid These Three Costly Application Mistakes
- Skipping the “test panel”: Paint a hidden cabinet door first to test color and application technique before committing to visible surfaces
- Painting in direct sunlight: Causes premature drying that creates visible lap marks—work in shaded areas or during cooler parts of the day
- Ignoring hardware shadows: Remove all hardware before painting—trying to mask around knobs creates visible lines that require touch-ups
Complete Your Project with Proper Reassembly and Protection
The final stages protect your hard work and ensure your cabinets function beautifully for years.
Allow Adequate Cure Time Before Use
While paint may feel dry within hours, it continues hardening for 30 days. Wait at least 72 hours before reinstalling hardware, and avoid aggressive cleaning for two weeks. During this period, install temporary hardware like cabinet knobs with soft rubber grips to prevent scratching fresh paint.
For high-moisture areas near sinks, apply a clear polyurethane topcoat after the final paint coat has dried 24 hours. This adds an invisible protective layer that resists water damage without changing the paint’s appearance.
Implement Maintenance Habits That Extend Lifespan
Establish these simple routines to keep your newly painted cabinets looking fresh:
– Wipe spills immediately with a damp microfiber cloth
– Clean monthly with a 50/50 vinegar-water solution in a spray bottle
– Apply paste wax every six months to high-touch areas for added protection
– Tighten loose hardware monthly to prevent stress on paint around screw holes
Avoid abrasive cleaners like Comet or harsh degreasers that strip the finish over time. For stubborn marks, use a melamine sponge (like Magic Eraser) with light pressure—never scrub aggressively.
Transform Your Kitchen Without Breaking the Bank
Painting old wood kitchen cabinets delivers one of the highest returns on investment for any DIY project—potentially increasing your home’s value by up to 10% while costing just a fraction of replacement. The key lies in respecting each stage of the process: thorough preparation creates lasting adhesion, quality materials withstand kitchen conditions, and proper technique delivers professional results.
Your newly painted cabinets will transform your kitchen’s entire aesthetic, creating a brighter, more modern space that reflects your personal style. Unlike expensive replacements that follow generic trends, custom-painted cabinets showcase your unique taste while solving the specific challenges of your kitchen layout. Most importantly, you’ll gain the satisfaction of knowing you created this transformation yourself—every time you open a cabinet door, you’ll remember the careful work that made it possible.
Start your cabinet painting project this weekend, and by Monday you’ll be enjoying a kitchen that looks like it came straight from a design magazine—all without draining your savings account or enduring weeks of renovation chaos.


