
Waking up to a kitchen that feels tired and dated can make even your morning coffee routine less enjoyable. When your cabinet doors show signs of wear, your color scheme no longer matches your style, or you simply crave a fresh look, replacing entire kitchen units often seems like the only solution—but at thousands of pounds and weeks of disruption, it’s rarely practical. The good news? Learning how to paint kitchen units properly delivers stunning results for a fraction of the cost and time. Thousands of homeowners have successfully transformed their kitchen spaces with nothing more than quality paint, proper preparation, and this step-by-step guide. You’ll discover exactly how to prepare surfaces correctly, choose the right products for durable results, and apply paint like a professional—without needing special skills or expensive equipment. Let’s turn your kitchen from drab to fab without the stress of a full renovation.
Why Your Kitchen Units Need Proper Surface Preparation
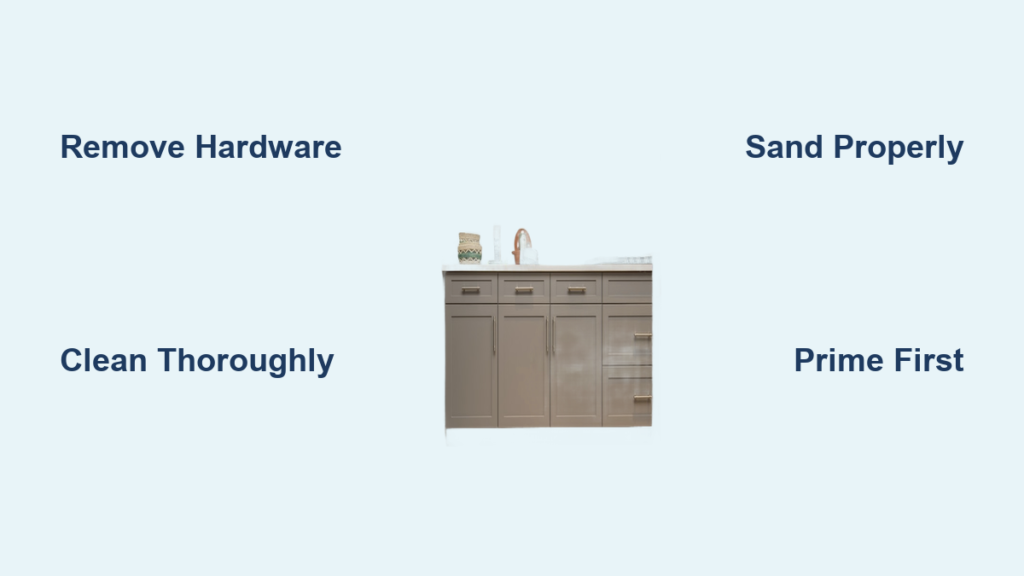
Skipping preparation causes 90% of failed cabinet painting projects. Many DIYers jump straight to painting without addressing the unique challenges kitchen units present: years of accumulated grease, existing finishes that repel new paint, and surfaces exposed to constant moisture and handling. Without proper preparation, your fresh paint will eventually peel, chip, or develop an uneven texture that looks worse than the original cabinets.
Begin by removing all cabinet doors and hardware using a systematic approach. Label each door with painter’s tape indicating its original location—this simple step prevents hours of frustration during reassembly. Place hardware in labeled bags grouped by cabinet location. This organization pays off when you’re ready to reinstall everything perfectly. While doors are off, inspect each surface for damage like cracks, dents, or loose joints. Addressing these issues now creates a flawless base for your new finish.
Essential Cleaning Process for Grease Removal
Kitchen units accumulate invisible grease films that prevent paint adhesion, even on surfaces that appear clean. This invisible barrier causes paint to peel months after your project, making thorough cleaning non-negotiable. Create a cleaning solution with warm water and a few drops of dish soap or dedicated degreaser, applying it with a soft cloth working in the direction of the wood grain.
Pay special attention to areas around handles and near cooking zones where grease builds up most heavily. Rinse thoroughly with clean water to remove all soap residue, then allow complete drying before proceeding. For stubborn grease, use a vinegar-water solution or fine steel wool (gently, with the grain). Never skip the tack cloth step after cleaning—this specialized cloth removes microscopic dust particles that would otherwise create a bumpy finish visible under your new paint.
Sanding Techniques for Maximum Paint Adhesion
Proper sanding creates the ideal surface texture for paint to grip effectively. Start with 120-grit sandpaper to remove gloss from existing finishes, using moderate pressure and following the wood grain direction. This initial pass isn’t about removing material but creating “tooth” for the primer to adhere to. Focus on all surfaces, including edges and corners where previous finishes often build up.
After the first sanding pass, switch to 180-grit paper for a smoother finish that eliminates visible scratch patterns. Use sanding sponges for detailed areas and cabinet frames with intricate molding. Vacuum all surfaces thoroughly with a brush attachment, then finish with a tack cloth to remove every trace of dust. Skipping this step leaves particles that will create imperfections in your final finish—visible even through multiple paint coats.
Primer Selection and Application Strategies
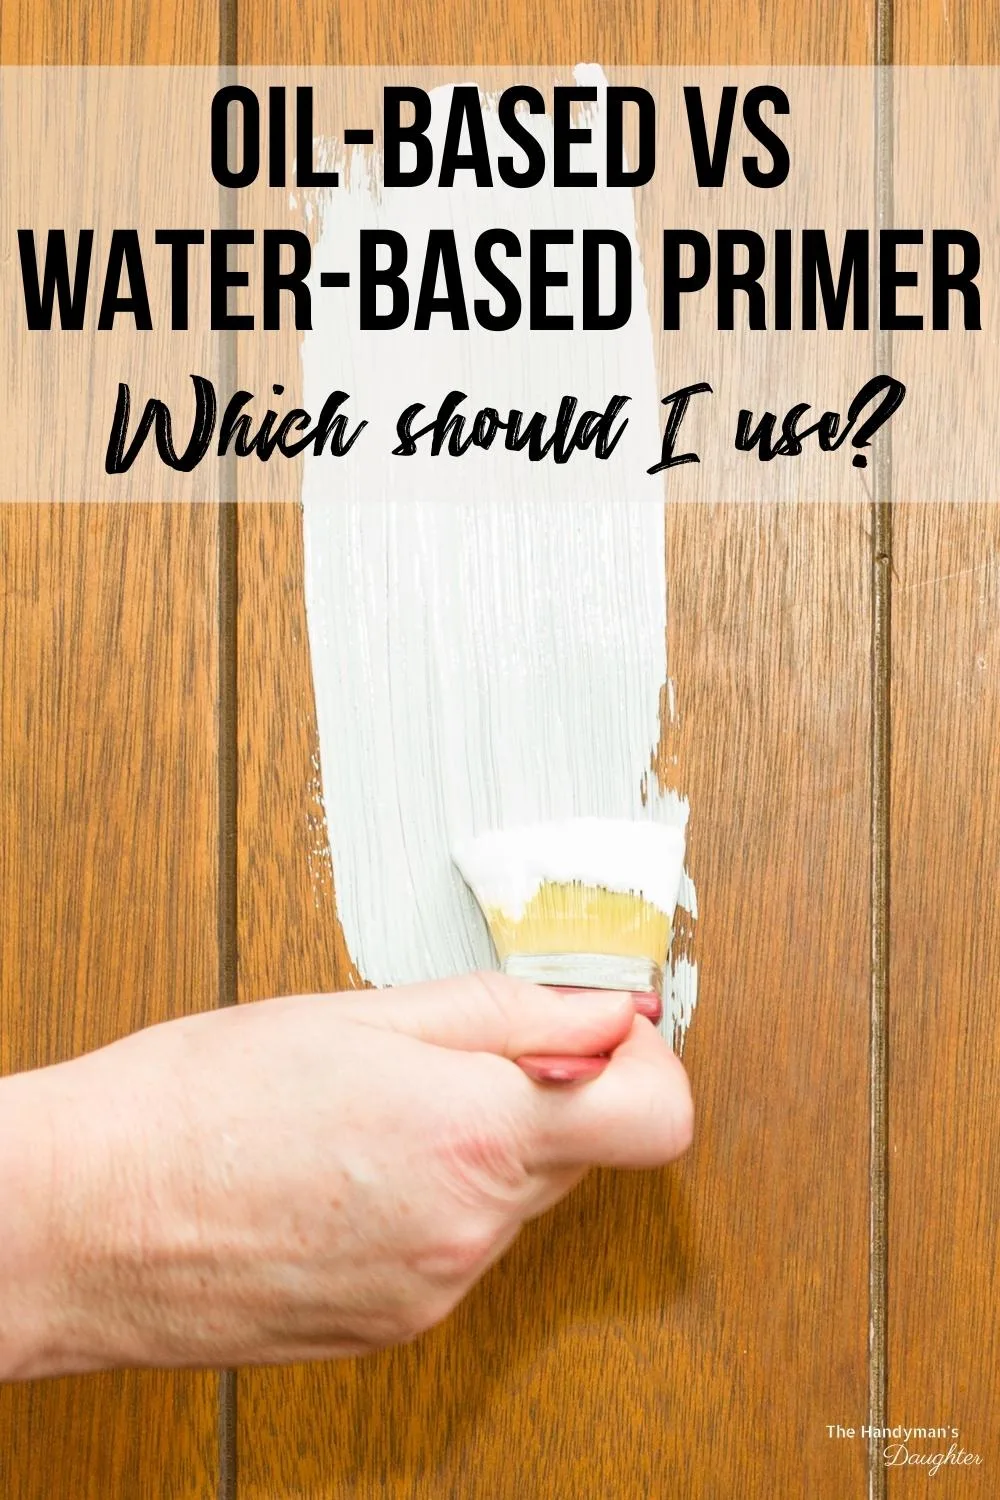
Choosing the right primer makes the difference between a finish that lasts years and one that begins peeling within months. Oil-based primers offer superior adhesion on glossy surfaces but require mineral spirits for cleanup. Water-based bonding primers provide excellent results with easier cleanup and lower odor, making them ideal for most DIY projects.
Apply primer using a high-quality 2-inch angled brush for edges and details, switching to a foam roller for flat cabinet surfaces. Maintain a wet edge as you work to prevent lap marks, and apply thin, even coats rather than thick layers that can drip or create texture. Allow the primer to dry completely (typically 2-4 hours), then lightly sand with 220-grit paper before applying a second coat if recommended. This second sanding removes any raised grain or brush marks for an ultra-smooth finish.
Professional-Quality Painting Methods
How to paint kitchen units successfully comes down to technique and patience. Start by stirring your paint thoroughly—not shaking—to avoid creating bubbles that will mar your finish. Use a quality cabinet paint specifically formulated for durability in high-traffic areas, avoiding standard wall paints that lack necessary hardness and moisture resistance.
Apply paint in thin, even coats using long, smooth strokes in the direction of the wood grain. Begin with detailed areas using an angled brush, then move to flat surfaces with a foam roller. Maintain a wet edge to prevent lap marks, and avoid overworking areas that have begun to dry. Allow each coat to dry completely (follow manufacturer instructions) before lightly sanding with 220-grit paper and applying the next coat. Most projects require two to three topcoats for complete, even coverage that withstands daily kitchen use.
Avoid These Costly Painting Mistakes
Many DIYers unknowingly sabotage their kitchen unit painting projects through common errors that seem minor but have major consequences. Applying paint too thickly creates runs, drips, and extended drying times that lead to a poor finish. Instead, multiple thin coats build professional results without these issues—patience pays off in durability.
Using inappropriate tools ranks among the top mistakes—cheap brushes shed bristles into wet paint, while incorrect roller naps leave visible texture. Invest in quality 2-inch angled sash brushes for detail work and foam rollers with short naps for smooth coverage on flat surfaces. Rushing the curing process by reinstalling hardware too soon leaves permanent imprints in your fresh paint—allow at least 24 hours for initial drying and up to three weeks for full cure before heavy use.
Hardware Selection and Reinstallation Tips
Updating your cabinet hardware during reassembly provides maximum visual impact for minimal cost. Measure existing screw holes before purchasing new hardware to ensure compatibility, or be prepared to fill and relocate holes. Brushed nickel, matte black, and brass finishes currently offer the most versatile options that complement various kitchen styles.
When reinstalling doors, use your labeling system to match each door to its original location. Adjust hinges carefully using the manufacturer’s adjustment screws for height, side-to-side position, and compression until doors hang perfectly straight with even gaps. Test drawer operation before fully tightening hardware to ensure smooth movement. This attention to detail creates a custom look that appears professionally installed rather than DIY.
Maintaining Your Newly Painted Kitchen Units
Protect your investment with proper care that extends the life of your painted finish. Allow paint to fully cure (typically 2-3 weeks) before subjecting cabinets to heavy use. During this period, handle doors gently and avoid placing heavy items in drawers that might dent the still-curing surface.
Clean painted cabinets weekly with a soft cloth dampened with water and a small amount of mild dish soap, wiping in the direction of the wood grain. Never use abrasive cleaners or scouring pads that scratch the finish. Address chips immediately by lightly sanding the area, applying matching paint with a small brush, and feathering the edges to blend with surrounding surfaces. Regular maintenance prevents minor damage from becoming noticeable problems.
When to Call a Professional Painter
While painting kitchen units ranks among the most achievable DIY projects, certain situations warrant professional help. If your cabinets have extensive water damage, warped doors, or structural issues, a professional can address these problems before painting. Extremely high-gloss finishes or specialty paints like lacquer require spray equipment and expertise beyond most DIY capabilities.
Consider hiring a professional if you lack time for proper preparation and curing—rushing the process guarantees disappointing results. Professionals complete the job faster with specialized tools and experience, though at significantly higher cost. For most standard kitchen unit painting projects, following this guide delivers professional-looking results that transform your space without professional prices.
Painting your kitchen units successfully transforms your entire kitchen aesthetic without the expense and disruption of a full renovation. By focusing on proper preparation, using quality materials designed for cabinetry, and applying paint with patience and technique, you’ll enjoy beautiful results that withstand daily kitchen use for years. The satisfaction of completing this project yourself, combined with the dramatic visual improvement, makes learning how to paint kitchen units one of the most rewarding home improvement tasks you can undertake. Your newly refreshed kitchen will become the heart of your home once again, inviting you to cook, gather, and create memories in a space that truly reflects your personal style.


