
Food particles permanently lodged in your Cuisinart handle? You’re not alone. That hollow cavity traps hummus fibers, nut butter residue, and vegetable shreds after every use—especially when processing sticky or fibrous foods. Left uncleaned, these hidden deposits cause odors, mold, and even affect your next meal’s flavor. This guide reveals exactly how to clean your Cuisinart food processor handle thoroughly using simple tools you already own. You’ll learn professional techniques to access those impossible-to-reach crevices and prevent future buildup in under 15 minutes.
Why Your Cuisinart Handle Traps Food (and How to Spot Trouble)
That distinctive hollow handle design creates perfect food traps where debris accumulates at connection points and locking mechanisms. Process hummus or shredded carrots, and fibers immediately wedge into the curved cavity where the handle meets the lid. Sticky substances like nut butter or dough compound the problem by cementing particles into textured surfaces. Look for these red flags: a gritty feel when gripping the handle, lingering odors after washing, or visible crumbs escaping when you lift the processor. If water doesn’t flow freely through the handle cavity during rinsing, you’ve got a serious blockage requiring immediate action before mold takes hold.
Critical Inspection Points You’re Missing
- The handle’s interior curve: Where 80% of debris accumulates
- Locking tab crevices: Especially near the pusher slot
- Underside seam lines: Where bowl and handle connect
- Ventilation holes: Tiny openings that trap microscopic particles
Essential Tools for Reaching Deep Handle Crevices

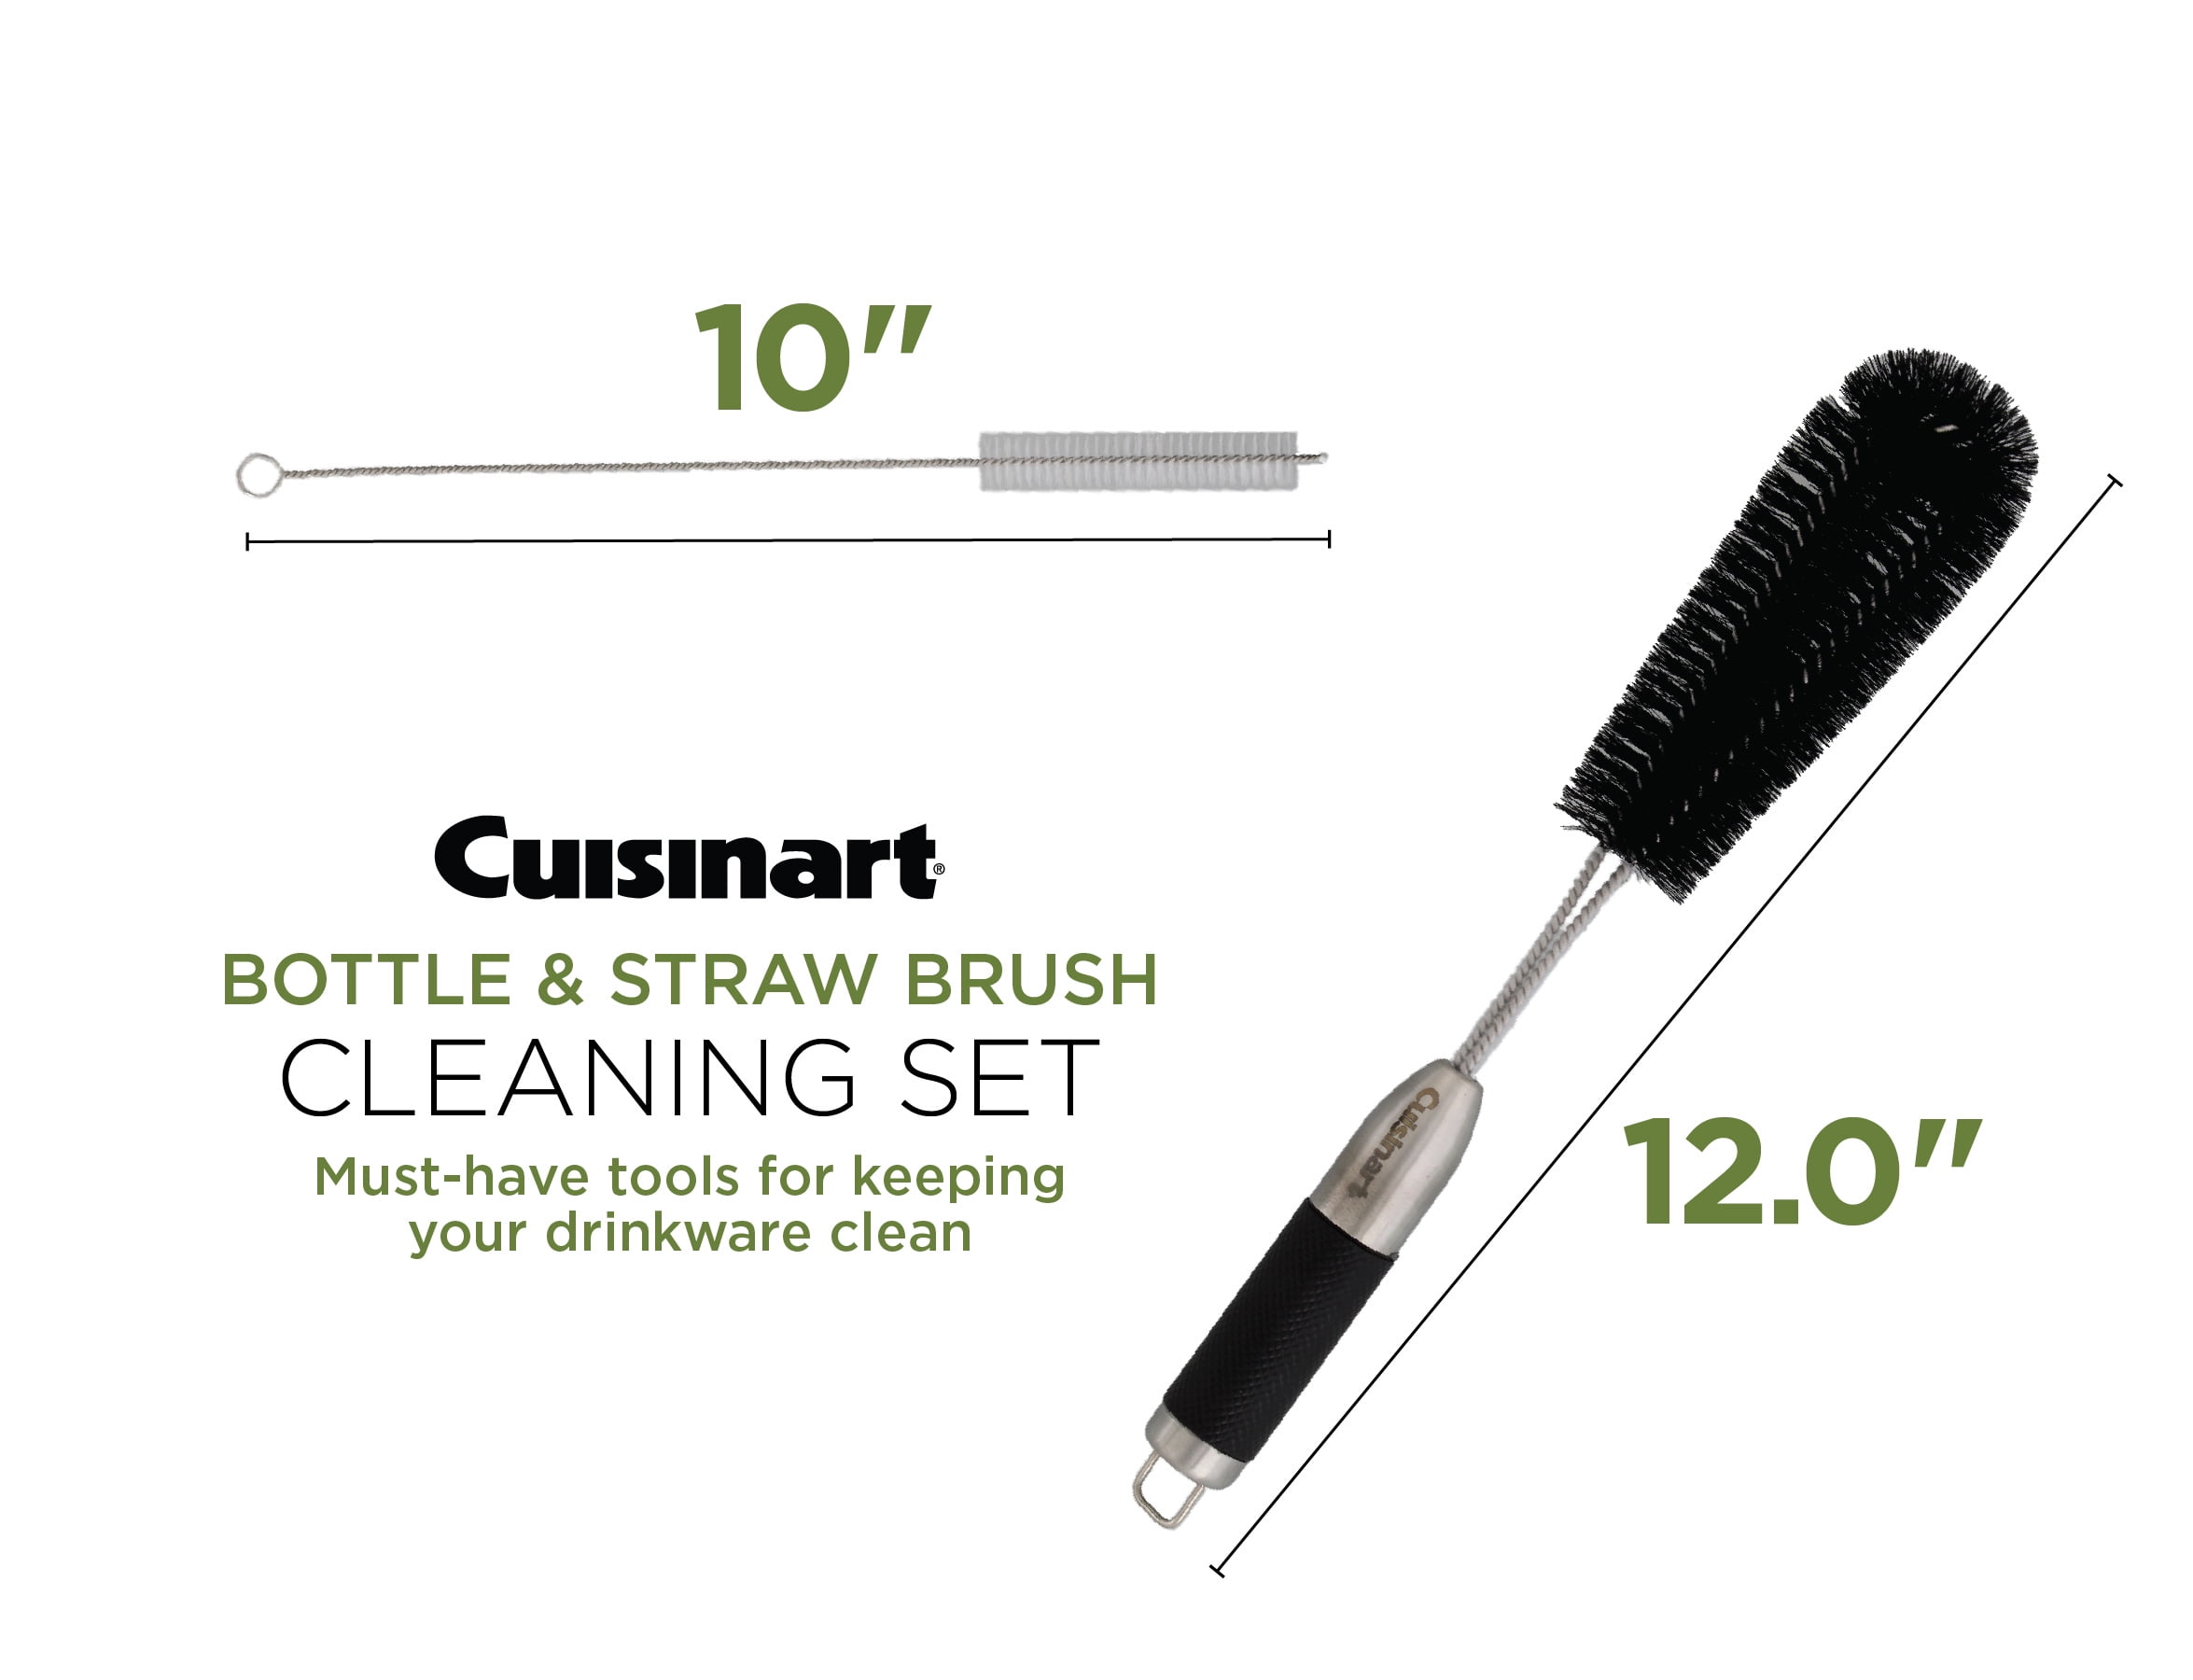
Forget dish sponges—they can’t penetrate the handle’s narrow 3/8-inch interior channel. You need specialized tools designed for confined spaces. A long bottle brush (8-10 inches) with flexible bristles is non-negotiable for navigating the handle’s curves. The OXO water bottle cleaning kit works perfectly, but pipe cleaners wrapped with paper towels make effective substitutes. Never skip these:
– Circular-headed detail brush for textured surfaces
– Toothpicks for dislodging compacted debris
– Q-tips for precision cleaning near locking mechanisms
Cleaning Solutions That Actually Work
- Vinegar solution: Mix 1 part white vinegar with 3 parts warm water for stubborn residue
- Dish soap: Only mild, non-abrasive formulas (Dawn works best)
- Baking soda paste: For mold or discoloration (1 tbsp baking soda + 1 tsp water)
- Avoid bleach: It degrades plastic integrity over time
Step-by-Step: Disassembling Your Cuisinart for Handle Access
Complete disassembly is your first critical step—and where most people fail. Start by removing the bowl from the motor base (never submerge the base!). Next, separate the lid assembly: press the release button while lifting the pusher straight up. For models like the CFP280GMPC, locate the small locking tabs on the shredding cover—apply gentle outward pressure to release it. Pro tip: Photograph each step with your phone to simplify reassembly. If components feel fused, don’t force them; this often indicates dried food acting as glue rather than a manufacturing defect.
Pre-Soak Protocol for Maximum Effectiveness
Submerge all plastic parts (except motor base!) in warm, soapy water for exactly 3-5 minutes. This critical step softens dried hummus and vegetable fibers without warping plastic. Never exceed 5 minutes—prolonged soaking weakens plastic over time. For sticky residues like nut butter, add 2 tablespoons of vinegar to the soak water. After soaking, shake components vigorously to dislodge loosened particles before brushing.
Deep Cleaning Technique: Removing Stuck-On Residue from Handle Interior
Insert your long bottle brush fully into the handle cavity until it emerges from the opposite end. Now, the key technique: move the brush in a corkscrew motion while pulling it through—not just up and down. This rotates bristles against all interior surfaces simultaneously. Focus extra effort on the curved section where the handle angles downward; food compacts hardest here. For textured handles, switch to the circular brush using tight circular motions. Visual verification is crucial: Shine a flashlight through the cavity after brushing—any shadow indicates remaining debris.
Vinegar Boost for Stubborn Residue
When standard brushing fails:
1. Fill the handle cavity using a turkey baster with 1:3 vinegar-water solution
2. Let sit 15 minutes (set a timer—don’t exceed 20 minutes)
3. Reinsert brush and scrub vigorously
4. Rinse with hot water until vinegar smell disappears completely
Warning: Skip this step for mineral deposits—those require a full 30-minute vinegar soak instead.
CFP280GMPC Handle-Specific Cleaning Steps
This popular model has unique challenges: its shredding cover often appears stuck but releases with proper technique. Locate the two small locking tabs near the handle base—press inward while twisting the cover counterclockwise. Critical insight: Some older CFP280 units have non-removable screws; if parts won’t separate after releasing tabs, don’t force them. Instead, clean around the screw heads with a toothpick. For persistent odors in this model, remove the pusher and fill the handle cavity through the top opening—this accesses hidden chambers other models don’t have.
Time-Saving Hack for Weekly Maintenance
Keep your bottle brush stored vertically in a cup near the sink. After each use, spend 60 seconds running the brush through the handle while it’s still damp. This prevents daily buildup from hardening into permanent residue, cutting deep cleaning time by 75%.
Preventing Future Buildup: Daily Habits That Work
Stop overfilling your bowl—this is the #1 cause of handle contamination. Fill only to the “MAX” line; exceeding it forces food into handle crevices during operation. Immediately after processing sticky foods like pesto or dough, run a quick rinse cycle: fill the bowl halfway with warm water, attach lid, and pulse 3-5 times. Store the processor with the lid slightly ajar using a folded paper towel—this prevents moisture buildup that causes mold in the handle cavity. Game-changing habit: Wipe the handle exterior with a vinegar-dampened cloth after every use to neutralize odors before they set.
Troubleshooting Stubborn Handle Issues
Food Lodged Beyond Brush Reach
Use compressed air (like canned air for electronics) to blast debris out. Hold the handle vertically with the opening downward, then short bursts of air—never exceed 30 PSI. If residue remains, try pipe cleaners wrapped with microfiber strips.
Mineral Deposits from Hard Water
Soak the handle in pure white vinegar for 30 minutes (not 15!), then scrub with an old toothbrush. Rinse thoroughly under hot water for 2 full minutes to eliminate vinegar taste transfer.
Mold or Mildew Growth
Apply baking soda paste to affected areas using a Q-tip. Let sit 10 minutes, then scrub gently with the circular brush. Critical: Follow with a full vinegar rinse to kill spores—mold returns if not fully eradicated.
Safety Must-Knows: What NOT to Do When Cleaning
Never use metal tools—even soft-bristled metal brushes scratch plastic, creating new food traps. Avoid hot water above 120°F (49°C) as it warps handle components over time. Crucial warning: Never submerge the motor base, even for “just a quick rinse”—water ingress destroys electronics permanently. When using vinegar, test on an inconspicuous area first; some colored plastics may discolor. Always dry brushes completely before storage to prevent bacterial growth inside bristles.
Creating a Handle Cleaning Schedule for Long-Term Success
Adopt this tiered approach based on usage frequency:
– After every use: 60-second brush-through while components are damp
– Weekly deep clean: 10-minute session for daily users (focus on vinegar treatment)
– Monthly maintenance: Full disassembly and cavity inspection
Proven time metrics: Regular users who implement the 60-second post-use habit reduce deep cleaning time from 15 minutes to under 4 minutes. For neglected handles, budget 12-15 minutes initially—subsequent cleans take half the time once buildup is eliminated. Track your progress in a kitchen notebook; most users see dramatic improvement after just 3 consistent cleaning cycles.
Your Cuisinart food processor handle isn’t meant to harbor hidden food debris. By implementing these specific techniques—especially the corkscrew brushing motion and strategic vinegar treatments—you’ll eliminate stubborn residue that standard washing misses. Remember the golden rule: 60 seconds of post-use maintenance prevents 15 minutes of deep cleaning later. Keep your bottle brush by the sink, master the model-specific disassembly steps, and your processor will deliver fresh, uncontaminated results for years. Start today—your next batch of hummus will taste noticeably cleaner.


