
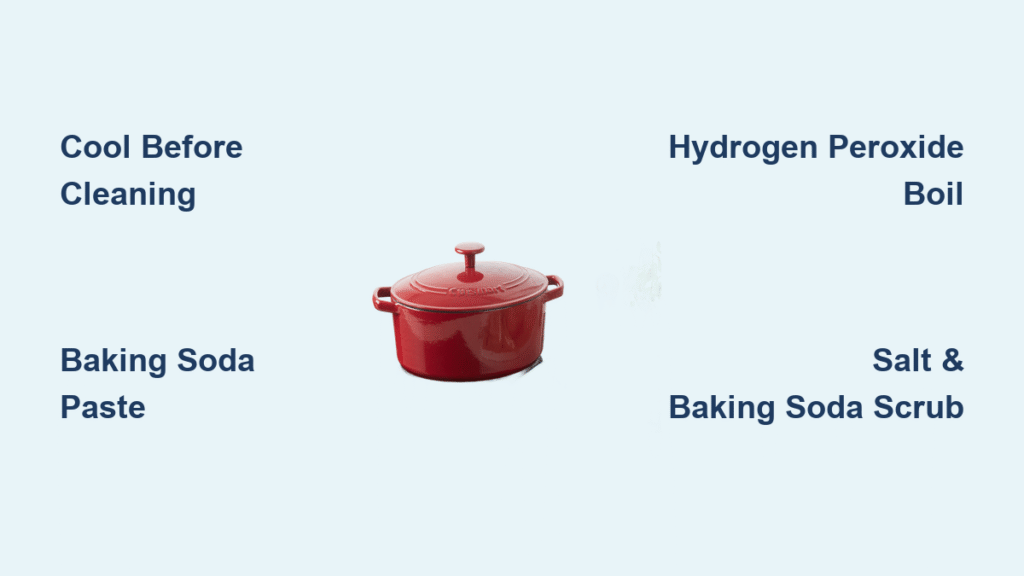
Your Cuisinart Dutch oven has turned into a battle-scarred veteran of countless family meals. That stubborn ring of tomato sauce around the rim won’t budge, and the once-pristine enamel now shows telltale signs of years of service. Before you resort to harsh chemicals or consider replacing this reliable kitchen companion, know that most cleaning challenges have simple solutions using everyday kitchen staples you already own.
This comprehensive guide reveals exactly how to clean Cuisinart Dutch oven surfaces safely and effectively—without risking damage to that precious enamel coating. You’ll discover why some popular cleaning methods actually harm your cookware and learn professional techniques to remove even the most stubborn burnt-on food. Whether you’re dealing with light staining from your weekly stew or severe carbon buildup from an overzealous sear, these proven methods will restore your Dutch oven to its original glory.
Daily Cleaning Method for Routine Maintenance
Start with the gentlest approach first—most everyday messes clean up easily with proper technique and patience. Rushing to harsh methods unnecessarily wears down your enamel over time.
Cool Before Cleaning to Prevent Cracking
Never plunge a hot Cuisinart Dutch oven into cold water. This thermal shock can cause hairline cracks in the enamel that worsen with each use. Let your cookware cool for 15-20 minutes on a heat-resistant surface until it’s warm to the touch but no longer radiating intense heat. This simple waiting period protects your investment and prevents costly damage.
Basic Wash Steps That Actually Work
Fill your cooled Dutch oven with warm water and add just a few drops of mild dish soap. Use a soft sponge or nylon scrub brush with gentle circular motions—never aggressive scrubbing. The key is patience: let the soap work for 5-10 minutes before you start cleaning. Avoid these enamel-damaging mistakes:
- Steel wool or abrasive pads that scratch the surface
- Harsh cleansers like bleach that degrade the enamel
- Metal utensils for scraping that leave permanent marks
Rinse thoroughly with warm water until all soap residue is gone. Dry completely with a soft towel or place on low heat for 2-3 minutes to evaporate any remaining moisture—this prevents water spots and mineral deposits.
Remove Stubborn Food Residue Without Scratching
When gentle washing fails, these enamel-safe techniques break down stuck-on food without damaging your cookware’s surface. The secret lies in chemical action rather than brute force scrubbing.
Baking Soda Paste Treatment for Burnt Bits
Create a thick paste using 3 tablespoons baking soda and 1 tablespoon water. Apply this paste directly to problem areas and let it sit for 30 minutes—the alkaline solution works chemically to loosen burnt particles. For extra stubborn spots, cover with plastic wrap to prevent drying.
After the waiting period, scrub gently with a soft brush in circular motions. Most residue lifts away with minimal effort. Rinse thoroughly and repeat if necessary—this method works particularly well for caramelized sugar or meat fond. Never use this paste on bare cast iron sections as it can affect seasoning.
Simmer Away Stuck Bits in 20 Minutes
Fill your Dutch oven with enough water to cover the stuck food, add 2 tablespoons baking soda, and bring to a gentle simmer for 15-20 minutes. The combination of heat and alkaline solution breaks down carbonized food particles naturally.
Turn off the heat and let cool slightly before attempting to clean. This method works especially well for rice, pasta, or sauce residues that have baked on during cooking. For best results, use this technique while the cookware is still warm from cooking—never wait until food has completely hardened.
Deep Clean Stained Enamel Without Harsh Chemicals

Discoloration happens even with careful use, especially from acidic foods like tomatoes or turmeric. These methods restore original brightness without scratching or damaging the enamel surface.
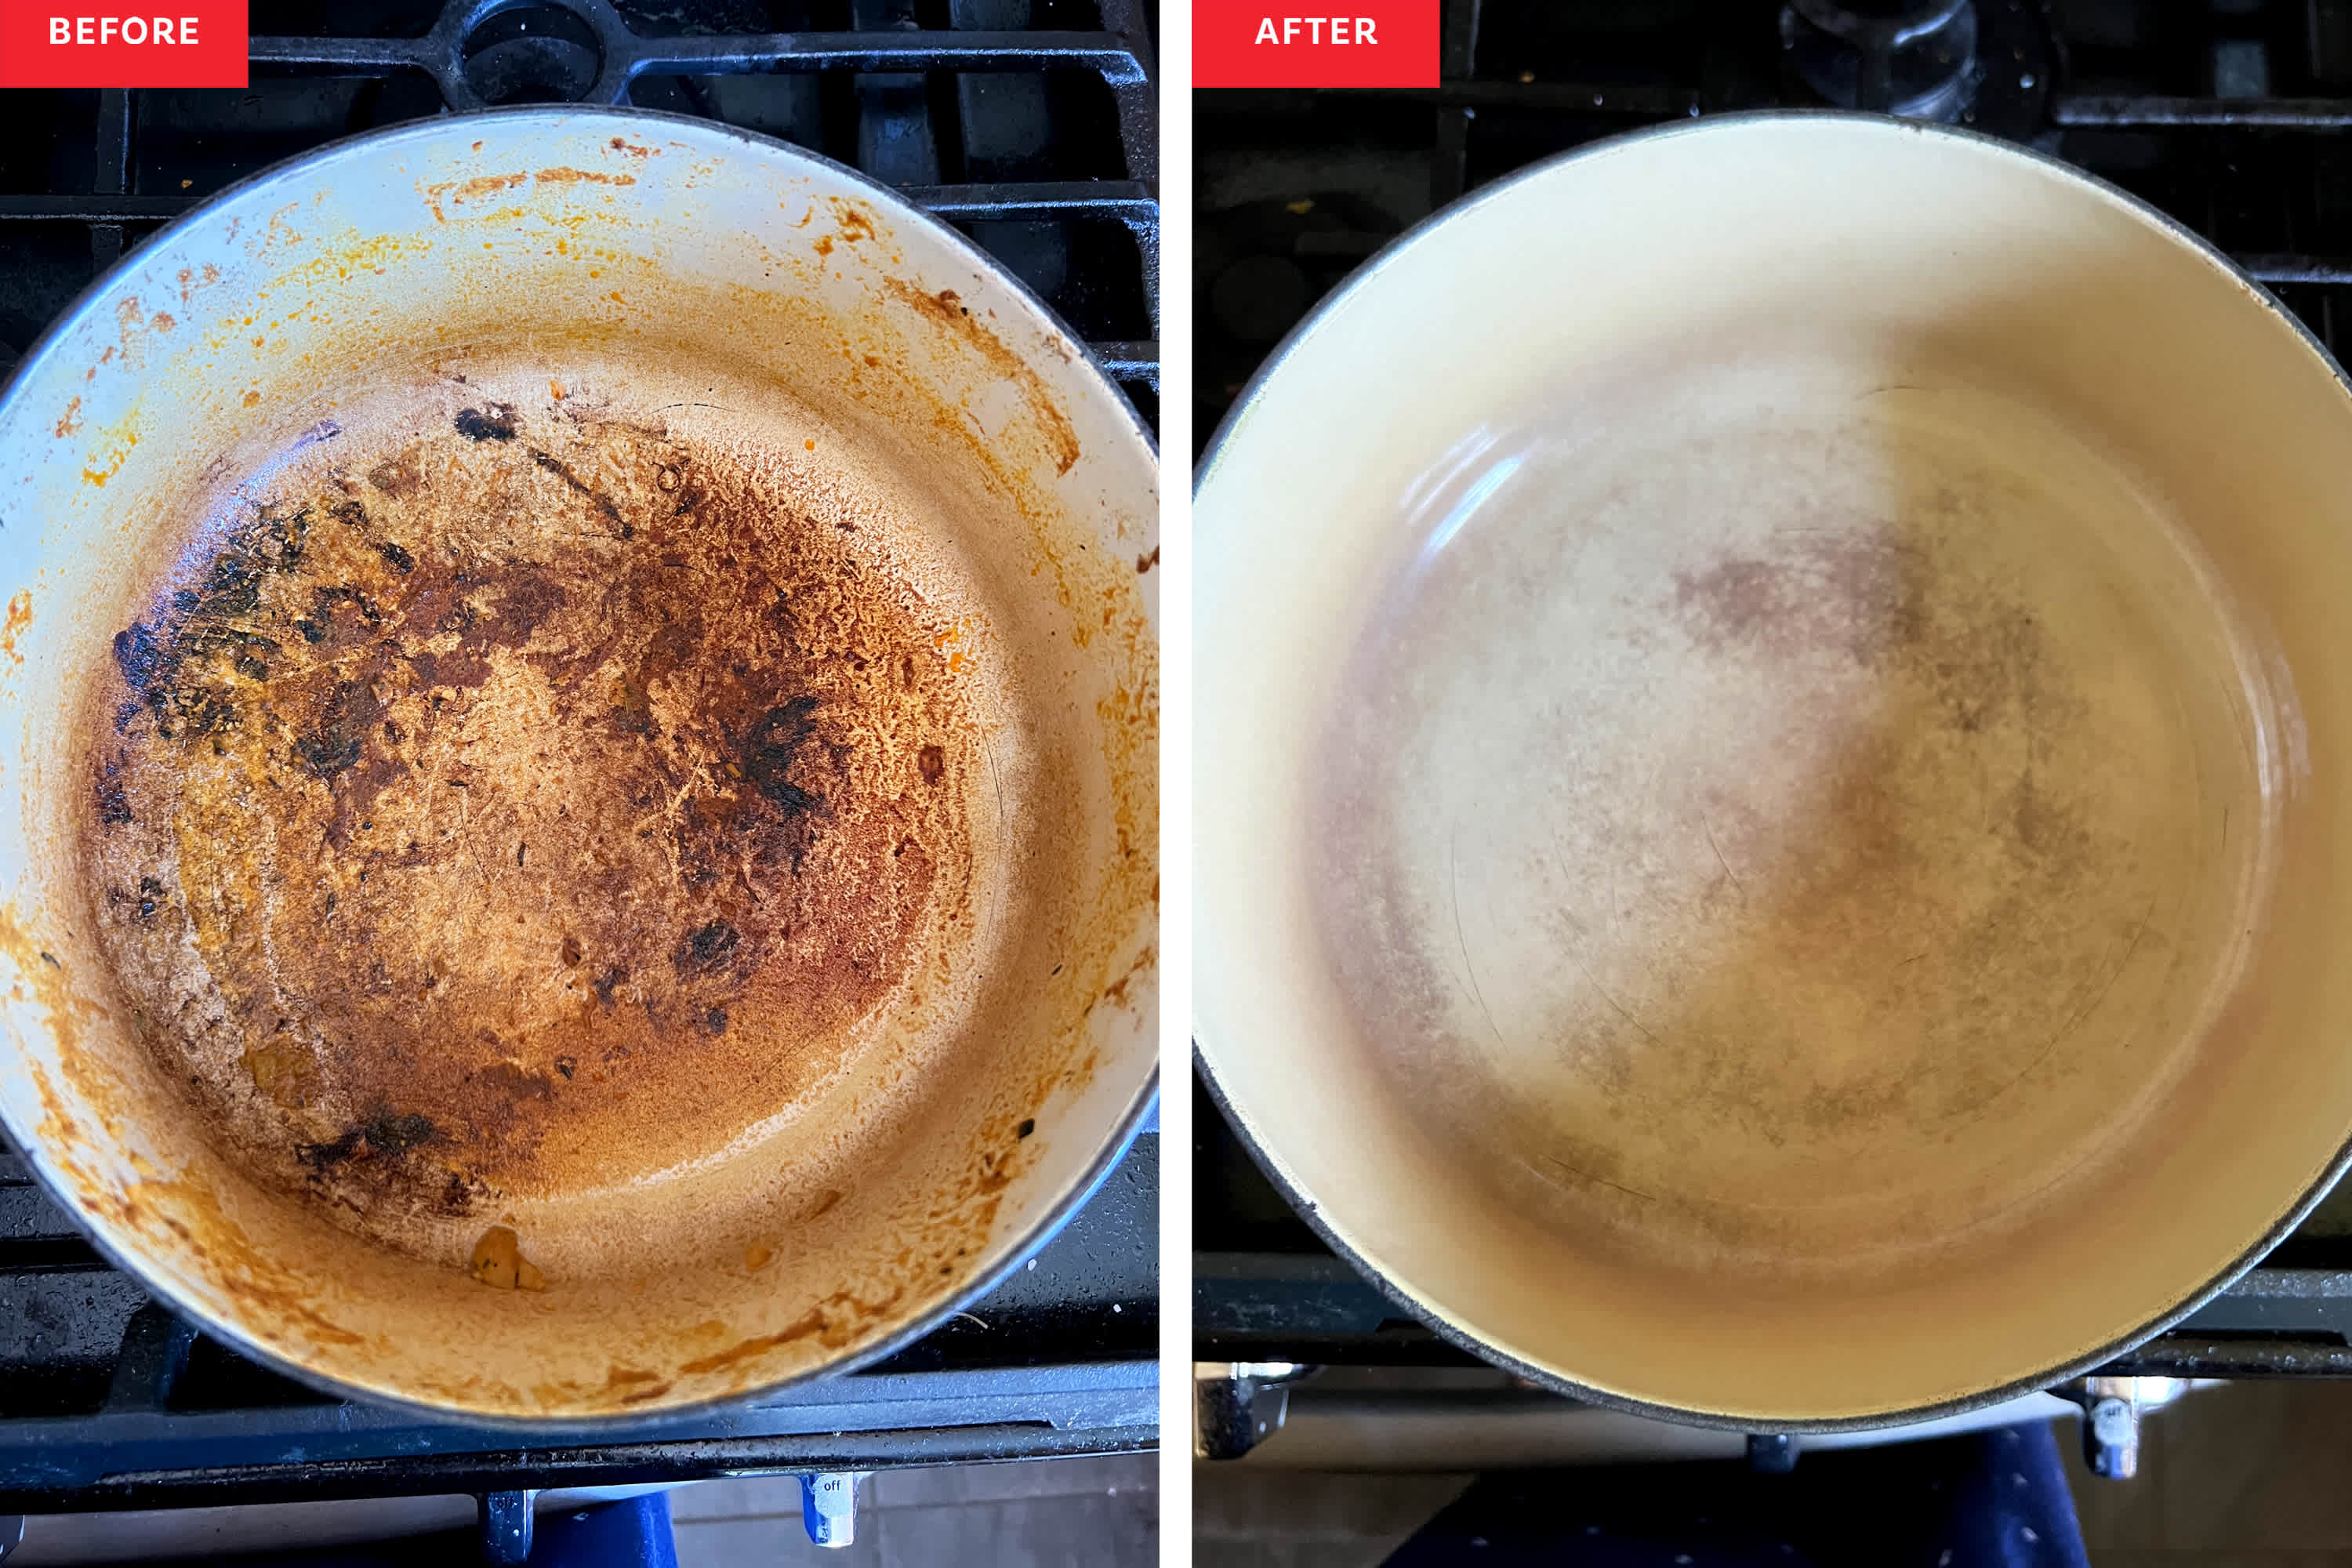
Hydrogen Peroxide Boil Method for Severe Staining
Cover stained areas with 1 inch of 3% hydrogen peroxide (the standard drugstore concentration). Bring to a gentle boil for 10 minutes, then turn off heat and let the solution work for 2-3 hours or overnight for severe staining. The oxygen bubbles lift stains without mechanical abrasion.
You’ll notice the peroxide turning brown as it lifts stains—this is normal. Pour out the solution and wash normally with soap and water. This method safely addresses discoloration from years of use without the risks of chlorine bleach.
Cream of Tartar Brightening for Light Stains
For lighter stains or maintenance cleaning, sprinkle 2 tablespoons cream of tartar across the stained area. Add just enough water to make a paste and let sit for 30 minutes. The mild acid in cream of tartar brightens enamel without scratching.
Gently scrub with a soft sponge in circular motions, rinse thoroughly, and dry immediately. This kitchen staple works particularly well on discoloration from tomato-based sauces or beets, restoring the original color without harsh chemicals.
Tackle Burnt Bottom Stains Like a Pro
The bottom of your Dutch oven often bears the brunt of high-heat cooking. These techniques address the most challenging stains while protecting the enamel surface.
Salt and Baking Soda Scrub for Carbonized Residue
When stains resist normal cleaning, create a powerful but safe abrasive by mixing equal parts coarse salt and baking soda with a few drops of water. Apply this paste to burnt areas and scrub in circular motions using a damp cloth—not a brush—to avoid micro-scratches.
The salt provides gentle abrasion while baking soda cleans chemically. Work in small sections, rinsing frequently to check progress. This method safely removes carbon buildup from searing or high-heat cooking without damaging the enamel.
Vinegar Steam Clean for Overnight Results
Add 1 cup white vinegar and 1 cup water to your Dutch oven. Bring to a boil, then reduce to simmer for 20 minutes with the lid on. The acidic steam penetrates burnt residue deeply.
Turn off heat and let cool for 30 minutes with the lid still on—this allows the steam to continue working. Most burnt material loosens significantly and can be wiped away with a soft cloth. Follow with normal washing to remove any vinegar odor. This method works best on fresh burns rather than years-old buildup.
Restore Overall Discolored Interior Without Damage
Years of use can lead to overall dulling or yellowing of white enamel interiors. These methods rejuvenate the entire cooking surface safely.
Oxygen Bleach Soak for Whole-Pot Brightening
Fill your Dutch oven with 4 cups warm water, add 1/4 cup 3% hydrogen peroxide and 1 tablespoon baking soda. Stir gently and let soak for 2-4 hours—never overnight as prolonged exposure can affect some enamel colors.
This oxygen bleach solution safely whitens enamel without the risks of chlorine bleach. Rinse thoroughly and wash normally. For stubborn overall discoloration, repeat the process after 24 hours.
Magic Eraser Technique for Targeted Stain Removal
For localized discoloration, a melamine foam sponge (Magic Eraser) works wonders when used correctly. Wet the sponge thoroughly and squeeze out excess water before gently rubbing stained areas with light pressure—never scrub hard.
Work in small sections, rinsing the sponge frequently as it turns gray. This micro-abrasive action removes surface stains without damaging the enamel coating. Immediately follow with a baking soda wash to neutralize any residue.
Prevent Future Staining With Smart Habits
Proper care prevents most cleaning challenges before they start. Implement these habits to maintain your Dutch oven’s appearance for years.
Seasonal Deep Cleaning Schedule
Every 3-4 months, perform a deep clean even if your Dutch oven looks fine. This prevents microscopic buildup that becomes harder to remove over time. Use the hydrogen peroxide method as preventive maintenance—your cookware will maintain its appearance longer and require less intensive cleaning.
Schedule these deep cleans after major holiday cooking periods when your Dutch oven has seen heavy use. Consistent maintenance takes just 30 minutes but saves hours of future scrubbing.
Cooking Best Practices That Prevent Sticking
- Heat oil properly before adding food to create a natural non-stick surface
- Use medium heat for most cooking—high heat isn’t necessary for cast iron
- Avoid cooking sprays, which leave polymerized residue that burns and stains
- Clean immediately after use when food residues are still soft
Never leave acidic foods like tomatoes in your Dutch oven for extended periods after cooking—transfer to storage containers promptly to prevent discoloration.
When to Call It Quits and Seek Professional Help
Some situations require expert intervention. Know when DIY methods aren’t enough to protect your safety and investment.
Enamel Damage That Requires Replacement
If you notice chips, cracks, or crazing in the enamel, stop using the Dutch oven immediately. Damaged enamel can leach into food and worsen with each use. Contact Cuisinart customer service—many issues fall under warranty, especially for newer models.
Never attempt to repair chipped enamel yourself with sealants or paints. These can contain chemicals unsafe for food contact and may create worse problems.
Persistent Odors After Multiple Cleaning Attempts
If your Dutch oven retains food odors despite thorough cleaning, fill it with a solution of 2 cups water and 1/2 cup baking soda. Simmer for 30 minutes, then let cool completely before washing normally.
For stubborn odors, repeat with a 50/50 vinegar and water solution. If odors persist after three attempts, the odor may have penetrated microscopic pores in the enamel—consider replacing the cookware for food safety.
Your Cuisinart Dutch oven is built to last decades with proper care. By following these enamel-safe cleaning methods and implementing preventive habits, you’ll keep it performing like new while maintaining that beautiful finish. Remember: gentle, consistent care prevents 90% of major cleaning challenges. When stains appear, act quickly—fresh messes always clean easier than old, baked-on residues. With these techniques in your kitchen arsenal, your Dutch oven will continue delivering perfect braises, soups, and bakes for generations to come.


