
Your kitchen renovation hits a critical point when you need to connect two cabinets. That gap between units disrupts workflow, creates cleaning nightmares, and undermines your entire kitchen’s structural integrity. When cabinets aren’t properly joined, you’ll notice doors misaligning, countertops developing stress cracks, and that frustrating wobble every time you open a drawer. Most DIYers attempt this task only to face uneven seams or damaged cabinet boxes because they skip foundational alignment steps. This guide delivers the precise cabinet-joining methodology professionals use—covering face frame techniques, European-style mounting systems, and critical alignment checks—so your kitchen functions as one solid unit. You’ll learn exactly how to create invisible seams while preventing the most common installation disasters.
Essential Pre-Connection Cabinet Preparation
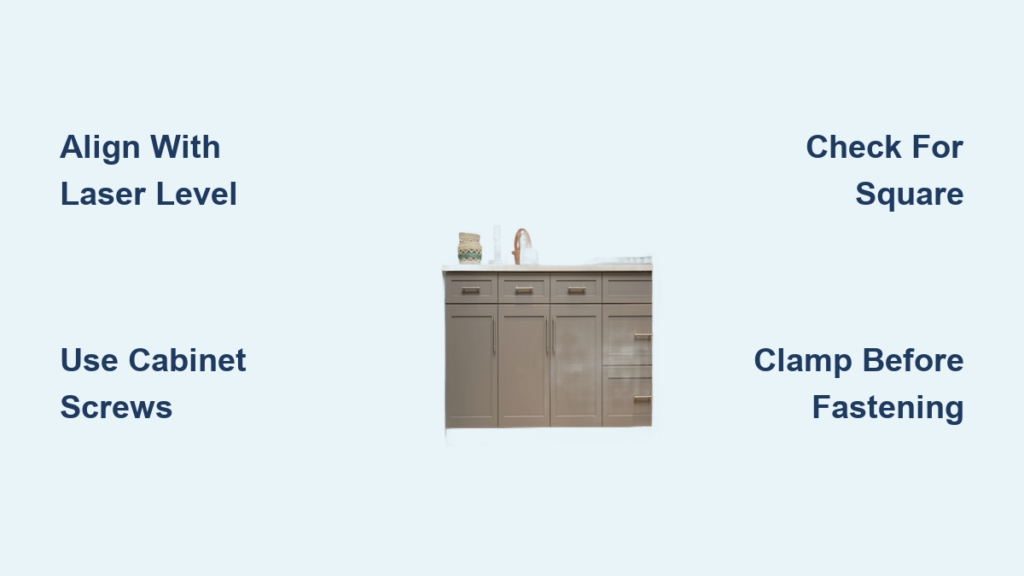
Before touching any tools, verify both cabinets share identical specifications. Mismatched heights or depths create permanent alignment issues no amount of clamping can fix. Place cabinets upright on a level floor and measure from the bottom to the top of the face frame at three points: left, center, and right. Any variation over 1/16 inch requires shimming during installation. Check for square by measuring diagonally from top-left to bottom-right corner, then top-right to bottom-left—these measurements must match within 1/8 inch. If they don’t, the cabinet box is warped and needs professional adjustment before joining.
Why Your Cabinet Type Determines the Entire Process
Face frame cabinets versus frameless (European-style) cabinets require completely different joining methods. Face frame units (common in American cabinetry) have a 1.5-inch wooden perimeter around the box front, while frameless designs expose the full box edge. Attempting to use face frame techniques on frameless cabinets will crack the particleboard edges. For face frame cabinets, you’ll drill through the frame stile; for frameless, you must use specialized mounting rails or dowels. Never assume compatibility—check your cabinet manufacturer’s label inside the box for construction details.
Critical Surface Checks You Can’t Skip
Run your palm along both connecting edges to detect warping. Even a slight curve prevents flush contact. Place a 4-foot level against each cabinet’s side panel—if light shows beneath the level, that panel isn’t straight. Pay special attention to pre-drilled mounting holes; stripped or misaligned holes indicate previous improper installation. If either cabinet shows damage here, replace the mounting hardware entirely rather than forcing alignment. These checks take 5 minutes but prevent hours of frustration later.
Tools Required for Professional Cabinet Joining Results

Gather these specific tools before starting: 3-inch #8 cabinet screws (not drywall screws), a 3/32-inch drill bit for pilot holes, a 1/8-inch countersink bit, 24-inch bar clamps, a laser level, and a 2-foot framing square. Skip the standard carpenter’s square—its small size can’t verify full-height alignment. For frameless cabinets, add Euro-style mounting plates and a 5mm Forstner bit. Never use hammers or improvised tools; cabinet joining demands precision hardware to avoid crushing particleboard edges.
Why Standard Screws Destroy Cabinet Joints
Drywall screws seem convenient but cause catastrophic failures. Their coarse threads rip through cabinet-grade plywood and particleboard, creating loose connections within weeks. Cabinet screws have finer threads that grip without splitting, plus a smooth shank that pulls cabinets tightly together before the threaded portion engages. The slight shoulder below the head prevents over-tightening that cracks face frames. Always use cabinet-specific hardware—this single detail determines whether your joint lasts decades or fails during the first heavy use.
Step-by-Step Cabinet Connection Process

Position both cabinets against the wall with 1/8 inch between them. Attach your laser level to the wall header to project a perfectly vertical line. Clamp a 1×3 straightedge along this line as your alignment reference. Slide cabinets until their front edges touch the straightedge, then verify with a framing square that both sides form perfect 90-degree angles to the reference line. This eliminates the most common error: assuming the wall is straight when it’s actually bowed.
Face Frame Cabinet Joining Technique
Drill two pilot holes through the face frame stile of the right cabinet into the left cabinet’s stile, positioned 2 inches from top and bottom. Countersink these holes 1/4 inch deep. Apply wood glue sparingly to the connecting edges, then clamp cabinets together until glue oozes slightly from the seam. Insert screws and tighten just until the clamp releases resistance—overtightening cracks frames. Wipe excess glue immediately with a damp cloth before it dries.
Frameless Cabinet Connection Method
Attach mounting rails to both side panels using 30mm Euro screws. Position rails 3 inches from top and bottom, ensuring they’re perfectly horizontal with your laser level. Slide cabinets together until rails interlock, then secure with connecting bolts through the rail slots. Verify alignment by checking that the seam between cabinets disappears when viewed from 3 feet away. If gaps remain, loosen bolts slightly and tap cabinets with a rubber mallet before final tightening.
Critical Alignment Verification Steps
After initial connection, perform these three checks: First, place a 4-foot level horizontally across both cabinet tops—if the bubble isn’t centered, adjust shims under cabinet bases. Second, measure from the back wall to the front of both cabinets at top, middle, and bottom; differences indicate twisting. Third, open all doors simultaneously; if gaps between doors change as you move across the seam, your vertical alignment is off. Correct alignment issues immediately—once countertops are installed, errors become permanent.
Common Mistakes That Ruin Cabinet Joints
Forcing misaligned cabinets together with excessive clamping pressure creates internal stress that cracks boxes when doors open. Skipping pilot holes causes particleboard to split along the seam line. Using glue without clamps leaves weak joints that separate under load. Never rely solely on wall studs for alignment—most walls aren’t plumb, so always reference your laser level line. These errors show up immediately as visible seams or door misalignment.
Securing the Joined Unit to Wall Studs
Drill through the cabinet’s hanging rail into wall studs using a 3/16-inch bit, placing fasteners every 16 inches. For cabinets over 24 inches wide, add a fastener at the seam point. Use 2.5-inch cabinet screws with washer heads—they distribute pressure without crushing the rail. Before tightening, place a 1/8-inch spacer between cabinet top and ceiling to allow for wood expansion. This prevents stress cracks in countertops when humidity changes.
Why Wall Attachment Comes After Joining
Attaching cabinets individually to the wall first makes alignment impossible. Walls often bow between studs, causing cabinets to follow the wall’s imperfections rather than creating a straight line. By joining cabinets on the floor first, you establish a single straight reference plane. Only then should you lift the entire unit against the wall and secure it as one piece. This technique eliminates the “stair-step” effect common in DIY installations where each cabinet gets attached separately.
Final Seam Inspection and Countertop Readiness
Run your fingernail along the cabinet seam—if you feel any ridge, sand it down with 120-grit paper before countertop installation. Check for light gaps by shining a flashlight horizontally across the seam in a dark room. Any visible light means the joint isn’t tight enough and needs re-clamping. For countertops, ensure the seam sits directly over a cabinet partition—never spanning empty space. This final verification ensures your countertop installer won’t encounter alignment issues that void their warranty.
Preventing Future Alignment Problems
Apply silicone caulk along the seam behind face frames to absorb minor movement from humidity changes. Install toe kicks after joining cabinets—they provide crucial lateral stability. Every six months, check screw tightness at the seam; particleboard slowly compresses over time. If doors start binding, loosen the seam screws slightly, realign, and retighten—don’t force door hinges to compensate for cabinet misalignment.
Your joined cabinets should now function as a single rigid unit with invisible seams and perfect door alignment. Properly executed, this connection will withstand decades of kitchen use without shifting. Remember that cabinet joining isn’t about brute force—it’s precision engineering where millimeter-level accuracy determines long-term performance. If doors or drawers operate smoothly across the seam with no visible gaps, you’ve achieved professional results. For future projects, always photograph your successful alignment points—they’ll save hours on your next kitchen installation.


