
Tired of opening your kitchen cabinets only to face a chaotic jumble of mismatched containers, precariously stacked dishes, and forgotten pantry items? You’re not alone—nearly 70% of homeowners admit their kitchen cabinets descend into disarray within weeks of organizing. The good news is that how to organize kitchen cabinets on a budget doesn’t require expensive custom solutions or professional organizers. With strategic planning and smart shopping, you can transform your kitchen storage into an efficient, accessible system for under $50 and complete the project in a single weekend. This guide reveals practical, budget-friendly techniques that deliver professional results without draining your wallet.
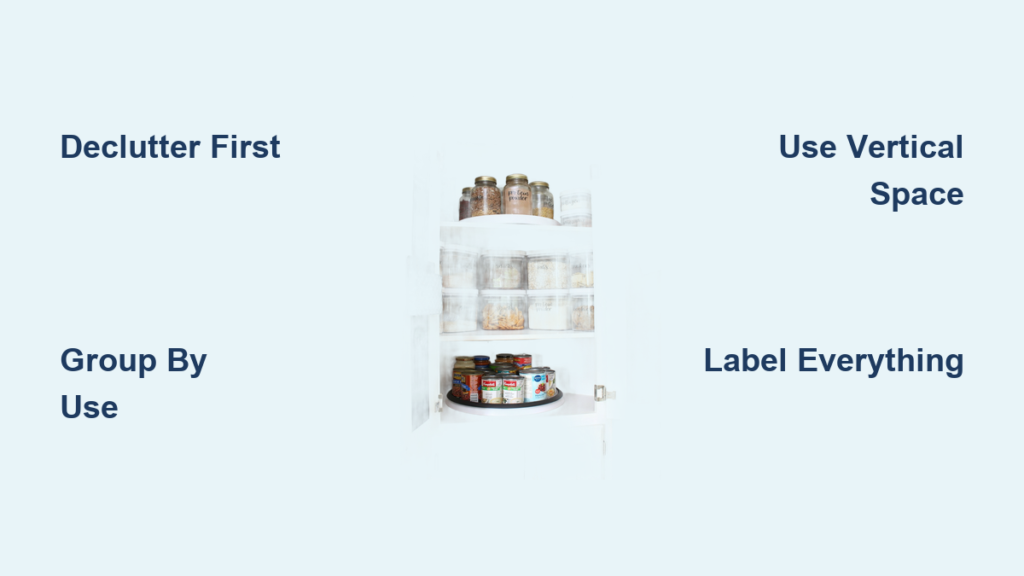
Declutter Before You Organize
The foundation of any successful cabinet organization project begins with removing everything inside. Take every item out of your kitchen cabinets and place it on your counter or table—this step, though time-consuming, reveals exactly what you own and exposes the true state of your storage spaces. Examine each item critically: check expiration dates on spices and canned goods, inspect chipped or cracked containers, and ask yourself when you last used that specialized gadget gathering dust in the back corner.
Sort your belongings into four clear categories as you work:
– Keep: Items you use regularly and are in good condition
– Donate: Working items that no longer serve you (consider local thrift stores)
– Recycle: Worn-out items including scratched plastic containers and rusted pans
– Repair or replace: Fixable items needing attention before returning to cabinets
This decluttering process typically takes two to four hours depending on cabinet size and accumulation level, but the psychological benefits extend far beyond physical organization. You’ll discover duplicates you forgot you owned, find items you thought were lost, and gain a realistic understanding of your actual storage needs. Many people discover they can downsize their cabinet collection by 30% or more, immediately creating more breathing room without purchasing a single organizing product.
Why Your Clutter Keeps Coming Back
If you’ve organized your cabinets before only to watch chaos return within weeks, you’re likely missing one critical element: designated homes for every single item. When items don’t have specific places, they naturally migrate to wherever space is available, creating the cycle of disorganization. During your decluttering phase, mentally note where each item should live based on your cooking habits—this planning stage prevents future clutter from taking root.
Group Items by Usage Frequency
Strategic cabinet organization hinges on understanding how you actually use your kitchen. Items used daily—like everyday plates, frequently-used glasses, and cooking oils—should occupy the most accessible spots, typically middle shelves at eye level. Weekly items such as seasonal platters, specialty baking sheets, or occasional-use small appliances belong on higher or lower shelves that require slight effort to reach. Rarely-used items, including formal entertaining sets, holiday-specific cookware, and backup small appliances, can migrate to the highest or deepest storage spaces where they’re out of the way but accessible when needed.
Consider your kitchen workflow when assigning shelf locations. Store coffee mugs near your coffee maker, cooking oils near your stove, and everyday glasses near your primary drinking area. This thoughtful placement prevents the frustration of constantly shuffling items to find what you need and encourages returning items to their proper homes after use.
The 30-Second Rule for Cabinet Placement
If you find yourself constantly rearranging items to access what you need, apply the 30-second rule: any item you use multiple times daily should be accessible within 30 seconds of deciding you need it. This means no digging through stacks or moving multiple items to reach your everyday essentials. Position your most-used items so they’re visible and immediately reachable—this small adjustment dramatically improves your kitchen efficiency and reduces daily frustration.
Maximize Vertical Space With Budget Solutions
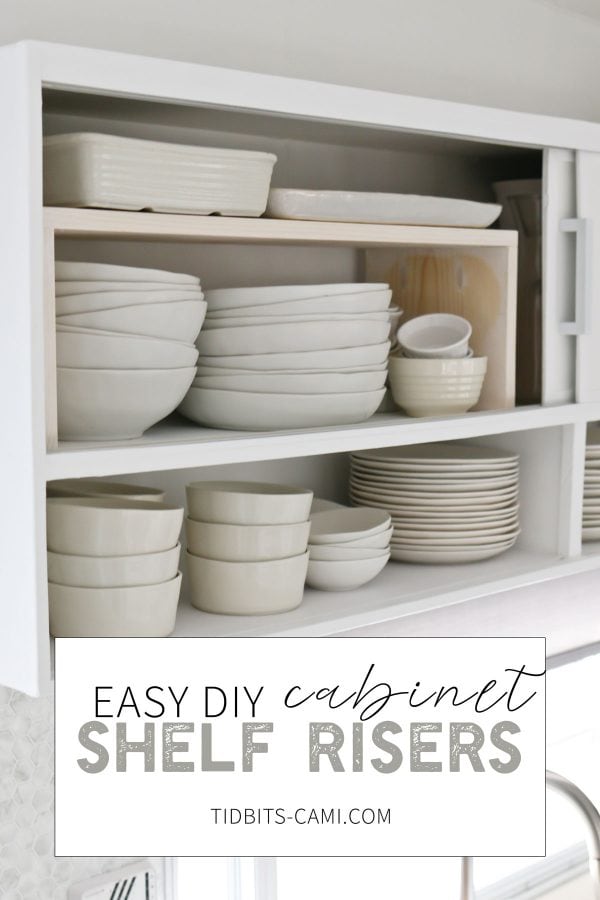
Vertical space inside cabinets often remains dramatically underutilized, but budget-friendly solutions exist to capture this hidden storage potential. Stacking shelf risers transform a single shelf into two or three levels, doubling or tripling storage capacity for plates, bowls, and food containers. Simple plastic risers cost $3 to $8 at dollar stores, discount retailers, or online marketplaces, and they pay for themselves by immediately organizing previously cluttered stacks.
Tension rods installed horizontally create ingenious solutions for storing baking sheets, cutting boards, and cooling racks upright against cabinet walls. These rods cost under $5 each and require no tools or hardware—just twist them into place between cabinet walls. A single cabinet door can hold measuring cups, pot lids, or oven mitts when equipped with over-the-door organizers costing $5 to $15.
Dollar Store Hacks for Cabinet Organization
Your local dollar store holds surprising organizational treasures. Look for:
– Plastic drawer dividers that work perfectly in cabinets for utensils and lids
– Small mesh baskets that clip onto shelves for spice organization
– Stackable containers specifically designed for pantry storage
– Adhesive hooks that create instant hanging storage on cabinet interiors
These budget finds cost less than $2 each and solve multiple organizational challenges without permanent installation. The key is to focus on multi-purpose solutions—those plastic drawer dividers? They work equally well for organizing baking sheets vertically when placed on their sides.
Use Affordable Storage Containers and Dividers
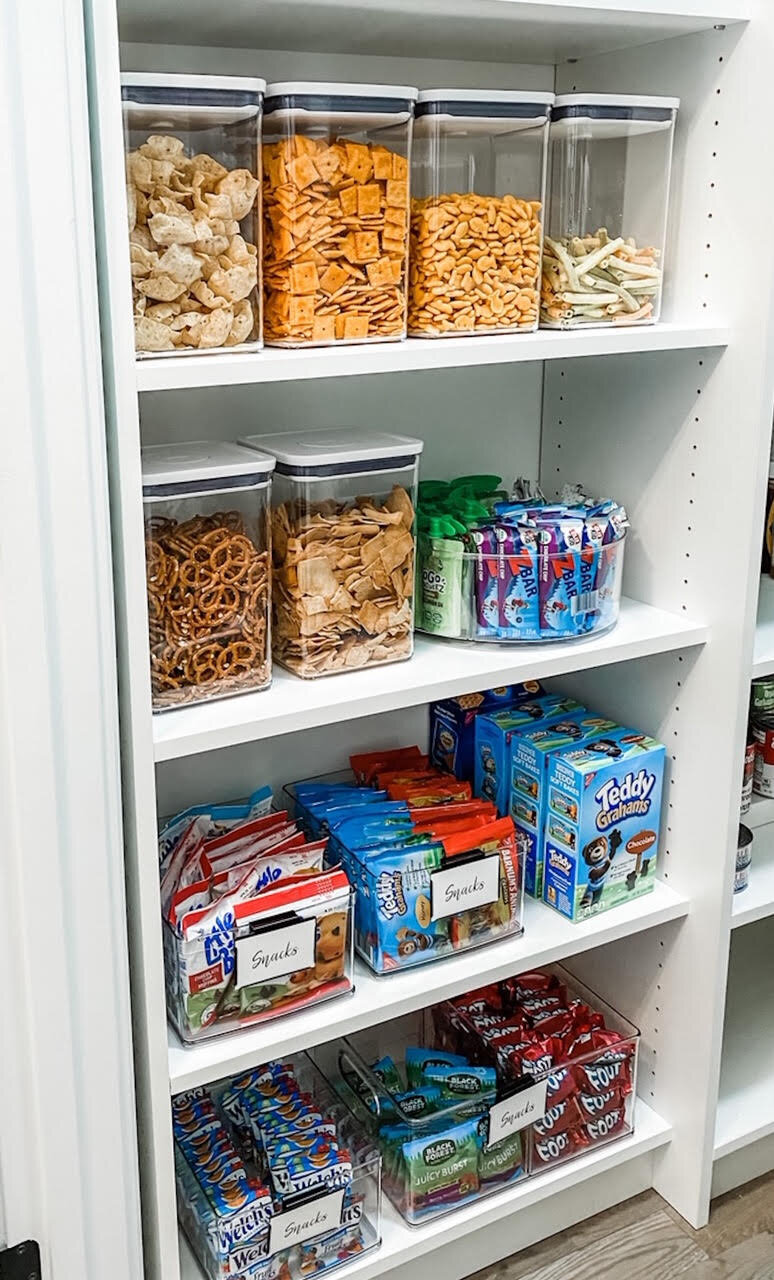
Clear, uniform containers create visual consistency while protecting dry goods from pests and moisture. Purchasing matching containers seems like an splurge, but budget options exist at dollar stores, discount retailers, and online flash sales. Look for sets of interlocking containers that nest neatly when empty, maximizing storage efficiency. A complete container overhaul for basic pantry items typically costs $20 to $40 and dramatically improves both appearance and functionality.
Before purchasing new containers, assess what you already own. Many items already in cabinets work perfectly as storage solutions if repurposed thoughtfully. Glass pasta sauce jars, when cleaned thoroughly, become excellent bulk ingredient containers. Empty candle jars with lids store leftovers or batch-cooked items attractively. Shoe boxes and gift boxes line shelves neatly when turned on their sides.
Create Custom Dividers From Household Items
Cardboard boxes transformed into cabinet dividers cost absolutely nothing and solve multiple organizational problems:
1. Cut cereal boxes to height of shelf space
2. Cover with decorative paper or contact paper
3. Position between items to prevent sliding and create compartments
This technique works especially well for organizing plastic containers with their matching lids—no more digging for the right lid size! For heavier items like cutting boards, use empty paper towel tubes cut to height as vertical dividers that keep boards neatly separated and visible.
Label Everything Systematically
Labels transform chaotic cabinets into maintainable systems that family members can follow without constant instruction. A simple labeling system costs under $10 when using a basic label maker, printable labels, or even handwritten tags on colored paper. The key is consistency—labels should use uniform font, size, and positioning throughout your kitchen so the system looks intentional and professional rather than haphazard.
Consider what information your labels should convey beyond basic contents. Date labels on leftovers and bulk items prevent food waste by clearly showing when items were stored. Category labels help everyone return items to correct locations—”Baking Supplies,” “Breakfast Items,” or “Party Platters” guide household members who might otherwise guess at appropriate storage spots.
The Child-Friendly Labeling System
For households with young children, incorporate picture labels alongside text:
– Photograph each container’s contents
– Print photos at wallet size
– Tape photos above corresponding storage areas
– Add simple text labels at child’s eye level
This visual system allows children to independently access snacks and breakfast items while ensuring everything returns to its proper place. The initial setup takes about 20 minutes but saves countless hours of daily supervision and reorganization.
Implement Rotation Systems for Food Items
Food rotation prevents waste and ensures you use older items before newer purchases, a practice that saves money and reduces clutter. The fundamental principle follows a simple rule: when adding new items to your pantry or cabinet stores, place them behind existing items of the same type. This “first in, first out” approach ensures nothing gets pushed to the back and forgotten until it’s expired and must be discarded.
Create dedicated spaces for new items that visually remind you to rotate stock. A small basket or bin near the front of each shelf holds recently purchased items, while the main shelf area contains established supplies. When unpacking groceries, transfer dry goods from original packaging to uniform containers that allow easy visibility of contents and quantities.
The Monthly Cabinet Audit That Saves Money
Schedule a 15-minute cabinet audit each month—this brief maintenance session catches small problems before they become overwhelming reorganizing projects. During your audit:
– Pull items forward that have been pushed aside
– Discard anything past its prime
– Wipe down shelves and containers
– Adjust your system based on changing needs
This small time investment prevents the gradual disorganization that leads to food waste and duplicated purchases, saving the average household $500 annually on groceries alone.
Maintain Your Organized System
An organized cabinet system requires ongoing attention to prevent gradual regression toward chaos. After completing your budget organization project, commit to a simple evening routine: spend five minutes each evening returning items to their proper locations and wiping down any spills or crumbs. This minimal daily effort prevents the accumulation of small disorganizations that eventually require major correction.
Develop habits that support your organizational system rather than working against it. Put items away immediately after use rather than setting them aside “for later.” When unpacking groceries, take the extra moment to find appropriate storage locations rather than leaving items on counters.
When Life Happens: Bouncing Back From Disorganization
Expect occasional setbacks and plan for them gracefully. Moving, holidays, life transitions, and simple busy periods all threaten organizational systems. When disorganization creeps back in, remember that a complete rebuild isn’t necessary—return to your original system, focus on the areas most affecting your daily routine, and address problem zones systematically. The skills and habits you developed during your initial organization project make subsequent tune-ups faster and easier than the first transformation.
Budget Summary and Next Steps

Organizing kitchen cabinets on a budget requires under $50 and one weekend for most kitchens, yet delivers lasting benefits in daily efficiency, reduced food waste, and reduced cooking-related stress. The core investment comes through time and thoughtful planning rather than expensive products. Essential purchases—shelf risers, containers, dividers, and labels—typically total $30 to $50, while creative repurposing of existing items and strategic shopping at discount retailers can reduce this cost further.
Begin your project by decluttering one cabinet at a time rather than attempting to transform your entire kitchen in a single session. This approach prevents overwhelm and allows you to refine your techniques as you progress. Document your final organization system with photos for future reference, and share your success with family members who will benefit from and need to maintain the new system.
The skills you develop during this budget organization project transfer to every room in your home. As you enjoy your newly organized kitchen cabinets, consider which other areas might benefit from similar attention—your entire home can transform through these same budget-conscious, practical techniques.


